Payday 3: 99 Boxes Stealth Guide
Where's the 100th box?
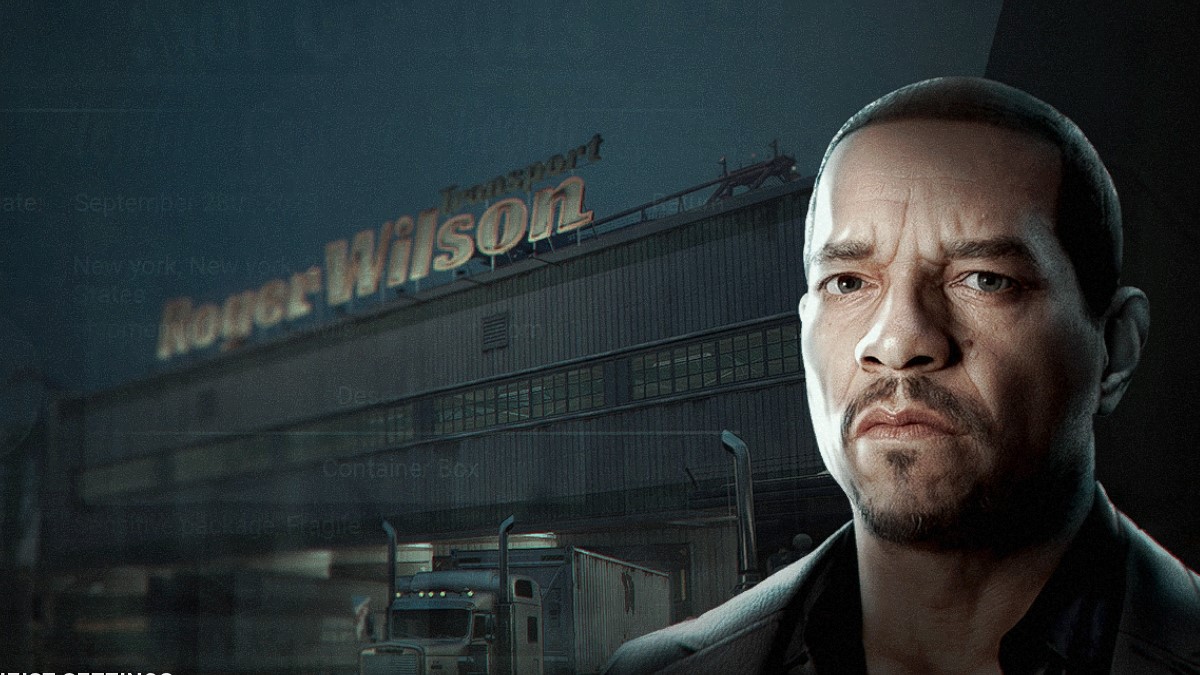
Sure, running a heist in Payday 3 on loud is a blast full of carnage and excitement, but that can get tiring after a while. That’s why stealth exists since it serves as a great shakeup to the formula and allows you to experiment more with precision and finesse. That trend, as expected, continues to the game’s seventh heist. Here’s our Payday 3 99 Boxes stealth guide walkthrough.
Payday 3 99 Boxes Stealth Walkthrough
Before we begin, you should keep in mind that things will be considerably more difficult as you play on higher difficulties. While an area may only have one guard patrolling it on Normal, other difficulties could add another guard or even a Lead Guard. We’ve checked through Overkill ourselves to make sure and will try to mention changes where we can, but it’s worth keeping in mind. With that out of the way, here is how you successfully stealth Payday 3 99 Boxes.
Getting Into the Warehouse
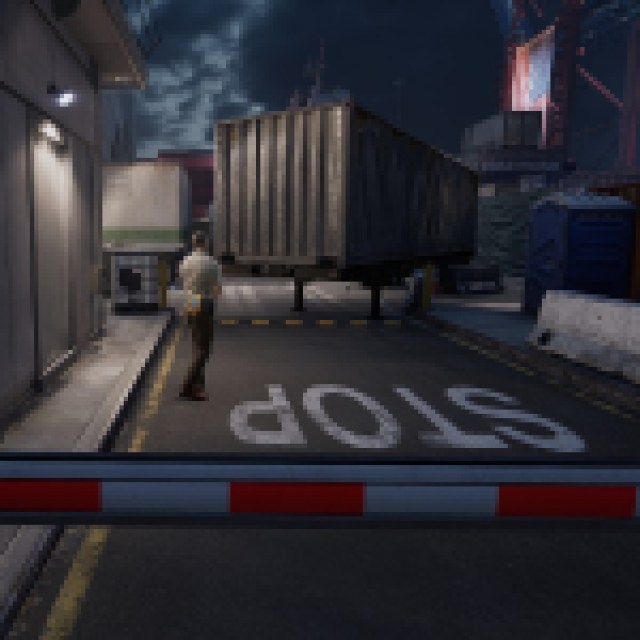

While getting into the warehouse is relatively straightforward, there’s one thing we suggest you do beforehand. On the west and east sides of the building (the exterior), there will be specific guards that have phones on their backs. You want to get close to these and let a hack complete since these will give you two QR codes.
These aren’t useful yet but will allow you to complete two tasks later without much hassle. Once you have those, you’re free to head inside whichever way you’d like. We wouldn’t suggest going in through the front container since you have to mask up, but you’re free to do what you’d like.
It’s okay if the guards spot you while trying to hack their phones. If they spot you after you’ve already started the hack, you’ll be able to continue it while they escort you back to a Public Area.
Setting Up the Refrigeration Truck
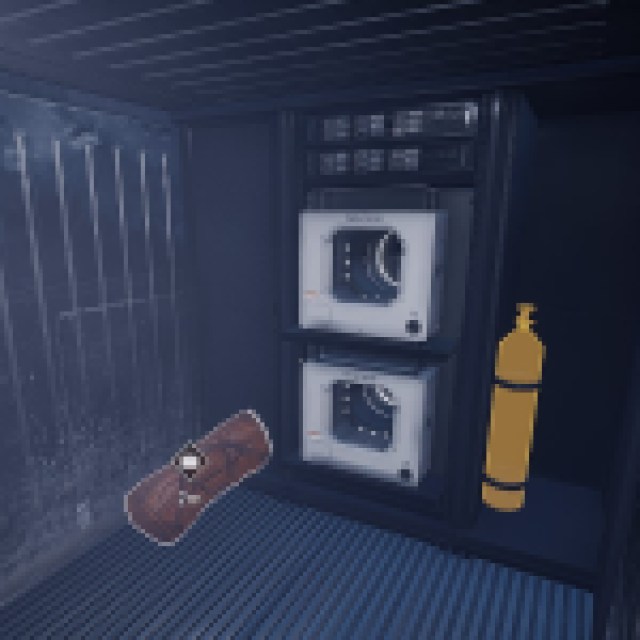


Once you make it into the warehouse, you’ll need to prepare a refrigeration truck for the high-tech components you’re trying to snag. You’ll also be figuring out whether the parts are in the west and the east yard. First things first, head over to the first truck bay and open it up. The truck is fitted with a refrigerator quite conveniently, but it’s in need of some liquid nitrogen.
There are a handful of small crates located across the first floor of the warehouse, though you’ll need to open and check each one for it. Once you have it, place it into the correct slot of the truck.
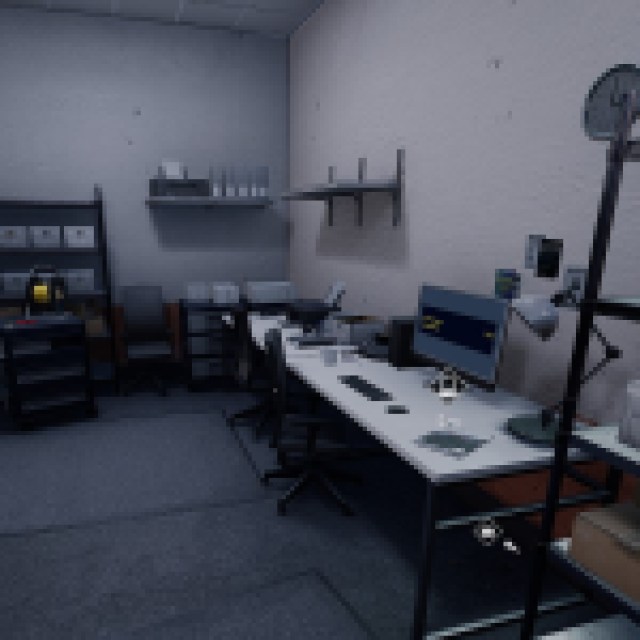

Now that the truck is prepared, we need to figure out which yard has the high-tech components. This is located through a computer in one of the small rooms on the second floor of the warehouse. Hack the computer, and it’ll give you one of the two yards.
Before leaving, you might want to head into the security camera office downstairs. As of writing the room is bugged, so you can access it without the blue keycard that currently doesn’t exist. Once the bug is fixed, we’ll update this article with information on how to access it.
Getting to the Yard and Finding the Components
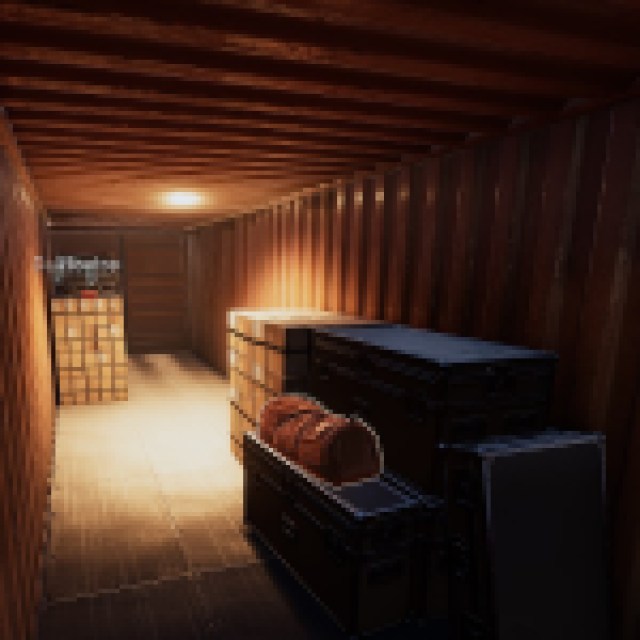


For whichever yard the computer gives you, you want to head to that side of the main yard and search for a bag containing a zipline. The way to the yard is cut off, so you need to zipline over to reach it. Keep in mind that you’ll be forced to put your mask on for this since you’ll either need it to reach the point where you throw the zipline down, or to ride the zipline itself.


Once you have the zipline down and have made it into the adjacent yard, it’s time to find the high-tech components. In this new yard are a number of different containers, with certain containers being white.
These containers will have loot in them, though not all of them will contain high-tech components. The ones that have the components in them have a QR code scanner in front of them. If you did what we mentioned earlier, then you won’t need to head back to the main area and get the codes. Once you put the QR code in, the container will open.
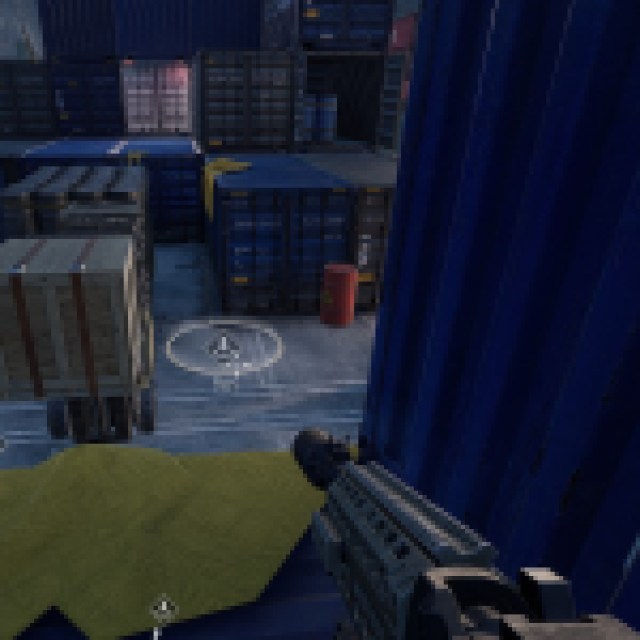

From here, you’ll have the classic circle mini-game seen in Under the Surphaze. An array of circles will appear on the ground nearby, and you need to stand in enough of them for long enough to gain access to the glass door. Fairly simple stuff. Once you have the door open, you have a tricky section ahead of you.
Getting the High-Tech Components Back to the Truck
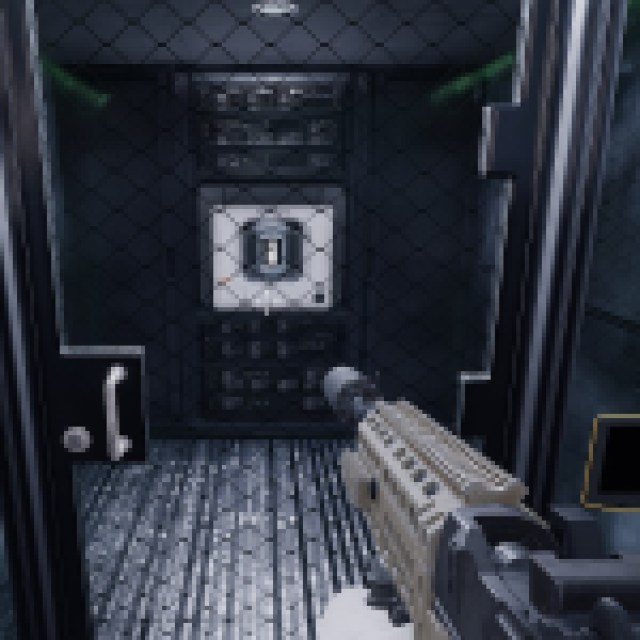

Before grabbing the high-tech components, you want to plan your route back to the refrigeration truck in the middle of the map. Once you grab the components, they’ll start deteriorating the more time you take. You’re almost guaranteed to have them deteriorate at least once (unless you’re the most insane runner on the planet), so ideally you want to prevent them from deteriorating additional times. As such, get a route pathed out prior.
A good, quick path to avoid as much degradation as possible is through the storage yard. You’ll need to hop across the storage containers, Super Mario style, and keep an eye out for the fence with the yellow covering.
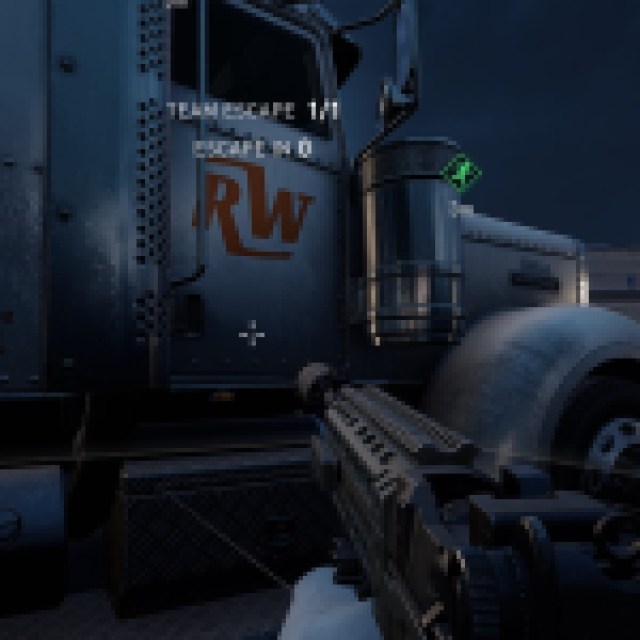

Once you have the first high-tech components in the refrigeration truck, repeat most of what we just did. Zipline back into the yard, find the other container, open it, and do the circle mini-game, then rush back with the high-tech components. You will find additional loot in addition to the main loot in this area, so make sure to grab that as well if you want.
Once you have both (along with whatever else you might want), close up the refrigeration truck and make your way to the escape point. If all’s done well, they won’t know a thing. Congratulations on completing Payday 3 99 Boxes in stealth!
We hope you found our guide on Payday 3 99 boxes helpful. If you’re looking for help with other heists, check out our Payday 3 Gold and Sharke stealth guide.
