
Payday 3: Gold & Sharke Stealth Guide
I feel like I've seen this kind of bank before...

If you’re looking for Payday 3 to challenge you, then running heists on stealth will do just that. You might not have the overwhelming hordes to be concerned about, but you will have intense, moment-to-moment decisions. That trend continues no differently with the Big Bank of Payday 3. Here’s our Gold and Sharke stealth guide for Payday 3.
Payday 3 Gold and Sharke Stealth Walkthrough
Before I begin, I must mention how the stealth experience will change for you depending on what difficulty you’re playing at. Overkill brings a new set of challenges that Normal doesn’t, even outside of the two main changes listed when selecting the difficulty. With that out of the way, let’s get started.
Getting to the Second Floor
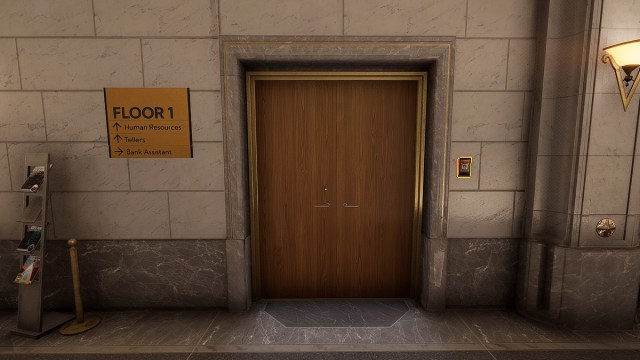
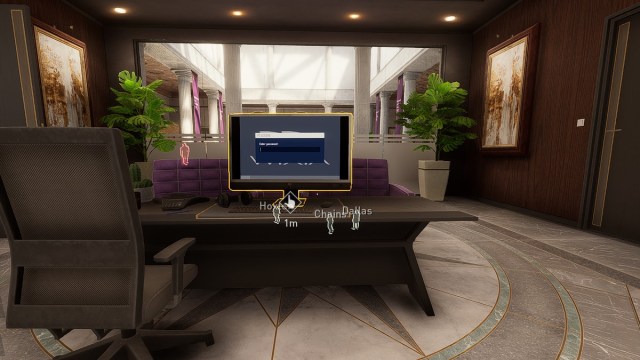
To kick things off, we want to try and make our way to the second floor. This way is blocked by a gate that requires a red keycard, which you’ll need to find in one of three offices. To figure out the correct office, you’ll need to head over to the Human Resources office and check a computer. This, along with each of the offices, requires QR codes to access.
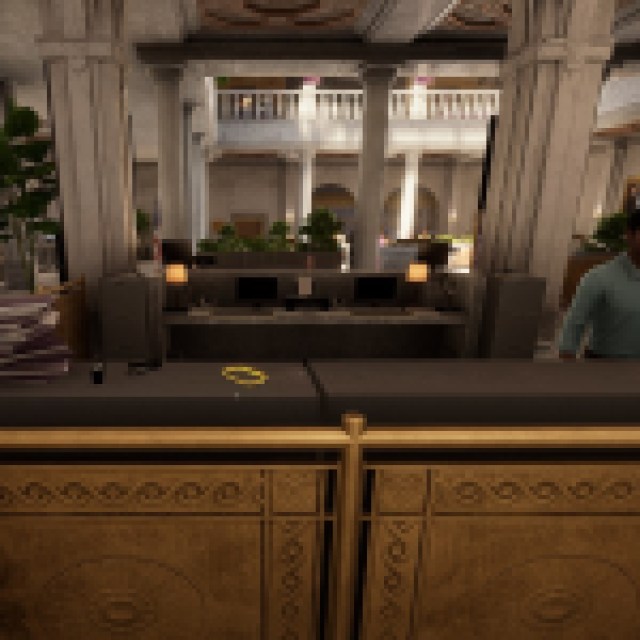

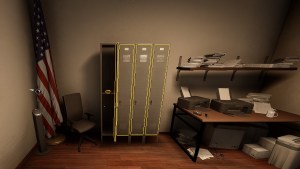
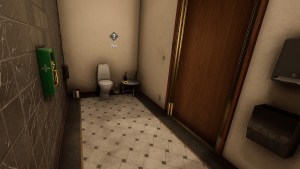
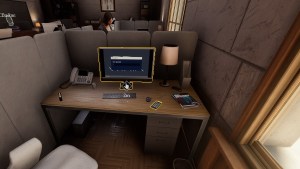

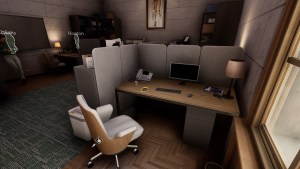
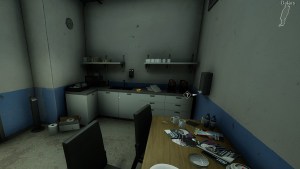
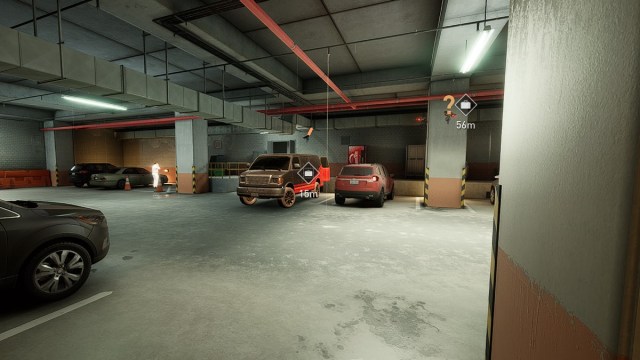
In total, there are seven different places that the QR code phones can spawn on Gold and Sharke. All of them are either on the first floor or the Garage downstairs, since you won’t need another once you’ve passed the gate. You can either use the images I provided above to locate all of them or my descriptions of each below:
- Above one of the computers in the Main Lobby.
- In a locker within a nearby Supply Room.
- In one of the bathrooms.
- Next to a computer in the Human Resources department.
- On a desk in the Main Lobby.
- On another desk in the Human Resources department.
- In the Employee break room adjacent to the Garage.
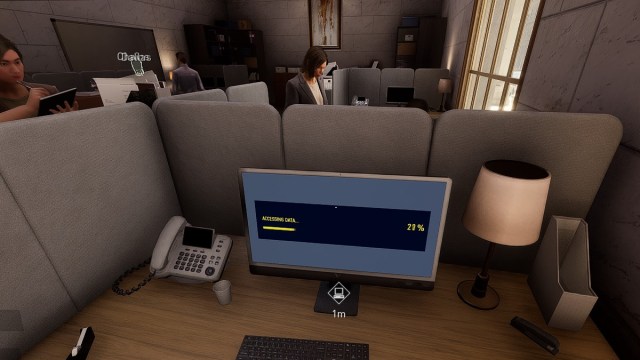
Once you have the QR codes, get into the Human Resources department and access the highlighted PC, ideally without the civilians in there seeing you. Once it finishes its hack, it’ll read which of the three places you need to go. You’ll need to either head to the Loan Officer, the Branch Manager, or the Bank Assistant. For example, I needed to head to the Loan Officer near the Main Lobby on my latest playthrough. My god was that camera ever painful to deal with.
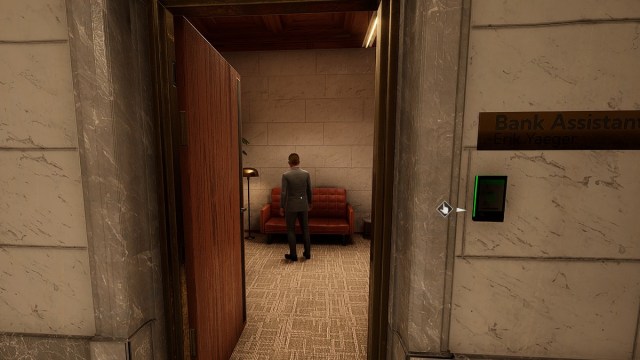
Once you’re at the correct office and have opened the door using one of your QR codes, you’ll find the civilian patrolling inside. If they spot you in the room or attempting to look for the red keycard, they’ll call the guards and you’ll be doomed. Instead, you want to wait for the right opening and head in, immediately checking all stacks of paper and filing cabinets as quickly as possible. Yes, it can be that tedious. Once you have the red keycard, get out of the room and bring it back to the big gate. Once you use it at the gate, you’ll have access to the second floor.
Getting Past the Door to the Vault Room

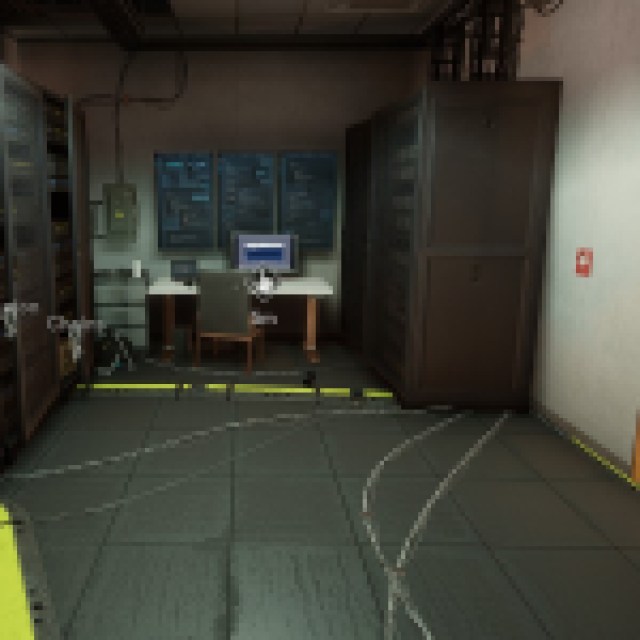
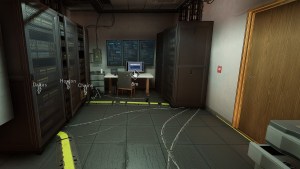
As soon as you begin making your way up the stairs, you should see the big door to the vault room. To access it, you’re going to need a code. This means you’ll need to make it to the Server Room, which should be on the opposite side of the second floor to you. Civilians won’t care much about you, but be sure to watch out for the guards patrolling upstairs. They can be surprisingly sneaky about their movements up here. Once you’re in the Server Room, initiate a hack on the computer.
A civilian or guard may walk into the room while this hack occurs. Be sure to have the doors closed before starting the hack. If one of them does come in and get alerted, then you’re better off restarting the heist over continuing. Trying to run the rest with a mask on is not a fun time.
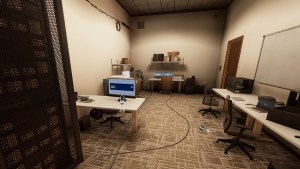
Partway through the hack, it’ll be blocked and you’ll need to find a computer to authorize it again. This computer is found in an IT Room on the side of the second floor with the stairs, though its location is random otherwise. Head inside and interact with the computer. Once it’s done, head back to the Server Room and finish up the hack.
Once the hack finishes, you should be familiar with the next part of the puzzle. You’re given four possible codes, though only one of them works. The correct code can be deduced by looking at the keypad next to the door to the vault room. Match the numbers with fingerprints on them to the code using only those numbers in the top left, then input the code to open the door.
Getting Into the Vault


Now that you’re in the vault room, we need to get access to the vault itself. How you go about this is going to depend heavily on what difficulty you’re playing at. In the room will be a small screen to the right of the vault door that you want to access. This will display a color when interacted with, which you’ll want to use to flip the correctly colored switch on a nearby switchbox. After the first one is done, the color will randomly change and you’ll need to check the screen again. This repeats three more times, with the other three switchboxes in the same room on lower difficulties.
If you’re on a higher difficulty, then only the first switchbox is located in the vault room. The other three are found somewhere on the second floor of the bank. Typically these are only in the hallways, so you don’t need to scour every room to find the switchboxes. If it helps, there are two side paths on the second floor of the vault room that leads to the rest of the second floor, as alternate routes.
Once you’ve dealt with all of the switchboxes, you have one more thing to do before accessing the vault. You’ll need a blue keycard for one, which can either be on the Bank Manager himself (found patrolling the second floor) or in a side room. Grab it, then head to the Manager’s Office. This office is located on the opposite side of the second floor from the vault room. You’ll need that blue keycard to access it.
This next step needs to be done quickly so listen carefully. In the Manager’s Office is a computer, which you’ll need to access to kick things off. After this, you have a fairly forgiving but limited time to make it back to the vault room. In that vault room is a blue keycard reader to the left of the vault, which you need to use your keycard on. Once that’s done in time, you’re free to open the vault.
Securing the Server and Your Riches


Now that you’re in the vault, it’s time to get out with Ms. Sharke’s server and your riches. The server will be located in one of the three side rooms of the vault, within the small cabinets. If you’re on a higher difficulty, be mindful of the camera in the vault. Take the server, then head back to the first floor and down to the garage. Guards will act normally here, and for some reason aren’t suspicious about the server-shaped duffel bag on your back. The door down to the garage is also found on the sidepath to the left after leaving the gate.
Once you’re down in the Garage, make your way to the escape van. Be mindful of one or two guards patrolling the garage and back hallway. They won’t get mad unless you’re masked, but they can still prove painful. The cameras can also be tough since Starbreeze seemed to want to stuff the garage with them. Secure the server, then grab whatever cash you need. Keep in mind that the size of the money piles won’t affect your movement, but will change how much cash you get for each bag. When you have everything, make your getaway. Congratulations on completing Gold and Sharke in stealth!
If you’re looking for help with previous heists, check out our Payday 3 Under the Surphaze stealth guide.