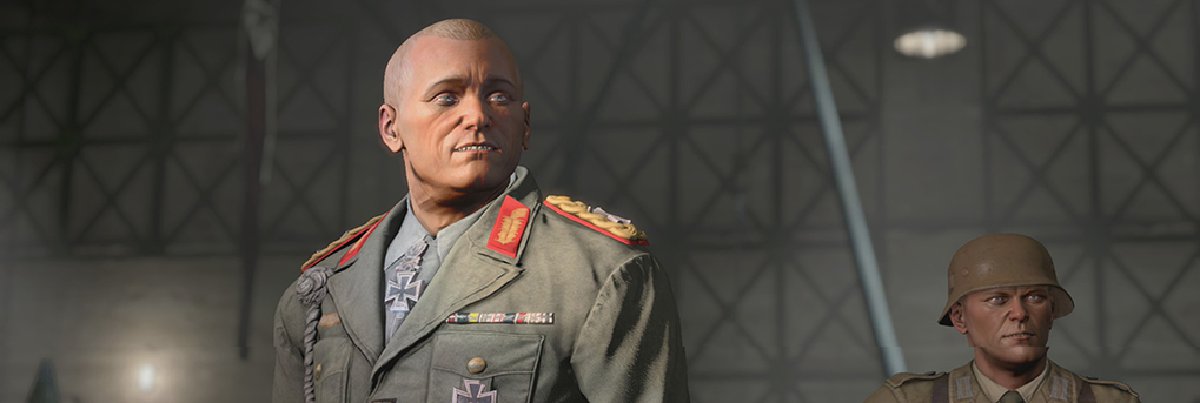
Sniper Elite 3 Free Guide and Walkthrough
When the final mission of the campaign begins, you’ll see an enemy soldier directly in front of you. Don’t worry, he can’t see you and won’t turn around. Just sneak up close to him and put a round from your Welrod in his head. With any luck he’ll fall off the mountain. That’s a rough way to go.
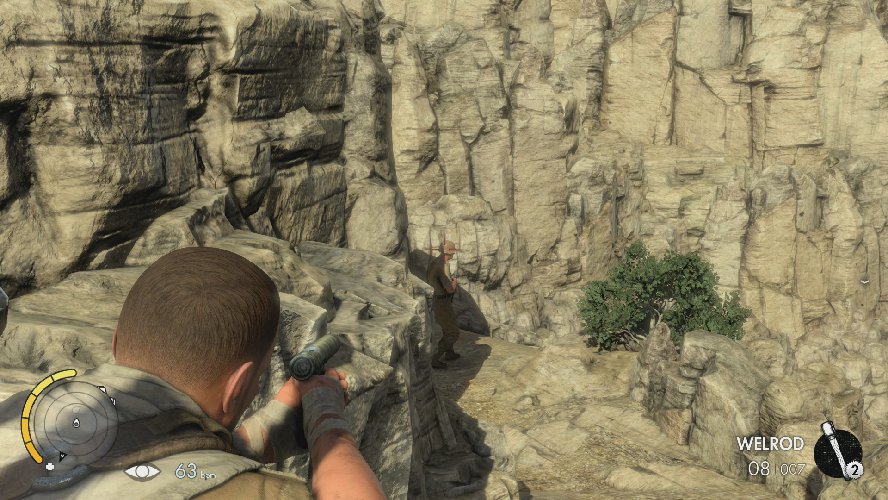
Continue along the only path that you can, but be careful of a guard who will patrol a bit further ahead. When his back is to you, sneak up and use a stealth takedown to eliminate him. You might as well save those Welrod rounds for later.
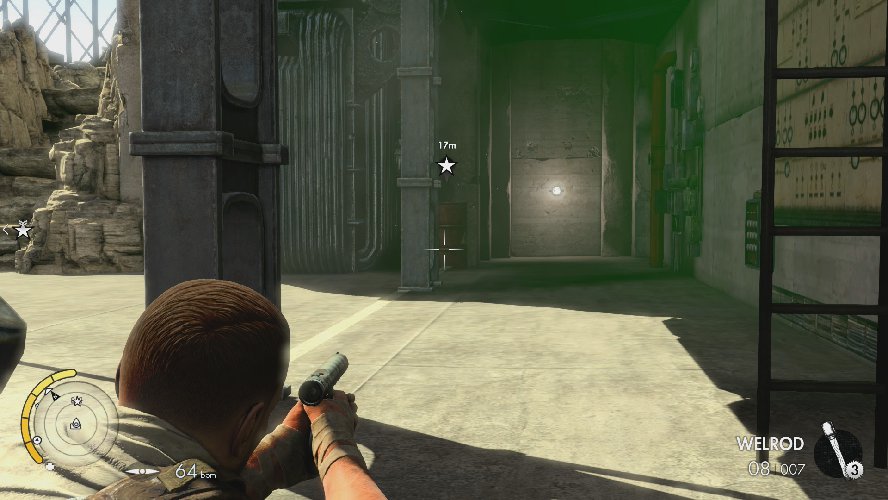
The path should be clear now, but just to be safe continue to sneak along until you complete your first primary objective, access the canyon walkways. It will also give your next task, asking you to destroy the power transformers on each level.
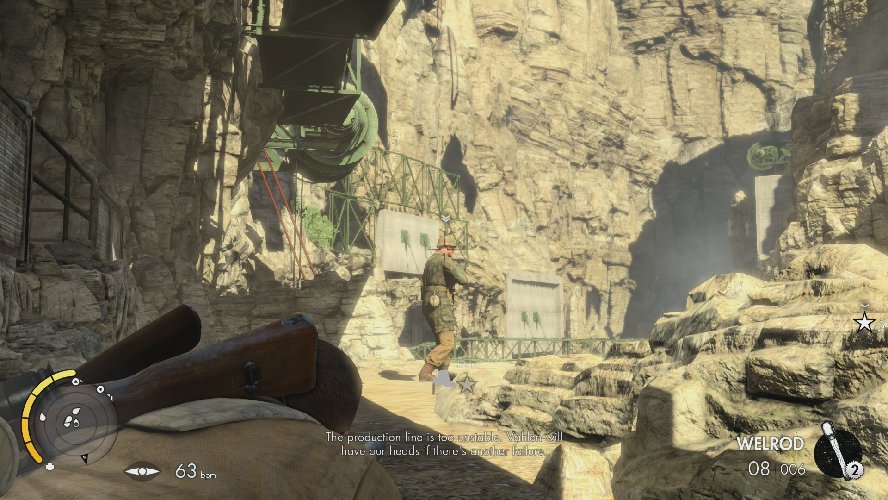
To the south will be a lone soldier standing on the side of the cliff. In the room behind him, two more bad guys looking over some undoubtedly evil plans. Sneak forward and use a stealth takedown to kill the lone soldier, then backtrack to where you completed your first primary objective and cross to the west side of the canyon.

Once you get to the opposite side of the canyon, take out the two guards in this area, then go to the second floor. Head to the southwest corner where you can collect German advanced weapon plans. This is part one of four to complete the only optional objective in the mission.
Head back to where you came from, crossing to the east side of the canyon. Go into the room with the two guards from before and hide behind one of the desks. This part is tricky. You can’t use stealth takedowns to take out the two soldiers, but you could throw a rock to distract one, shooting each of them with your Welrod when they aren’t looking at one another. Go with that option, but be careful of more enemy activity in the next room. Make too much noise and you’ll be fighting off about half a dozen angry foes.
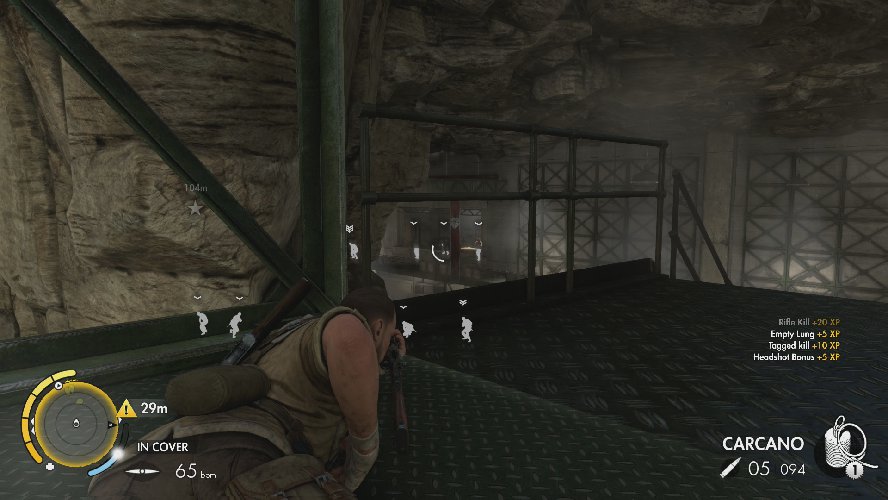
As soon as you get to the top of the stairs to enter the next area there will be a lone soldier on the catwalk. Take him out with a Welrod round when his friend putters off on patrol. Sneak onto the catwalk yourself and kill his buddy when he returns from his walk. Sneak down the stairs and take out the enemy who is looking over some paperwork on the table. There are several more soldiers in this area of the map, but not much in terms of objectives. Keep moving south, clearing out the bad guys as you go. While you don’t have to, we killed everyone to make sure nobody snuck up behind us later on.
Continue heading to the south, through the warehouse until you go down some stairs, then a ladder just a bit further on. Once you’re at the bottom of the ladder, shoot the explosive barrel to destroy the power transformers on each level. That is part one of two out of the way.
Quickly take cover and look across the walkway to the northwest side of the canyon. The noise may have attracted some unwanted attention, so keep an eye out and see if anyone shows up. Should they wander over to your position, put a Welrod round in their eye to deter this behavior going forward.
Head back up the ladder, then up the stairs until you reach a walkway on your left. Check for guards, marking any that you see before sneaking across the walkway. Use the boxes for cover, killing any guards that you find along the way.
With the walkway clear, head to the northwest end of it and lay down either a Trip Mine or S-Mine at the top of the stairs. Things are about to get messy, and if anyone thinks about running up on you, the trap will slow them up while you make your retreat.
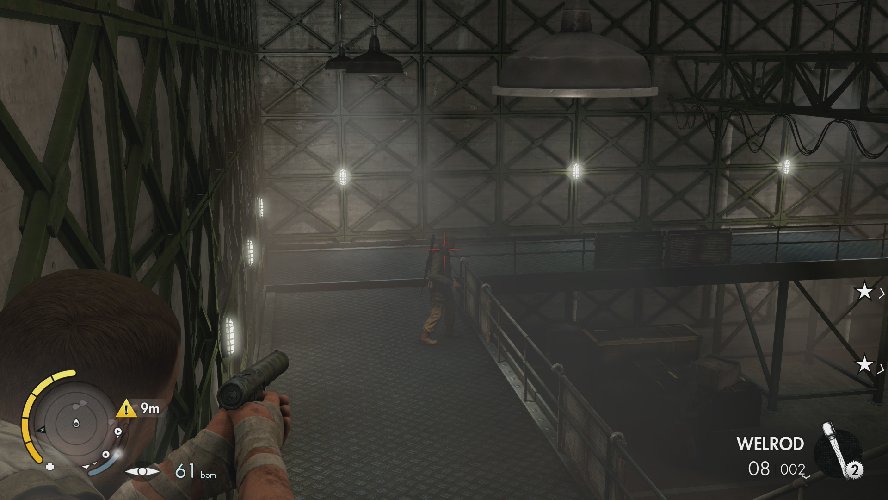
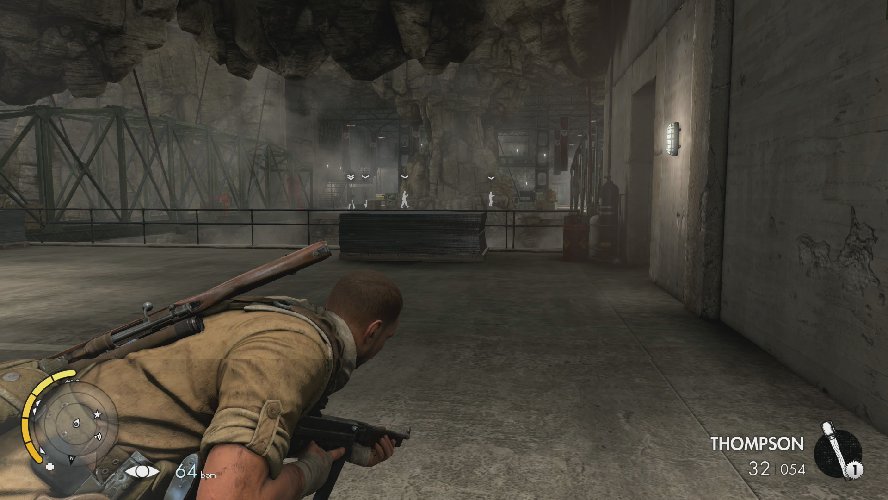
The good news is there’s a loud sound in this area and it will occasionally mask your rifle shots. If you lay on the northwest end of the walkway and look into the warehouse, you’ll see a boat load of angry German soldiers. Be patient, waiting for your shots to be masked and start clearing out the soldiers below. If anyone hears you, just go nuts and shoot everyone as quickly as possible. Again, if things go badly you can retreat and let the booby-trap protect you.
When that warehouse is clear, head inside and check the dozen or so dead bodies for loot. You should find lots of valuable things to help you throughout the rest of the mission. When you are all done looting the dead, head up the stairs to the back room that had fix or six soldiers hanging out. You can collect German advanced weapon plans from the desk in the northwest corner. This will complete the second of this four part optional objective.
When you exit the room your next primary objective should be about 50 meters to the southwest. That is your next destination, but you need to keep a keen eye out for any enemy patrols. If there are any soldiers that stand in your way, take them out and proceed to the marker on your screen. With your objective in sight, shoot it to destroy the power transformers on each level, giving you a new primary objective to destroy the Ratte ammo cache.
Look to the south, across the walkway where you’ll see a room full of soldiers. In fact, after that raucous there could be one or two headed your way. If that’s the case, take them down quietly, then traverse the walkway to reach the south side of the canyon.
Even after the room is clear you might see a patrol enter the area. They will walk straight through this room and into the area where you just destroyed the power transformers. You can take them out or let them pass, but make sure to visit the room in the southwest corner to collect German advanced weapon plans. That’s three of four.
Head up stairs to the on-screen marker and place a satchel charge to destroy the Ratte ammo cache. This will give you a new objective to access the cargo elevator to get to the canyon base. If you look out the window to the room you were just in, you should see a patrol of soldiers stepping off the elevator. Wait for them to scatter, then either sneak past them or kill them. When the coast is clear, step onto the elevator to complete your objective.

Welcome to the biggest mess of machines, catwalks and enemy soldiers in the entire game. Your new objective is to set charges on the support pillars around the Ratte. Starting off in the southeast corner of the room, head to the east, sneaking your way toward your first of four objective markers. It should only be about 40 meters away, but there are guards nearby. Drop any that get in your way using your Welrod and plant the charge.
Continue heading to the east, staying on the ground floor and sneaking past any patrols that are in the area. If you have to take any guards down, make sure to wait for them to be isolated, or at the very least try and hide the body. When you get to the second marker in the southwest side of the warehouse, set the charge to complete the second of four objectives.

From the southwest side of the warehouse, head to the north, hugging the wall and entering the second door on your left. There might be a soldier inside, but when he’s down collect German advanced weapon plans from the desk to complete the only optional objective of the mission.
Exit the room and go directly up the stairs in front of you. There could be a truck load of guards scattered around the catwalks, so be careful and avoid prying eyes. If you must take someone out, try to do so when nobody is around to care. at the top of the catwalk, turn left and plant the third charge.
You only have one objective remaining, and trying to describe how to get there would be nearly impossible with all the small turns involved. Continue north, turning right when you reach the end of the catwalk. Go up the nearby stairs, still avoiding or killing any guards you see, slowly making your way to the final marker. When you get there, set charges on the support pillars around the Ratte andcomplete this primary objective. Of course, as we’ve discussed in previous missions, it’s never the end with Sniper Elite 3. There’s still more work for Karl Fairburne to do.
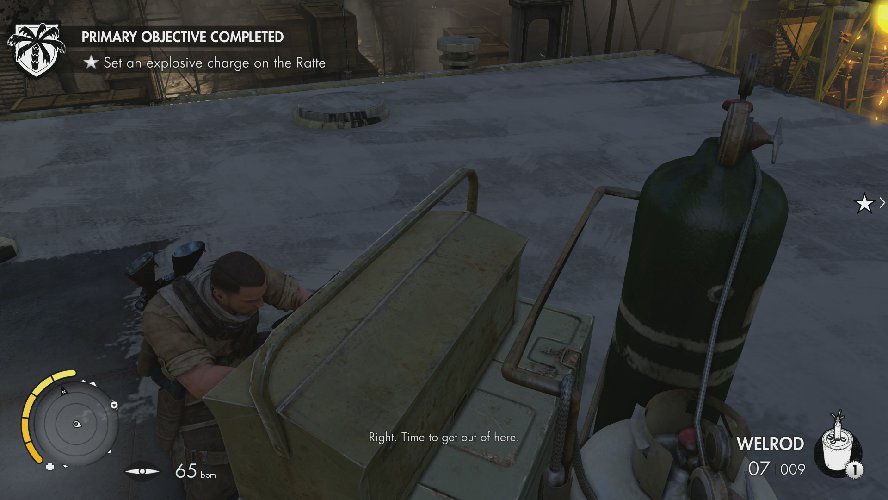
It’s time to set and explosive charge on the Ratte. Head south along the catwalk and go down the stairs to the landing. From here you should be able to climb up onto the Ratte, moving around it until you can climb up to the very top level. Place the charge, then climb back down. This will complete your objective, then update it asking you to escape from the hanger.
The easiest way to do this is by sticking to the catwalks and heading back to the southeast corner, close to where you got off the elevator. When you get to ground level, move toward the on-screen marker and go through the gate. If you run into three soldiers, just gun them down and keep going. There’s no need to be sneaky at this point.
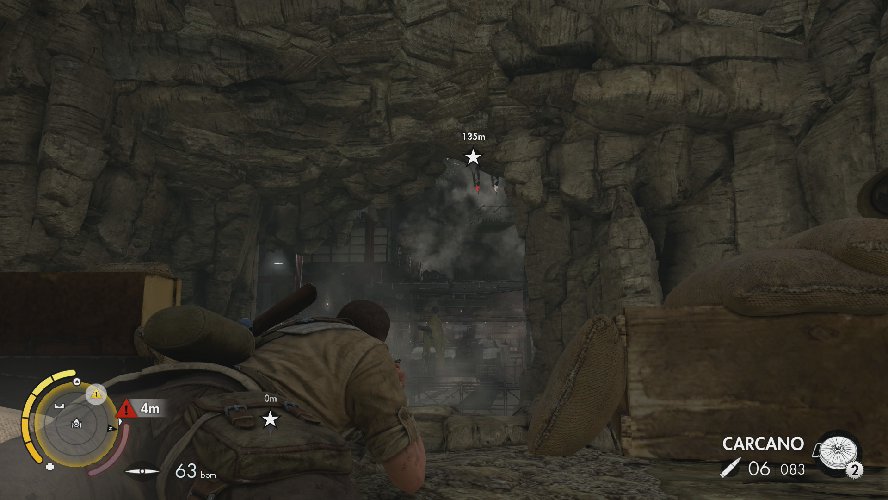
Your final objective of the game is to take the shot and detonate the charge. To do this, head to the marker on your screen, killing any additional soldiers along the way. Once you reach the sniper nest, enter it and take aim at the target. Once you have the shot, take it to complete your objective, as well as the single-player campaign for Sniper Elite 3.
Sniper Elite 3 Free Guide and Walkthrough


