
Jabul Ruins is the second or third dungeon in The Legend of Zelda: Echoes of Wisdom depending on whether players choose the desert or the sea. This one concerns the latter, so here is the complete Jabul Ruins walkthrough for Zelda: Echoes of Wisdom.
Zelda Echoes of Wisdom Jabul Ruins Dungeon Walkthrough
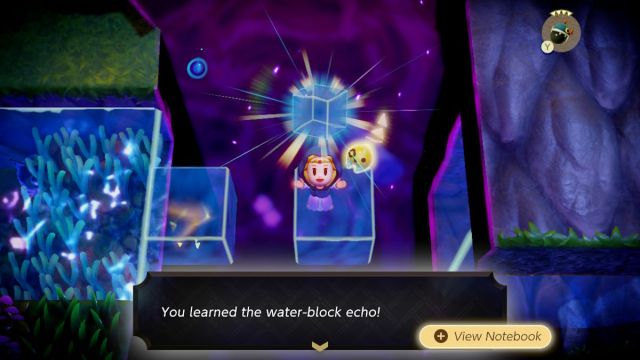
Entering the Jabul Ruins rift will still place you in the Still World, where you must navigate through blocks of water and platforming. The Crawltila and Platboom Echoes will be very helpful to get around. Be sure to learn the Water Block Echo, as it is necessary to create water bridges. Keep going up, while the off-beaten paths will provide a fairy, 10 Riverhorses, and 50 Rupees.
Hit the checkpoint in the dungeon, and a cutscene will show you falling through the floor. Navigate the 2D water level by binding the large boulders out of the way and hitting air bubbles to keep your oxygen up. A giant creature will swim by and create a giant underwater tornado that you have to swim away from. It is short, but continue to avoid enemies and bind objects out of your way.
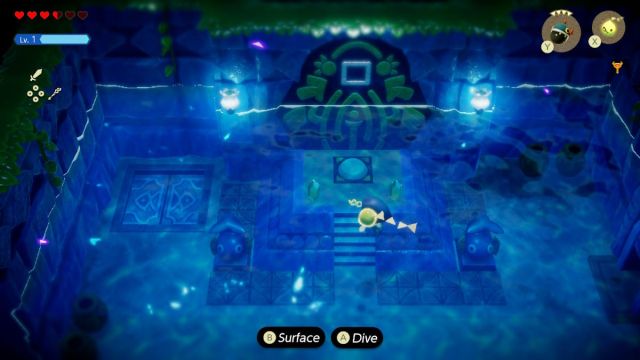
Navigate the next room to make it back to other side of the entrance chasm. Hit the checkpoint and go forward to the main room, where you will need to find five different colored buttons to make the water rise to the boss room. The purple button is already in the room.
Take the left ladder down for another 2D water level and use the Tangler Lv. 2 Echo to light up your way, while there is also a chest with 100 Rupees in there. The next room will have four torches to light up, with one underwater. Bind the underwater one, bring it to the surface, and then light up all four with either Brazier or Ignizol Echoes to open the next room with the blue button.
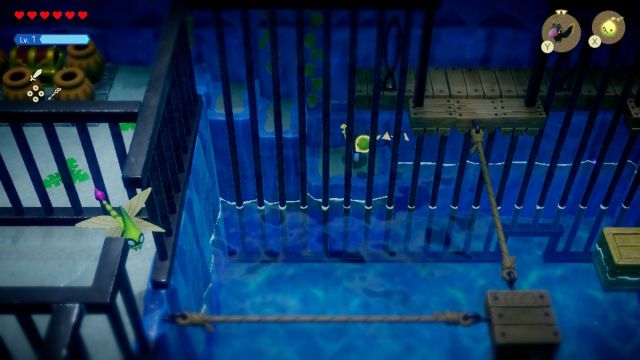
Jump in the hole to get back to the purple room, then take the right ladder for more platforming over the water towards a chest with the Dungeon Map. Avoid the Bombfish to get to the ladder. Dive under the barrier in the next room and take out all Chompfins, Octoroks, and flying enemies. Bind the box under the north wall to get a chest with 50 Rupees, then climb up to get to the tightrope and get across the water to the west door.
Defeat all the sand crabs in the next room to continue on to a room containing the red button. Drop down the hole to get back to the main room, then use the water geyser to get to the upper floor containing two paths.
Take the left path to come across a cascading river that flows into a waterfall. Jump across the planks traveling downstream, then jump on the left platform to do the same upstream. You can also use the Flying Tile Echo if you have completed the Gerudo Sanctum dungeon first.
The next room contains five towers to hit to unlock the door. The currents are strong, but Zelda can continually jump across the water, even against it. There are some sparse platforms to use and potentially create Water Block Echo bridges, but the blocks themselves cannot be on the water.
Stack Water Blocks on top of one another to reach the correct height for some of the switch towers, and send either a Flying Tile or Tornado Echo to hit the switch from afar. The underwater switch can be activated by diving down into the water, going into Swordfighter Form, and hitting it with a sword. Just be careful of the spiky enemies when diving straight down.
Destroy all enemies in the next room to continue on to the yellow button. Jump in the hole and take the upper right path in the main room for another 2D water level, and use Bombfish Echoes to clear away blocking planks. The room contains treasure chests with one Golden Egg and the Big Key all the way at the bottom.
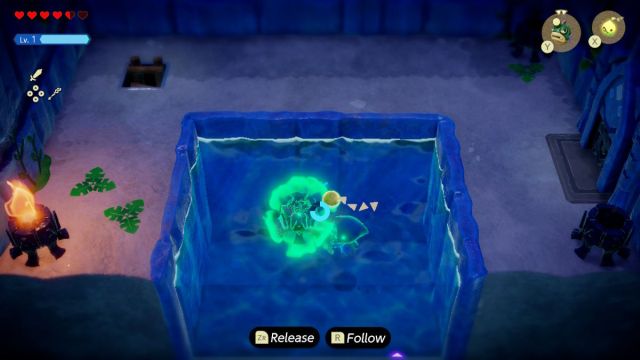
Take the right path to the next room, where you have to defeat several underwater enemies. Use the Bombfish Echo to make short work of all the swimming enemies and hit the green button in the next room. This final button will be underwater and cannot be stepped on, so use a Boulder Echo to weigh down the button. Swim into the hole, Bombfish the plank, and bind the giant rock out of the way to get back to the main room.
Take the geyser all the way up and use the Big Key on the boss door, where players will fight Vocavor, a giant swimming fish, with most of the fight taking place underwater. Defeating Vocavor will reward players with a full Heart Container to increase their health with.


Published: Sep 28, 2024 08:17 pm