
The Witch and the Hundred Knight: 50 Tips to Help you Play Better
Before jumping into the game, study all of these tips and it will significantly improve your effectiveness and enjoyment of the game
At its core The Witch and the Hundred Knight is a fun hack and slash RPG full of monsters, loot, and a cast of crazy and sometimes cruel characters. Essentially it is an action RPG but it can be played on many levels. There are several interwoven game systems that provide a level of depth rarely seen in combat centric RPGs. Yet, players can ignore (to some extent) the myriad of complexities and just enjoy it for the story and intense action. However, true fans will want to master all of the intricacies to get the most out of the game. The game’s manual covers many of the basic concepts so players can jump in and enjoy combat, but it skips many of the subtle or more advanced aspects of the game’s system. The logical reason for the omission seems to be intentionally crafted to not overwhelm players from the start and let them learn about more complex aspects of the game as they play through it. The game uses a clever and subtle method to slowly release critical information by utilizing loading time to providing valuable tips on screen. This is probably the best use of loading time because the tips are very informative and appear randomly from a pool of 50. Before jumping into the game, study all of these tips and it will significantly improve your effectiveness and maybe even your boost your enjoyment of the game.
Tip 01
As long as you have GigaCals, your HP will regenerate over time. If you are in a rush, hold down the L3 button to engage Self Recovery to quicken your healing rate. Self Recovery will burn GigaCals much faster than usual, so using a recovery item from your inventory by pressing the L2 button may be a better alternative at times.
Tip 02
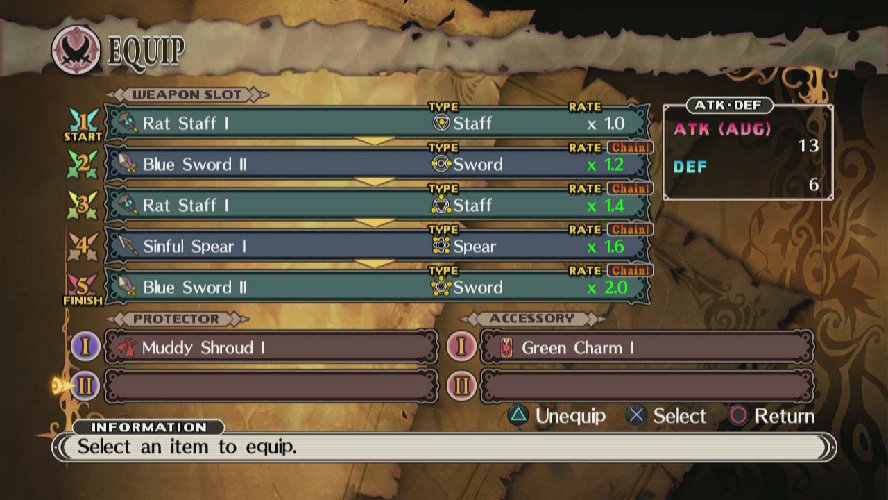
All weapons have a Magic Die emblem. If you equip weapons in order (weapon type does not matter), you will create a Chain that increases your attack rate.
Tip 03
If you run out of GigaCals, the Hundred Knight will be weakened, reducing both attack and defense powers by 30%. This condition will persist until your GigaCals are replenished. Using Stamina or Exorcism during this time will affect your HP.
Tip 04
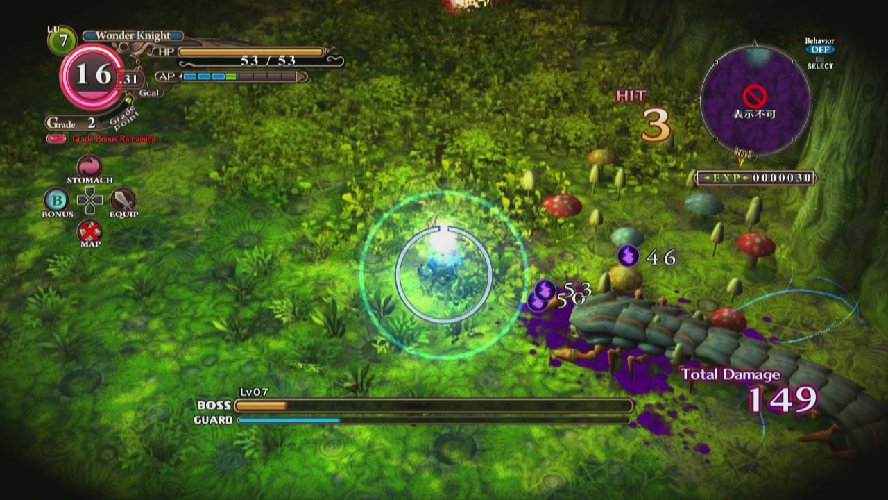
The fluctuating bar under a boss’s HP bar, GUARD, indicates the boss’s level of defense. When this bar is mostly empty, it is a great chance to inflict heavy damage. However, the GUARD bar emptying is also a warning that the boss is about to use a strong attack, so be careful.
Tip 05
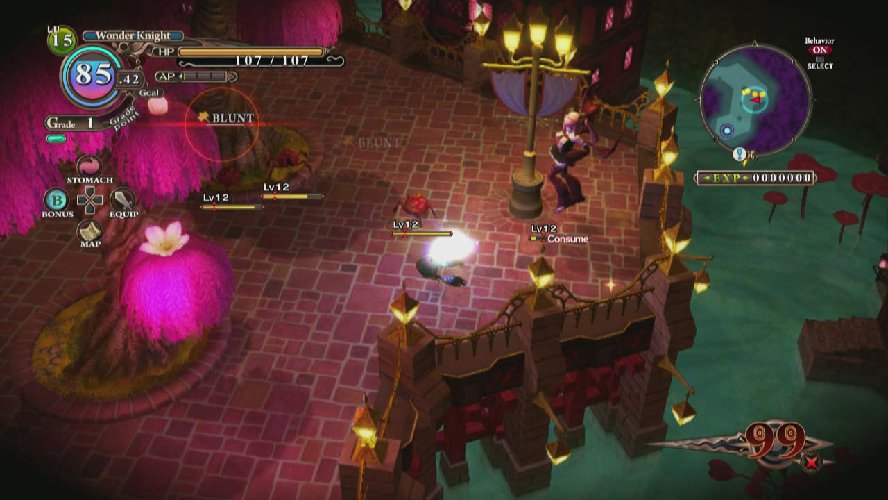
Aside from items and physical revelations, GigaCals can be replenished by consuming enemies. By lowering a consumable enemy’s life to 20% or lower, the Consume prompt will appear on their health bar. Lock on with the R1 button and then press the ∆ button to consume your enemy. However, this cannot be done when your stomach stock is full.
Tip 06
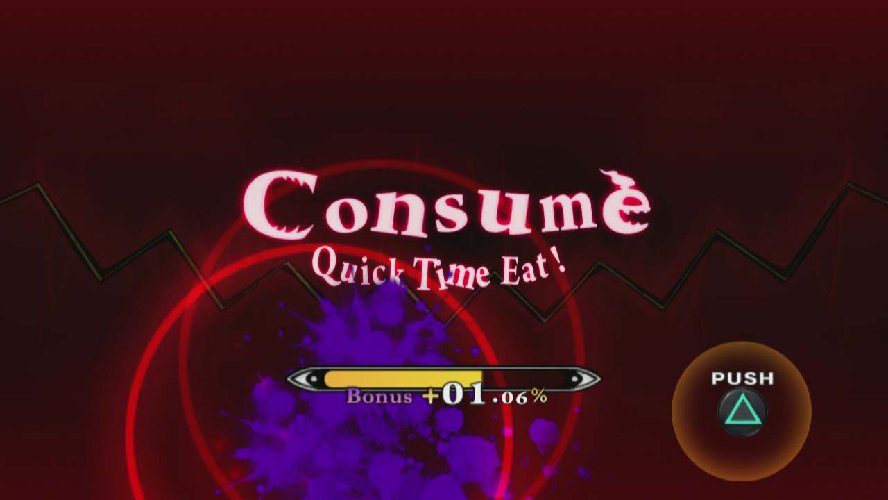
While consuming an enemy, repeatedly tap the ∆ button to get a bonus. Your GigaCals can be restored by a maximum of 20% through this bonus. The number of mashes necessary to get such a bonus varies by enemy.
Tip 07
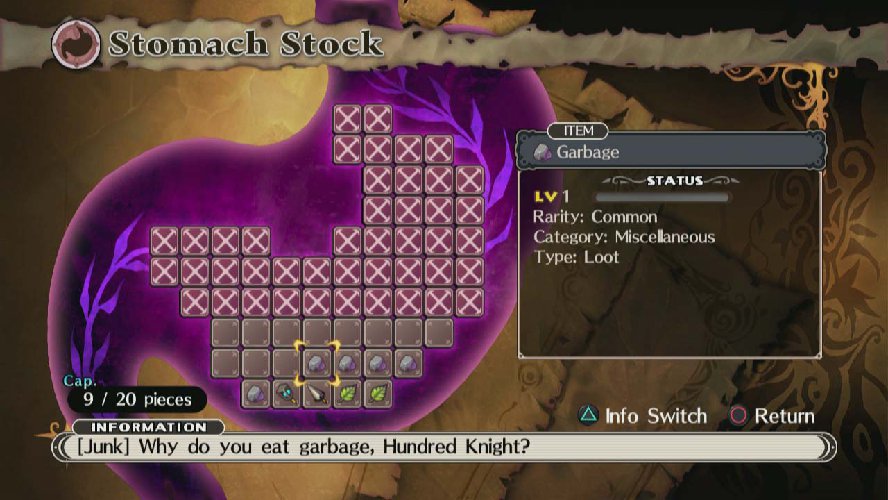
When consuming enemies, garbage will begin to fill your stomach. Garbage is useless. Bowel Dump can be used to remove junk from your stomach stock. Similarly, Common Upchuck can be used to remove common items.
Tip 08
The sword is among the most orthodox of weapons. Its attack rate, range, and speed are all balanced. Typically, swords have the slash property, but some have blunt or even magical properties, among other characteristics.
Tip 09
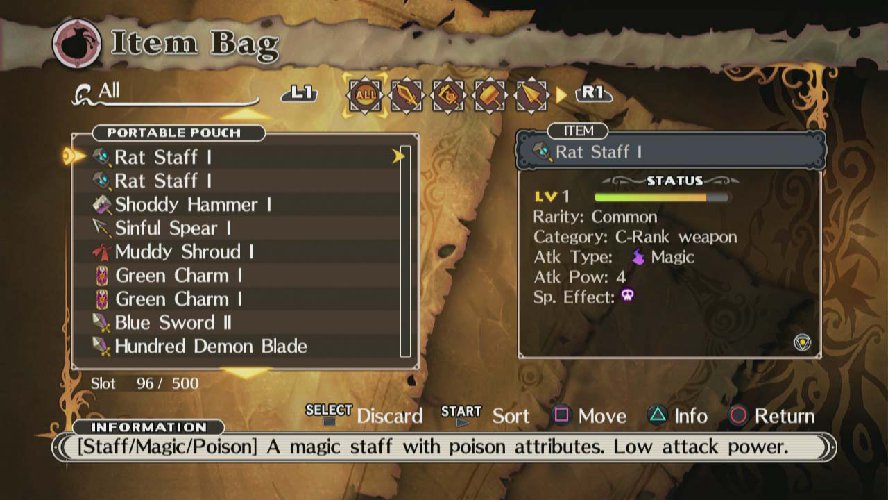
The staff is the only magic-based weapon, and its attacks have magical properties. Staves can be split into three types. One alters enemy conditions, another performs close-range magic attacks, and the third type performs a three-pronged ranged magic attack. Since these attacks are slow, they are more challenging to chain properly.
Tip 10
The hammer is the heaviest of weapons, giving it the highest attack power, but a narrow range and slow attack rate. It is a blunt weapon that typically has a high critical hit rate and a high chance to demoralize the enemy. A few hammers have slash properties and are shaped more like axes.
Tip 11
The lance is a heavy weapon, known for its high attack potential. It is a good weapon to rush the enemy with, but its range is narrow, making it hard to hit enemies with. Best used when locked on to an enemy. Most have slash properties, but a few do have blunt properties.
Tip 12
The spear has the widest attack range of all weapons. While its attack power is meager, it can deal multiple hits and attack from afar, making it rather desirable. Chaining several attacks in a row will change its attack range. Most have slash properties, but some have a magic side to them, as well.
Tip 13
The Hundred Knight can don two types of armor. Protect items directly reduce damage received, while Resist items increase resistance against status effects or different attack properties. Two of each item type may be equipped.
Tip 14
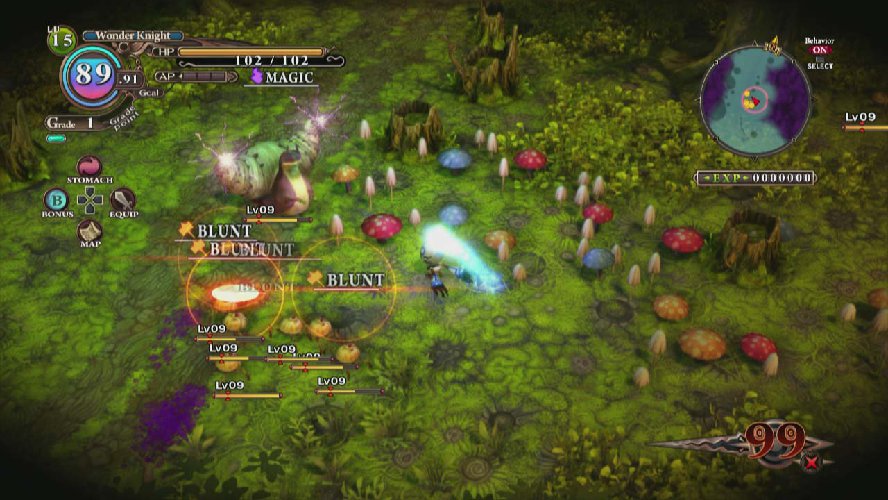
There are three attack properties: slash, blunt, and magic. All weapons will fall under one of these types. Depending on the weapon’s property, you may see EFFECTIVE or INEFFECTIVE when attacking an enemy.
Tip 15
Equippable items have rarities. Items may be common, rare, epic, or legendary. An item’s rarity will determine if it has a nickname and what its level limit will be. The max item level for common items is 10, rare is 30, epic is 50, and legendary is 99.
Tip 16
Epic and legendary items have nicknames. A nicknamed weapon will often have higher attack power compared to an average weapon, but how much higher it is will vary.
Tip 17
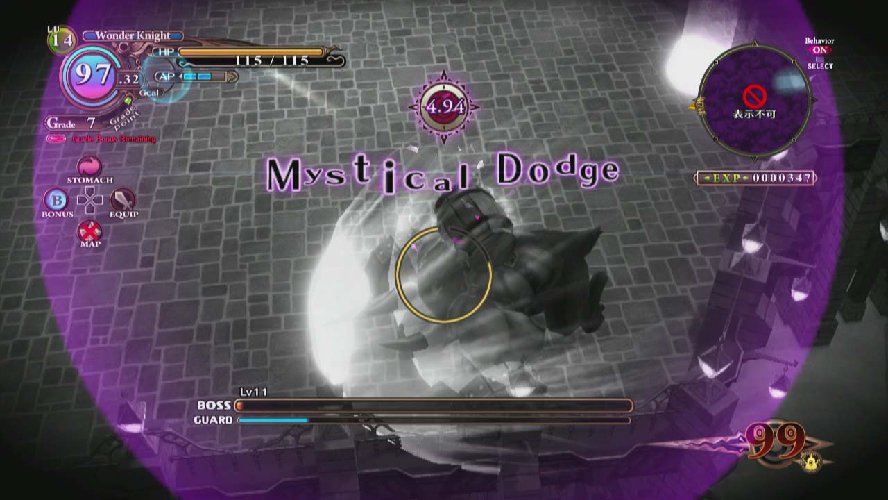
If you dodge an enemy attack at just the right time, the mystical dodge may activate. This will require 1 AP. Also, by changing facets to the Trick Screamer, the timing window to activate mystical dodge will widen.
Tip 18
You can unleash a strong AP attack by pressing the ∆ button at the cost of AP (action points). AP attacks have greater power, but use up the AP collected through your normal attacks. 1 AP is stored for every 10 hits landed on an enemy. The max number of AP you are able to store can be increased through physical revelations at a Pillar.
Tip 19
Chaos revelation can be used by pressing the L1 and ∆ buttons. Your attack power, defense, and AP will greatly increase, but once used, the chaos revelation cannot be reversed until your GigaCals have been depleted. Be aware that GigaCals deplete at a faster rate during chaos revelation.
Tip 20

By approaching a Pillar and pressing the o button, a menu opens where you may select physical revelations. Through physical revelations, you can temporarily boost your Tochka, bonus points, or recover GigaCals. These boosts will only be in effect during your current outing.
Tip 21
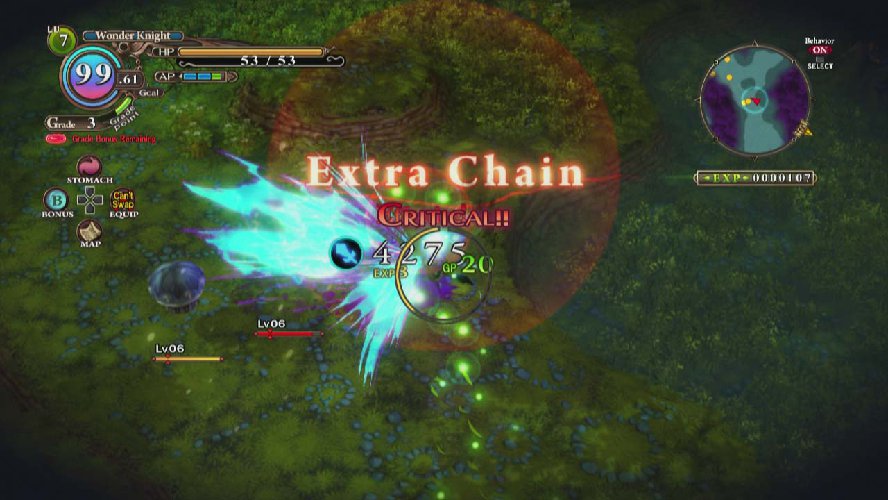
By attacking enemies on the field, you may be able to extract grade points. Chain attacks increase the grade point bonus. Acquiring these points allow you to increase your grade rank and get grade bonuses. You can use your grade bonus points at a Pillar via physical revelations.
Tip 22
As you use a weapon, you gain EXP for that weapon. After a certain amount, it will level up, and your attack power with that weapon will increase. How much the weapon can improve depends on its rarity. You can also automatically level up a weapon via Metallia’s Bucket List, but this requires fool’s rock, anima, and mana.
Tip 23
Enemies may sometimes drop souls known as anima when defeated. Anima can be used via Metallia’s Bucket List. A certain Facet can actually increase anima’s drop rate!
Tip 24
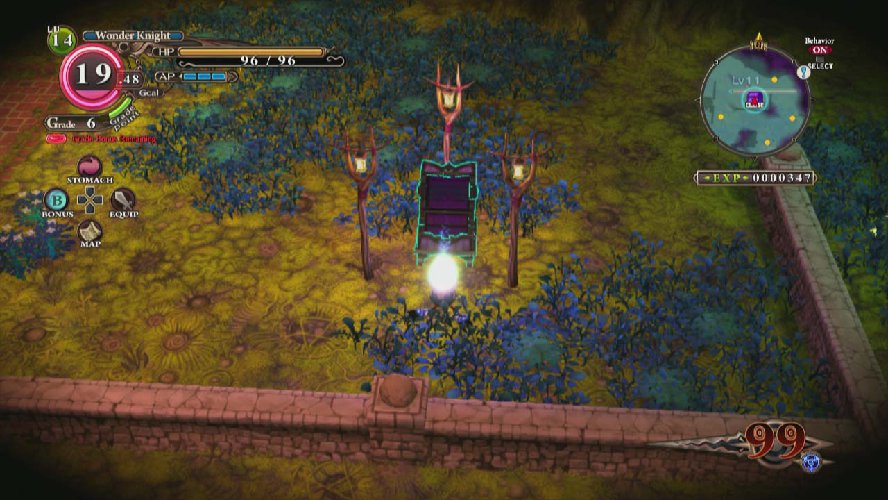
The mystery chests that appear on the fields come in wooden and silver varieties. Wooden chests offer consumable items, whereas silver chests contain weapons, armor, and accessories. There are also black chests containing a variety of goods, but these can only be opened once.
Tip 25
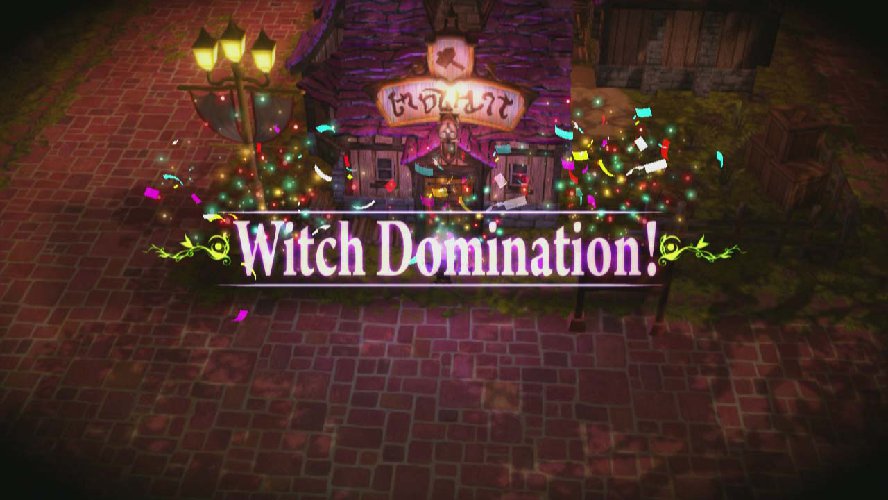
Attacking friendly townsfolk or using Witch Domination on houses raises your karma level. When you have a high karma level, prices at stores may rise, or friendly townsfolk may start attacking you on sight. Karma can be lowered via Metallia’s Bucket List.
Tip 26
When guarding, dashing, or attacking, the stamina gauge encircles the Hundred Knight. Stamina is required for every action and will recover on its own quickly, but know that it takes GigaCals to do so.
Tip 27
When the Hundred Knight moves, the torch atop his head will repel darkness and help to automap the area. But repelling darkness burns GigaCals, so take note. Automapped areas can be checked later via the map screen.
Tip 28

Metallia’s Bucket List can be accessed from her home. To fulfill her wishes, you will need a certain amount of anima, but reviving townsfolk, improving weapons, decreasing karma, and other such methods can be used. To improve weapons, you need a fool’s rock and mana.
Tip 29
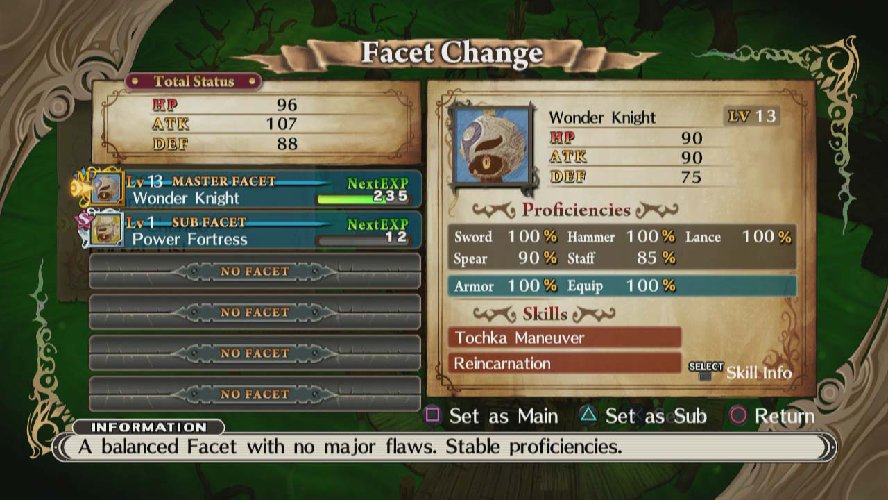
There are main and sub Facets. Facets can be set up however you like, and the Hundred Knight changes its appearance based on the current main Facet. By pressing the L1 and ○ buttons, you can rotate through your Facets. Facets can only be organized at Metallia’s home.
Tip 30
The Hundred Knight’s skills consist of the Main Facet skill and one of the three Sub Facet’s skills. The Facet skill will be at 100% strength regardless of the current main and subs, but weapon and armor proficiencies will be based on the Main Facet.
Tip 31
When an enemy is defeated, you gain EXP based on the enemy’s strength. Once you accumulate enough EXP, you will level up and be able to strengthen your Facet’s skills. The Main Facet will gain full experience, while Sub Facets gain 33% of the experience. However, EXP is only distributed once you exit a map.
Tip 32
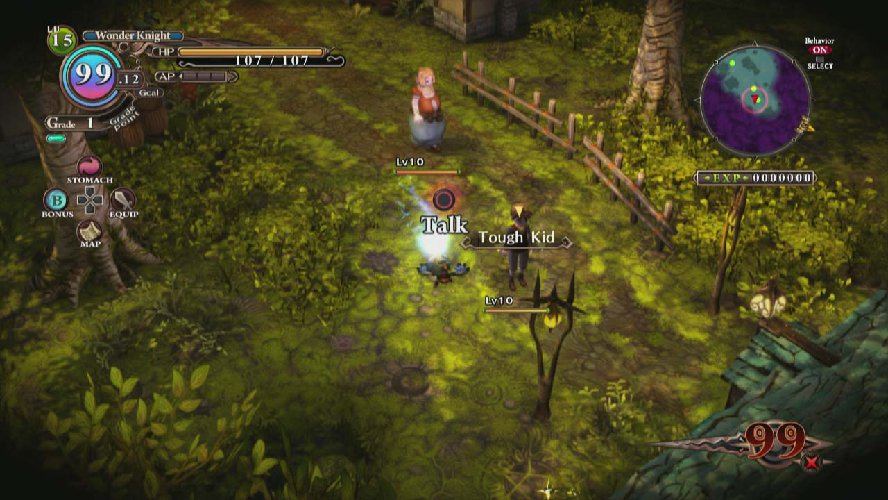
All characters have a behavior panel that shows their current status. This panel can be observed by locking on to someone with the R1 button.
Red indicates hostility,
green indicates friendly,
and blue indicates fear.
The colors shift as foes are hit.
Tip 33
The behavior panel’s edges indicate Rage, Fear, and Love. Once the pointer reaches one of these edges, it will remain there. Anger doubles attack power and prevents staggering. Fear leads to death. No EXP will be obtained. Love will cause damage via slaves of love. It will leave you something when it expires.
Tip 34
Special attacks will blow away the Hundred Knight, but when you see an x button icon, this means you can recover from the attack with the right timing. After recovery, press the L1 button to swiftly guard and minimize damage from the enemy’s attack. Pressing the □ button at the peak of your recovery will perform a recovery attack, which is equivalent in power to the short dash attack.
Tip 35
Houses in towns can be raided by pressing the ∆ button near the front door. If you successfully take the house over, you will receive their family treasure. A subsequent visit will net you gifts or HP recovery. Houses have different levels, and the raid command is based on the Hundred Knight’s skill level. Raiding will raise your karma level.
Tip 36
Press and hold the х button to dash, or tap it to perform a quick dodge. If you use the dodge maneuver while locked on, you can change directions with the left stick. Both abilities use stamina. If you press the □ button and attack during the quick dodge, you will use the dash attack, which is double your normal attack power.
Tip 37
By pressing the L1 button to guard, you can greatly decrease damage received. Note that guarding decreases stamina. The Power Fortress Facet will improve your ability to guard.
Tip 38
Items dropped by enemies and items in mysterious chests will be added to your stomach stock. These items cannot be used until brought back to base. If you are “”downed”” or “”give up”” before going back to base, you may lose these items.
Tip 39
You may sometimes encounter a notorious monster with a nickname. Such foes will have this icon by their health bar. Notorious monsters have unique abilities to overcome, but provide extra EXP when defeated and may drop a rare item.
Tip 40
If you are lost, follow the [!] icon on the minimap found on the top right of your screen. Sometimes there are key items such as a house’s family treasure that need collecting to progress the game.
Tip 41
Witch soldiers are unlike other characters. They will always be enemies with the Hundred Knight and their behavior panel will never change. They do not drop anima, mana, or items, but do give more EXP than enemies of the same level. There are different types of witch soldiers, too.
Tip 42
Sometimes, two different species will end up fighting each other. Guide them properly and it is possible to make your foes kill one another. But note that witch soldiers have a strong hatred for the Hundred Knight, so they will never be tricked.
Tip 43
Townsfolk are generally friendly, but they will fight back when attacked. They are immune to all of your attacks, so you cannot harm them. Note that attacking townsfolk will, however, raise your karma points.
Tip 44
Press the R2 button to open the Tochka menu, and use the х button to prepare a skill. To use the selected Tochka, press the L1 and □ buttons. The Tochka will remain active until the stamina gauge is depleted, but the gauge will be affected by both time and the enemy’s attacks. Once used, you must wait a while before activating another Tochka.
Tip 45
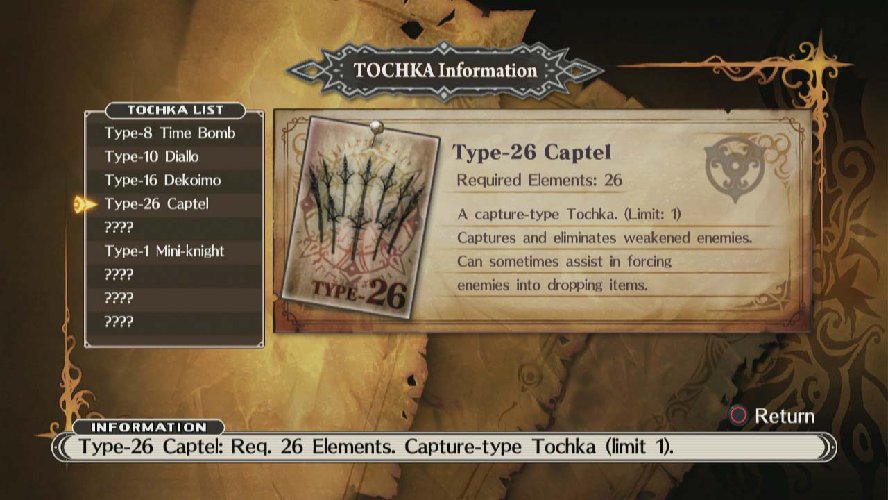
There are 8 different types of Tochka skills that can be acquired through game progression or in a black box. The strength of each Tochka is related to the Hundred Knight’s weaponry and base strength, but they can be powered up further through physical revelations.
Tip 46
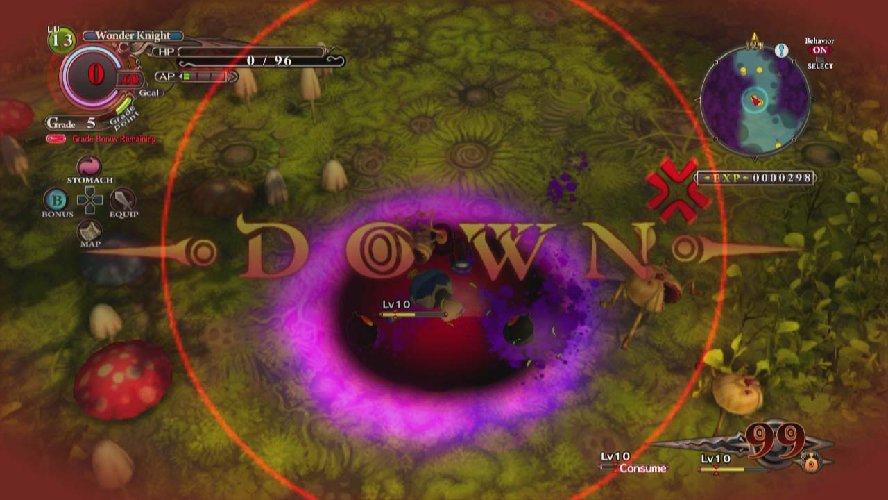
You lose 10% of the items in your stomach stock at random when you are downed and respawn. If you are downed when your GigaCals are depleted, you are forced to give up and will lose all items as well as 50% of any EXP gained in that field.
Tip 47
By using the R1 button’s lock on function, you can orbit your target. This allows you to fight without losing sight of your enemy. Also, while locked on, you can use the right stick to change targets on the fly.
Tip 48
There are four shortcuts assigned to the directional buttons.
UP: Check your stomach stock. “”FULL”” indicates when you have no more room. You cannot consume foes while FULL.
DOWN: Access the map screen.
RIGHT: Opens the equipment screen. You cannot change weapons while fighting or when [icon] is visible.
LEFT: Opens the bonus screen. 100 bonus points increases the bonus rank by 1.
Tip 49
By pressing the R1 button while in the menu screen, you can learn the controls for each action you can take. Also, by pressing both the SELECT and START buttons, you can return to the title screen. These actions are available anytime the menu can be opened.
Tip 50
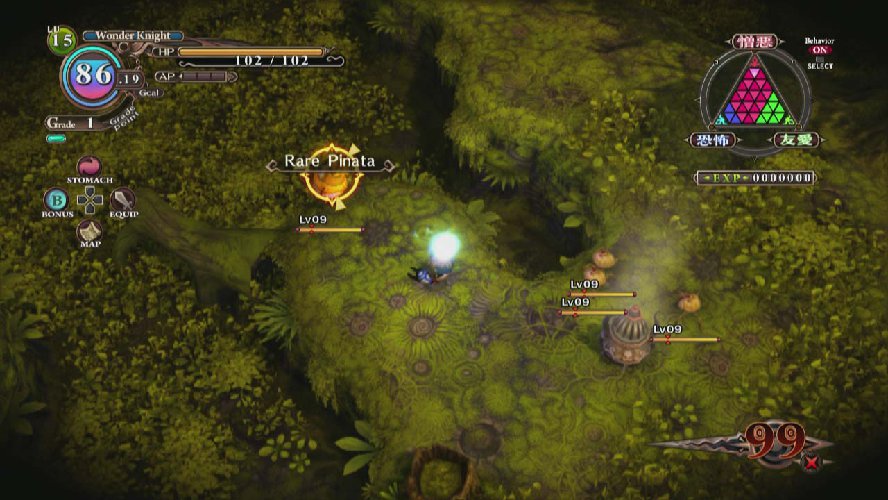
On very rare occasions, special monsters called pinatas will appear on the field. Pinatas will always drop an item, and there is a high chance that the item will be very rare. There is also a rare golden pinata, but come on. The odds of finding one are insanely slim.
Be sure to check back at PrimaGames.com for more tips on The Witch and the Hundred Knight.