
Warhammer 40K: Rogue Trader – How to Get Custom Portraits
Making your character you.
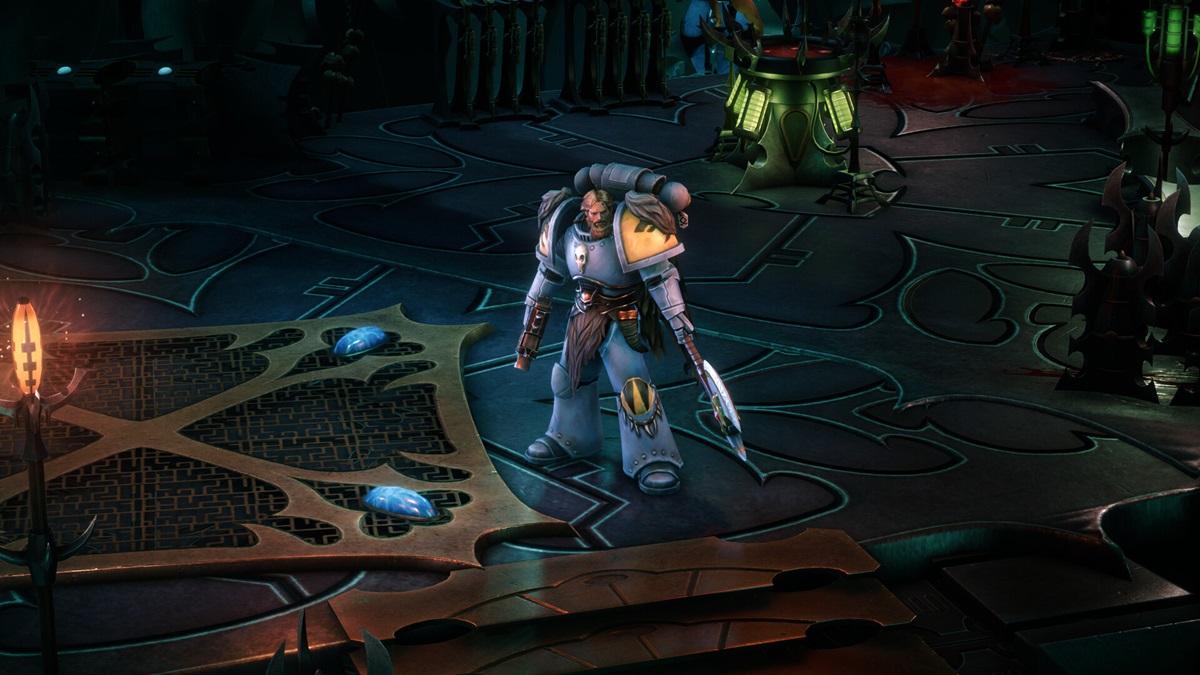
While Rogue Trader offers more than enough ways to customize your character, sometimes its fun to add your spin on things. Here’s how to get custom portraits in Warhammer 40K: Rogue Trader.
How to Add Custom Portraits to Warhammer 40K: Rogue Trader

To get custom portraits in Warhammer 40K: Rogue Trader, you’ll first want to earn some. These can be found within the wealth of options from Warhammer itself, or you can make your own if you feel artistically inclined. Either way, you’ll need three different images (that are PNGs) of different sizes if you want to make it work. Those sizes are as follows:
- Fulllength: 692 x 1024
- Medium: 330 x 432
- Small: 185 x 242
You may be wondering why the different sizes and names are a little weird. That’s because you need to name each of the files those names for this to work. For example, you can name the biggest portrait Fulllength.png, but if you name it Full-Length.png, it won’t be registered. You can also technically skip out on getting Medium and Small images, but Rogue Trader will try to squish the Fulllength.png file to fit those smaller windows. This can look weird, so I suggest getting the other two files.
Once you have all three files ready to go, you’ll want to navigate to Rogue Trader’s Portraits folder. This can be found at the following file path:
- Local Disk C: -> Users -> PC Name -> AppData – > LocalLow -> Owlcat Games -> Warhammer 40000 Rogue Trader -> Portraits
If AppData doesn’t appear for you, select View from the top of the File Explorer, then hover over Show and enable “Hidden items”.
Once in that folder, create a new folder named 0001. Then, drop all three images into that folder. If you want to get more portraits for future runs, then you’ll want to do the same steps as above but add one to the next folder name. So the next folder would be called 0002, then 0003, and so on.
How to Equip the Portrait In-Game
Once that’s all set up, load up the game and start a new character. Within the character creation screen, navigate to Appearance, then select Portraits followed by Custom. You should see the portrait there, which you can click on to add. From there, all three should show up as your portraits. If it didn’t, then you should double-check and make sure you followed all the steps listed above. There may also be external file conflicts, though this is unlikely unless you’ve messed with the files otherwise.
If you’re looking for more help when making a character, check out our guide explaining the classes in Warhammer 40K: Rogue Trader.