The Witcher 3 Next-Gen Update Netflix DLC Walkthrough
Full walkthrough and tips for completing the Netflix DLC in The Witcher 3: Wild Hunt.

After a six year long wait, there is finally new quest content in The Witcher 3: Wild Hunt for the first time since the Blood and Wine Expansion all the way back in 2016. The newest side mission in The Witcher 3: Wild Hunt is inspired by Netflix’s blockbuster television series, The Witcher. Here is everything you need to know about completing the newest quest, “In the Eternal Fire’s Shadow” including where it can be found and a full walkthrough of The Witcher 3 next-gen upgrade’s newest DLC.
Where to Start “In the Eternal Fire’s Shadow in The Witcher 3: Wild Hunt
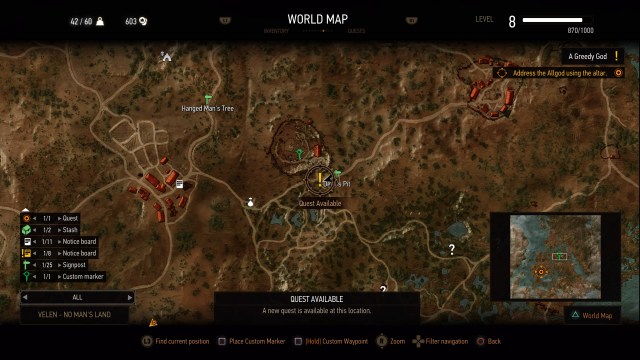
“In the Eternal Fire’s Shadow” can be found at Devil’s Pit in Velen, just southeast of Hanged Man’s tree. The quest has a suggested level of 15, but I did not find it particularly difficult even on Death March at level eight.

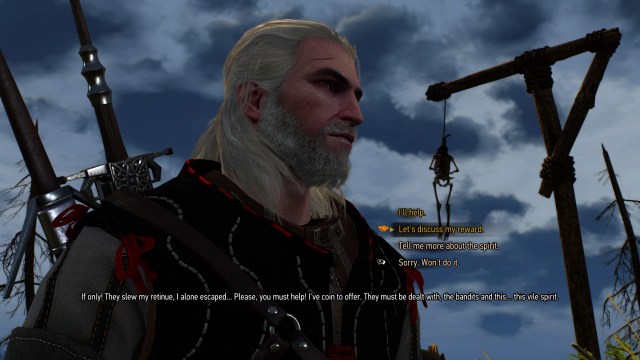
You will meet a hysterical Eternal Fire Priest; while he is initially frightened, the young deacon will ask for help clearing Devil’s Pit of bandits, who are unwittingly unleashing a danger long-locked away in the mine by the Church of the Eternal Fire.
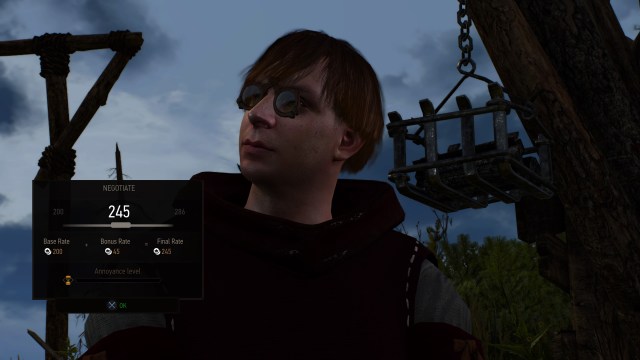
Optionally, you can negotiate for higher pay. Start by asking for 245 crowns. After multiple tests, I have found that this is the highest possible bonus that can be asked for. Make sure you don’t ask for any number higher than 245, as annoyance will cause future requests for 245 crowns to be rejected.
Clear Out the Bandits from Devil’s Pit

There are a standard group of bandits in Devil’s Pit’s outside section, with eight in total. While they are easy to dispatch individually, the deserters can be dangerous when in a group. Use Igni as a form of crowd control.
Related: How to Activate Quick Casting in The Witcher 3 Next-Gen Upgrade
Exploring the Mine

Once you have defeated the bandits, you may open the gate to the mine and proceed inside.
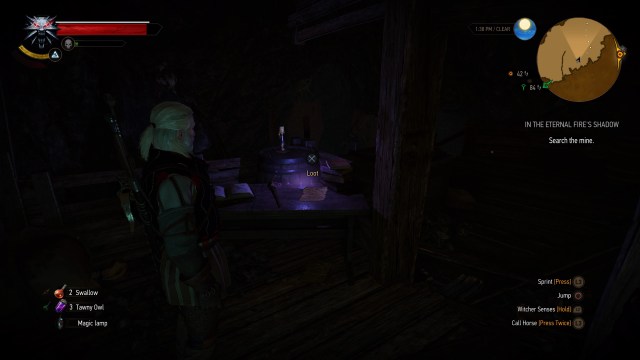
Once you are inside the mine, climb up to the right instead of following the path to the left. Here you will find the First Letter from Reinald and a Greater Glyph of Yrden. Make sure to keep an eye out for future Glyphs of Yrden, as they will guide the way.
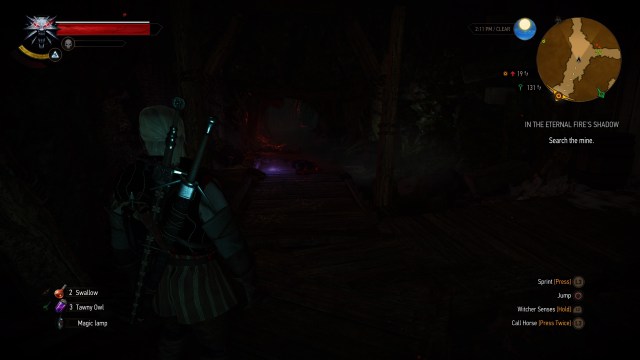
Proceeding through the mine, you will eventually find a forked path with a voice guiding you to go to the right. If you would like to finish the quest and reach the final boss(es) as quickly as possible, then take the path to the right. However, it will be a much tougher fight without further exploration. If you would prefer to see the story, follow the left path to discover the lore, experience the backstory of Devil’s Pit, and even find a new quest potion.
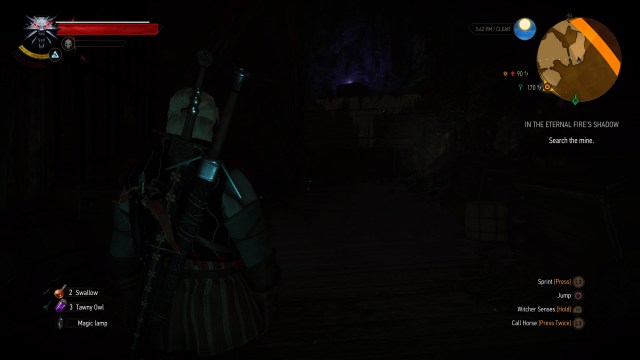
Following the left path, use your Witcher senses to find the Wolf symbols and the purple lighted glyphs of Yrden to guide you to four collectibles, including the Forgotten Priest’s Testament, as well as the third, fourth, and second letters from Reinald. During this section, you will encounter a few Plague victims who will attack on sight. They ultimately fight similarly to standard sword-wielding enemies, so simply parry, counterattack, and cast Quen to protect yourself from their blows.
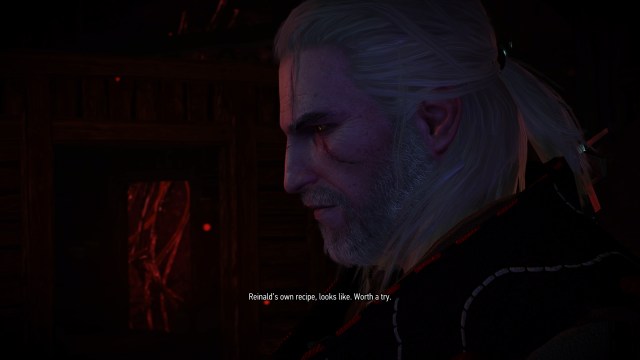
When you find Reinald’s second letter, a cutscene will occur, and the mission log will advise you to look at the Bestiary entry for a new monster, the Red Miasmal.
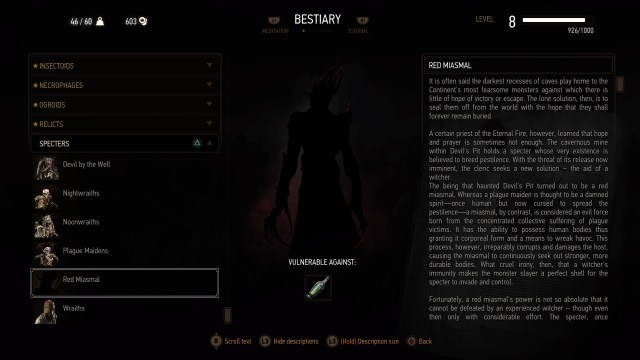
The Red Miasmal is a specter and is the monster of the “In the Eternal Fire’s Shadow” quest.
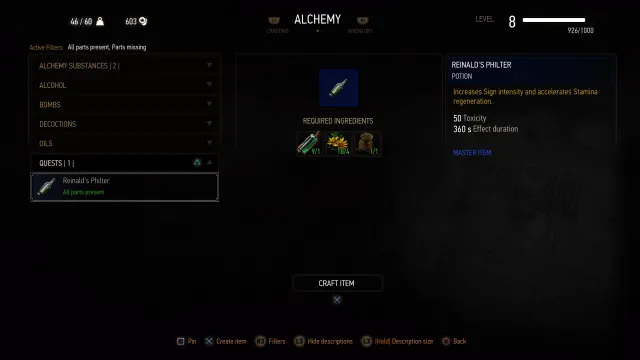
As the Red Miasmal’s only weakness is a new quest potion, Reinald’s Philter. It is essential to craft this before proceeding with the mission. You will find the formula in the Second Letter From Reinald.
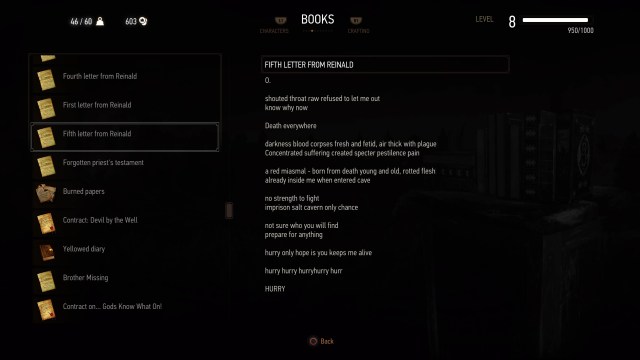
Once you have thoroughly explored the aforementioned left path, head back to the fork and follow the right path until you reach a door that has Reinald’s fifth and final letter. Open the door and proceed ahead.
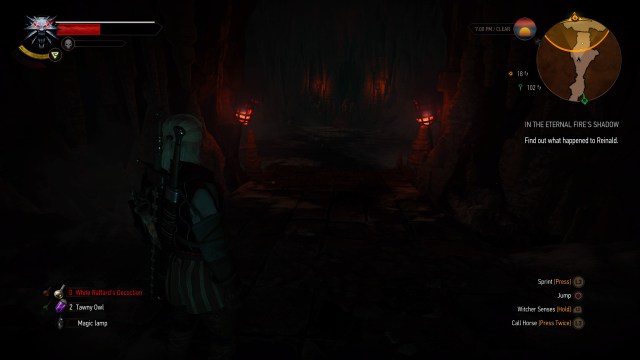
Once you reach a room filled with salt stalagmites, quickly meditate to restock on potions, as a boss fight will occur shortly after. When you are ready, proceed ahead into the room where you will find Reinald, trapped in salt. Simply use Aard to jar him free.
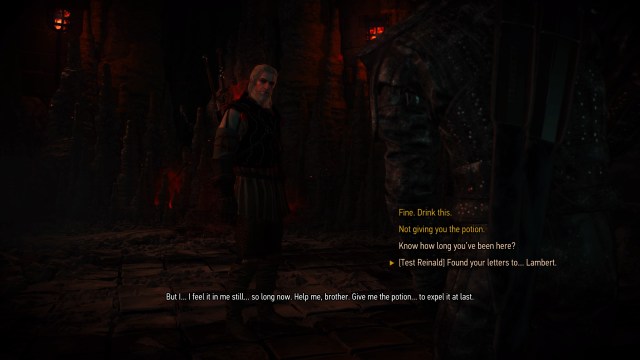
A dialogue will start between Geralt and Reinald, with the newly freed ancient Witcher asking for Geralt to give him the quest potion Reinald’s Philter to save him from possession from the Red Miasmal. It is highly suggested that you choose the optional “Test Reinald” dialogue choice.
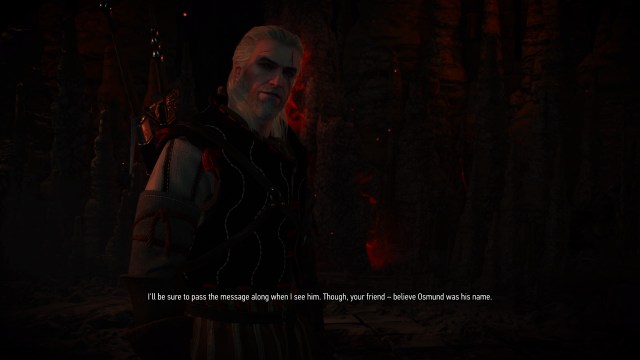
Testing Reinald reveals that the trapped Witcher is not who he says he is, but rather the Miasmal in disguise. Next, select “Not giving you the potion.” This will initiate a two-part boss fight starting, and Geralt will ingest Reinald’s Philter, helping him in the upcoming battle.
Related: The Witcher 3: Wild Hunt Next-Gen Upgrade Review | The Test of Time
How to Defeat Possessed Reinald

The first section of the two-part boss fight is against “Possessed Reinald.” He is a hard-hitting sword wielder, who can deal a lot of damage if his attacks aren’t parried or dodged. He also can use his own Quen shield to protect himself from Geralt’s attacks.
However, this fight is made easy by using the combo of the Yrden and Aard consecutively, significantly draining Reinald’s health. Tawny oil is helpful in this battle, as it replenishes the stamina required to cast signs more frequently. Use Quen to protect from Reinald’s vicious strikes, cast a magic Yrden circle, strafe around Reinald, and blast him with Aard while he is still under the effects of Yrden. Reinald’s health will quickly diminish, leading to the actual boss fight against a much more formidable challenger, the Red Miasmal.
How to Defeat the Red Miasmal
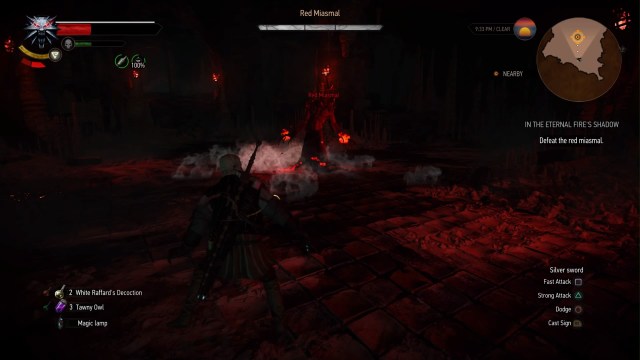
The Red Miasmal has three attacks: teleporting, slashing at Geralt, casting a powerful fire spell directly in front of it, and summoning plague victims to fight at its side. Cast Quen to protect from The Red Miasmal’s attacks, as the specter hits like a freight train, then slash at the monster with the silver sword until it teleports away or initiates another attack. When the Red Miasmal attacks with a slash, it can easily be sidestepped. However, its fire attack is more safely dodged by diving out of the way.
Once its health reaches two-thirds and one-third, the Red Miasmal will summon backup in the form of two plague victims at each benchmark. While they aren’t particularly aggressive, it is advised that you kill at least two, as four can more easily gang up on Geralt, opening him up to attacks from the Red Miasmal.
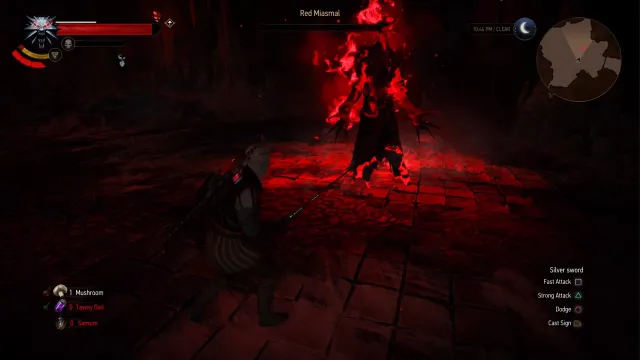
By continuing the process, you will quickly defeat the Red Miasmal, and move onward to the quest’s ending.
Final Decisions in “In the Eternal Fire’s Shadow”
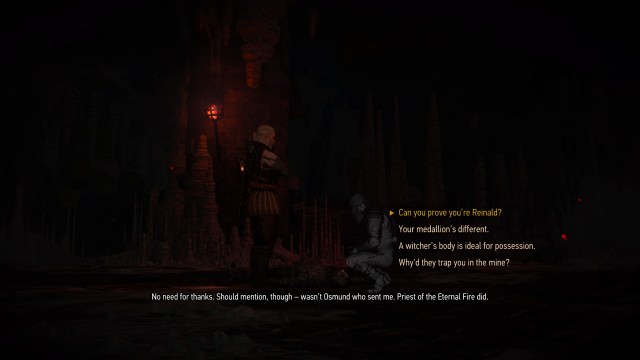
When you reach the quest’s end, Geralt will converse with Reinald’s ghost, now freed of possession from the Red Miasmal. He will verify his identity by notifying Geralt of some weapon diagrams he has stowed away in his armor.
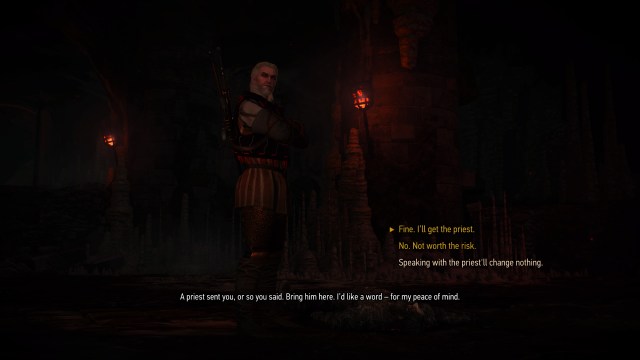
In his anger for being locked in the mine by priests of the Eternal Fire, Reinald asks to speak to the priest who gave Geralt the contract. Choosing “yes” will lead Geralt to fetch the Eternal Fire Priest for a conversation to help put Reinald’s soul at peace, the noblest action.
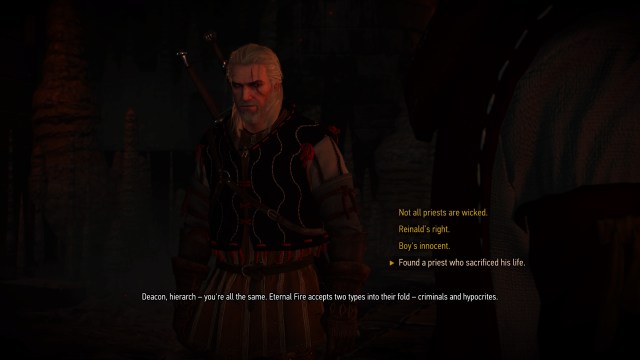
This will begin a philosophical and theological debate between Geralt, Reinald and the Eternal Fire Priest, with the latter having a crisis of faith due to discovering the atrocities committed by his church in the mine. There are no consequences for any dialogue choices, until you reach the very end of this discussion.

You will have a decision to make when the Priest suggests that he will no longer be part of the church of the Eternal Fire. This gives Geralt two options: “Don’t need a church to do good, priest,” and “Crimes like these can’t be forgiven.” Choosing the second dialogue option will cause Reinald’s vengeful ghost to kill the priest. Choosing the first will make Reinald leave in peace, sparing the young man, and Geralt will receive his contract.
Upon completion of “In the Eternal Fire’s Shadow,” a new Witcher Gear mission in Kaer Morhen will be obtained, and experience will be gained based upon whichever difficulty you completed the mission on.
For more news, guides, reviews, and features on The Witcher 3: Wild Hunt’s next-gen upgrade, Prima Games has everything you need, just a click away.
