
Payday 3: Touch the Sky Stealth Guide
Time to put the final pieces in place.

When you step into a heist in Payday 3, you’re given one of two options for completing it. You can either get in and out like you were never there, or you can make sure everyone in New York knows you visited the place through a hail of bullets. Some prefer the latter, while others adore the former. For those who like the former, it’s time to take a look at how you complete the eighth heist in the game. Here’s our Touch the Sky stealth guide for Payday 3.
Payday 3 Touch the Sky Walkthrough
Before I begin, it’s important to note that even stealth gets far more difficult as you reach higher difficulties. Normal tends not to be too challenging, while running a heist on stealth can be incredibly challenging on Overkill. I’ll try to note some key differences so you can keep them in mind. With that note out of the way, let’s get started.
Entering the Penthouse
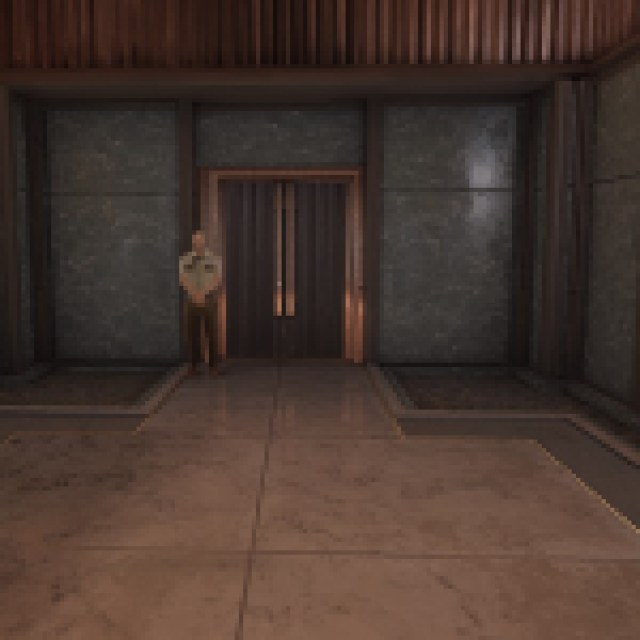
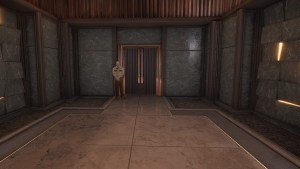
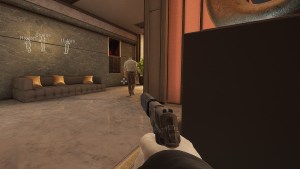
When you first enter the heist, you’ll be met immediately with a guard at the front door. That doesn’t exactly entail a good way not to be seen, so you’ll want to head up the stairs on your right instead until you find a vent. Mask up, then get into the vent and drop down the first opening on your right. One of the two vents will bring you out on the second floor so we can properly get started.
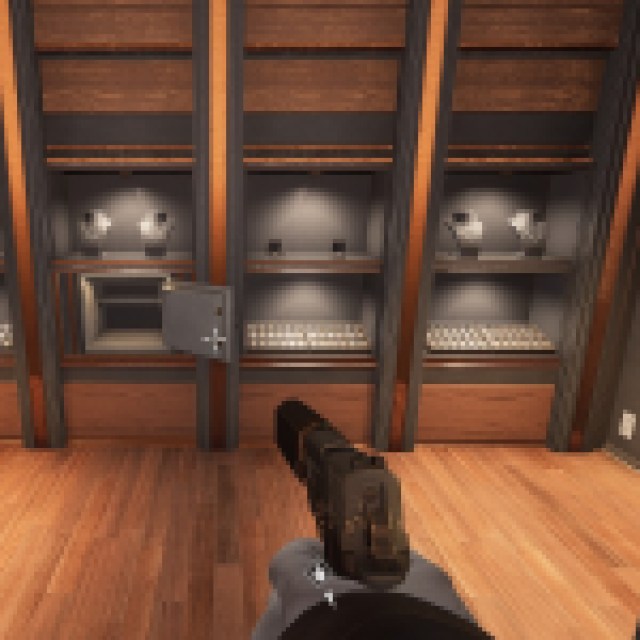
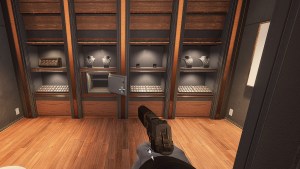
Snagging the Required Tools and Getting Into the Master Bedroom
Now that we’re upstairs, there are a few things that you’ll need to get taken care of to set up for later. The first is a blue keycard, which will help to open the security camera office later. This will be on a guard that purely patrols the upstairs. The other is a hackable phone, which can be much more difficult. On lower difficulties, this guard in a black suit patrols both upstairs and downstairs. This makes staying in his range challenging. If you’re on higher difficulties, this becomes a Lead Guad. That makes getting the QR code off his phone damn near impossible with all the other guards and the inability to kill.
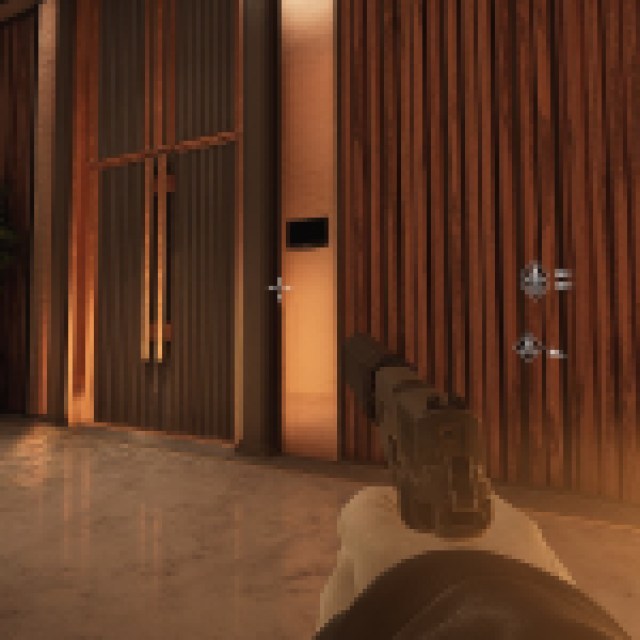
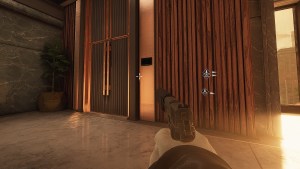
The security camera room is on the left side of the penthouse either upstairs or downstairs. The filing room (which requires the QR code) is found wherever it doesn’t spawn.
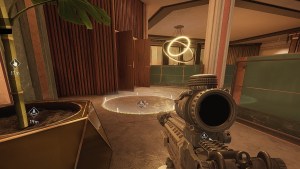
Once you have both of those things (or beforehand, it’s up to you), you have the Master Bedroom to gain access to. This involves a screen next to the door, followed by a circle mini-game you may be familiar with through the Under the Surphaze and 99 Boxes heists. Step in each circle for a certain amount of time, and the door to the Master Bedroom will be open.
Finding the Vault and the Panic Room
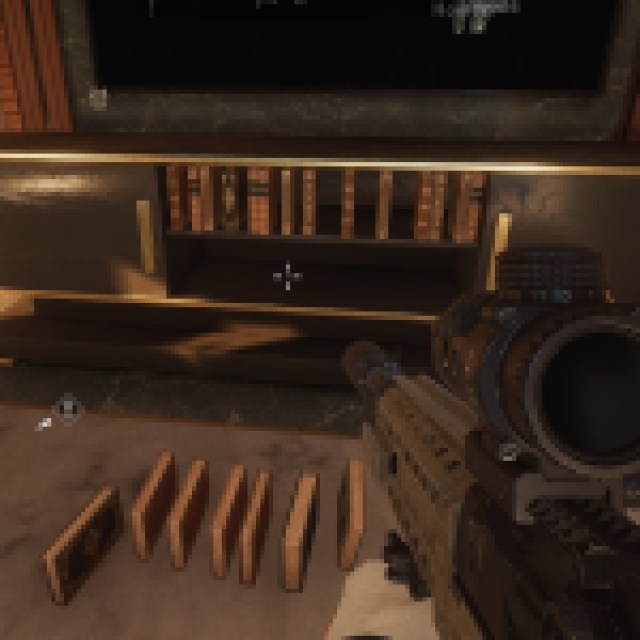
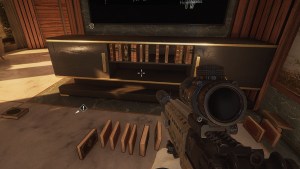
Now that you’re in the Master Bedroom, the vault is hidden somewhere and needs to be opened up. Interact with the different highlighted items in the Master Bedroom and one of them should push a panel back on the wall behind the bed. Opening the panel reveals a safe, which requires a code to open. This code can be found in a panic room in Mason Laurent’s office.
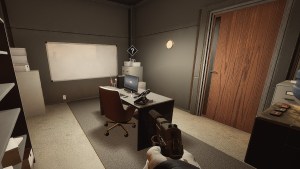
To access Mr. Laurent’s office, you’ll need to use the QR code you got off the guard’s phone earlier to get into the filing room. Again, this room will either be on the upper or lower floor on the left side of the penthouse (if looking out the windows). Once you’re inside, rummage through everything until you find the red keycard. It’ll likely be in one of the filing cabinet drawers, so you’ll need to do a lot of digging. Once you have the keycard, please bring it back to the office to open the door.
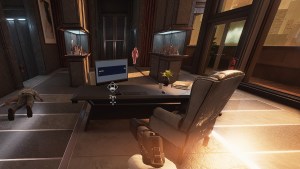
To access the panic room, press the button behind the main desk to open the wall. This will reveal the panic room, though it has a biometric scanner that only Mr. Laurent can access.
Getting Mason Laurent to His Office
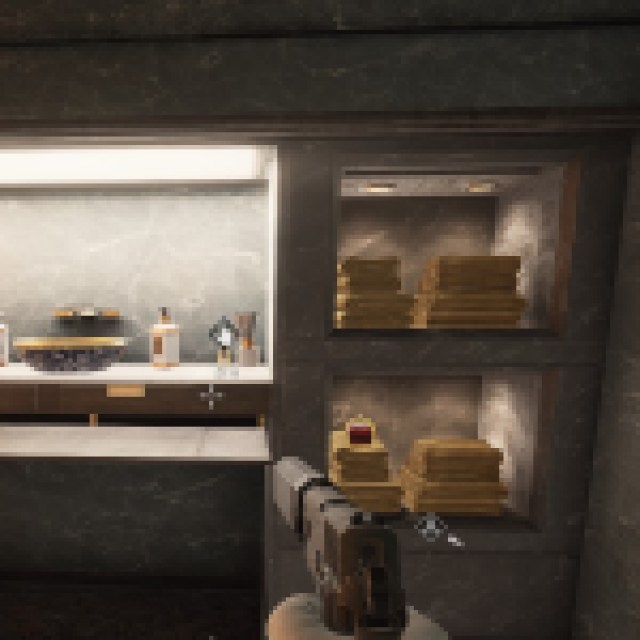
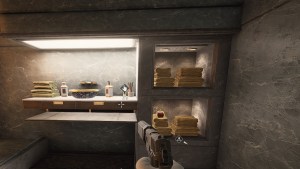
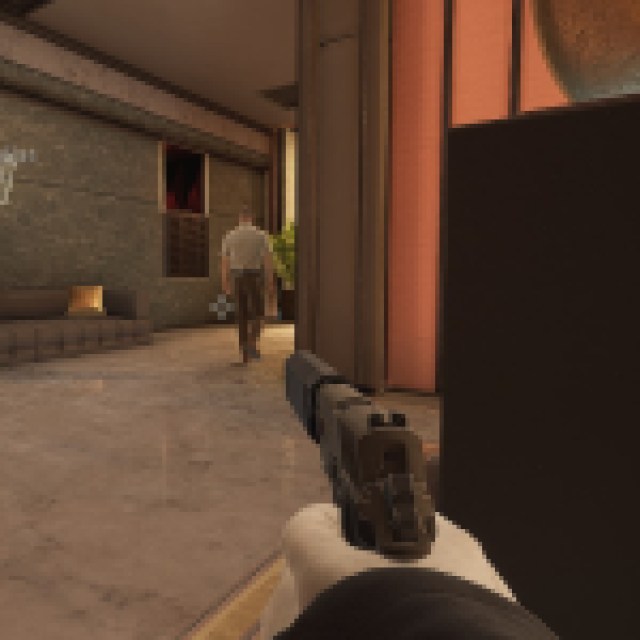
There are a few ways to get Mason to come to his office. The first is to wait for him to go for a smoke outside, then grab him and take him up the stairs to the office. The other and much safer option is to spike the whiskey that just arrived at his penthouse. To get the poison for his whiskey, search each of the bathrooms and utility closets until you find a small vial of poison. It’ll be randomly in one of these rooms and on a highlighted shelf.

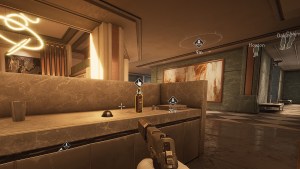
Once you have the poison, get over to the whiskey bottle and put the poison into it. Ring the bell next to the bottle, then quickly get out of sight. After a little time, Mason will pour himself a glass and then immediately run for the bathroom. While he’s in the bathroom, grab and take him to the office while avoiding guards.
With Laurent finally in his office, shove him into the biometric scanner to get the panic room door open.
Accessing the Vault and Setting Up the Drive
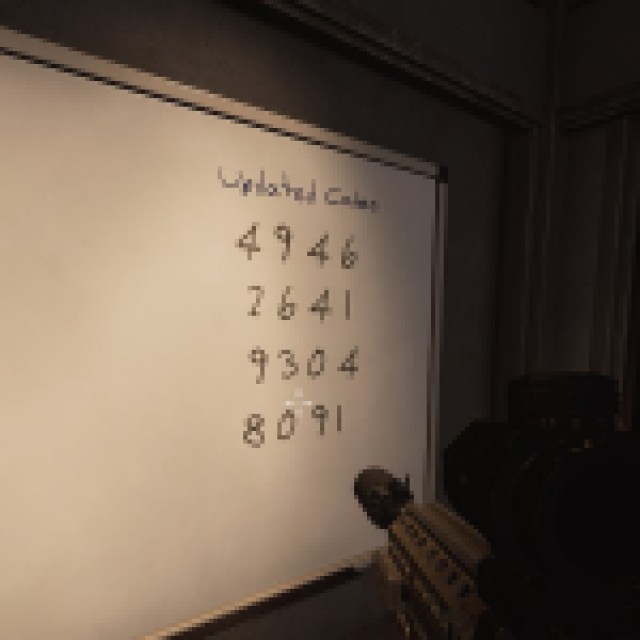
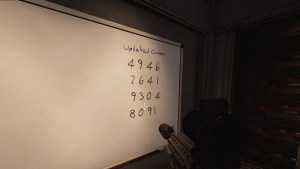
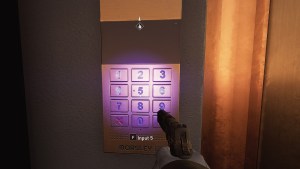
In the panic room, a series of codes will be written on a whiteboard. While four of them are listed, only one works. The way to deduce the correct code is to look at the vault keypad and note which numbers have fingerprints on them. The correct code will use all of those numbers and only those numbers. You might want to take a picture of the code possibilities in the panic room, so you don’t have to keep running back and forth. Use the right code on the vault to open it.

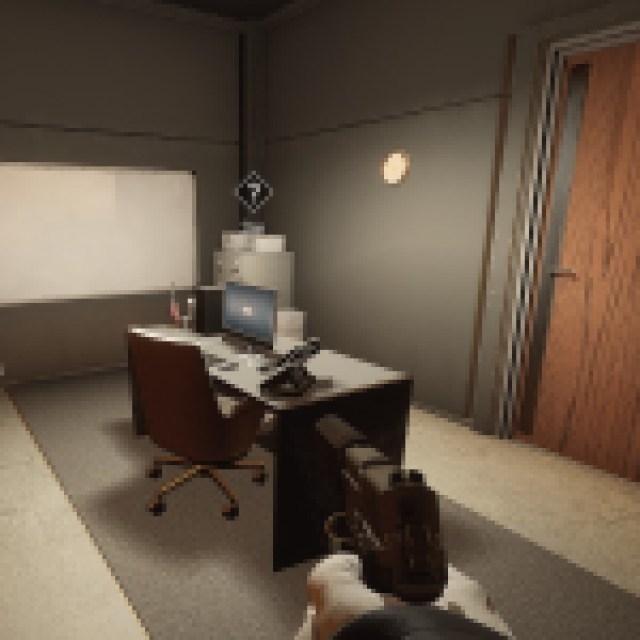
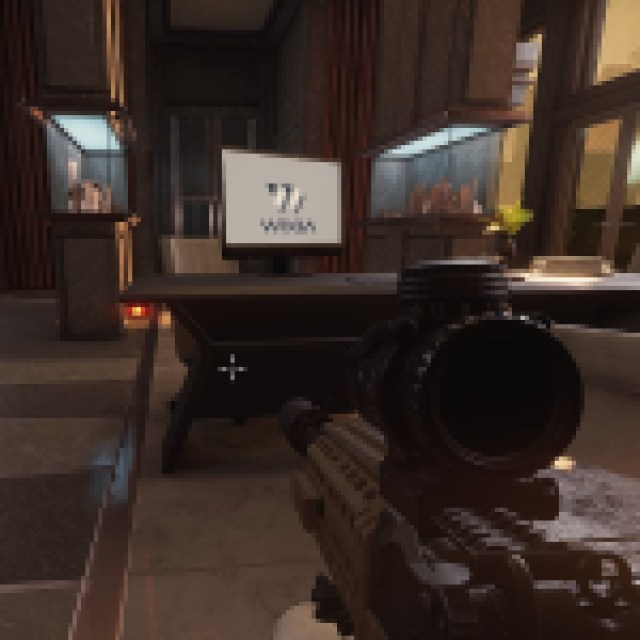
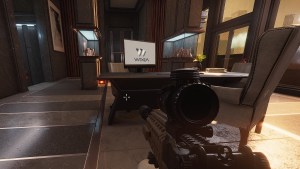
Once inside, there’ll be an array of loot for you to collect. For the main objective, you want to open a small safe within and grab the SSD. The drive will be encrypted, so you’ll need to bring it back to Mr. Laurent’s desk in his office and decrypt it using the PC there. Once it’s decrypted, take the drive back to the elevator you spawned at and you’ll be ready to leave. You’re free to take any loot otherwise before departing too, as long as you have the patience to keep distracting the guard at the front door. Congratulations on completing Touch the Sky in stealth.
If you’re looking for help with any of the previous heists, check out our Payday 3 Under the Surphaze stealth guide.