
How to Use the Steam Game Recording Feature on PC
ShadowPlay has some competition!
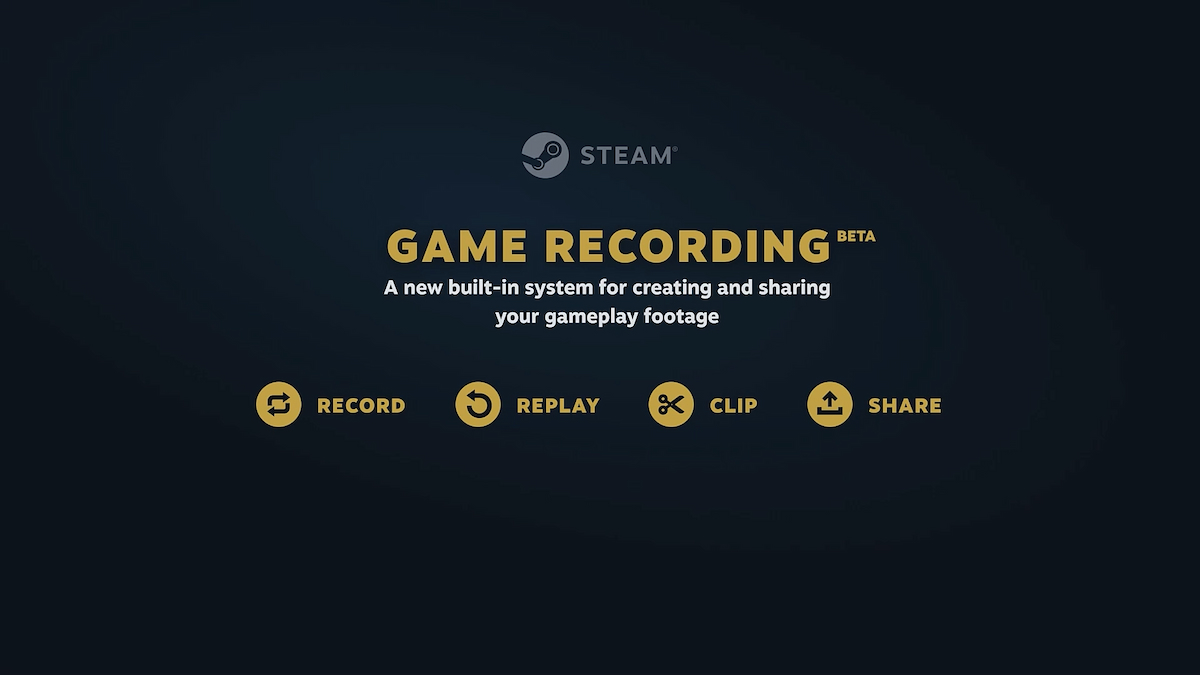
Valve has released its dedicated video recording tool in the Steam client called Steam Game Recording. It’s a great addition that allows you to easily record footage at minimal performance impact which you can then share, export, and clip. We’ll walk you through how you can use the Steam Game Recording feature, which is currently in Beta.
How to Enable Steam Game Recording
As the Steam Game Recording feature is currently in beta, you’ll have to use one of the beta client builds available in the Steam client.
- To access these builds, click on Steam at the top left in the client and select Settings
- Now, select the Interface tab, and choose either Steam Beta Update or Steam Families Beta under Client Beta Participation

- Restart Steam and it will download the necessary update files for the Beta build.
- If you’re already on the Beta build, you can select the Check for Steam Client Updates option in Steam instead.

- After Steam restarts, you’ll now see the Game Recording tab in Settings

Steam Game Recording Modes
Steam Game Recording has three modes to choose from:
- Off/Don’t Record: In this mode, Steam will not record anything in the background, and you can’t record gameplay using the client. You can still take screenshots.
- Record in Background: Steam will start recording footage as soon as you launch a game. You can set the length of footage to be recorded and the quality for Steam to allocate space on your chosen drive.
- Record on Demand: This is the traditional recording feature where you can hit a certain key combination to begin recording.
How to Use Steam Game Recording
Once enabled, you can start recording footage by hitting Ctrl + 11, which is the default shortcut key. You will get a pop-up at the bottom right as well as a sound effect to confirm that the recording has started. You can use the same shortcut key to stop recording.
Once you have recorded something, you can open the Steam Overlay in-game with Shift+ Tab. Here you can interact with the Steam Game Recording timeline interface, which allows you to watch the footage, share, clip, and export it.

In the editor, you can right-click to add a marker at any point in the clip as well.

How to Export Videos With Steam Game Recording
After you have made the recording, you can bring up the Steam overlay to create a clip of the selection. Once you’ve selected the relevant part you want to turn into a clip or export as a video in the timeline, simply hit the Save/Share button and you’ll see multiple options.

- You can save the video to Steam, which can be viewed by your friends, or the community
- You can export the video file to a specific location on your system
- The clip can be sent to a different device where you have logged in (Ex: Steam Deck to PC)
- A shareable link can be created with the footage, which expires in two days
- You can directly send the clip to a friend in chat as well
The video files are exported in the .MP4 format, and you can adjust the quality by using a different bitrate in the Game Recording tab in Settings.

How to Access Screenshots and Recordings
You can access your recordings and screenshots at multiple locations in the client. First, while you’re in the game, you can simply click on the media icon in the Steam Overlay.
In the Steam client, you can either view the screenshots and clips on the game’s page in your library or by selecting the new option called Recordings &Screenshots in View.


This will bring up a new window where you can view screenshots or videos of a particular game or all recent media. The timeline editor can be accessed here as well, allowing you to clip, share, or export the video outside of the game.

Does Steam Game Recording Work With Non-steam Games and Applications?
Yes! Non-Steam games can make use of Steam Game Recording as well. We tested a few games installed using the GOG client by adding them to Steam as non-steam games, and everything worked as expected.
Is Steam Game Recording Available on the Steam Deck?
Yes, this feature is also available on the Steam Deck in the latest beta build. In the Record on Demand mode, you can start gameplay capture by pressing Steam + A. You can add a timeline marker by pressing Steam + Y.

This new feature is still in Beta, so you will run into a few technical issues here and there. For instance, while testing it out, I couldn’t get audio in a particular recording when the “Record Audio from..” option was set to “Game Only”. If you want to help Valve out with feedback, you can report any issues you encountered with the feature in the following group.
We’re glad to see this feature finally being implemented in the client itself, and we hope Valve continues to improve its usability and tackle any bugs users are running into.