How to Screenshot on Windows (2024)
Please don't take photos of your monitor

Taking a screenshot is usually an easy task, but there are actually tons of different manners to do it. The modern versions of Windows have various alternative methods for saving your current screen to share it with the rest of the world, and here are some of them.
How to Take a Screenshot on Windows (2024)

Below you can see the best, quickest ways of taking a screenshot, which can be achieved through either many key shortcuts or some programs already included in base Windows.
Using Print Screen Shortcuts
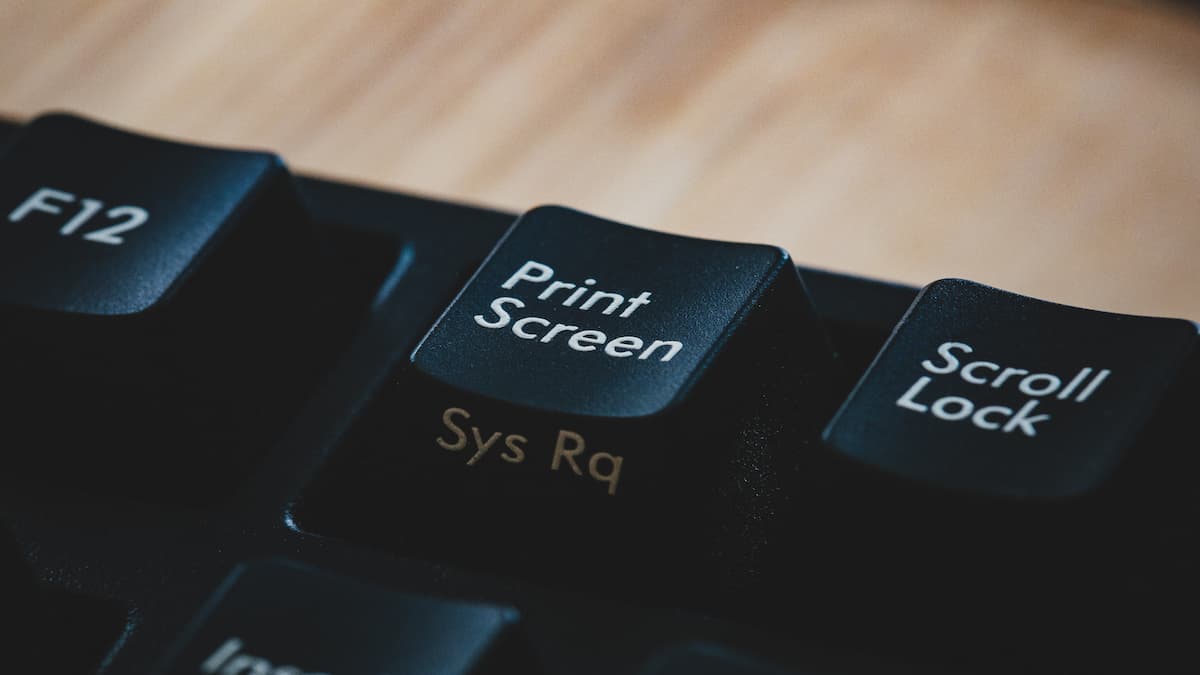
The simplest method to take a screenshot is to simply press Print Screen on your keyboard, which should be in the upper right corner. You can then paste your screenshot on any image-editing program (such as Microsoft Paint) to save it, tweak it or even send it directly on a chat channel with Control + V.
Alternatively, you can use Windows + Print Screen to immediately save it. Screenshots are saved by default on C:\Users\Username\Images\Screenshots, and will also be on your clipboard if taken through this method.
If you want to screenshot your current window, then use Alt + Printscreen. It works exactly like regular Printscreen, but it will omit other programs floating around and the Taskbar completely.
Using The Windows Game Bar
You can use the Game Bar to save and share Screenshots more easily. If you disabled it previously, use Windows + I > Gaming and toggle it back on.
Use Windows + G to open the Xbox Game Bar menu and click on the “Capture” button in the left upper corner to take a screenshot. Those are saved by default in C:\Users\Username\Videos\Captures, alongside records you can make using the same program.
Related: How to Use Custom Boot Videos on Steam Deck
Using Snip & Sketch or the Snipping Tool
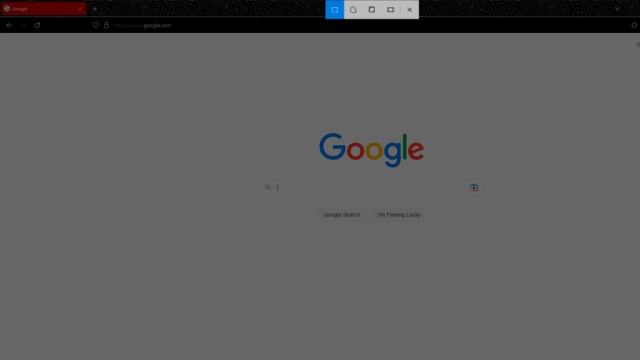
Those are probably the most useful options for a screenshot. You can access the Snip & Sketch tool by pressing Windows + Shift + S. A small interface should appear in which you can select 4 different ways you want to take a screenshot: Rectangular, Free Form, Window, or Full Screen.
The two latter are just like the previous method discussed, but the two former ones are completely new options that can make for more discrete, quick screengrabs.

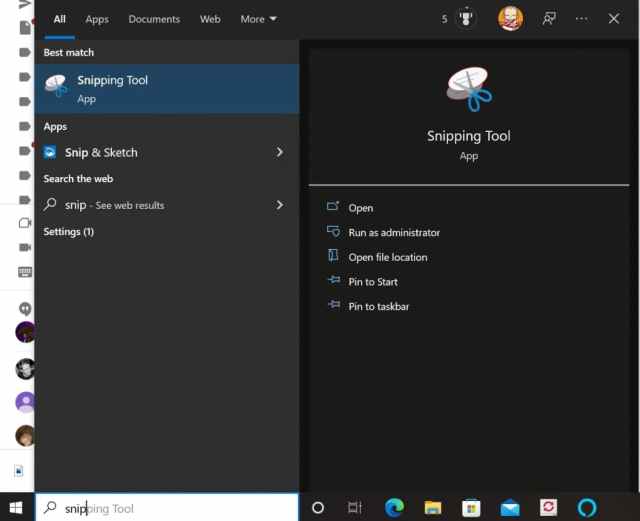
The Snipping Tool has basically the same functions, but is somewhat more clunky on Windows 10. You first need to search for it, and then you take some extra steps before setting up the same things you can do easier with Snip & Sketch. Its Windows 11 version is great, though.
These are all the regular methods you can use to take screenshots on Windows without any 3rd party tool involved. Each one of them has its ideal scenarios for usage, but chances are that you’ll find yourself using Snip & Sketch more often than the others.
