How to Remove the Vidyadhara Seals in Honkai: Star Rail
The final barrier between you and the final battle.

When you first arrive at the Scalegorge Waterscape portion of the Trailblaze Missions, one of your first objectives will be to “Remove the three Vidyadhara seals” in order to proceed. Removing these seals is an easy process, but each of them has a small puzzle attached to them, and those can be quite frustrating to solve.
Fortunately, we have the solutions for each of the seals, and you can continue your journey as soon as you complete these three small tasks in no particular order! Here’s how to remove the Vidyadhara Seals in Honkai: Star Rail.
How to Solve the Vidyadhara Talon Puzzles in Honkai: Star Rail
After a brief cutscene, the game prompts you to break the seals in three different spots you can see on your map. You can solve them in any order you want, so the order you see here is not obligatory. In this guide, the seals will be ordered as you can see below:

The first seal is being guarded by a big Malefic Ape enemy. Bring it down to find the first clue to solving the puzzle: the Revelation Slate. By pressing R, it shows you which order you should press the lanterns.
Follow the order as in the image below while facing the room from the south entrance:

- 1 – Top right (lantern to the right)
- 2 – Bottom left (lantern to the left)
- 3 – Top left (lantern to the right)
- 4 – Bottom left
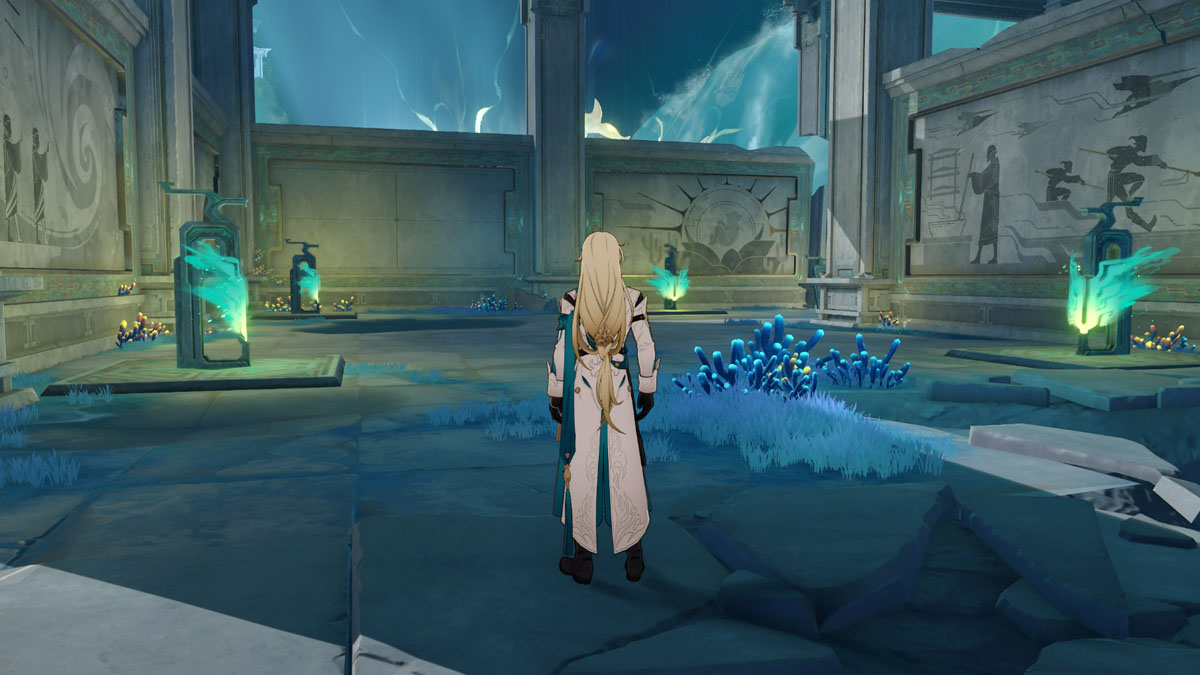
For the second seal, go all the way down to encounter a room with no enemies, but filled with murals instead. Each mural depicts a different stage in a Vidyadhara’s life, and you must light the lanterns from their birth until their passing. Face the room from its east entrance and press them in the following order:

- 1 – Top right
- 2 – Bottom left
- 3 – Bottom right
- 4 – Top left
Related: All Alchemy Commission Treasure Chest Locations in Honkai: Star Rail
Now head to the third seal at the bottom right of the map. While there are no shiny dots here to help you, the hint is more subtle. If you look closer at each of the lanterns, you’ll notice some glowing blue lines in each of them, indicating the exact order in which they should be pressed. Face the room from its left entrance and press the lanterns in this order:

- 1 – Top left
- 2 – Bottom left
- 3 – Top right
- 4 – Bottom right
With that, the final seal cutscene will roll out and you can now proceed to face Phantylia once and for all! Bring your best characters into the fight and good luck in this final challenge! While you’re playing Honkai, check out how to claim your free Yukong character!
