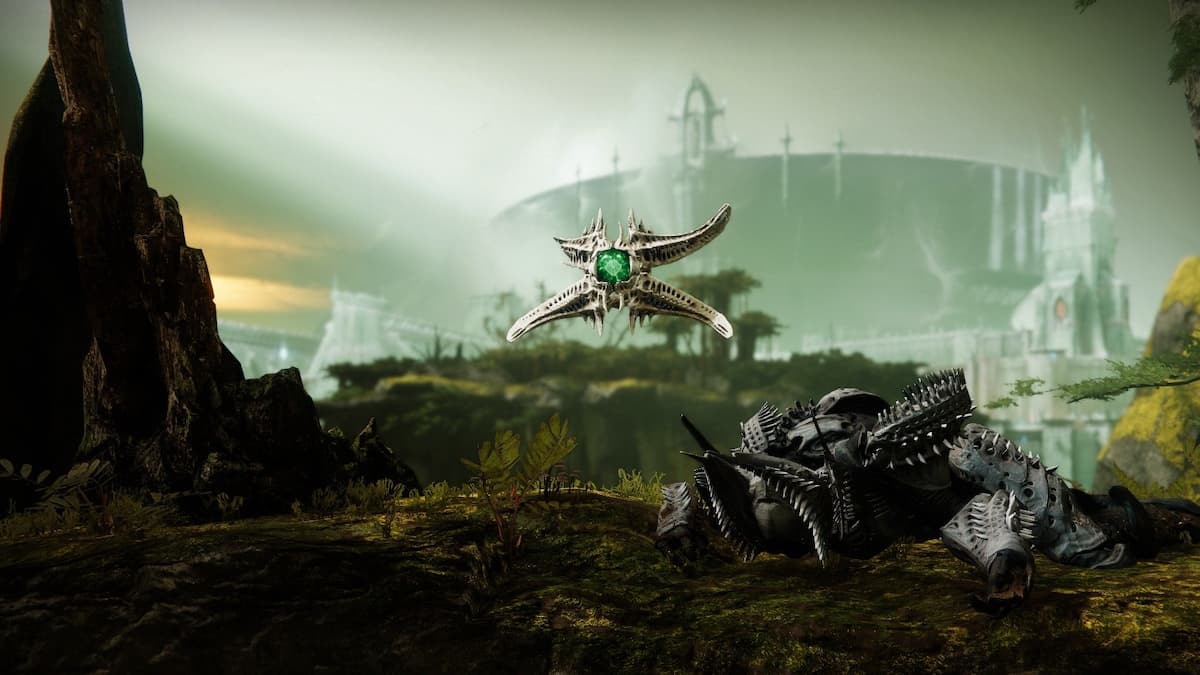
How to Find Lost Sector Extraction in Destiny 2
End the turf war between Scorn and Hive once and for all

There are no shortage of Lost Sectors in Destiny 2. In fact, you can expect there will be half a dozen on any planet you land on, represented by a rainbow symbol on your overworld map. And usually, getting to that Lost Sector is pretty straightforward. But Extraction? That’s a Lost Sector that wants to stay lost. Here’s how to get to Extraction in Destiny 2.
How to Find Lost Sector Extraction in Destiny 2
When it comes to Savathun’s Throne World, there’s only one place to land: the Quagmire. An ugly name for an ugly location, populated exclusively by Scorn and Hive.
But the Lost Sector Extraction isn’t far from the spawn point, so load in. Once you arrive, take stock of your surroundings. Right in front of you, you should see the white castle, which is the bridge that will lead to Florescent Canal and, eventually, the Sanctum of The Brood Queen. We won’t be going to either of those locations, but head towards the white castle anyway.
Pass by the first right archway. If you check your map, you’ll see that you’ll eventually find yourself standing on top of the Lost Sector. But where is it? If you drop down, you’re likely to see a yellow-bar Hive Wizard (and a Lucent moth hidden in a nook nearby, if you want to collect it for some reputation with Fynch).
The entrance to the Lost Sector is not in this cave. I can’t emphasize it enough. Countless people have poked through every nook and cranny of this tunnel, certain that the Lost Sector entrance is there. It’s not. Exit the cave on its West side, then head slightly North. Approach the ledge, and you’ll see that on your right side there is another ledge you can drop down to it.
On this ledge is a black orb that you can choose to reveal. Doing so is not necessary. The Lost Sector is just beyond it, unraveling through a narrow cavern which will eventually open up into a large chamber full of Scorn.
But what also stumps people is how to open the rune sealed door in the large second chamber.
How to Open Rune Door in Extraction in Destiny 2
You’ll see scattered throughout the large chamber full of warring Scorn hive several plates, each of which has a symbol in the center. Clear out all the enemies. You’ll notice on a door barred by a barrier that there are two runes with symbols on it.
These runes are also on two plates on either side of the door, near the floor. In order to break each rune, you’ll need to stand on each plate for a certain amount of time. For some reason, there is no time to let you know how long you’ll need to stand there. But you’ll see that the flames around the plate slowly grow higher, and you’ll eventually be assaulted by waves of Scorn. Once you get a large flash and the flames completely dissipate, you can get off that plate and move to the next one.
Related: What to Do with the Glittering Key In Destiny 2 (2023)
Once both plates have been charged, the barrier blocking you from entering the inner sanctum will drop, and you can fight the final boss.
