How to Complete the Vexcalibur Quest / NODE.OVRD.AVALON in Destiny 2
Get the glaive
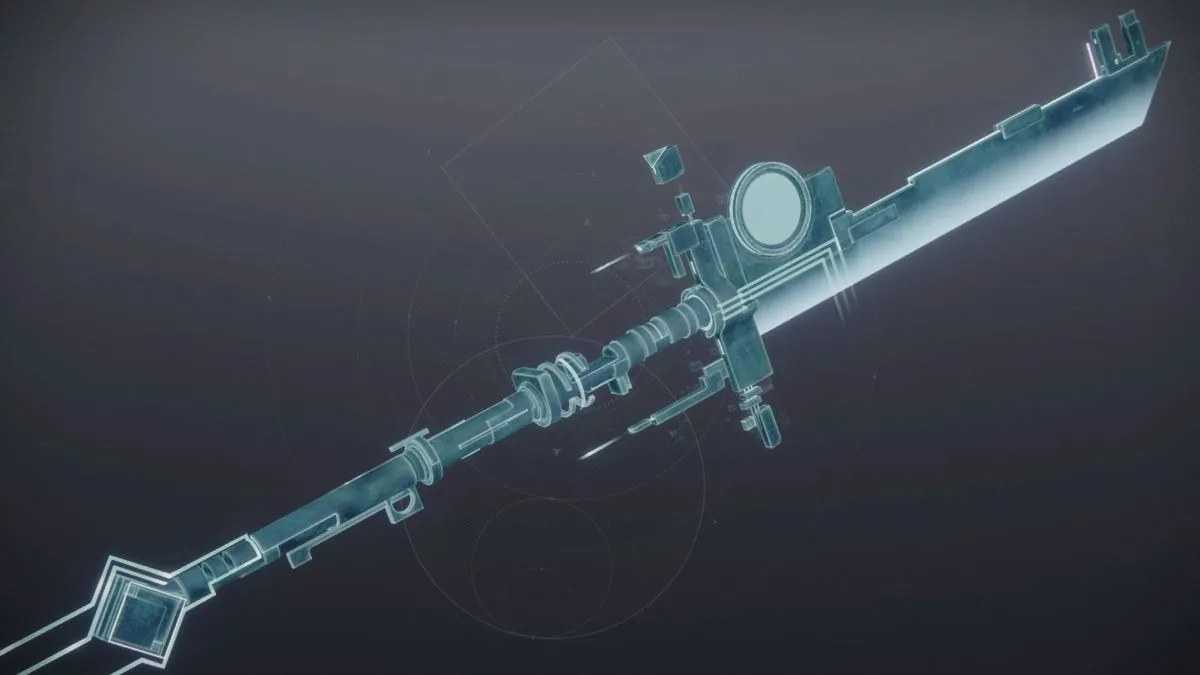
The Vex Glaive is an Exotic that’s long been teased, but in the second week of the Season of Defiance we finally get to get it! And just in time, with Winterbite being removed as a possible Raid Weapon. So, let’s get into it. Here’s how to complete the Vexcalibur Quest / NODE.OVRD.AVALON in Destiny 2.
How to Complete the Vexcalibur Quest / NODE.OVRD.AVALON in Destiny 2
Step 1. Enter the Vex Network
Enter the mysterious AVALON node of the Vex Network.
Upon speaking to the Harpy at the false back of the cave, you’ll arrive in a strange, luminous purple cave. Will we finally get the teased Vex weapon? We can only hope. Jump down the Vex slide in front of you.
You’ll arrive in the geometric maze of the Vex network. Jump inward, and you’ll find that there’s a Harpy waiting for you on the right. In front of you, you’ll see that part of the geometric structure lifts just high enough for you to crawl through.
You’ll wind up at a long platform with the option to go left or right. It doesn’t matter which way you go. You’ll follow along a Vex Milk river with two Harpy to make your life harder. Once you get to the center of the corridor, look towards the wall. There will be a narrow crevice you can jump into.
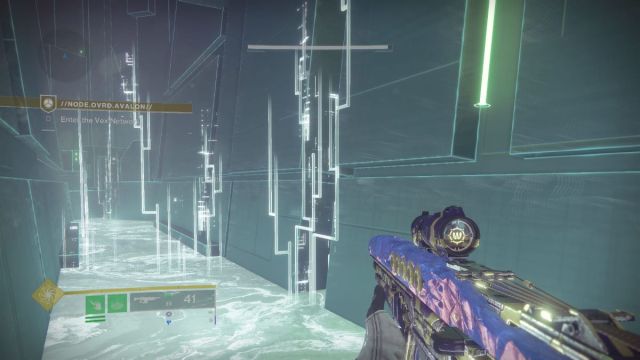
Do so, and you’ll fall down a ramp.
Turn right, then drop, following the path until you find the giant neon-ringed hole. Drop again, and you’ll enter Variant Security Protocol.
Now, let’s get into the fighting. Put in a campaign banner if you like. Otherwise, jump across using the platform on your left or your Grapple.
Input Access Codes 0/3
This next section can be quite difficult if you’re solo, as any death will start you over from the very beginning. But if you play it with a fire team, it is much, much easier.
Clear out the mobs of Goblin and Minotaur, taking special care to take out the Hobgoblins on the platforms to your left and right. You will be continuously swarmed by mobs. But once you clear enough, you’ll get the task Enter Access Codes. A Vex pillar at the center will then lift showing three shapes.
On the right end of the platform will be a stack of shapes that you’ll need to input. Shoot them in order, from top to bottom. If you get them wrong, the code will change, so check to make sure you know what you’re doing.
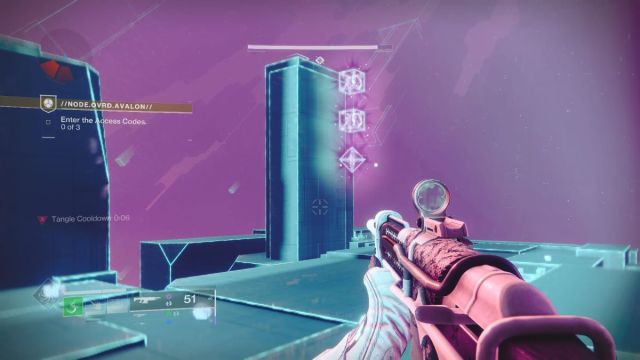
Once that’s done, there will be another string of shapes you’ll have to input, on the left-hand side of the small platform arena you’re shooting on.
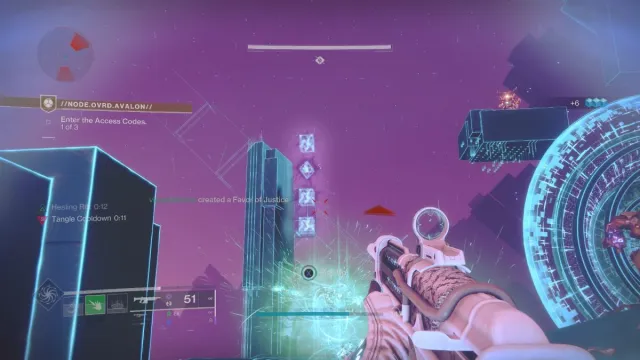
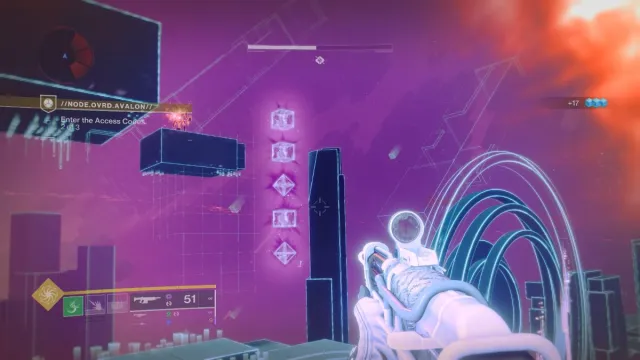
When this code is input, jump onto the far platform, just past the two Vex portals. Turn around to face the arena. If you do this, you’ll see the last code you’ll need to put in on the left side near the Vex portal.
Clear Vex
The Vex wall just past the two Vex portals will open, and you’ll be absolutely swarmed with Vex. Work through this section carefully, as dying will mean starting back at the very beginning of the level. There’s a Cyclops up the ramp and plenty of and Goblin. Once you make your way to the top, there will also be two Wyvern.
Enter the Access Codes
Like the lower section, you’ll need to input three access codes into this tower. The first will be to the left of the Vex Portal.
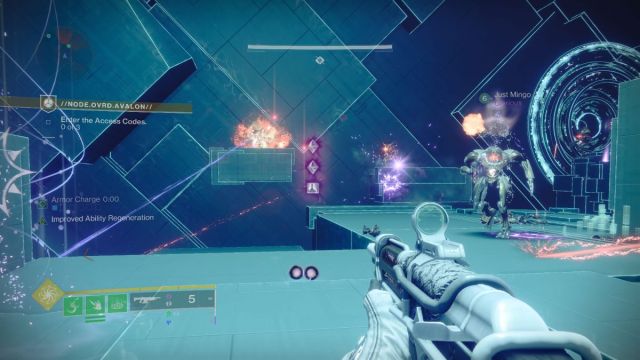
The second will be to the right of the Vex portal, half sunken into the floor.
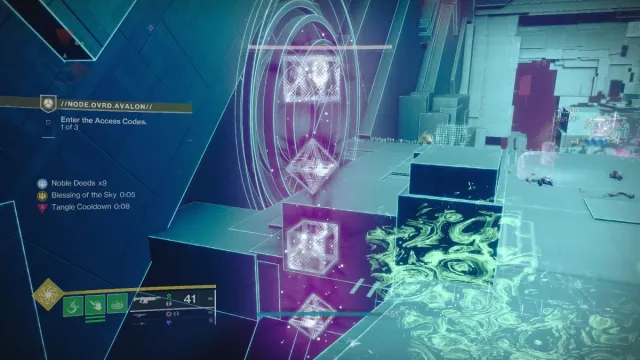
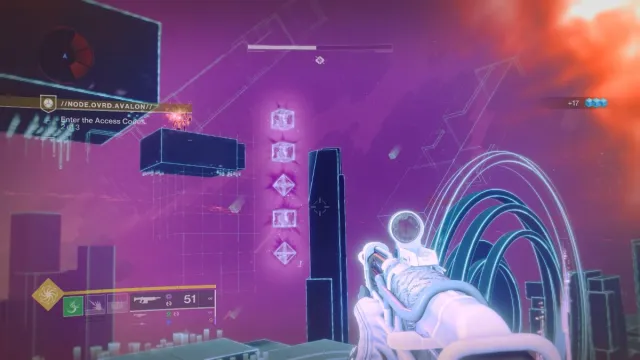
To find the final Vex Prisms, jump to the very end of the map, between the two Vex portals and look back. You’ll see the final strand sunken into a small hole.
Defeat the Vex
The Vex barrier will fall and you’ll be able to make your way past them. But expect significant resistance. There will be multiple Minotaur, Goblins, and one yellow-bar Wyvern.
Once the Wyvern is defeated, the Vex barrier surrounding the arena will drop. You can then progress, following the blue pathway left.
Explore the Vex Network
You’ll hit another Vex wall, but don’t worry about that. Use the narrow ridges to your right to platform up towards where the Goblin is shooting you. Clear out the Goblins and Minotaur, then head up towards the Vex waterfall. Jump up to where the Vex milk is coming from and you’ll find a narrow crawlspace you can crouch and walk through.
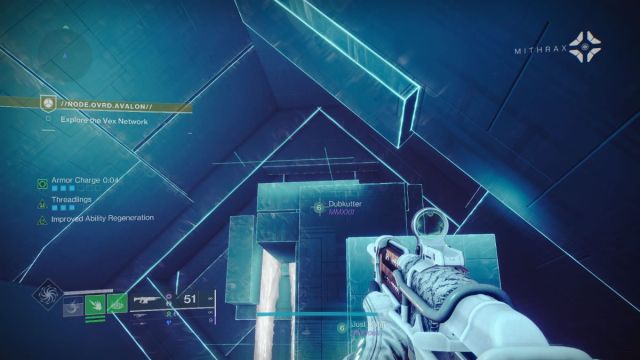
Try not to get hit by the triangle doors, as they can almost kill you.
Use the narrow ridges to navigate the Vex milk, then platform to the left and down. The platforms will periodically spawn and de-spawn, so be patient. You’ll then hit a narrow tunnel with a slanted area you can crouch walk through. Do so and try not to get knocked off.
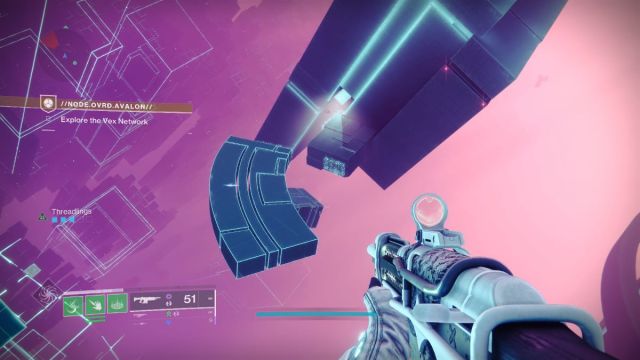
If you do get knocked off, Grapple is very useful here.
Once you’re through the tunnel, you’ll hit a large platform. Jump across towards the orb. Touch the orb to get shot into our first boss’ arena.
Gambit meets the Leviathan’s Garden / Defeat the Vex
You’ll arrive at Corrupted Data Management.
To complete this encounter, you’ll need to clear out Vex, then wait until the Corrupted Fanatics arrive. These Corrupted Fanatics will drop purple triangles which you can then slam into the Vex artifact in the center of the ring. These are Data Fragments, and the mission quest will tell you how many you need to gather.
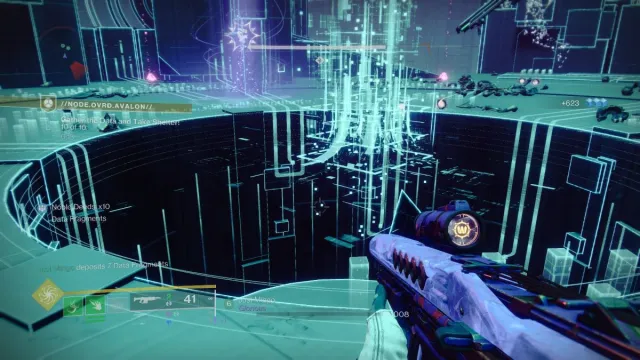
It will go up to eight, then 10, then hit 12 at max. Once you’ve slammed all data fragments into the Vex artifact, a safe room will appear beneath where the Vex artifact was. Drop in, as there’s a countdown to “deletion”. Anyone outside of this room when the countdown hits zero will be instantly killed.
Once the deletion process is done, you’ll need to repeat this process two more times.
Defeat Data Nullifier
After surviving three rounds of Vex Gambit, you will then have to defeat Data Nullifier. This is a yellow bar-Hydra, but it’s easy enough to manage with all the platforms for cover. Once the Hydra goes down, the Vex barrier will drop.
Enter the Node Core
The giant Vex Barrier along the wall will open. Head towards it. Far below you, you will see a Wyvern. It’s a good idea to kill it before you descend, as there’s a chance it can knock you off. Land on the platform where it was, and you’ll be in Variant Security Protocol. Head left, following the narrow ridge until you hit a wall. You can crouch here and make your way to the other side.
Related: How to Get Jotunn in Destiny 2
Once you’re at the end, jump on the round jump pad and you’ll be shot across the abyss.
Follow the moving stairs downward. You’ll hit a Vex Barrier that says you don’t have Security permission to pass through. That’s okay, just jump around the wall then turn left.
Follow the path left, then slide down the Vex slide to enter the boss arena.
Defeat Brakion
This is a three-stage battle, and it’s won through patience. Brakion is capable of some heavy-hitting moves with his Linear Fusion Rifle and stomp. But there’s no special method to this first fight. Do damage, and note that he’ll teleport in a counterclockwise fashion around the triangle.
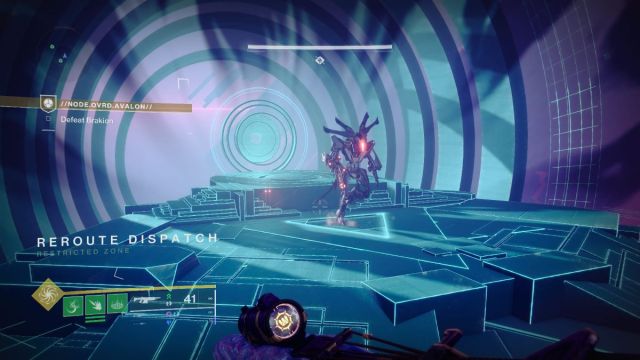
Once he’s down to a third, he’ll vanish. You can choose to clear the remaining Harpy if you’d like to get your Super charge up. Otherwise, follow Brakion through the portal.
Stage 2
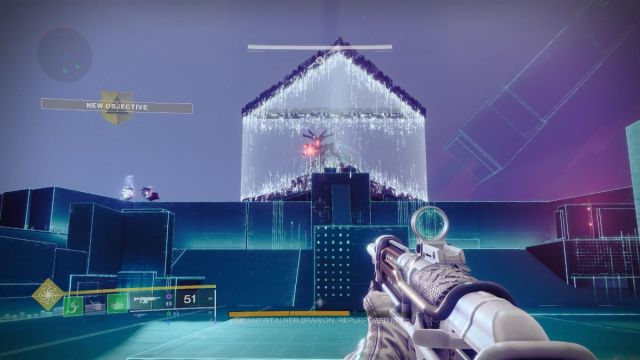
For Stage 2, Brakion will be in a cage. Cowardly, if you ask me. Clear out enough mobs until a Vex artifact appears in the center. Once it appears, you’ll find pyramid-shaped windows on the floor on either side of Brakion. Not quite on his platform, but to the left and right. Check both. One of them will have the code you’ll need to input into the Vex artifact.
Make sure to take down the Cyclops first before you check.
Once the code is successfully input, you can go into another damage phase. I found Winterbite to be very successful here.
Stage 3
This simultaneously is the easiest and hardest of the three stages. The easiest, because all you have to do is damage. The hardest, because the arena is very small, and Brakion loves to stomp on you. Do enough damage to Brakion and his head will pop off, and be wary of the Fanatics. This time, they do explode.
Eventually, you’ll be able to wear down Brakion, and he’ll fall.
Related: How to Get Winterbite in Destiny 2
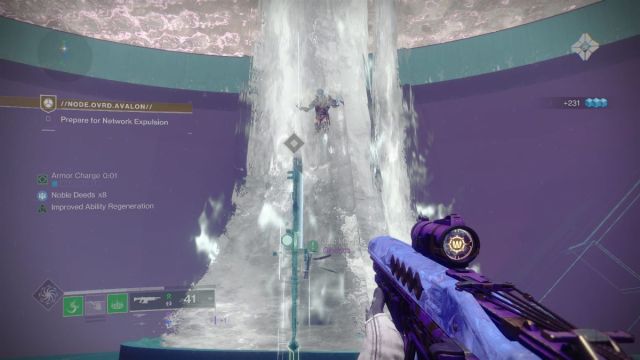
You can then approach the Vex waterfall, where an Awoken seems to be suspended within. We’ve seen images of this guy throughout the maze. It’s very Presage. Claim the weapon, and you’ll be able to take Vexcalibur into the H.E.L.M. to claim it.
