How to Complete the Tukarok Shrine in Tears of the Kingdom
Get ready to slap some wheels
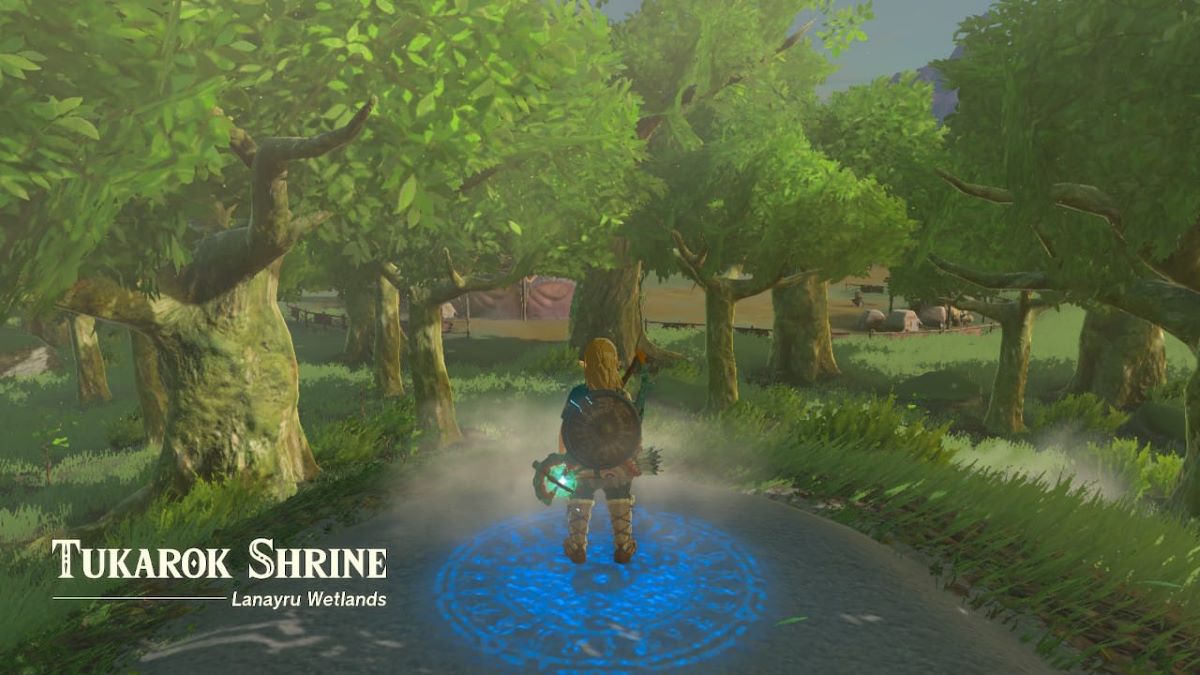
Well, you’ve made it to the Wetland Stables and now you want to complete Tukarok Shrine! Get ready to strap a giant ball to a lot of things. Here’s how to complete the Tukarok Shrine in Tears of the Kingdom.
How to Complete the Tukarok Shrine in Tears of the Kingdom
There’s no shortage of Shrines in Legend of Zelda: Tears of the Kingdom, and Tukarok is all about that Forward Force. Which naturally means lots of Zonai devices and precarious attachments.
Where is Tukarok Shrine in Tears of the Kingdom
If you’re trying to complete all the shrines, but you haven’t found this one, you’re not alone. It’s easy to miss! Just head to coordinates 0915, -0249, 0034, or go South of the Wetland Stable… which is just south of Rebonae Bride.
Now let’s get puzzling.
Puzzle 1
You’ll enter the main hall, which has a locked door on the left and right and a groove in the center. We’ll be returning to this area later, but right now, you’ll want to go to the end of the hall and down the ladder. Jumping is fine too, you won’t take damage.
At the bottom, you’ll find a giant ball and a makeshift car.
This ball is our best friend, and our aim for this shrine is to get it all the way through each puzzle and eventually back into that entrance hall with its sunken groove.
Attach the ball to the cart, then put the cart in the lava. Climb aboard, then hit the wheels.
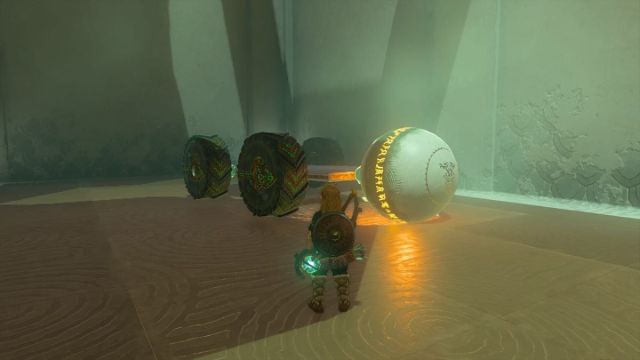
Attach the ball to the front, to the top, to the back. So long as it doesn’t interfere with the wheels or momentum, it’s ready!
Your cart will then take you over the lava pit.
Puzzle 2
This puzzle is a little more complicated, and it’s a good introduction for Puzzle 3’s solution. Shake free the ball from the lava cart, then get ready to build.
Attach the ball to the top of the cement block on the rail. Attach a wheel to the left side of the block, with the arrow pointing up the slope, then attach the stone rectangle to the side of the wheel.
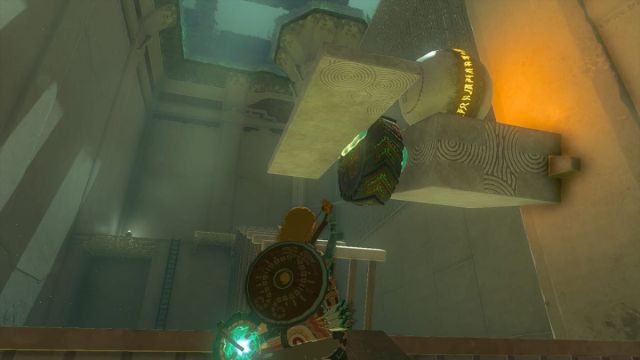
When you start the wheel, the stone plank will dip in between the “stairs” on the left of it, allowing it to use forward momentum. Because of this, you don’t want the stone sheet to be too far in either direction. It needs to catch the stairs and propel itself forward without getting stuck.
How to Get the Hidden Chest in the Tukarok Shrine
If you’re curious where the Hidden Chest is, it’s likely right beneath your nose! At least if you’re doing Puzzle 3. In the water, in the aisle that’s surrounded by stone walls, you can see the chest at the bottom. Use Ultrahand to grab it and pull it to shore.
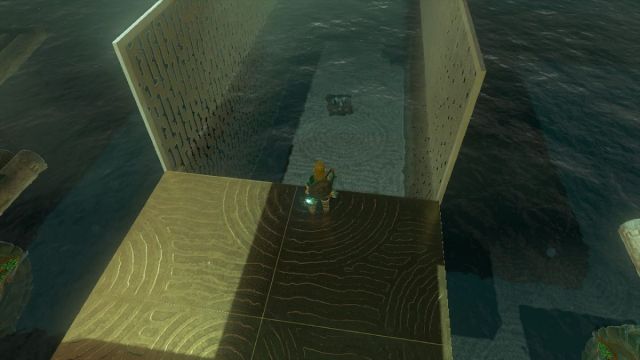
Opening it yields a Strong Zonaite Sword!
Puzzle 3
Once your makeshift car makes it to the top, climb up the ladder. Shake free your ball again and let it roll down the slope. Now we’ve got a boat puzzle!
Fortunately, this boat puzzle is just a combination of puzzle 1 and 2.
There’s already a log raft that has two wheels attached to it, and this is the one we’ll be using.
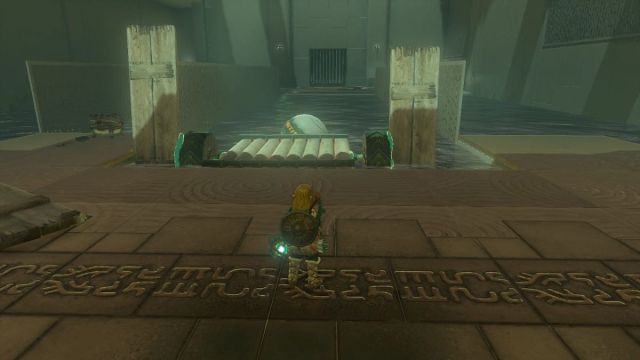
Attach the ball to the front or to the top of the raft, then attach the two wood planks on both wheels.
Just like Puzzle 2, the log planks should face in the direction you want it to go, sort of like a waterwheel.
Jump on the raft, hit the wheels, and you’ll soon be paddling across the shore. The more even the planks, the smoother the ride.
Related: All New Weapons in Zelda Tears of the Kingdom (So Far)
Post Puzzle Shenanigans
Once you’re on the other side, shake your ball off the raft, then put it on the button.
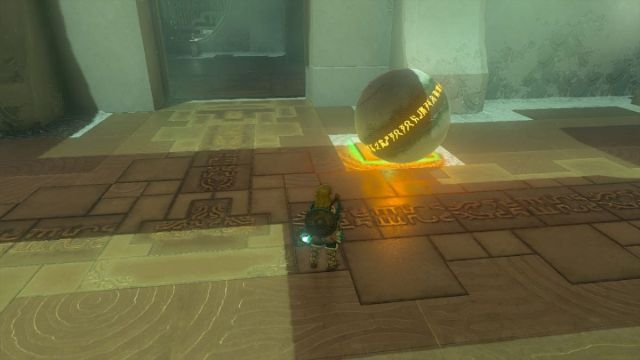
Remove it immediately once the gate opens. Like a fool, I wandered through the open door to make sure that everything was the same. But when I turned around, the ball had rolled off the button and was trying to escape back to the start of puzzle 3! Fortunately, I was able to grab it with Ultrahand in time.
Once you’ve grabbed the ball, guide it back to the groove in the center of the hall and the last room will open. Congrats on your Light Blessing!
If you’re trying to complete all the Shrines, because of course you are, check out how to complete the Ishodag Shrine here: How to Complete Ishodag Shrine in Tears of the Kingdom.
