How to Complete Ishodag Shrine in Tears of the Kingdom
I'm a FAN of this temple.
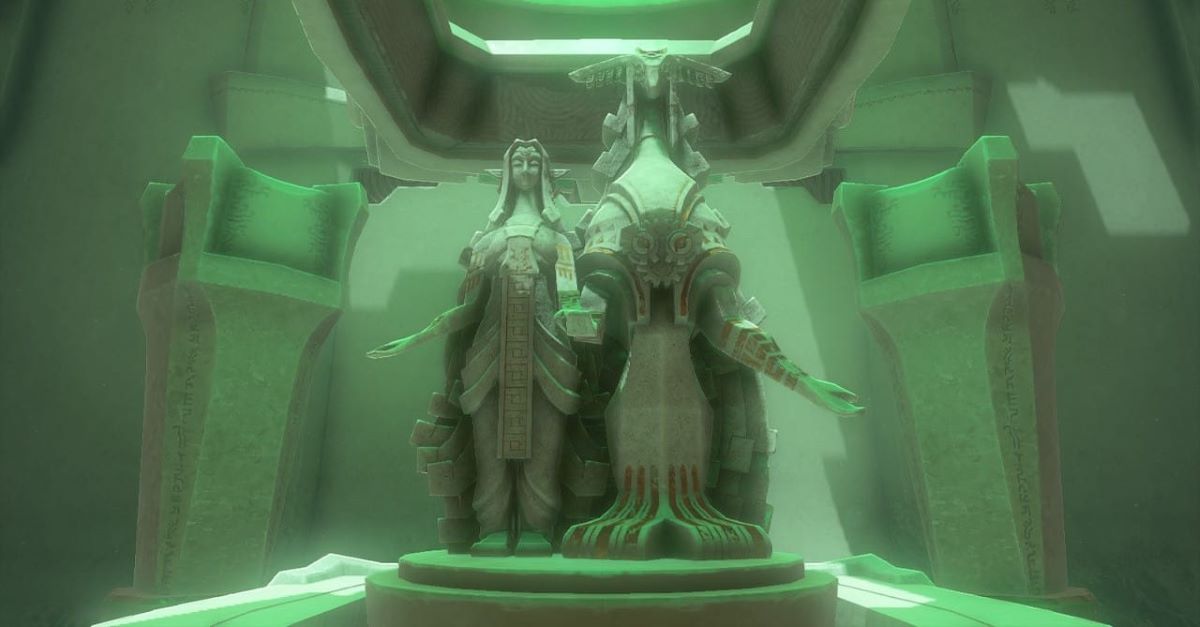
If you’re like me, you got to Lookout Landing and beelined it to the closest shrine you could see. And that’s Ishodag Shrine, which is all about windy devices. Get ready to hot glue some fans on some random surfaces. Here’s how to complete Ishodag Shrine in The Legend of Zelda: Tears of the Kingdom.
How to Complete Ishodag Shrine in Tears of the Kingdom
Ishodag Shrine is one of our first real shrines in TotK and it uses many of the new skills and abilities you’ve just obtained. So, let’s dive right in.
How to Find Ishodag Shrine in Tears of the Kingdom
If you’re struggling to find Ishodag Shrine, you’re not alone. This shrine is located just West of Hyrule Castle, at coordinates –0880, 0422, 0049. There, you’ll find it on top of a small stone hill, just to the left of Quarry Ruins. Be careful of the walking trees while you make you’re way there. I was trying to casually scope out the view when one of these things jumpscared me.
How to Solve the Ishodag Shrine Puzzles in Legend of Zelda: Tears of the Kingdom
This Shrine hosts a series of puzzles, each of which involves, as you have guessed, fans. Fortunately, they don’t require batteries, so slap these fans and let them run.
Puzzle 1
The first puzzle literally just has you in a room with a fan. There’s a wall nearby that you can’t climb. But a singular fan is all we need to solve this puzzle.
Using the Ultrahand ability, pick up the fan and set it on the floor near the wall. Have it so that it’s shooting its wind up, with the yellow circle on top.
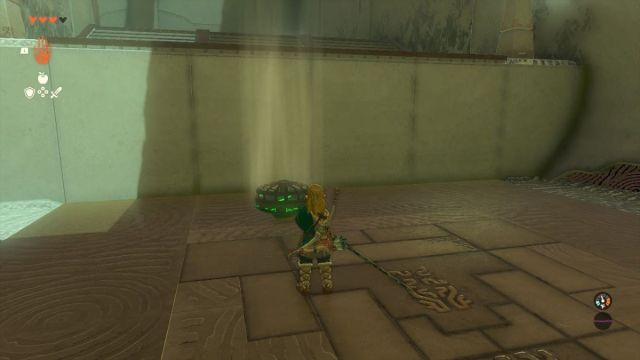
With that done, jump on it and pull out your glider using “X”. It might take a few tries, but you should be able to catch the wind and float upward onto the next floor.
Puzzle 2
Well, this is familiar! Sky Island was all about rafts, and for this all you need to do is attach the fan with Ultrahand to the back of the boat. It should look like an airboat used to zip around the bayous.
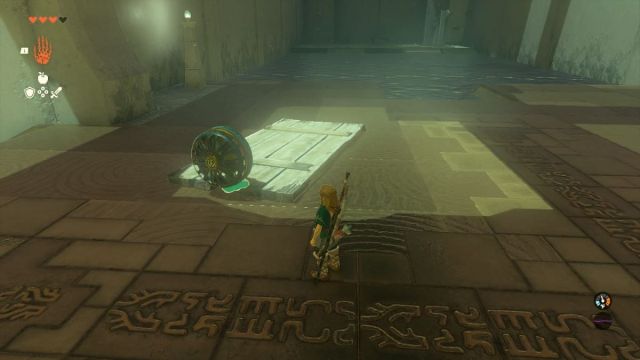
Put your boat in the water, climb on, hit the fan, and you’ll zip across the water.
I’ll note that initially I tried to put the boat in the rectangular recess, but the fan couldn’t push the boat in this location. I had to move it so that it was close to the submerged stairs for it to work.
How to Get the Ishodag Shrine Treasure Chest
Once you’re on the other side, you’ll be able to see the treasure chest hanging on a white platform near the ground. Unfortunately, you can’t just grab the goods from the chest as is.
Take one of the fans on the ground and use Ultrahand to attach it to the platform on the opposite side of the chest. Just like last time, you’ll want the yellow button to be facing away from the chest. Once the fan is attached, hit it, and the platform will lift and even out.
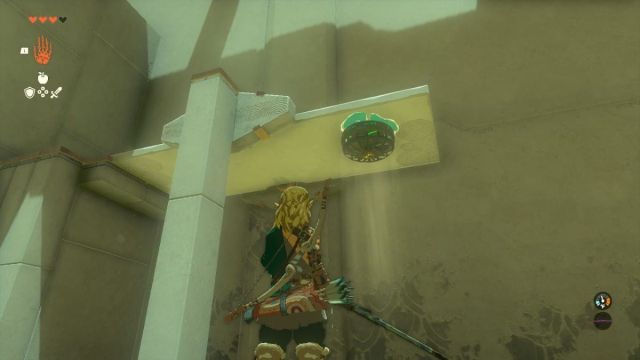
Now, go beneath the platform and use Ascend to reach the chest.
And for all your effort, you’ll get an opal.
RELATED: Where to Use Korok Seeds in Tears of The Kingdom
Puzzle 3
This is our final puzzle, and it’ll involve Ultrahand and Rewind. We need to lift the stone cart up to the next level. To do this, we’ll need both fans. If you attached the fan to the platform to get the chest, use Ultrahand to pry it off by wiggling your right joystick around.
Once you have both fans, slide them beneath the platform with the yellow buttons down. Once that’s done, hit them and the platform will shoot to the top.
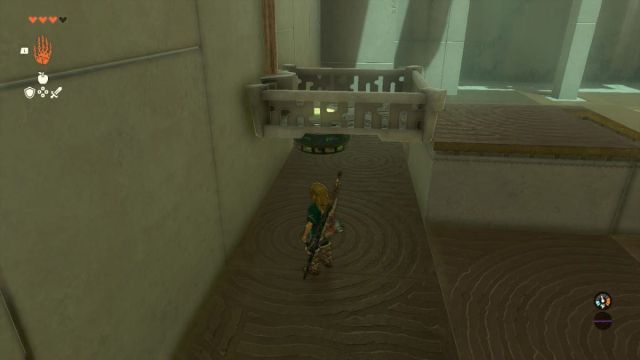
But don’t worry, we can get it back down.
Position yourself on the large block in front of where the platform used to be, then use Rewind to bring the platform back down. This will give you ample time to climb aboard.
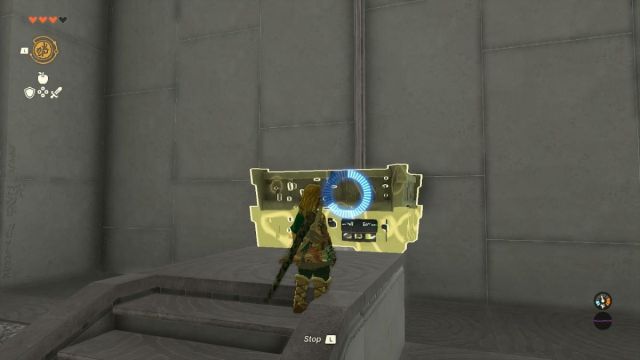
Use the “L” shoulder key button to stop the rewind and you’ll shoot to the top, earning yourself a new Light of Blessing.
And there we have it! There are so many Shrines in Tears of the Kingdom, and they all require a bit of puzzling. If you’re trying to get as many Light Blessings as possible, check out this shrine next: How to Complete the Jiosin Shrine in Tears of the Kingdom.
