
How To Complete The Farmer Ancient Vault in Enshrouded – Puzzle Solution
Find out how to solve this head scratching mystery.

As you progress through Enshrouded, you can expect that the Ancient Vaults become more difficult to complete. Let’s find out where all of the door switches for the Farmer’s Ancient Vault are, as they can be difficult to find.
How To Do The Farmer’s Ancient Vault Puzzle in Enshrouded
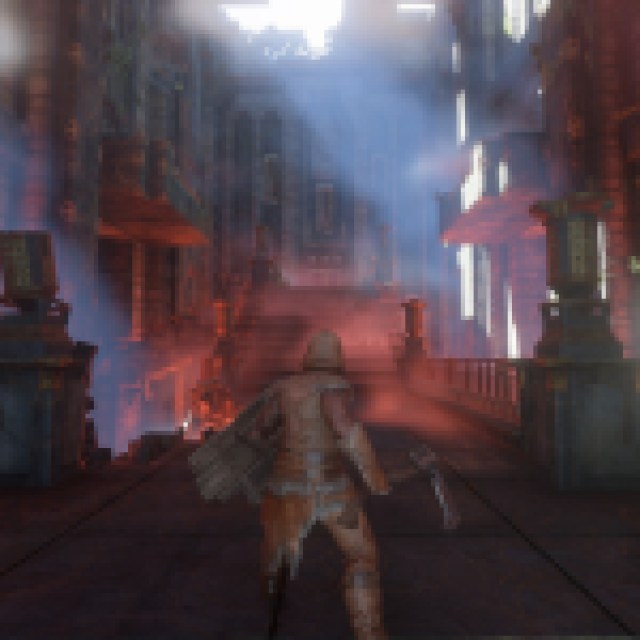

When you first arrive in the Ancient Vault, you may notice a large door ahead of you that is unable to be opened. You’ll need to navigate the Labyrinthian building before you find three different switches, all hidden within different parts of this building. You’ll want to head up the stairs toward the door, stop about halfway across the bridge, and look to the left.

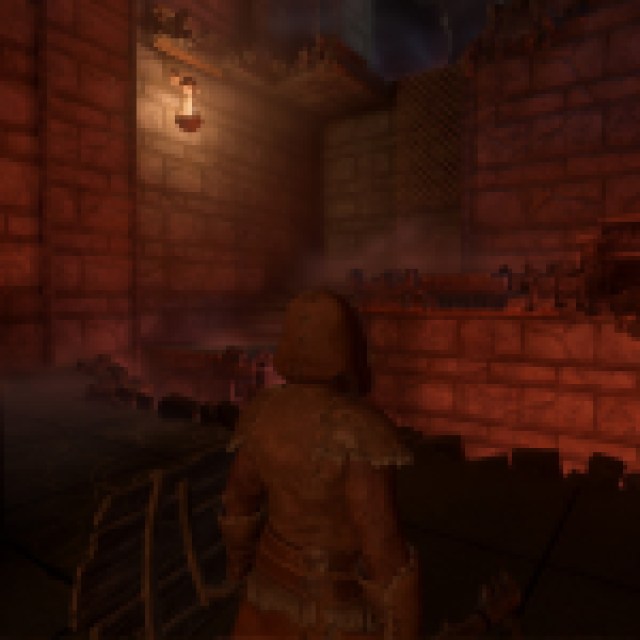
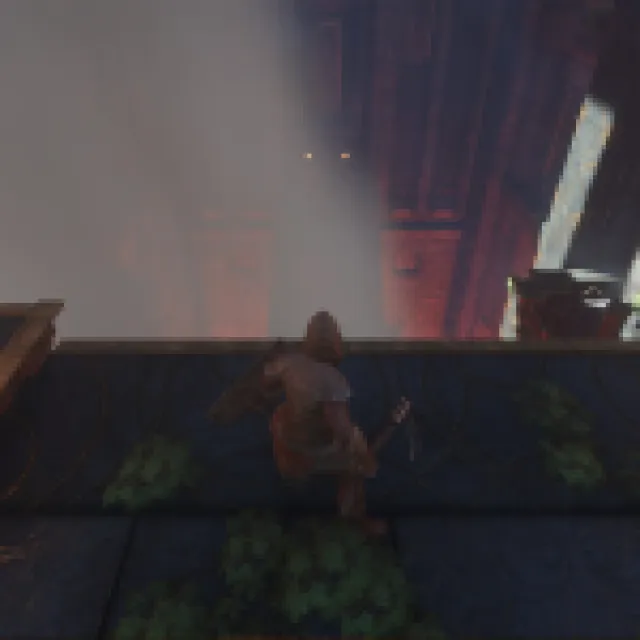
Here, you’ll notice that you can use your Grapple Blade to make it across. If you sprint and jump, you could also attempt to land on the other side using your Glider if you happen to have one. We strongly recommend having a Glider by this point in the adventure, as it makes navigating the world around you much more enjoyable. Once you have gotten across this gap, you’ll want to head to the right, into a room with a few small platforms above a pit of flame.
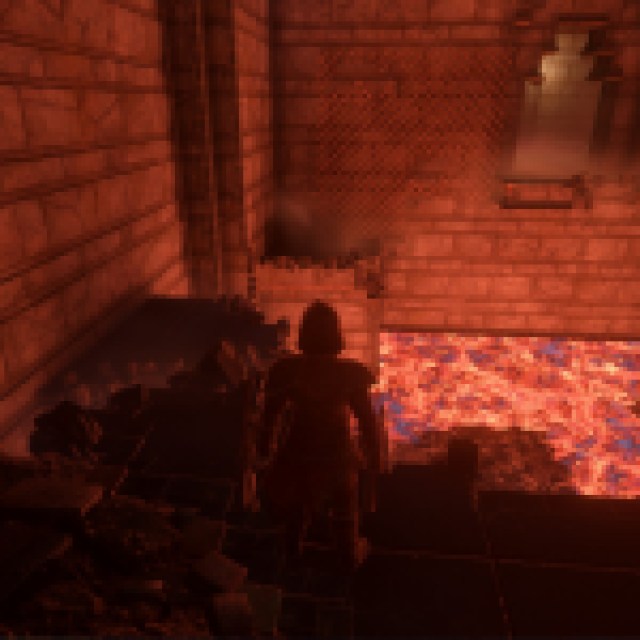

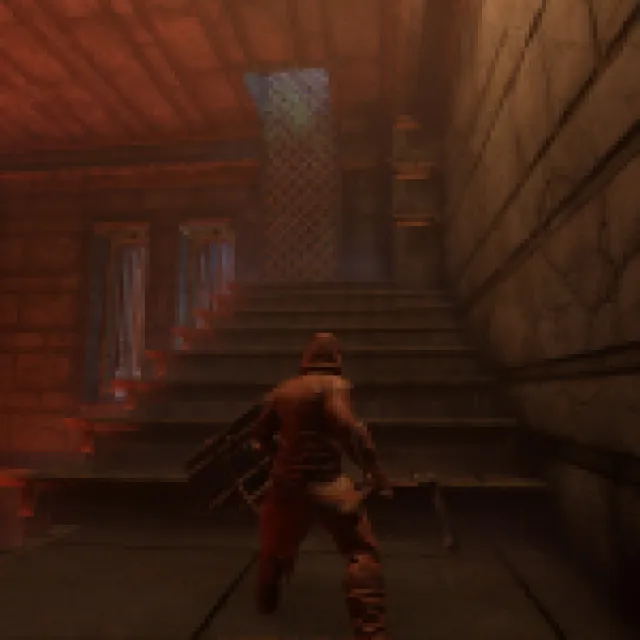
You’ll need to jump across to the platform that is to your left and jump once again to land on the second platform. Make sure that you have enough Stamina, as you’ll have a small bit of climbing to do on the lattice ahead. Make your way into the small doorframe, and get ready to do a simple timing puzzle.
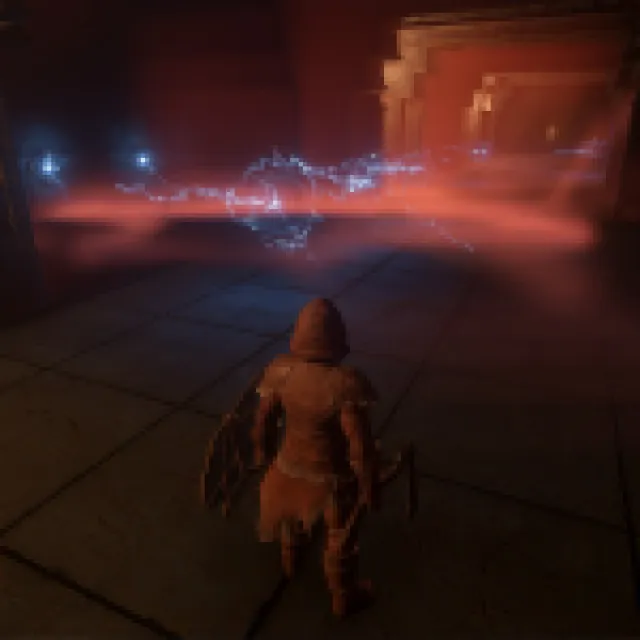

These balls of electricity hurt quite a bit, so you’ll need to time your movements correctly. For the first set, each electric ball is shot at the same time, so make your way in between them and head across. If you’re feeling risky, you could jump over them, but I would recommend just taking your time in this particular section. One wrong move and it’s back to the start for you.
The next set of electric balls is shot with a slight delay, so you can either time it and run across them all at once, or you can just do the same method as you did before. I did the latter, as I wanted to ensure that I could easily make it across without taking any damage. Just go past the first, wait in between the first and second shots, and repeat the process until you make it all the way through.

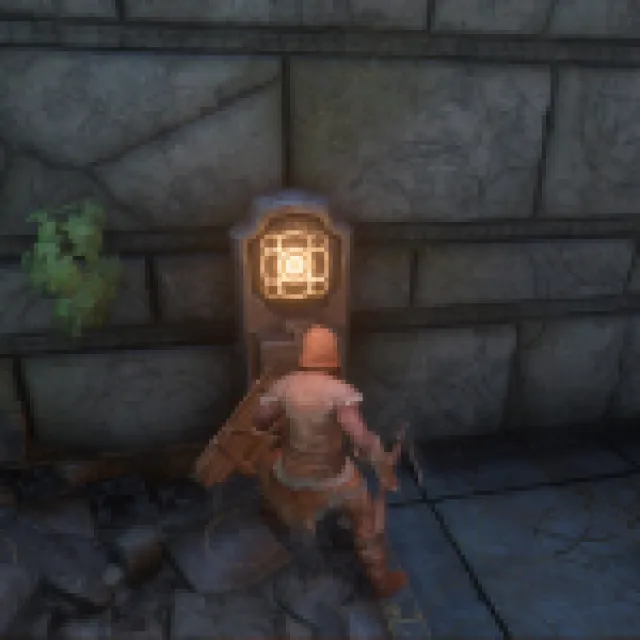
You’ll find the first switch at the back of this room. Approach it and press the button shown on the screen to activate it. One down, two more to go. Thankfully, they’re not as difficult to get to, but they can be just as confusing to find. Head to the right out of this room and get ready to encounter the next switch.

Unlike games like Palworld, you can only climb up areas that have this bit of Lattice on them. Toward the back of the room that you’ve just entered, you’ll find a perfect climbing point — head directly toward it to proceed to the next portion of this puzzle.
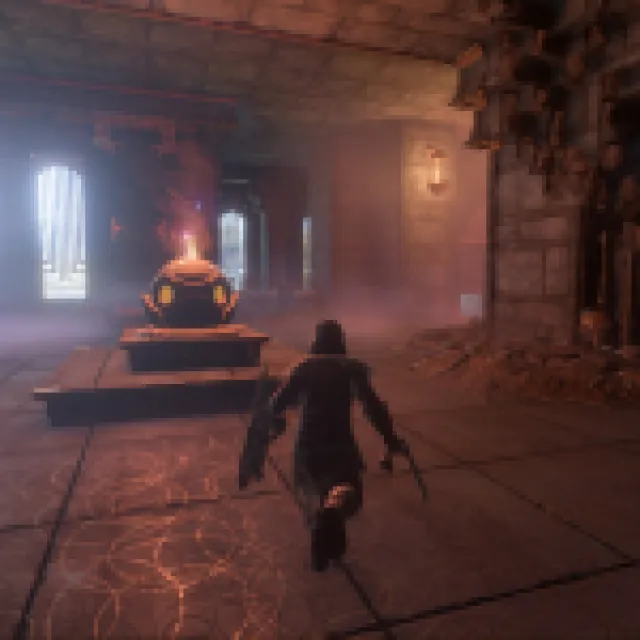

Head past the Return Sphere — this is automatically activated and will restore you from here if you die at this point — and head to the small opening toward the right. Stop and let your stamina refill, as you’ll need to do two grapple jumps in a row to get across to the next portion of the map.


Look toward the ceiling and spot the two grapple points. This is easily the most frustrating part of the journey that you’re on and I can admit that it took more attempts than I would like to admit to nail this part — mainly because I didn’t have a full Stamina bar. If you have any Stamina restoration or boosting items like Water, I would recommend taking a sip before you attempt this part, as Grapple Jumping can be a major drain on your Stamina bar.


Press the Grapple Button to start, swing, and jump, then press the grapple button again to make your way across. You’re very close to the next button, and you’ll thankfully respawn in the previous room if you happen to miss your jump. It’s a frustrating portion, but repeated tries can make this a breeze for you to get through.


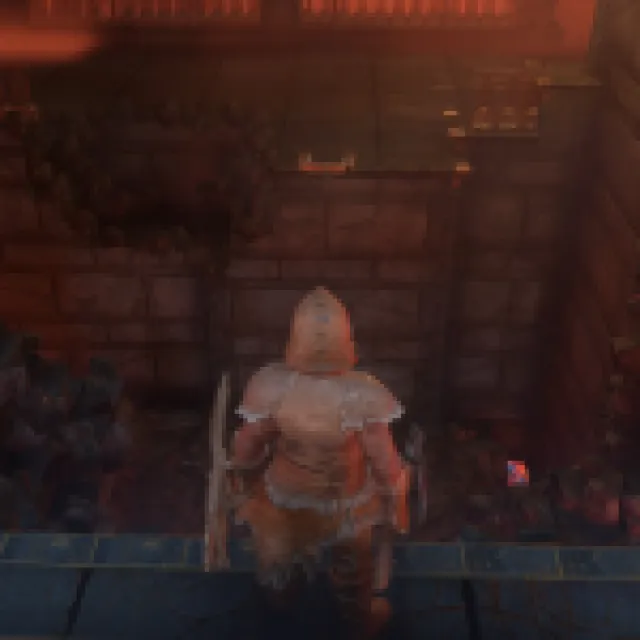
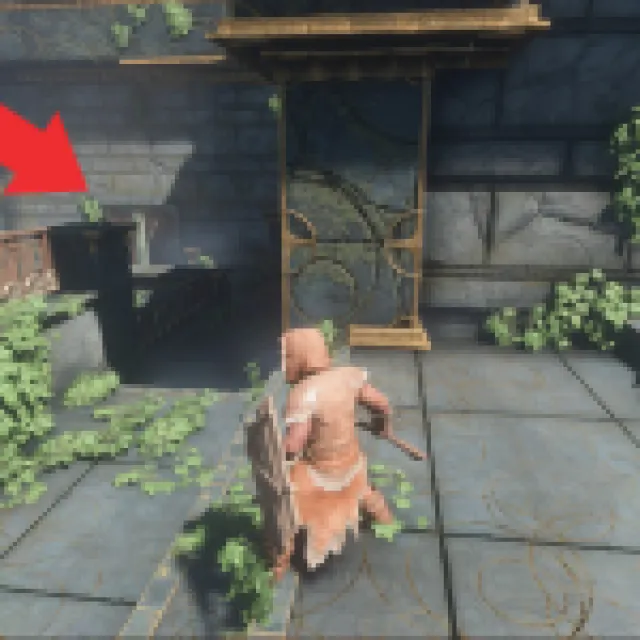
You’ll find the second switch in the room that you’ve just landed in, so press it to activate it once again. From here, you’ll want to head through the largest point in the room as detailed in the photo below to start the journey to the final switch.
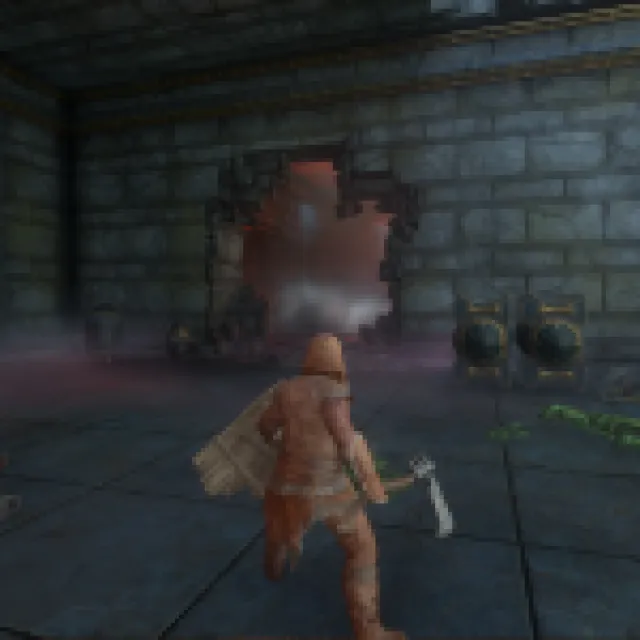

You’ll find the proper doorway to leave through is the one that is surrounded by all of the metal casks. If you’re looking for some extra materials, I recommend breaking those open as they’ll drop Metal Sheets, Wax, Salt, and other valuables. Once you’ve gathered up what you need, head directly out of this room and make an immediate right turn.

Head up this small staircase and climb the lattice at the end of it once again to be taken outside. You’ll have a large portion of space to work with, but you’ll want to head out onto the balcony and take a right turn. Keep going straight, and you’ll eventually find another right turn that you can take.

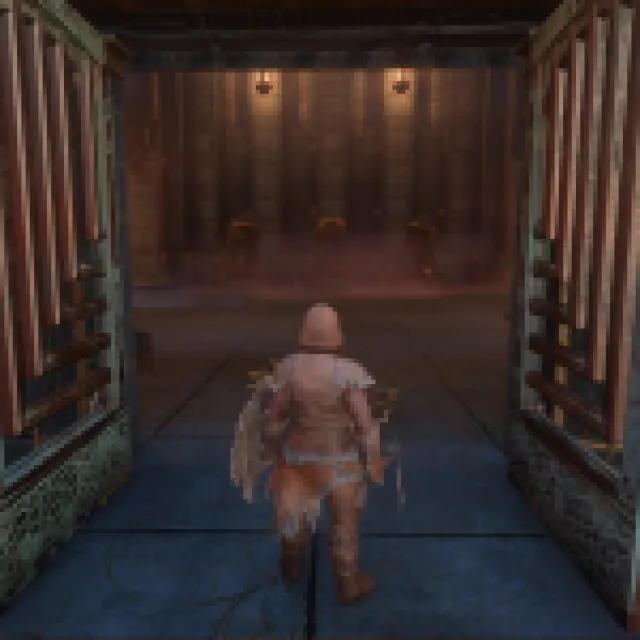
Keep walking down this path until you encounter a door that can be opened, leading you to your final obstacle — the Spike Pit. Press the button shown on your screen to open this door, and head in. Be sure to watch the spikes on the floor to learn their pattern, as they can easily kill you.
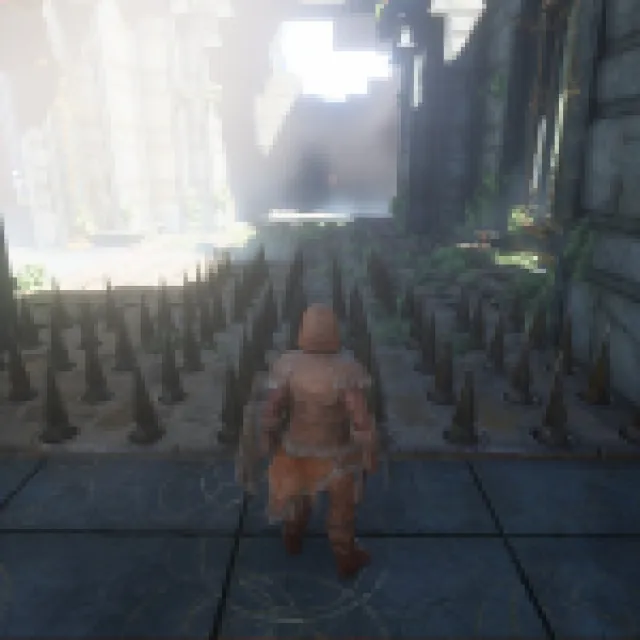

As mentioned above, take a few moments to watch the pattern of the spikes on the floor. These are even more dangerous than the electric balls by the first switch, so you’ll want to ensure that you’ve got the pattern down before running into your death. If you find that spikes are about to burst from the ground, you can easily jump over them and hope to land on the next free space available to you.

At the end of this room, you’ll find the final switch — by pressing this, you’ll open up the door that leads to the Ancient Vault where the Farmer is waiting to be freed. You’ll just need to head back down into the room you originally started in, with a convenient drop point near this final location.

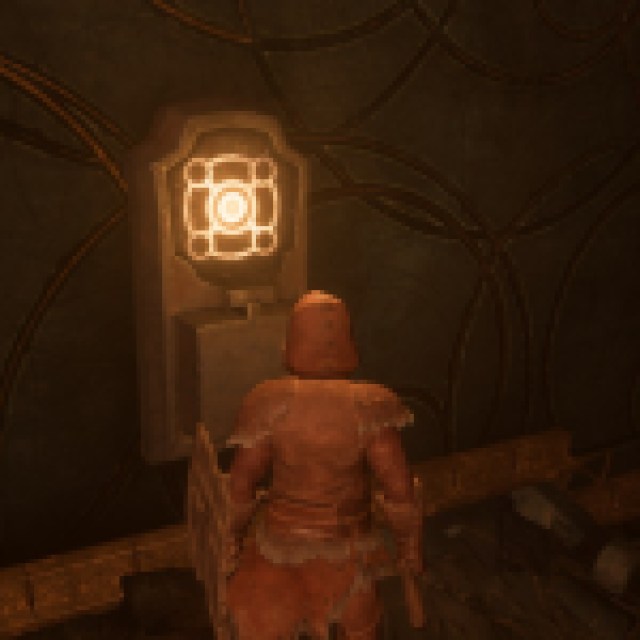
Look for the glowing lights that are above the door, and use your Glider to make your way back down. There may be times when it looks like only a few lights are illuminated above the door, but if you move your camera around or your character, you’ll see that all of the lights are working properly, meaning that you’ll have full access to the room before you.

Finally, look for the glowing red pod that will have the farmer inside. Congrats, you’ve unlocked a new member for your camp and a fair number of new recipes that you can use to keep yourself healthy on your journey, and you can finally leave this forsaken place.
Be sure to keep your eyes on our Enshrouded section below to learn more about the game, and find out if you can try it before you buy on Xbox Game Pass.