How to Complete Should You Choose to Accept It, Part IV in Destiny 2
Finally, the last Catalyst!
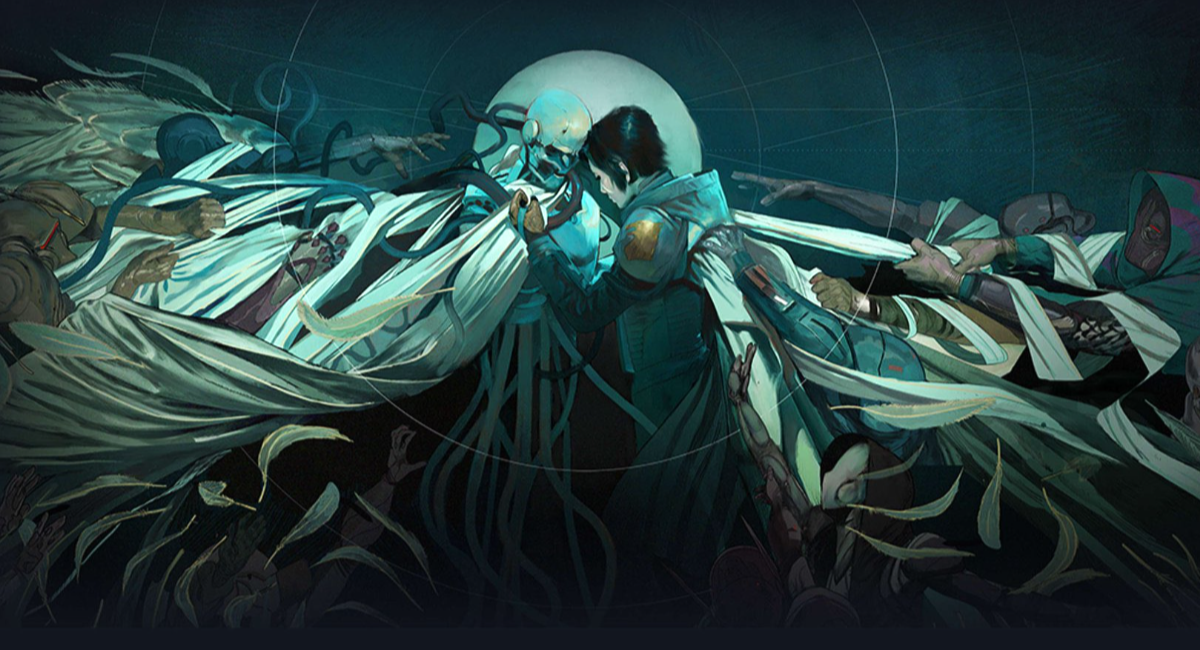
We might have finally finished More Than Just A Weapon, but Revision Zero still has one more Catalyst we can earn. This Catalyst, 4-Timer Refit, is the prize for completing the next step in Revision Zero’s quest line. So let’s get right to it. Here’s how to complete Should You Choose to Accept It, Part IV in Destiny 2.
How to Complete Should You Choose to Accept It, Part IV in Destiny 2
This quest is 7 steps long, so buckle up. Our first goal: to return to the Diocles Annex and download a cryptographic index.
Head to the H.E.L.M.’s map, and you’ll see the “Warmind Launch Facility” icon beneath the Golden Operation: Seraph’s Shield icon. Select the Warmind Launch Facility, and you’ll get the option to launch Operation: Diocles.
Launch it.
Operation Diocles: Infiltrate the Launch Control Facility
If you recall the past few weeks, you’ll find the terrain instantly recognizable. Snowfields stretch around us, spotted by conveniently placed rock outcroppings. These rocks will provide the cover we need to avoid the stares of the Watch Towers, who will kill you if their laser touches you for fifteen consecutive seconds.
Navigate along the snowfield, using the rocks for cover. But around each rock will be a spawn point for Thralls and at least one Knight. Kill these Thralls and Knights before moving to the next bit of cover.
This week, we’ll need to climb up the outcropping along the mountain wall to access the facility’s roof. If you’re unsure of where to go, just look for the Knights trying to shoot you from the rooftop. Wherever there are enemies, that’s a sure sign of where to go.
There’s probably a life lesson in there somewhere.
Hop onto the roof, and you’ll be assaulted by a handful of Thralls. If you need to, you can crouch behind one of the raised vents to avoid Threat Detection from the watchtowers. Head to where the Thralls spawned, and you’ll find a closed vent with a Hive Trap in front of it. Sneaky sneaky.
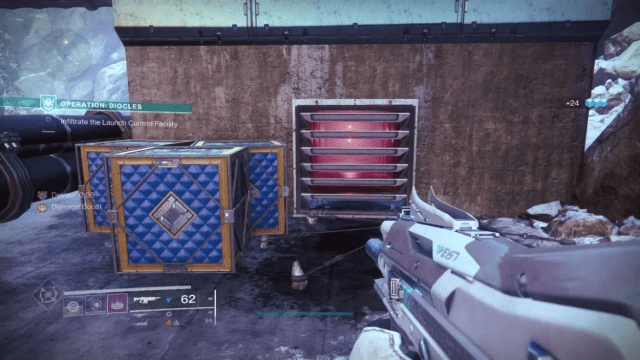
But at this point, you should have Tactical Armor, so traps mean nothing to you. Shoot out the vent and head inside.
You’ll drop down and you’ll be faced with a few laser traps. If you’re trying to avoid any type of damage, crouch down and you’ll avoid being touched by them. But it really isn’t necessary. Turn right past the lasers and you’ll drop down into a rusted-out maintenance room.
Climb the stairs and go past the lasers, to find the ominous pit. This is my least favorite part of the level. I’m so awful and not slamming my head into the roof and dying. But either way, you’re going to need to take the plunge and throw yourself into the hole.
Reach the Launch Control Room
If you do manage to survive the jump, you’ll be shot into a room with two Acolytes praying to a Shrieker. The Shrieker will do everything in its power to gun you down, so scuttle back out of the room and take shelter near the door frame. From this position, shoot at its iris and it should go down quickly enough.
With the enemies taken care of, you can then enter a viewing room. There will be a handful of Acolytes here and one Wizard. Approach the window, and you’ll be able to get a peek at the boss we’ll be fighting today. It looks like a large Wizard with at least two Shriekers, a ton of Acolytes, and some crystals we’ll eventually need to shatter.

But for now, head lead left.
You’ll enter a short hall that has both a Hive Trap and Crystals we’ll need to break. But unfortunately, they have an impenetrable over shield. To take down those overshields, we’re going to need to defeat the yellow-bar enemy protecting them.
There will be 5 Acolytes in the room. Kill all 5, and the Crystal Singer Wizard that protects the Crystal will spawn. Use a Fire-Elemental weapon to immediately burst down its shields and kill it. The death of the Crystal Singer will drop the shields around the Crystals.
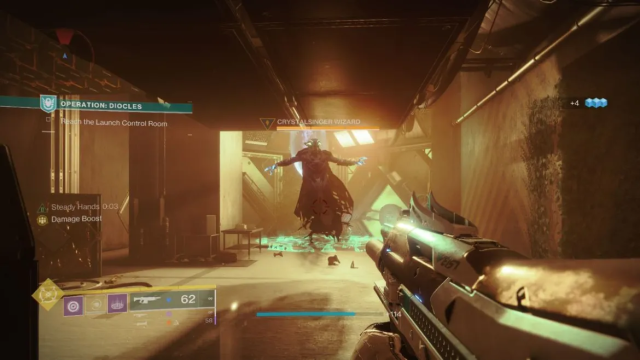
There are three Crystals we’ll need to destroy in this short hallway. The first is where we entered. The second is where the Crystal Singer Wizard Spawned. And the last one is in an alcove right before the door we need to get through.
Destroy all three, and the closed door will open. This is our introduction to the boss mechanics we’ll have to deal with once we finally get to the Big Wizard’s room.
The next room we’ll enter is far worse than the previous because it’s much smaller and it has more than Acolytes. It’s practically crawling with Cursed Thrall, which will explode and kill you if you let them get too close. Prioritize these Thralls, and the Crystal Singing Wizard will spawn.
But with the Crystal Singing Wizard will be another group of Cursed Thrall, so don’t stand too close to the rune door where they spawn. Again, prioritize the Thrall, then take down the Wizard. Once the Wizard is dead, you can turn towards where you entered the room. There, floating midair, will be two Crystals. Shoot both of them, and the rune-sealed door will open.
This next room is even harder than the last. It’s larger, for one, and contains three orange-bar wizards, a bunch of Acolytes, and one yellow-bar Shrieker.
Once you’ve killed all three Wizards, the Shrieker, called Warden of Xivu Arath, will open its eye. It’s a yellow-bar enemy, and it packs a punch. Use the many pillars in the room to avoid its constant barrage. Once you’ve shattered this giant eye, a yellow-bar Crystal Singer Wizard will spawn. Kill it, and the three crystal scattered around the room will lose their Overshield.
All three crystals are on the higher level. The first is on the right of where you entered. The second is to the left of where you entered. The final Crystal is in the far-left corner of the room, close to where one of the orange-bar Wizards lurked.
Once all three are destroyed, we’ll finally have access to the Boss Room. Prepare yourself, because this will easily be the hardest encounter of Operation: Diocles.
How to Defeat the Boss in Operation: Diocles
So, this is a boss that throws down a lot of firepower and has a few strange mechanics.
As we saw before on the upper floor, there is a Wizard here, called the Scourges of Xivu Arath. She’s a yellow bar with three stages, though it only displays two. That’s because of her mechanic. You’ll need to lower her health to half and then she’ll spawn a duplicate with the same health and the same firepower. There’s a reason why she’s called Scourges of Xivu Arath. You’ll then need to defeat both to clear this encounter.
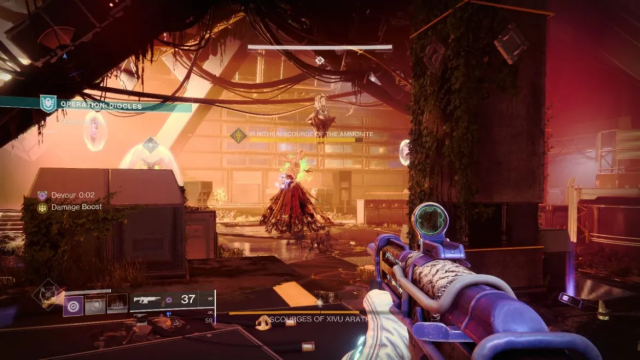
Here are all the phases of the battle:
- Defeat the Shrieker immediately in front of you when you enter. This will prevent a lot of devastating trash damage that might kill you otherwise.
- Head to the Wizard and take down half of her health.
- She will spawn a duplicate. Prioritize killing one of the two.
- The second Shrieker in the corner of the room will open its eye and begin attacking you. Kill this Shrieker and the shield around the crystals will fall.
- Shatter the crystals. This will trigger two phases of the Wizard’s fire area of effect attack. Hide behind a pillar to avoid damage. The damage can be devastating if your shields are already broken.
- The third Shrieker will open its eye and begin attacking. Kill it first.
- Finish off the last Scourge Wizard.
Throughout this fight, more Cursed Thrall will spawn, so don’t over-focus on the Wizard. Keep your surroundings clear, and you should be just fine.
Download the Launch Codes
Once the Scourges are in their graves’ head over to the platform and down the cipher. This will trigger the end of the mission and give you your next objective. And since this mission’s theme is the Cosmodrome, that’s precisely where we’ll be headed.
Decrypt Passcode Cipher
Once you’ve selected a place to land in the Cosmodrome, you’ll be given your next mission step. It’s your goal to bring down combatants and complete controls in order to decrypt a cipher. I’m not sure how genociding the Fallen and Hive will decrypt it, but for some reason killing is almost always the answer in Destiny.
The absolute best place to go for this part of the quest is Skywatch. Here, the spawns are plentiful and the patrols are usually very easy to complete. You’ll likely be done with this step in less than five minutes. When you are, you’ll be given the next step.
Locate the Dead Drop
The Dead Drop is embedded, as per usual, in a Lost Sector. We’ll need to head to Exodus Garden 2A, and the best way to do that is to go to The Steppes. If you remember your days as a New Light, it’s where Shaw Han is.
From where you spawn in, you’ll want to immediately turn around and work your way through the warehouse behind you. This entire run was extremely nostalgic, and you’ll know you’re going the right way if you hit Dock 13.
Eventually, the warehouse will end, and you’ll enter an open area that’s reminiscent of the outside of a decaying factory. Keep heading straight, and you’ll eventually hit a large silo which you can climb up using some fallen debris. This is where the Lost Sector is.
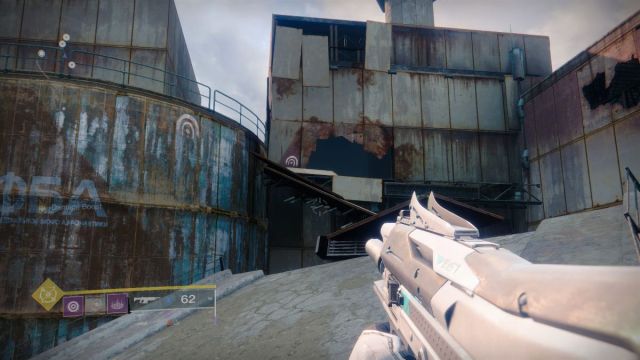
Head inside and complete it, dispatching of all the Fallen that will try to kill you. If you find yourself stopped by purple barriers, it means there are still enemies in the area you have to kill.
Once you take down the Giant Servitors and its lesser minions, you’ll be able to open your Lost Sector chest. But close to the entrance will be the Dead Drop. Interact with it and step back. It will explode and kill you otherwise.
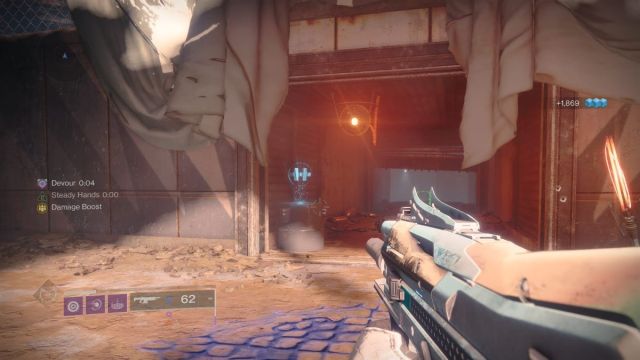
And that leads us to our last step!
Complete Operation: Seraph’s Shield on Legend Difficulty
Yep, the last step is to head right back to where it all began. Go to the H.E.L.M. to access the mission Operation: Seraph’s Shield.
Related: How to Get The Inquisitor (Adept) in Destiny 2
It’s recommended that you only take on this challenge at Power Level 1580. This promises to be a challenge if you’ve never done a Legend Difficulty Exotic Quest before. You’ll face much stronger enemies, including a higher number of Unstoppable and Shield Champion enemies.
Four modifiers are added to Legend difficulty. These are:
- Mettle – The activity is at a fixed difficulty, meaning your Power Level is capped at 1580.
- Legendary – Heavily shielded and highly aggressive combatants appear in great numbers.
- Chaff – Radar is disabled.
- Galvanized – Combatants have more health and are more difficult to stun.
Good luck, Guardian!
