
How to Complete Should You Choose to Accept It, Part I in Destiny 2
Is there anything we won't do to make big numbers get bigger?
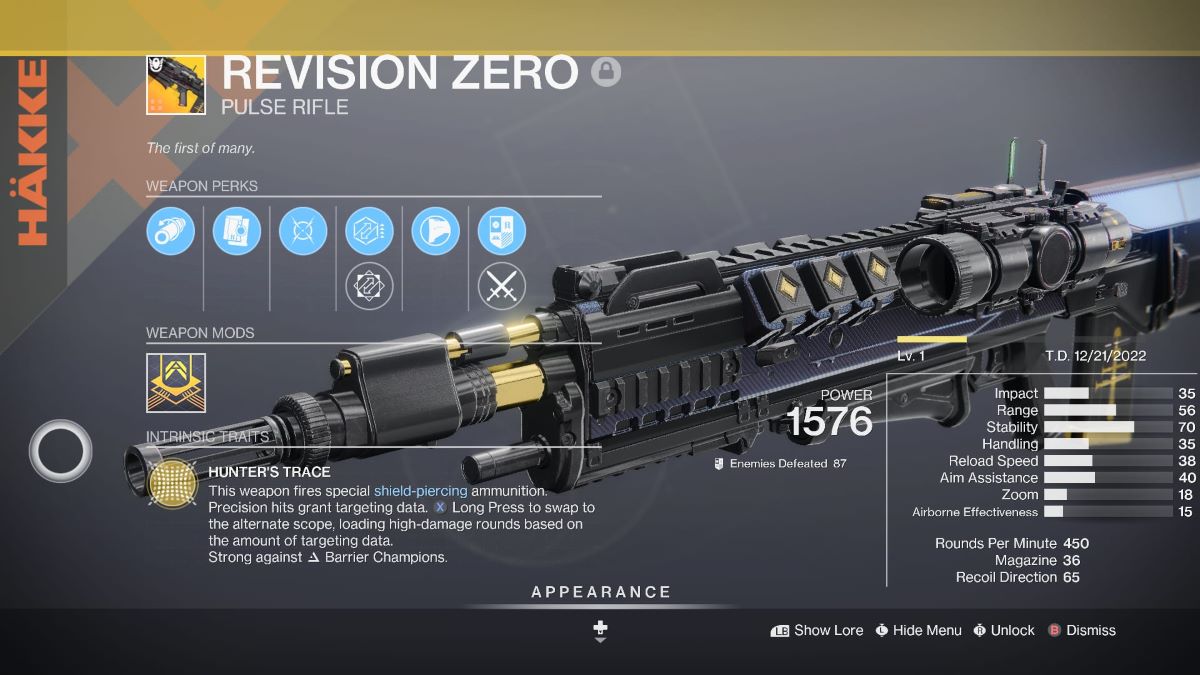
Finally, we can get our hands on the catalyst for Revision Zero, the Exotic Pulse Rifle. To do so, we’ll need to head back to the Archimedes Annex within the Seraph Facility at Twilight Gap to retrieve a cryptographic index. This index will allow us to decode the dead drops that FEN-092 has left.
Here’s how to get that index and complete the mission, Should You Choose to Accept It, Part I.
How to Complete Should You Choose to Accept It, Part I in Destiny 2
Head over to the H.E.L.M. and you should see that there’s a new Arena that you can select called Warmind Launch Facility. It will be right below Operation: Seraph’s Shield.
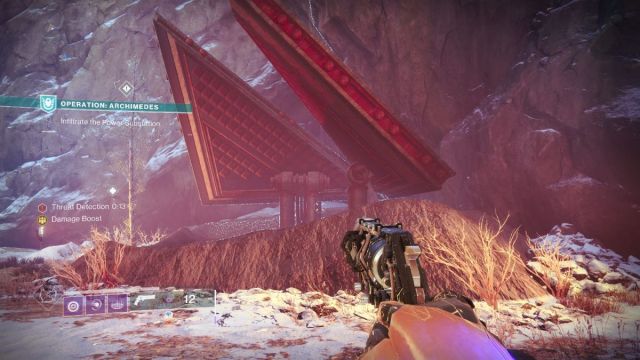
Infiltrate the Power Substation
You’ll arrive and the now familiar snow fields outside of the launch facility, with plenty of watch towers staring down at you. You can be in their line of sight for fifteen seconds before they complete obliterate you. You’ll know they’re looking at you because you’ll have a red laser on you, as well as a counter on the left side of your screen.
Use the conveniently placed rocks to wait until the counter vanishes, while taking down any Knights or Thralls that will attack you while you’re hiding. A Scout Rifle is very useful here. Head past the facility doors that you used when you played through Operation: Seraph’s Shields. We’re looking for this underground entryway near the cliff wall.
Head inside and descend.
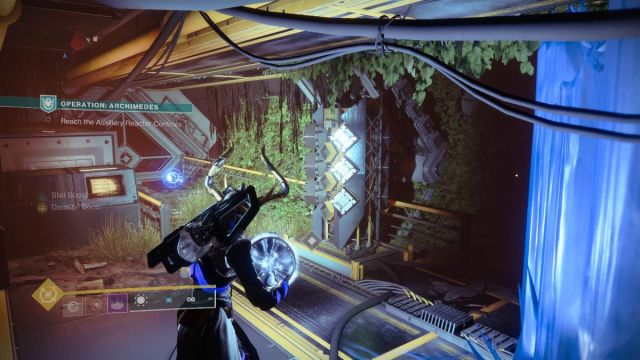
Reach the Auxiliary Reactor Controls
You’ll reach the Seraph Facility Sublevels. Right in front of you will be an ominous pit wreathed in a sort of rust-toned mist. Jump into it. Be careful not to die as you hit the floor, managing your last second jump so you don’t hit the wall.
You’ll enter a room with a handful of Thrall. Clear them out and head forward.
The next room is the Archimedes Annex. There will be Acolytes and Knights here. Take everyone out then head into the diamond shaped corridor. Expect resistance. You’ll be attacked by Acolytes and Knights, and once you’ve defeated all of them, a yellow-bar Arc Knight will spawn.
Related: Best Dawning Weapons in Destiny 2 Listed
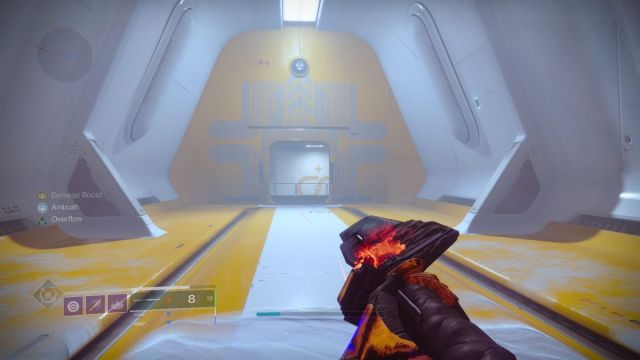
Kill it, and it will drop an arc charge. There will be a pillar in the room that you can deposit this charge into. If you played the Heists, it’s the same pillar that you use when fighting the final boss. This will open the door to the right, which reveals a corridor with a hive trap. Hit the crystal to temporarily disable the Hive trap, then head through.
You’ll find yourself in a claustrophobic tunnel with plenty of Revenant Thralls to keep you company. Kill them, and you’ll see there are a few Revenant Acolytes and two Revenant Knights in the back. I found spamming Grenade Launcher shots here to be effective, as it takes advantage of the close quarters.
One all the Hive have been killed, another Arc Knight will spawn. Kill him, and deposit the arc charge into the pillar at the end of the tunnel. That will open the door to the right of the pillar. Now, prepare yourself for the boss fight.
Clear the Hive and Charge the Final Battery
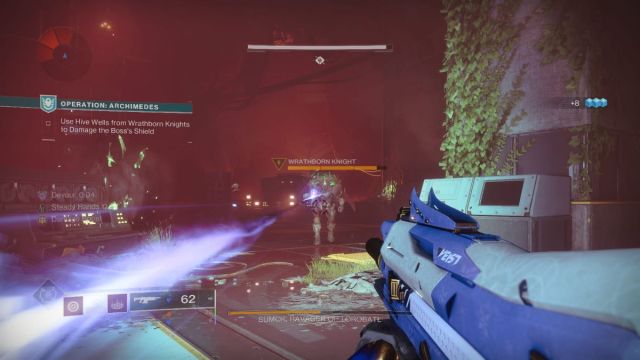
You’ll enter the next room, which is a large circular arena that contains a lot of Thrall, Acolytes, and this big boy: Sumok, Ravager of Torobatl.
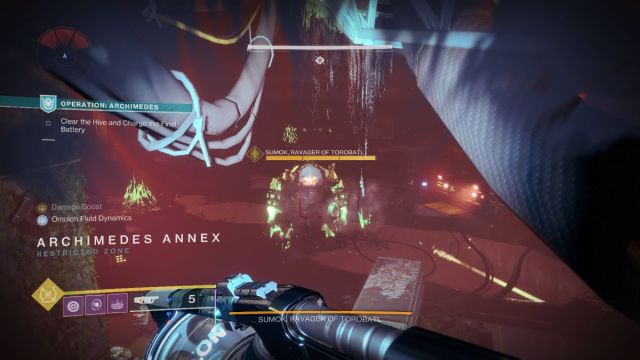
Get this yellow-bar ogre to half health and it will gain an invincible shield. The only way to penetrate this shield is to defeat the handful of Wrathborn Knights around the arena. These Wrathborn Knights are a pain. They’re quite tanky and they also deal a lot of damage. But defeat one, and it will drop a Hive Well ring where it dies, allowing you to penetrate the Ogre’s shield. You must stand in the ring to do damage, and the ring does not last forever. If you don’t break the shield with the first Hive Well, you’ll have to kill another Wrathborn Knight and try again with the new ring.
Chipping away at the boss’s shield with your standard kinetic weapon isn’t recommended, as the damage output will be low. And since you have a limited time per Well, it’s better to go into the fight with a Rocket Launcher, Machine Gun, or Grenade Launcher power weapon. Whatever allows you to do as much damage as quickly as possible. You won’t want to stand still for too long, as Sumok will do his typical Ogre laser beam, and there’s a good chance that if you’re not prepared, it can kill you.
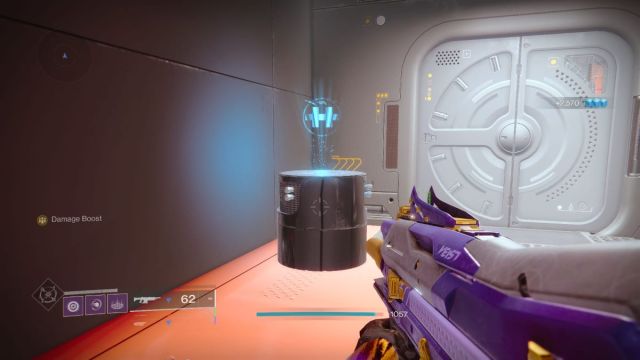
Once Sumok falls, you’ll need to clear out the rest of the arena, defeating the acolytes that will spawn in. Once the arena is clear, you can pick up the Charge Sumok dropped and insert it into the pillar in the room.
Restore Auxiliary Power
With the charge inserted, turn around and you’ll see a control panel with a dozen screens. Interact with it to restore auxiliary power and download the cipher.
This will complete your mission here at Twilight Gap. But you didn’t think it would be that easy, did you? No, getting absolutely pounded on by a giant ogre and half a dozen Wrathborn Knights wasn’t suffering enough. Now you have to grind.
What’s next?
Head over to Europa. To decrypt the passcode cipher, you’re going to need to defeat combatants on Europa and complete patrols. The best place to farm both patrols and kills is Cadmus Ridge and Eventide Ruins. The spawns in Asterion Abyss are a little too spread out for our purposes.
Each kill counts for 1%. Completing a patrol counts for 10%. Combine the two for added efficiency.
Cipher // BARDEN
Once you’ve completed enough kills and patrols, head to Cadmus Ridge and the Perdition Lost Sector to upload the Cipher. To find this Lost Sector, head North, towards the path that would lead you to Eventide Ruins. Follow the ice wall on the right, and it will eventually open into an ice cave. Follow it, and you’ll reach the Lost Sector.
Related: All Warmind Node Locations in Destiny 2’s Operation: Seraph’s Shield
This Lost Sector is full of Hive, from Harpy to Minotaur. Defeat them and head upstairs. Here, you’ll face more Goblins, Hobgoblins, and eventually the Lost Sector Boss. Defeat all of them and claim your Lost Sector chest.
From the Lost Sector chest, turn left. You’ll see a circular podium with a blue hologram symbol resembling an ‘H’ over it. Interact with it to Enter the Cipher.
It will then explode. If you’re too close to it, it will kill you. Not that I’m speaking from experience or anything.
Schematic Recovered
Now we finally have our last step: complete Operation: Seraph’s Shield on Legend Difficulty. Head to the H.E.L.M. to launch it and prepare for a much harder encounter than your first run through of Operation: Seraph’s Shield.
On Legend, you’ll encounter the following modifiers:
- Mettle – Your effective Power is capped at 1580
- Legendary – Heavily shielded and highly aggressive combatants appear in great numbers
- Chaff – Radar is disabled
- Galvanized – Combatants have more health and are more difficult to stun
Good luck Guardian!