We’re getting close to the end here. The Sabotage mission is the 12th, and penultimate, quest in the Ryujin Indusutries faction questline. We’ve found out that Ularu Chen has been feeding information to Infinity Ltd, pinned Imogene Salzo for her crimes, and plans to frame the CEO, Masako. And now, we’re finally ready to get a little update on this mole from Dalton. Here’s how to complete the Sabotage mission in Starfield.
How to Complete the Sabotage Mission in Starfield
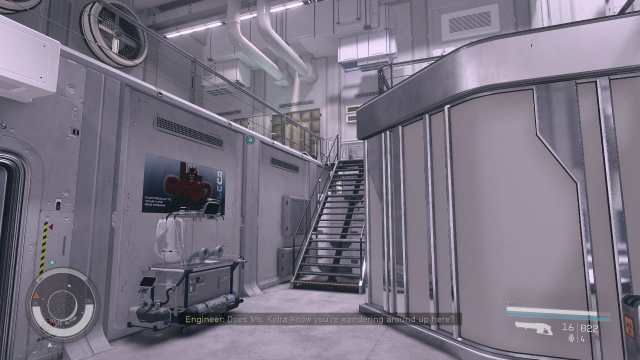
Back at Ryujin Industries, Dalton’s called us back in his office, and he has a little update for us about the mole. And who doesn’t love corporate gossip? Let’s dive right in.
Speak to Dalton in his Office
To kick off the Sabotage mission, you’ll first need to find Dalton in his office. He’s in Ryujin Industry in Neon City, on the Executive floor. He’s on the floor between the lobby and Ularu’s office.
Ularu is, indeed, the mole. But now we need evidence proving it, while still upholding the façade that Imogene is guilty. And to do that? We’ll need to infiltrate Infinity, Ryujin Industry’s biggest rival. While also grabbing the program that Ularu is writing, which is almost guaranteed to be a trap for Masako.
So many threads, so much backstabbing.
But first, the formalities.
Attend the Conference Meeting
The next step in Sabotage is to attend a business meeting, because you can’t have a corporate hellscape without an unnecessary meeting in the middle of the day. Fortunately, we don’t have to go far for this one. Leave Dalton’s office, and the boardroom will be open in the adjacent room.
Sit down and the meeting will start. You’ll be able to chime in here and there, but your responses won’t really affect the flow of things. Once the meeting is over, you’ll be sent down to speak to Veena in Research and Development.
Speak to Veena
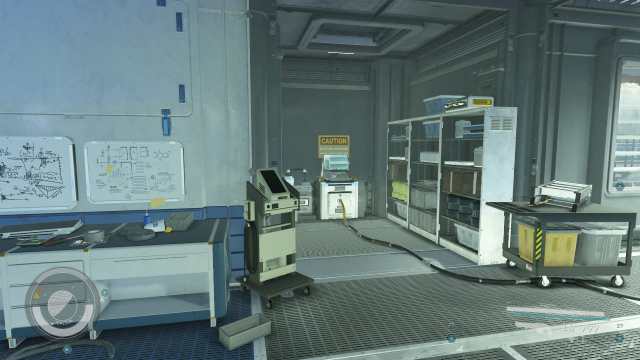
Veena, as you might recall, is the scientist we had to procure the shipment of pure Rothicite for in the last mission prior to Sabotage. She’s on a lower floor in the Ryujin Industry building, so head to the elevator and select research and development.
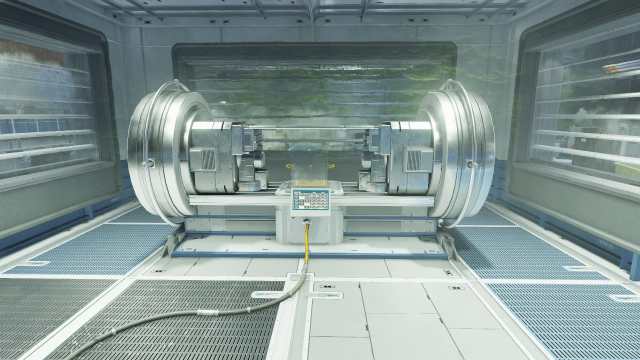
But she’s not in her office. You’ll need to go to the back of the building, in the small room in the far back corner. She’ll then give you a less-than-reassuring pep talk before she installs the neural amp into your brainstem.
Once she’s done talking, you’ll need to sit down on the operating chair. You’ll be put under and awake shortly thereafter with a piece of equipment in your brain. Congrats! Now you’ll be immune to the manipulation effects of other neural amp controllers. Plus, you’ll be able to exert some control yourself.
Test Out the Neural Amp
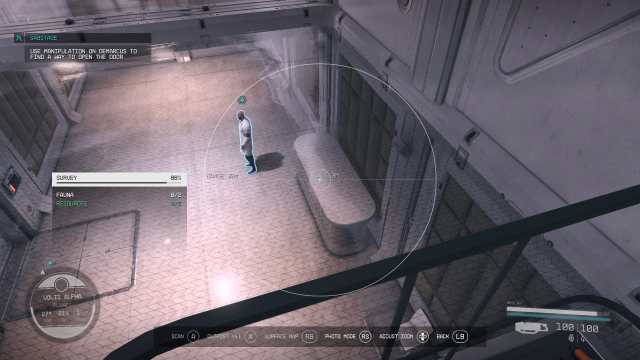
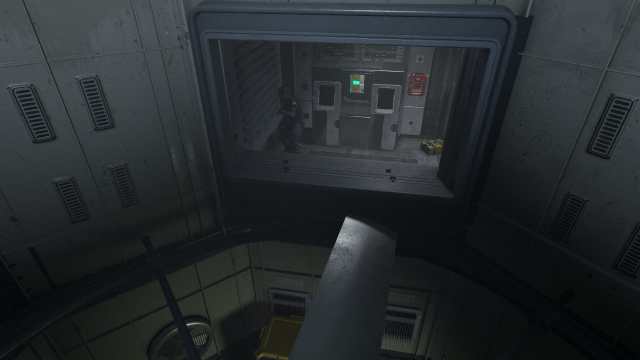
So, now that we’ve got the goods, let’s see how potent they are. Leave the room, then turn right and head up the metal stairs. This will put you on the observation platform. Here, we’ll get a tutorial on how to use our neural amp to manipulate people.
To manipulate others:
- Open your scanner.
- Put your cursor over the person you want to manipulate.
- Click them.
- Select Manipulation from the menu that appears.
- Select the object you want the manipulated person to interact with.
If you fail, the target will be immune from all future social skill attempts.
So, use the scanner. Click DeMarcus. Click again to use Manipulation. Then, select the keycard on the table beside him. You’ll then need to re-select DeMarcus, click Manipulation, then click the door. It feels a little clunky, so be prepared to experiment with it a bit.
Speak to Veena once the door is open. She’ll then send you to Masako.
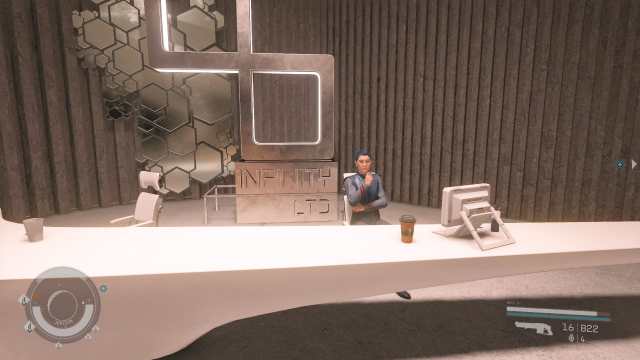
Speak to Masako
This time, Masako is in the Executive Offices. So, return to the elevators.
Masako will be on the very top floor of the Executive Offices, opposite to where Ularu’s office is. It’s much bigger than Ularu’s, too. And if you’re curious about what’s in Masako’s safe, it’s ammo (7.77MM), 2,570 Credits, and a Modified Calibrated Grendel.
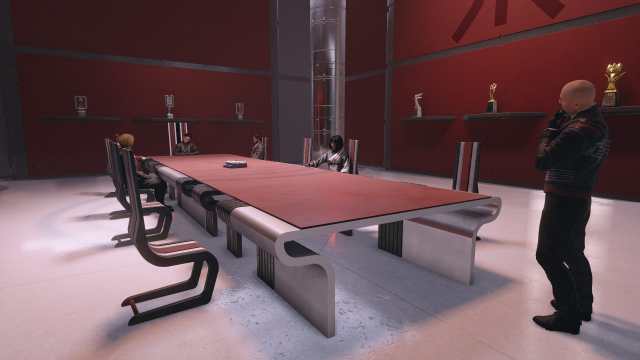
Masako and Ularu will give you a full-blown presentation on your next assignment, sabotage. And it’s quite a doozy. Here’s how it boils down.

You’ll be assigned a false identity, which can help you enter Infinity LTD through the marketing department or through the maintenance hatch on the roof. You’ll need to upload an Overseer program into a few target computers, which will remove information about Project Dominion, so when Infinity is being investigated, Ryujin’s intellectual property isn’t revealed as well.
They’ll give you a tip on how to get the civilians in the building to evacuate and a password to help make that happen. And, last but not least, they’ll give you an Operative Suit, which will make you 25% harder to detect.
Expect a tough mission ahead. But before we dive in, return to Dalton.
Speak to Dalton
Dalton is in his office, just below Masako’s office. Hand him the Slate. As he expected, Ularu modified it to set Masako up. He’ll then give you the Overseer Program back but without Ularu’s treacherous code.
Now, let’s actually do the mission.
Stealth missions can be made easier in the following ways:
1. Don’t bring a companion.
2. Use Frostwolf or other noise-reducing aids in high-populated areas.
3. Use your scanner and photo mode to check corners.
4. Remove your spacesuit. The lighter you are the better.
5. Keep your pack equipped. Some vents require boost.
6. If you can, unlock at least level 1 in the Stealth skill.
Getting Into Infinity LTD in Starfield Mission Sabotage
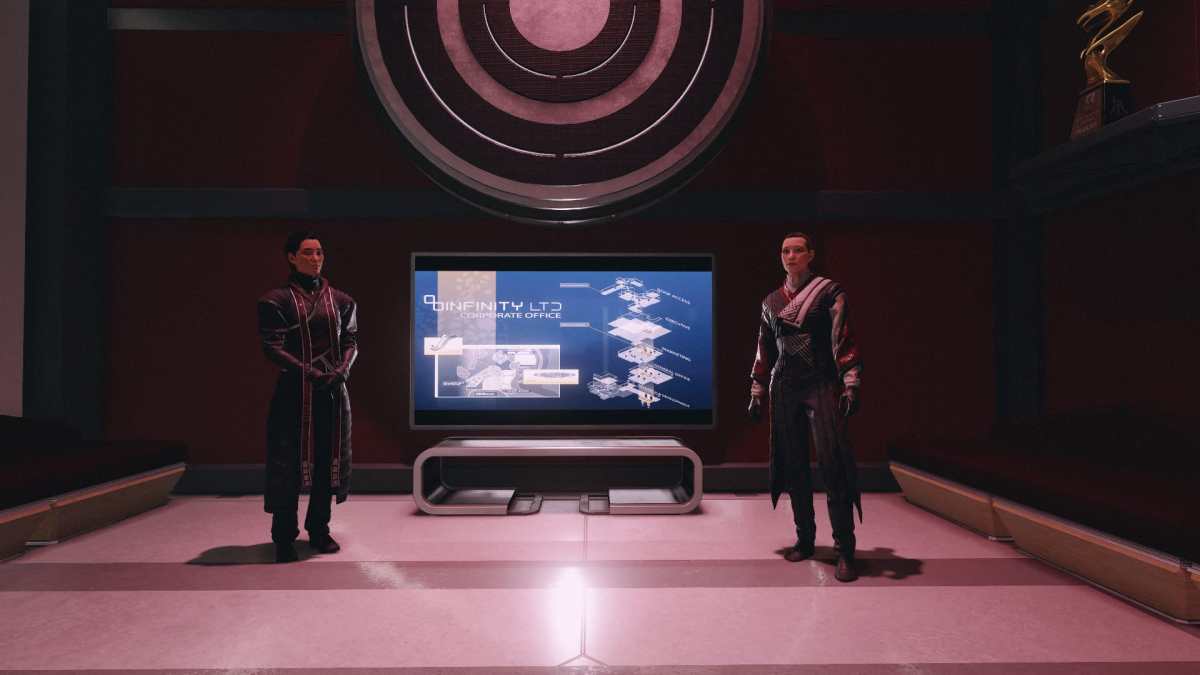
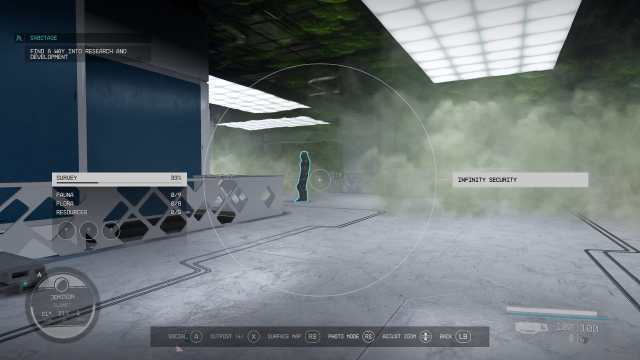
We’ll be going to a familiar place for our sabotage mission. And that place is none other than New Atlantis in Jemison. Home of the Lodge, the United Colonies, and the best penthouse in the galaxy.
Infinity LTD is in the Commercial District. Just head straight from the NAT trolley or go past the giant SSNN building.

You’ll then have two ways to infiltrate the building. Through the roof or through the front desk.
Should You Enter Infinity LTD Through the Maintenance Hatch or the Lobby? – Answered
For the purposes of this guide, it doesn’t matter how you enter Infinity LTD for the Sabotage mission. You’ll very quickly wind up in the same place, as we’ll be evacuating the civilians. We opted for the lobby approach, but you can skip the lobby section and move right down to “Sabotage the Heating System” if you opted for the roof.
To enter Infinity LTD, approach the front desk and let them know you have an appointment.
You’ll then gain access to the elevator, which will take you to the Marketing Department. Once there, speak to the front desk and then sit on the couch to wait. The receptionist will then leave. When he does, get up and go right back to the elevator.
Our first objective, while optional, will make this mission much easier. We’re going to sabotage the heating system.
Sabotage the Heating System
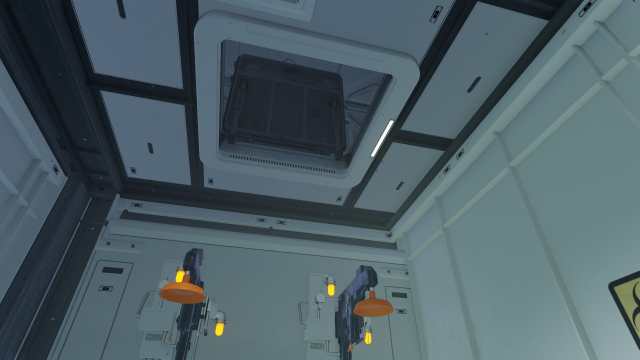
With the receptionist gone, head back to the elevator. Select roof access. Turn right once you’re on the roof. You’ll see a vent. Interact with it to get through it.
You’ll see a fan below you. There’s also an opening, which has a guard and a switch we’ll need to press. But not with our own hands.
Here’s where we’ll need to use the Neural Amp. Scan the guard, then Manipulate him into turning off the fan. The button to the fan is the green one right beside him.
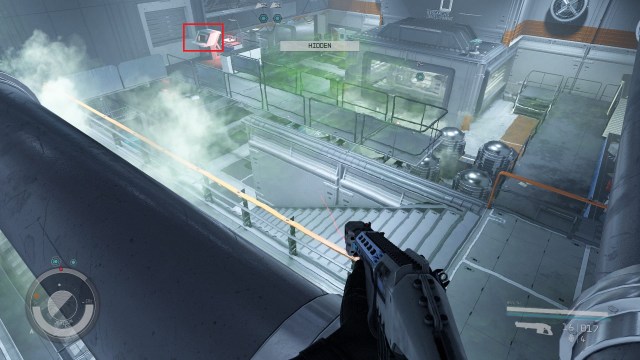
Once the fan is off, drop down. Enter the room to the side to find the terminal, which will allow you to activate the Heating Systems, sabotaging it. This will set off the alarms, removing the civilians in the building.
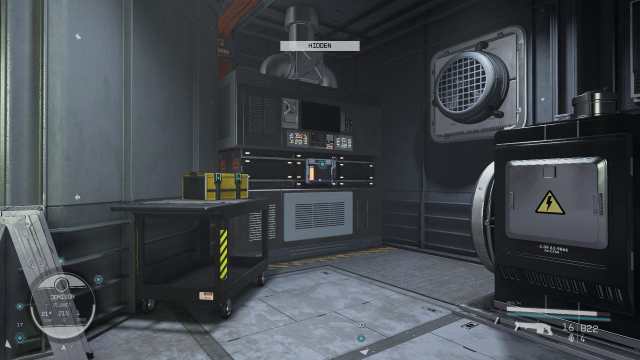
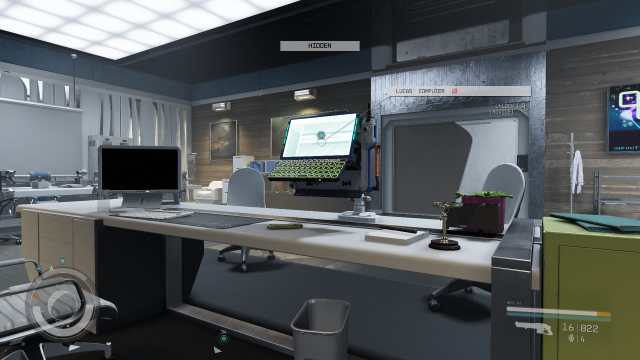
Run the Program on Lucas’ Computer
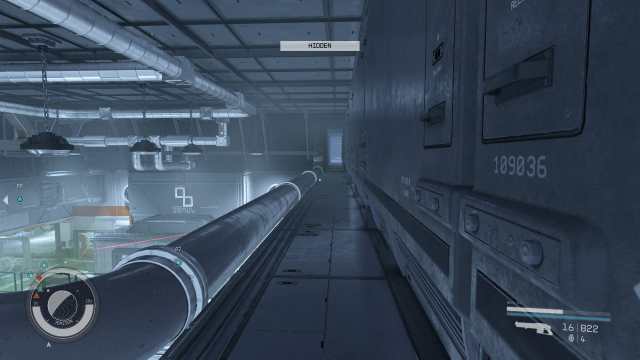
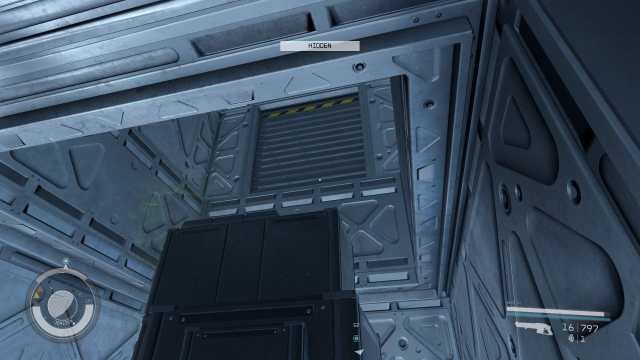
With that done, we’ll need to head to the bottom floor. Go back a bit, and you’ll see a square door that leads into a vent-like area. In this area, there’s a square hole that will let you drop. Do so, but not all the way.
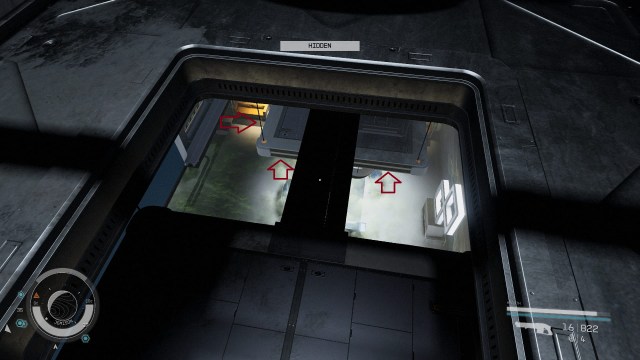
You’ll see the main floor, covered in gas. The gas is corrosive, so think of this as a giant game of the Floor is Lava. And despite the corrosive gas, there are still guards.
Fall to the large platform. There’s a vent beside this platform, but that’s best used for getting to Research and Development. We want Lucas’ computer first.
Jump across to the balcony area and turn on your scanner to see the guard through the gas.
Manipulate that guard, then move him, then lockpick Lucas’ door. Yes, that means running through corrosive gas. No one said this would be painless.
Fortunately, the lock on Lucas’ door is just a novice lock.
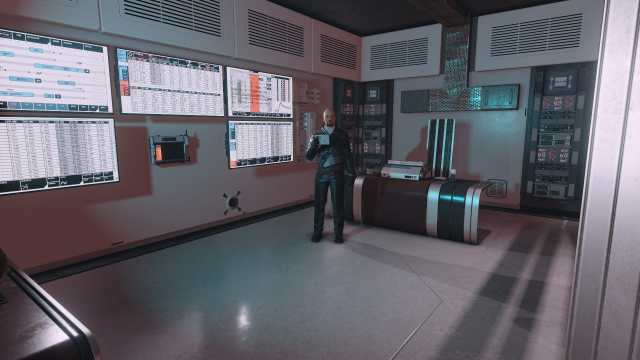
Once you’re inside Lucas’ office, hack his computer. Which again, only has a novice lock on it. When you’ve cracked the lock, upload the Overseer Program.
Leave the room, and wait until the guard is facing in the opposite direction. Oddly, you can sprint right past him and back onto the platform where you initially were without him being alerted. Sometimes you just need to be fast.
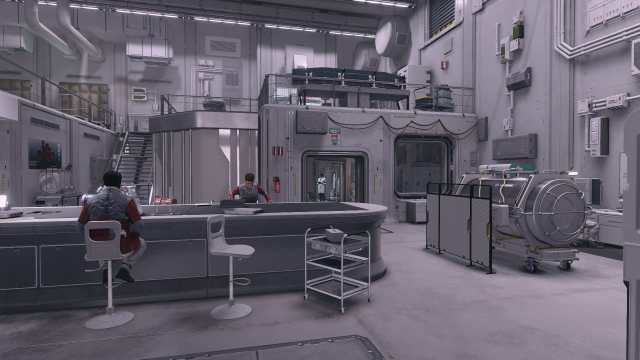
Getting to Research and Development
Once you’re back on the platform, interact with the vent and go inside.
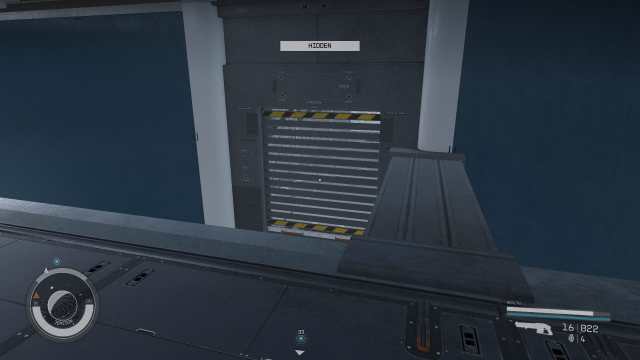
You’ll be able to drop down on another platform. There is a guard that hangs out right beneath this platform. But where we want to go is to these stairs, which lead downstairs. There’s also a guard there. Use Manipulation on him to stop him from targeting you.
Once you’re midway down the stairs, look left. There will be another platform, which leads to a vent. Jump on this platform, then immediately get into the vent. There are plenty of guards here, and it can be extremely difficult to avoid detection, even with Manipulation, Frostwolf, and the Operative Outfit.
When you’re inside the vent, you’ll find that you’re actually on top of an elevator.
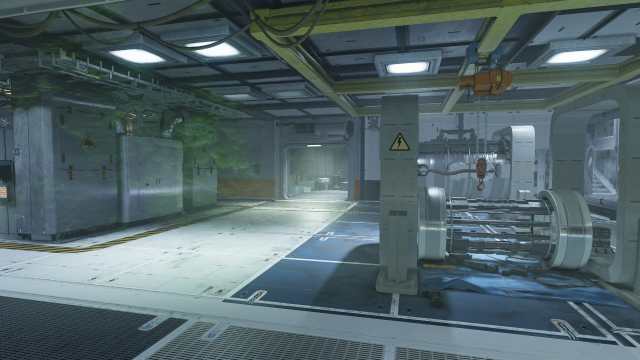
Drop down, then exit through the vent. This will put us square in Research and Development. Jump across the gap and follow the path forward into an open area.
Getting the Neuroamp Prototype
So, there are two ways to get the Neuroamp Prototype for the Sabotage mission. The fast way and the sneaky way.
Here’s the fast way first.
Our goal is the terminal at the end, beside the vent. Hack it, then activate the generator. This will cause the door to research and development to blow open. There’s also a key to this door beside Faye’s computer, but this is the fastest way.
Note, there are guards in the vicinity of this door, so you may have to wait until they calm down before you descend the stairs and sneak inside. We recommend a Frostwolf med for this section.
Here’s the sneaky way.
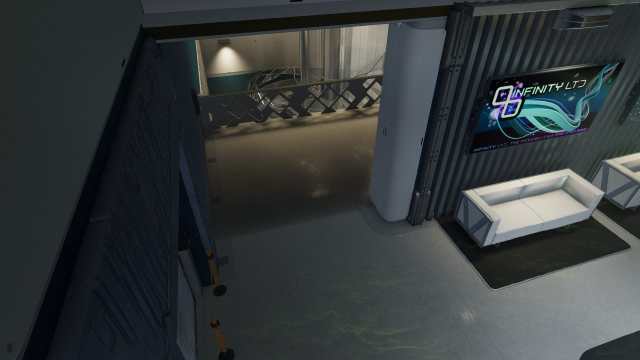
Once you’re on the catwalk just after the elevators, stay on it and follow it all the way to the end of the open room. You’ll see another narrow corridor with another turret. Jump off the railing to the right, and you’ll be in an open area.
The secure access doors are blocking us from getting the Neuroamp. But go past them, and you’ll find a hidden corridor that leads you to Faye’s office.
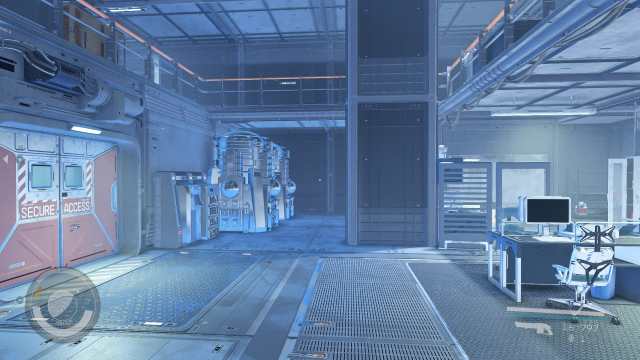
Here, you can interact and upload the Overseer Program, and also grab the R&D key from her desk.
Use the key to get inside the Secure Area doors that you just passed.
But before you go and grab the Neuroamp, interact with the terminal to the left. You may notice that it’s connected to the machine that has the Neuroamp.
That’s because if you take the Neuroamp out, it will set off an alarm. But by hacking the terminal, which has an expert lock, you can disable that alarm.
Note, there’s also a Skill Magazine in the middle of this office. It’s quite rare! We have dozens of magazines, and this is the first time we’ve stumbled across this one. So don’t miss it!

Run the Program on Faye’s Computer
Once you have the prototype, leave the room and turn right.
Of course, there are plenty of guards. Sneaking in this section is extremely difficult. We highly recommend you save. We’ve seen others get through this section by just running, alerting the guards, and then hiding, if you get impatient.
Because the gas is on, Faye’s office is empty. That means you can just walk up to her computer and upload the Overseer program. She also has the R&D card on her desk, if you opted to not explode the doors.
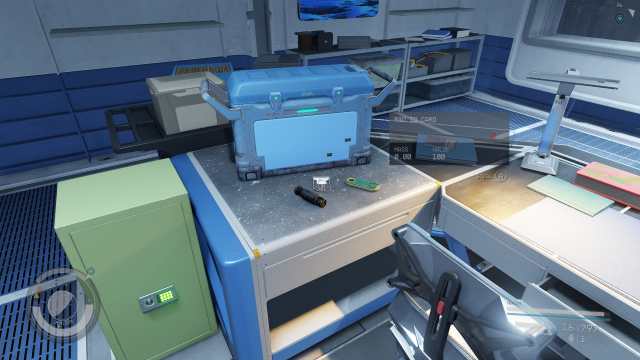
By the way, don’t bother hacking into her master-locked safe. It only has a Heal Paste and one Med Pack. Not worth it.
Escape Infinity LTD
Now that you’ve uploaded the Overseer Program and gotten the Neuroamp Prototype, you need to escape. Easier said than done.
Head into the showers outside of Faye’s Office. If you entered through the sneaky way, it’s in that direction.
In the showers, there’s a hatch. You may have to double tab boost to get inside.
It’s a little tricky, but very doable. We recommend third-person view to make this task easier. Once you’re inside the vent, climb on top of the black boxes.
This will take you back to where you first entered the Research and Development floor, bypassing all the goons in the middle. Follow the hall to the very end, then use the elevator to get back to the entrance.
Tell David Barron Everything
Now, time to rat out Infinity LTD. Head over to SSNN, the building beside Infinity LTD. We’ll need to find David, who might be inside. Or who might just be wandering around. We found him outside SSNN meandering.

Tell him about the information you found.
Report Back to Masako
Once you’ve given the slate to David Barron, head back to Ryujin Industry and Masako. She’ll be in the Executive Offices in her office.

She’ll praise you for your discretion if you managed to not kill anyone. But if you did, well, she’s a little disappointed. Either way, you’ll get credits and some meds. Plus, you’ll get the rundown on the next quest.
That’s it for the Sabotage mission in Starfield. Next up, you’ll need to convince everyone else on the board to vote for buying Infinity LTD.


Published: Oct 3, 2023 10:37 am