
How to Complete Operation Starseed in Starfield
There's a facility that needs our help. I'll mark it on your map.
While main missions and faction missions offer the strongest content to dive into in Starfield, you should always consider side missions since they can often bring some excellent rewards. Take the Mantis side mission for one, which, when completed, grants you a free ship and a set of legendary gear. Not bad for a mission that doesn’t go any further than that. One such side mission is located in a very random system and is somehow stranger than its name. Here’s how to complete Operation Starseed in Starfield.
Starfield Operation Starseed Walkthrough
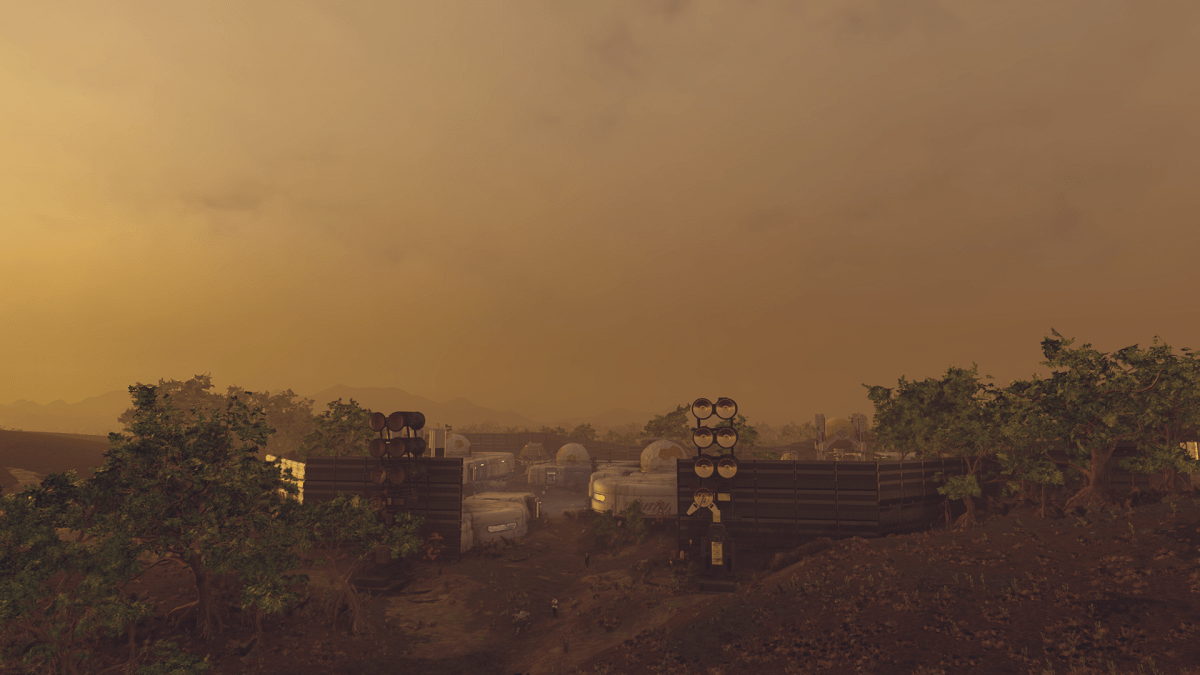
Starfield’s Operation Starseed mission is first granted to you when reaching the Charybdis system. If you don’t know where that is, it’s located on the right side of the system map, to the southeast of the Ixyll system. It’s surrounded by the Bara, Nirah, and Serpentis systems.
Go to Crucible on Charybdis III and Speak With Tobias

Once you reach the Charybdis system, you should receive a call from a place called Crucible by a robot, asking for your assistance. The Crucible is found on the planet of Charybdis, located in the northern part of the Charybdis system. Once you’ve landed at the Crucible, speak with Tobias at the front gate. After accepting that you’re answering the distress call, he’ll ask you for 150 units of Copper.
Before you act shocked and decide you no longer feel like doing this side mission, don’t worry. A lady named Ada will come talk to you, and you’ll be free to proceed without doing that. If you’re crazy enough to go hunt out that Copper, though, you’ll get 2,500 Credits upon returning to Tobias. A whole 2,500 Credits.
Talk to Franklin

After speaking with both Tobias and Ada, she suggests that you go speak to Franklin since he’s the oldest person in Crucible. Sounds easy enough. Head over to the building he’s staying in, and you’ll find that you know Franklin. He’s Franklin Roosevelt, the 32nd US President. Given that we’re in the 24th century at this point, something seems a little off.
As he further explains, things begin to make more sense. Everyone who lives at Crucible is a clone. Some of these clones are famous people from history, others are people no one knows. Every time one of them dies, a clone of themselves takes its place. No one knows why it’s done, just that the robots keep on cloning as if on some constant loop. Unfortunately, the people of Crucible disagree on what should be done to investigate and deal with it. They’ve split into several Societies, with Franklin being the head of the Pragmatist’s Society. He wants you to speak with two other important figures in Crucible before continuing.
Talk to Genghis Khan and Amanirenas
To continue, you’ll need to speak to two very important figures of history. These are Genghis Khan, the former Khagan of the Mongol Empire, and Amanirenas, the queen regent of the Kingdom of Kush. You’ll even meet Wyatt Earp, a famous American lawman. He’s willing to give you a room to stay at, alongside some essentials if you so wish.

Genghis Khan can be found just outside of Crucible, fighting off some wild creatures. After killing them, speak to him. He’ll make it very clear that he wants out of Crucible and is tired of being shackled behind its walls. He’s tired of this game the robots have forced upon them and is looking to break the cycle. He’s the head of the Renegades, whose goal is to fight against just that and be free. He even has a plan in mind that needs your help, though more on that shortly.
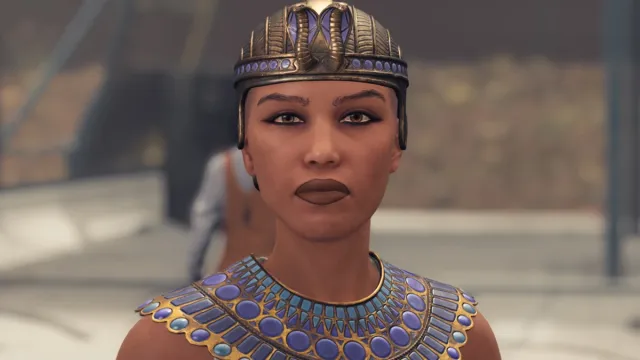
Amanirenas can be found on the other side of Crucible, within the walls this time. She’ll speak about her time as the queen regent and how she wishes to be back in that time. She believes she can still lead in Crucible, which is why she’s the head of the Believers. She and her followers believe that the robots here are waiting for someone to achieve their potential. From there, they’ll set the people free among the stars. However, robots have been breaking more and more, with no one ever being deemed worthy. With your help, she believes she can correct that.
Talk to Franklin Again
After learning of the position of both, return to Franklin so you can hear his thoughts on the matter. He believes that the Crucible has gathered some of the most differing people throughout history and that there’s a good reason chaos is afoot. If Crucible were to let everyone go, it would cause chaos of unprecedented proportions. They can’t lead themselves, so how can they lead others? He believes that the machines here are preventing everyone from learning and should be removed as to let the people learn to handle things themselves. The real diplomat, through and through.
Go to The Facility

With each of the three stances learned, you’ll need to head to The Facility and deal with everything there, along with learning what happened and how things could possibly be fixed. However, as you leave the conversation with Franklin, you’ll be approached by Wyatt and asked to go somewhere else for the mission Secret Lives. You don’t need to do this, but it takes only a few minutes and is a nice little bonus detail about Operation Starseed. We’d suggest you do it.
No matter whether you do it or not, travel to The Facility’s fast-travel point on the same planet.
Find Clues at The Facility


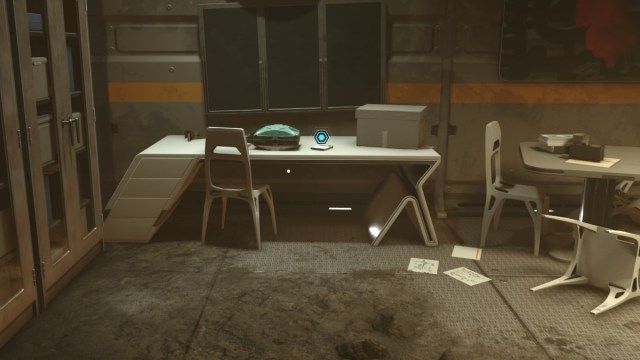
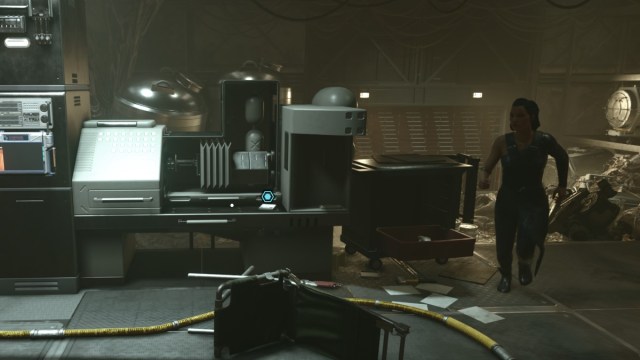
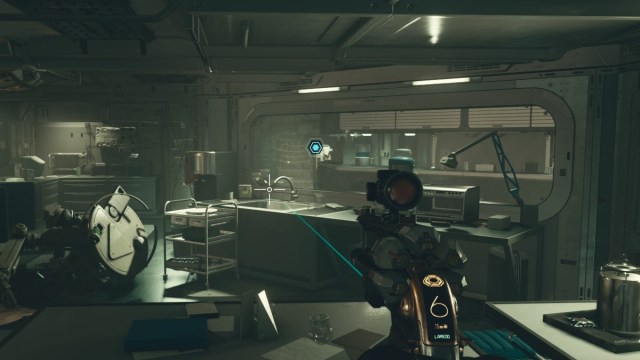
Once you land at The Facility, deal with the hostile fauna outside and head through the large green door. Once inside, head through the door on the other side of the room and down the main ramp, continuing until you reach an infested room full of creatures. It’s becoming increasingly clear why the robots at Crucible are deteriorating. Inside the first hostile room, you’ll find the first two clues.
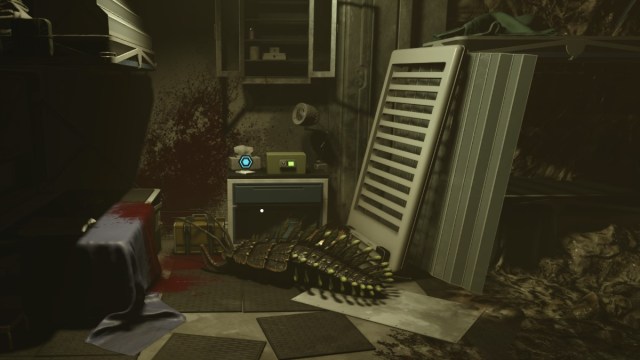
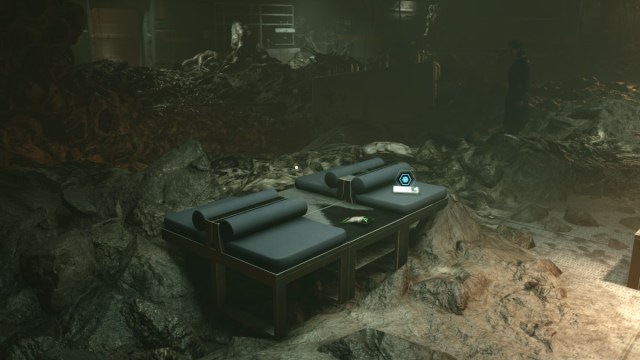
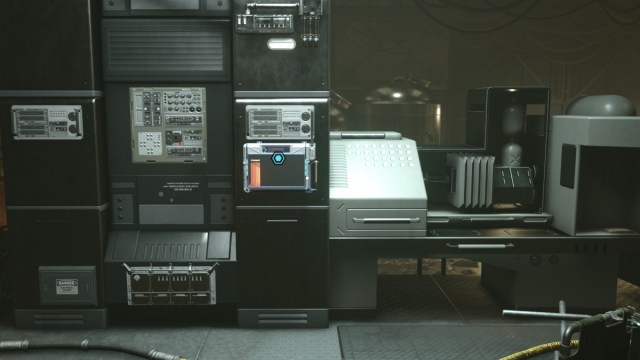
The third clue can be found in the following room, next to some beds and an Expert safe.
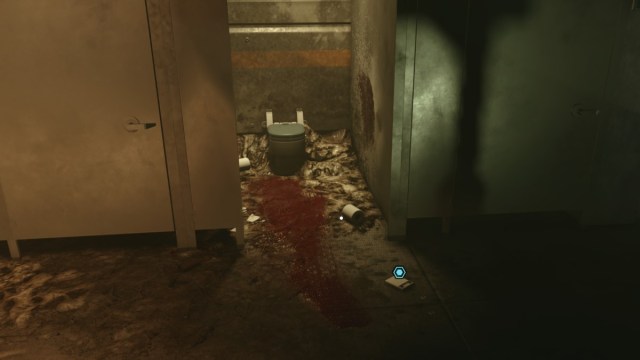
The fourth clue can be found at the end of the following infested tunnel, next to a bathroom stall.
The fifth clue is found within the room with the exploded floor, on a more normal-looking chair.
The sixth clue is found in a room across from the exploded floor.
The seventh clue is located after reaching the end of the tunnel. Be very careful here because there’s a very difficult Maggotmaw near the end that killed us in one hit when we first ran through.
Choose Which Society to Give Facility Information
Now that you have the information on all the happenings within The Facility, it’s time to choose which of the three groups gets the information. This seems like it matters, but won’t actually affect the ending choice of the mission. It just changes a few bits of dialogue. Whoever you give the information to will realize that the Beagle ship mentioned in the clues is the chance to get the code needed to fix everything. Ada, a stargazer, may just know where to find it.
When speaking to Ada, she reveals that a radio telescope within Crucible is pointed at Bel V, a planet in a star system nearby. That’s your next goal.
Investigate Bel V and Zelazny I
Once you reach Bel V, you’ll find a Navigation Beacon in orbit nearby. Hover over it and press either the “R” key on keyboard or “X” button on controller to scan the secure frequency. It’ll spit back some info to you, including that the Beagle ship passed through here and was planned to head to the planet of Zelazny I in the Zelazny system.
We had the location of the Beagle glitch out on us once we entered the system. To fix this, jump to another planet in Zelazny and back to Zelazny 1.
Once you reach Zelazny I, dock with the Beagle.
Find The Facility’s Security Override Code on the Beagle
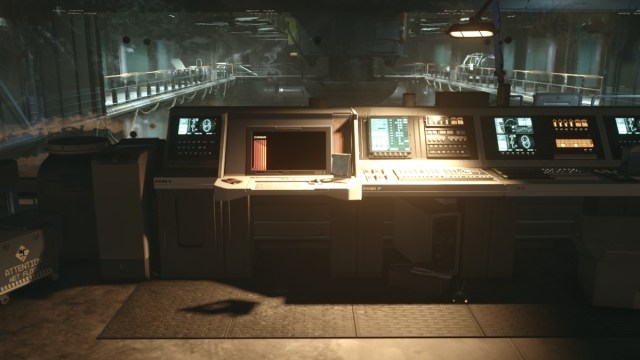
Once you’re onboard the Beagle, head through the ship while dealing with the robotic defense scattered throughout. At one point, you might come across a computer owned by a Doctor Zhao next to a locked door. You’re free to ignore this for now, as it just offers a faster way back out of the ship later. Once you’ve made it all the way through the ship, you’ll reach the Beagle’s Datacore, which contains the Security Override Code. Download it, then leave the ship.
Attend Meeting With the Crucible Leaders

Once you’re back, you’ll need to speak with whoever you gave the clues earlier and then head to a meeting between Crucible’s leaders. You’ll be presented with an important choice here. You can either side with Genghis Khan and kill both the Believers and the Pragmatist’s Society, or you can side with one of the other two leaders and kill the Renegades.
We suggest that you side with either Amanirenas or Franklin here, as it’ll make things easier later. Genghis also seems more like he’d be interested in warring with people outside of Crucible than other factions. It won’t affect your choice much in the end either way.
Kill all regular enemies before killing whichever leader(s). For me, their remaining forces pacified when I killed the leader. However, everyone in the base wanted me dead seconds into speaking with Ada.
Speak with whichever leader you sided with, then speak with Ada Lovelace about decrypting the Security Override Code. She’ll get it decrypted for you, and you can safely head to The Facility.
Siding With the Renegades
Genghis Khan is the leader of The Renegades group. Siding with The Renegades means Amanirenas will be killed. Franklin will also die unless you successfully convince Genghis Khan not to blow up the Crucible.
Siding With the Believers
Amanirenas is the leader of The Believers group. Taking her side is the most peaceful optional in the quest. So if you want to avoid a lot of bloodshed, this is the way to go. You’ll be able to convince Franklin to not fight and convince Genghis Khan to give up and leave the Crucible.
Siding With the Pragmatists
Franklin is the leader of The Pragmatists. Making this choice means you will have to kill Genghis Khan no matter what. You can persuade Amanirenas to step out of the fight, thus sparing her. If not, then you will end up killing both leaders.
Deal With The Facility
Now, we can finally come to the major choice. Make your way back to The Facility and into where you last ended things off. There’ll be a computer that can unlock the Restricted Wing of The Facility using the Security Override Code you just decrypted. Open the gate up, then begin making your way through the Restricted Wing. Things are mostly linear here so we’ll spare you the details. Keep in mind that there are many clones and security systems that you’ll need to deal with along the way, so have a gun and plenty of ammo ready.
Once you make it to the end and initiate the manual reboot, you’ll be met with three choices.
- Reboot and restore current Mission parameters.
- Reboot and choose a new Super-Admin.
- Initiate Full Project Cleanse.
Choosing the first and third options isn’t ideal, as they’ll keep everyone in solitude and kill everyone, respectively. Instead, the best outcome for the Operation Starseed mission is to reboot and choose a new Super-Admin. Who you choose out of that is up to you.
Grab the Facility Key from the computer desk, then leave the Facility and head back to the Crucible to complete the mission.
If you’re looking for help with some other missions, check out our guide on how to complete Deep Cover in Starfield.