If you’re looking for some side content in Starfield that’s as fulfilling as it is surprising, then faction missions will be your focus for a while. Each of these mission lines provides unique challenges and gives some juicy story tidbits that could easily make them DLCs on their own. One of the earliest you can access is the UC Vanguard mission line, coming up during the tutorial. Here’s how to complete the Grunt Work mission in Starfield.
Starfield Grunt Work Walkthrough
To get access to the mission Grunt Work, you’ll first have to complete the main mission The Old Neighborhood. From there, speak to Commander Tuala in the MAST building and ask to join up with the UC Vanguard. He’ll put you through training in the mission Supra Et Ultra, before swearing you in as a member. From there, you’ll get your first probationary assignment.
Speak to Crew Chief Herath
Tuala has put you on a fairly basic assignment: comms repair. Firstly, you’ll need to speak with Crew Chief Herath. He can be found over at the New Atlantis spaceport, on the opposite side of your ship. He’ll introduce himself, before telling you he’ll give you the required supplies for comms repair alongside some introductory Vanguard gear.
Head to Tau Ceti II and Contact the Settlers
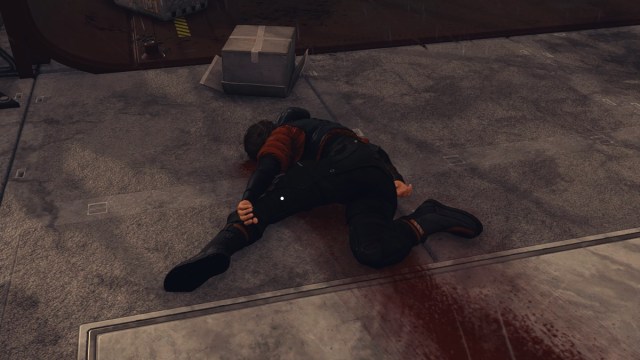
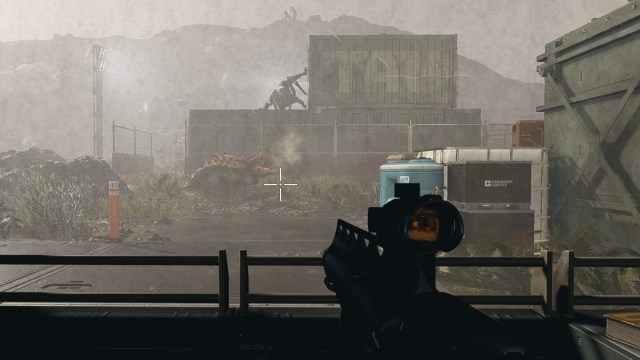
With your supplies in hand, make your way over to Tau Ceti II in the Tau Ceti system. On the planet you’ll find the Tau Gourmet Production Center, which you want to land at. Once you’ve landed, begin making your way into the Production Center. However, something’s wrong. One of the first things you see upon landing is a dead body, not spelling well for what’s to come. Continue making your way down until you hear a loud scream. Something very bad is going on.
Investigate the Scream and Speak to the Sole Survivor
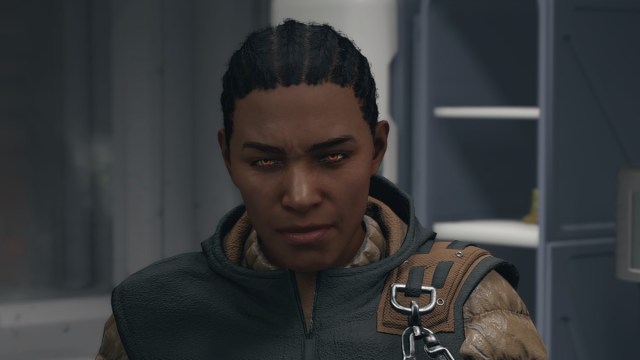
It’s time to do what any normal human being would do and proceed toward where you heard that loud scream. As you come in closer, you’ll be contacted by a woman named Hadrian inside the Production Center. She’ll unlock the door for you and let you into her safe room. Inside, Hadrian will introduce herself as a fellow member of the UC.
According to Hadrian, what’s left of the settlers on Tau Ceti II is the work of an “Occisio Machina”, also known as a Terrormorph. It’s easily the nastiest alien humans have ever come into contact with, though they usually don’t begin appearing on planets until they’ve been settled for some time. Given that the settlers only got here recently, something isn’t making sense.
Unfortunately, to confirm her suspicions, she needs a tissue sample. To get that, it needs to be dead. That’s conveniently where you come in. Thankfully, you aren’t entirely on your own. If you can get the plant’s security system operational again, you can use the turrets around the place to light up the Terrormorph and do some serious damage.
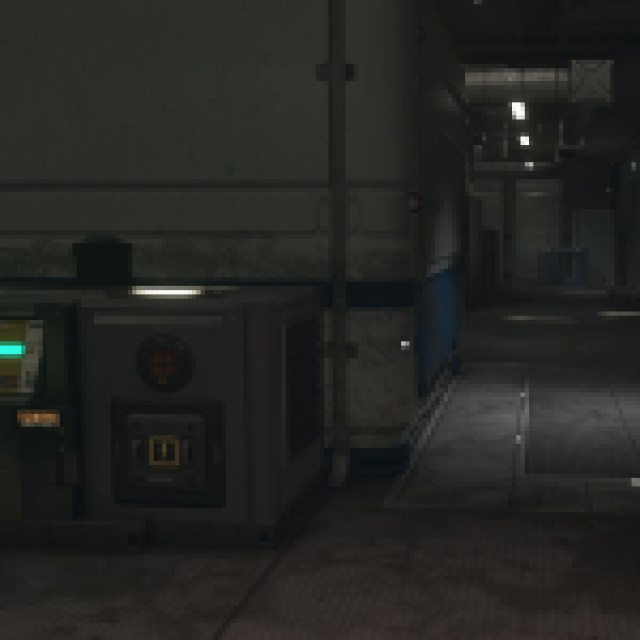
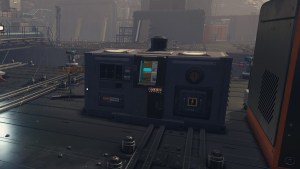
Restore the Security System Connection
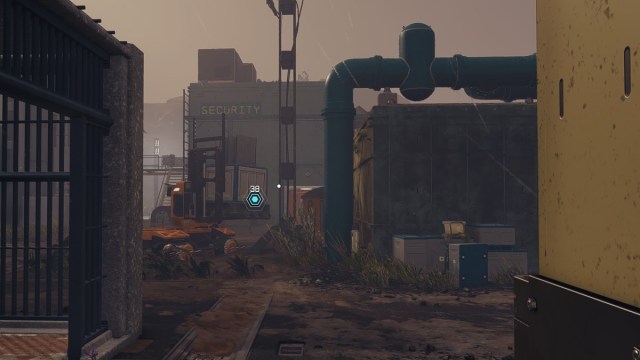
First things first, you’ll need to restore the security system connection. This can be found in the next building over from Hadrian’s safehouse which is a bright cyan building. Head inside and use the security console to reset the connection, then give Hadrian time to analyze the state of the system.
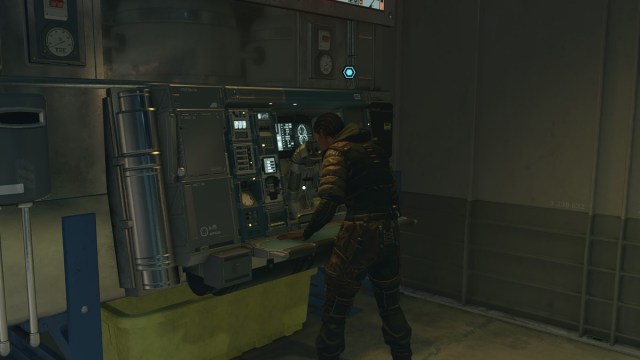
After she analyzes things, Hadrian comes up with a plan. You’ll lure the Terrormorph into the turret kill lanes, and they’ll soften the beast up for you. There are three lanes all across the plant to do so, and you’ll even have a tracking system to know how close the beast is. All you have to do is use the Livestock computer inside and tune it to 183.5.
After tuning it, a security lockdown kicks in, and you get a front-row seat to the Terrormorph’s dinner service. When it’s done feasting, you’ll be free to leave and get the kill lanes prepped.
Kill the Terrormorph and Collect the Tissue Sample

Now that you have your plan, it’s time to take action. From this point, you’ll want to pick one of the three kill lanes and turn on the power there. This involves hitting a nearby power breaker, followed by a second breaker much closer to the turrets. Then, using the radar sounds you’re hearing, locate the Terrormorph and lead it to the kill lane. Once the turrets begin hitting it, shoot it with everything you’ve got. If it manages to take out the turrets, run for safety and use another kill lane before repeating the process.
Once you’ve killed it, you’ll find a tissue sample on its body that you want to take.
Return to Hadrian and Analyze the Sample
Return to Hadrian and give her the tissue sample, which she’ll take downstairs to a microscope that can analyze it. After learning that the equipment is both shot up and insufficient, she’ll consider it unfortunate but is more worried about how this Terrormorph made it in the first place. It’s only been 20 years since Tau Ceti was colonized, and they normally don’t show up until around 70 to 100 years after colonization. This implies either intentional spreading or advanced Terrormorph growth.
She’s going to need more data, but she’ll need you to deliver the sample. She even gives you her genetag, since her name apparently holds weight in the UC. She’ll need Dr. Percival Walker, in Cydonia, to analyze the sample. You’re going to need to clear that data with Tuala first though.
Return to Commander Tuala
Head back to Commander Tuala in the MAST Tower and inform him of what happened on Tau Ceti II. He’ll be shocked you managed to kill a Terrormorph and will recognize Hadrian’s name on her genetag. She was a member of the UC Xenoweapons division during the Colony War and was dismissed from duty afterward.
When you’re done talking, you’ll have two ways you can proceed. You can either begin the Crimson Fleet mission line with the mission Deep Cover or continue the UC Vanguard mission line with the mission Delivering Devils. If you’re going for the former, check out our guide on how to complete the mission Deep Cover in Starfield.