
How to Complete From Zero Quest in Destiny 2
Get ready for an array of activities
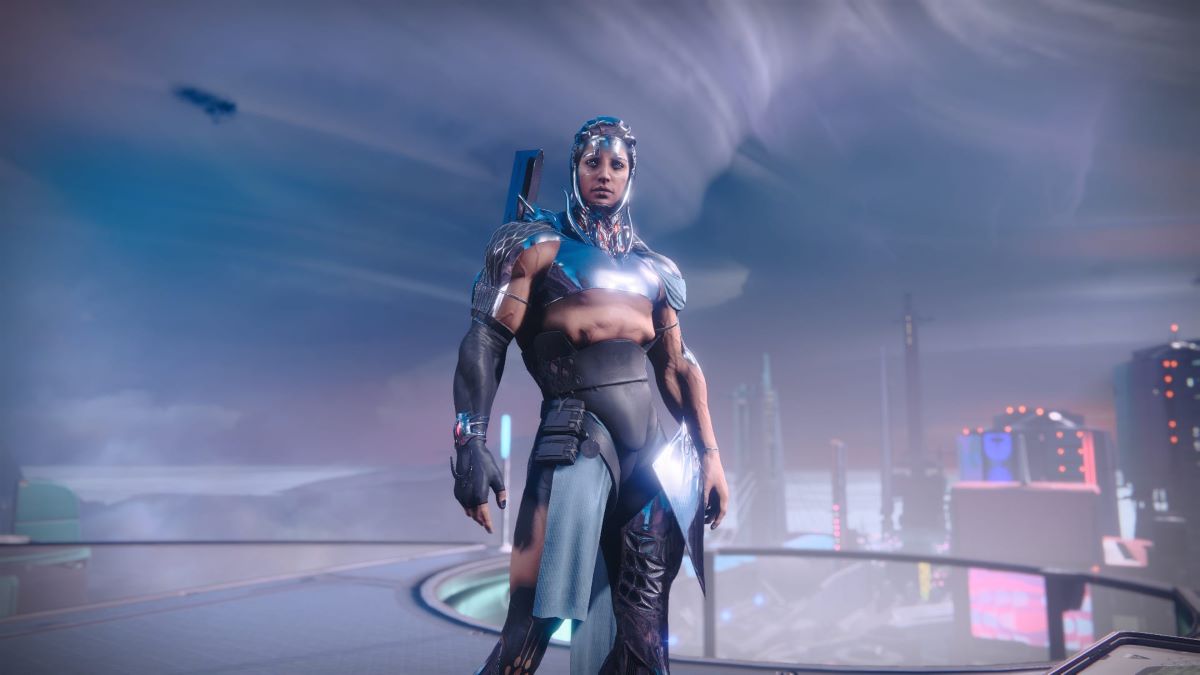
Once you’ve completed the mission Under Siege, head back to Nimbus and you’ll have a chance to pick up From Zero. This quest is necessary if you want to start unlocking some of the Neomuna bounties, plus you’ll get a cool gun for your efforts. Here’s how to complete From Zero in Destiny 2.
How to Complete From Zero Quest in Destiny 2
From Zero is a four-step quest which ends with a legendary Fusion Rifle, Iterative Loop. So, let’s get right into it.
Step 1: Loot 3 chests
We’ll need to retrieve supply caches from Region chests in Neomuna. This is a great chance to get to know the city. If you’re not sure how to find region chests, open up your map. You’ll see cross symbols scattered across the map. There are three in Ahimsa and three in Zephyr Concourse.
Chest 1: Balcony
Since we’re best acquainted with Zephyr Concourse at this point, let’s head there and pick up some chests. Jump down into the city, then head right up the ramp and past the graffiti wall. You’ll soon enter Zephyr Concourse.
Once you’re past the short corridor that enters Zephyr Concourse, turn left. You’ll see there’s a small balcony. Jump up to it, then turn around. There will be a clear platform you can jump onto in order to jump onto the ceiling of the balcony.
If it’s hard to visualize, check out our YouTube video below.
Chest 2: Gym Room
From the balcony chest, turn right and head across the bridge, to the right of the strawberry building (it’s red, it has dimples like a strawberry, it’s a strawberry building). Make sure you stay on the ground floor, then approach the gym. The window here is broken, so jump right in. You’ll see that there’s an open vent space you can climb into. Do so, and you’ll find a small room at the end with a chest inside.
Chest 3: Beside Bar
Head back to the giant strawberry building and cut straight across. You’ll soon hit a bar. Go up the stairs into the bar, heading to the very back. You’ll be able to jump onto the metal wall near the outdoor terrace adjacent to the bright pink neon sign. Look down, and you’ll see there is a series of recessed doors. The one on the left, with the clear balcony, houses the last chest we need.
Once you obtain that, you’ll be able to move onto the next step.
Related: All Artifact Perks for the Ascendant Scepter in Destiny 2
Step 2: Work with the Neomuni people…
For the next step, we’ll have to grind out a variety of tasks in order to fill up the taskbar to 100%. Patrols will net you 15%, opening chests scattered around the maps will get you 3%. Head to Ahimsa Park for Public Events and pick up a patrol for enemies killed while you’re at it. You don’t have to complete a Public Event successfully for it to count towards your total, and it will net you just over 15%.
And to help with the process, equip your Ghost with Treasure Hunter. You’ll be passing a lot of chests, and you’ll likely find five or more before you know it.
Step 3: Defeat Shadow Legionary Trask
Welp, time to help out the Neomuni people once again. But this time we’ll be facing a boss. From the quick travel point that puts you by Nimbus, head into the city and into Zephyr Concourse. Turn right at the strawberry building at the center, and head towards the turnstile. Jump them and follow the short corridor to Esi Terminal.

Upon entering Esi Terminal, turn left, then right. There will be a ton of Cabal, which is how you know you’re going the right way. Head down the ramp after killing them. Turn right, kill the Cabal waiting for you, then turn left into a large, open area.
There will be around four Phalanax, some legionary, two Psion snipers, and Trask. Trask is an Esteemed Centurion, but he’ll play far to the back. Kill the goons around him then whittle away at his shields, ideally with a Solar weapon. Without his friends, he isn’t too hard, and I found this to be much easier than trying to take on a Public Event without a fireteam.
Once he goes down, there’s only one thing left to do.
Step 4: Return to Nimbus
Our illustrious quest is over. We can finally return to Strider’s Gate. Do so, then speak to Nimbus. Do so, and Nimbus will note that your reputation in the city is starting to grow. Which is a good thing, right? But more importantly, he’ll hand you the gun: Iterative Loop.
Iterative Loop is a rapid-fire frame Fusion Rifle which can be brought to the Enclave and tweaked to your desire perks. So, if you like Fusion Rifles, good deal? It will also be significantly higher level than your other loot.
If you’re curious as to whether you should play the Lightfall campaign on hard, check out our article here!