
Graveyard Keeper 2 Autopsy Guide: What to do With Red Skulls, Organs, Burial Certificates, and Exhumation
Gloves at the ready, it's extraction time—and not the FPS kind.


What makes Graveyard Keeper unique is the gnarly stuff. The autopsies, the organ removals, the midnight resurrections— you know, the usual. And the sequel is no different. But getting your head around the ins and outs can be a little fiddly.
Whether you’re new to Graveyard Keeper or need a refresher on how this dark business goes, here’s everything to know about autopsies, including what to do with Red and White Skulls, Organs, Burial Certificates, and how and when to use Exhumation.
Graveyard Keeper 2: Understanding the basics of Autopsies

Autopsies are a core part of Graveyard Keeper. It not only keeps the cogs of this darkly humorous game turning, but also has many core mechanics you’ll want to know about.
Part of keeping your Graveyard spick-and-span is to stay on top of the bodies’ arrival at your doorstep, courtesy of your good pal, Donkey. Bodies are handled in three main ways:
- Burial
- Cremation
- Resurrection (into zombies)
Each method has a completely different process and outcome, offering unique rewards, alongside a set of pros and cons. Whether you bury or cremate, you will receive a Burial Certificate by dealing with the body in a respectful way.
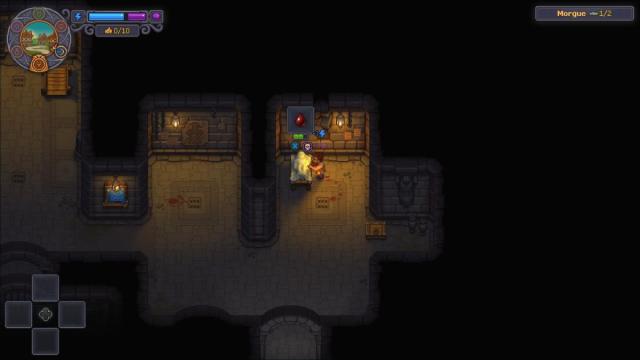
Burial is vital to upgrading your Graveyard Level, but there isn’t always space. Plus, messing around with organs all day long really takes a mental toll on poor ol’ Keeper. So let’s say you go down the Cremation route. It’s not bad, and you get Ash. Finally, Resurrection. Create your own zombies using Reanimation Liquid, Faith, and a Zombie Collar, and you’ve got yourself a new employee. There’s the slight issue of their usefulness based on what body parts they’re rocking, but we’ll cross that bridge when we come to it.
Before you do anything, you need to think about whether you want to scoop out those organs or leave them be. So let’s start with the essentials, shall we?
What to do with White and Red Skulls
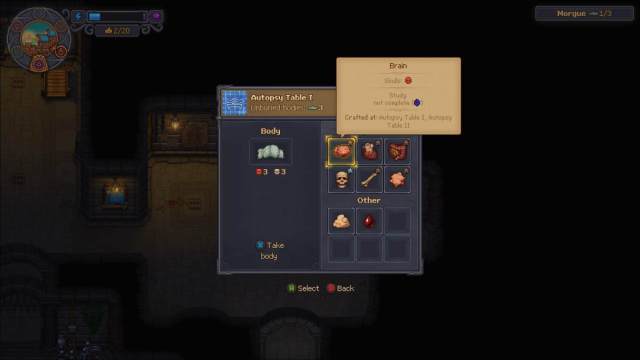
There are two skull types, the same as seen in the first Graveyard Keeper. Red Skulls equal bad, White equals good. But what’s the difference, and why are they so important?
White Skulls
This skull is important when it comes to increasing your Graveyard Level. You need as many White Skulls as possible before burying a body. Red Skulls bring down the quality of the burial. Anything Red should be extracted unless there are more White Skulls on the same organ. Extraction is only possible with a Kit (Butcher’s, Surgeon’s, or Master Surgeon’s), made at the Jewelry Table in the Writing Basement.
You can extract Flesh, Fat, and Blood for free. This is a quick and easy way to remove Red Skulls. But it does gradually deplete your Sanity. Don’t worry about ridding the body of all Red Skulls. The goal is to have more White than Red. Once you do, move the body to the Graveyard, place an Empty Grave, dig and fill, then decorate with Wooden Crosses and Fences (preferably embellished). Decorations are an extra step that upgrades the level of your Graveyard further, and shouldn’t be skipped.
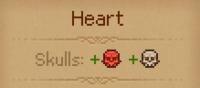
What seems a tad counterintuitive is that you should remove Red Skulls with a plus symbol next to it, beneath the vital organ name. It sounds like you’re adding Red Skulls rather than removing them, but we’ve learnt that this does reduce the total number of Red or White Skulls present on the inspected vital organ.
Red Skulls
Next are the Red Skulls. These are only important when creating your zombie workforce. Red Skulls are the only thing that matters. The problem is you cannot fill their bodies with Flesh, Fat, or Blood on the Autopsy Table. So, you need to extract organs from bodies you’ve either buried or cremated to replace the less desirable parts already inside your zombie. You can replace organs even after Resurrection. Red Skulls equal the number of Perks a zombie can have.
Bodies left out can accumulate more Red Skulls as vital organs rot. This improves the grade for Resurrection.
How to extract Organs and what to do with them
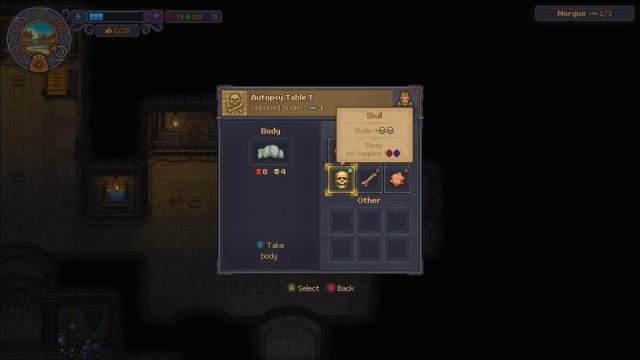
Organs are extracted using either a Kit. These are made on the Jewelry Table and require a Metallurgy Mastery Level of 3-6. The basic kit allows you to extract Bone and Skin with ease. These are materials for Formulation Bench and Writing Desk recipes. The vital organs aren’t so easily removed. Here’s the required Anatomy Mastery Level you need to extract each body part:
- Brain: Eight
- Heart: Nine
- Guts: 11
- Skull: Three
- Bone: Two
- Skin: One
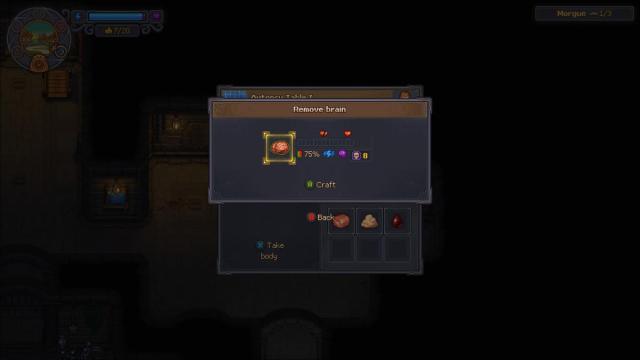
Remember, the point of extraction is for your zombie creations. You will see the chances of success per organ removal based on your current Anatomy Mastery Level. The broken heart on the meter shows where failure occurs. Meanwhile, the full heart pinpoints how much of the bar needs to fill green for the surgery to be a success. Reminder that all actions on the Autopsy Table deplete Sanity.
More often than not, if you attempt this at an insufficient level, you will fail the extraction due to a surgeon’s error. Performing Autopsies without a Kit is guaranteed to fail.
What are Burial Certificates used for?
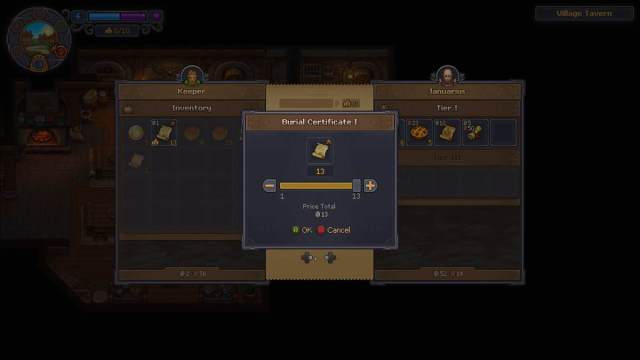
Burial Certificates are rewarded by burying or cremating bodies. Any and all certificates accumulated inside the Morgue and Graveyard should be traded in for Silver Coin to Januarius at the Village tavern. It is a quick and easy way to make money and get some Town Gratitude in return.
How does Exhumation work?
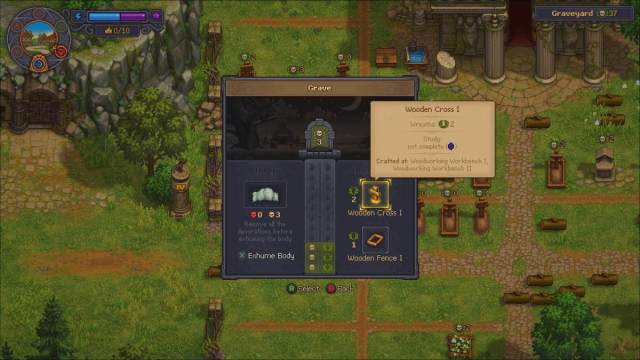
Finally, there’s the Exhumation procedure. Now, this costs a fair bit of money. Five Silver and 50 Copper Coins from Januarius, and you can only use it once per purchase. Once you have one of these Exhumation Certificates, you can remove all grave decorations and dig up a body that might not have the White Skulls you desire. This is a good way of getting vital organs packed with Red Skulls. This also becomes more relevant later on as you learn to Embalm bodies to increase their White Skull value.


