
Final Fantasy Resonance Chapter 5 Checklist
A comprehensive checklist on everything you need to do and find in Final Fantasy Resonance Chapter 5


Chapter 5 of Final Fantasy Resonance, Scars of Time, takes you to Mysidia, the Uncharted Land. With the Enterprise now available, there’s also much more freedom to explore the world and tackle optional content.
This Final Fantasy Resonance Chapter 5 checklist covers the main story objectives, Tablet Shards, treasure chests, side quests, Visions, Magicite, optional encounters, and secrets worth collecting before Chapter 6.
All Main Story Objectives in Final Fantasy Resonance Chapter 5
Here’s a condensed walkthrough of the main story locations and objectives in Final Fantasy Resonance chapter 5.
| Main Story Location | What to Do |
|---|---|
| Enterprise | Board the airship outside Zoldaad and use its radar to search for Mysidia. |
| Mysidia, the Magiapolis | Explore the city, visit Sakura’s house, and recruit Sakura. |
| Potion Factory | Speak to the residents and collect the medicine needed for Sunioo. |
| Village of Sunioo | Travel across the snowy region, defeat Slagworm, and deliver the medicine. |
| Nameless Ruins | Explore the ruins and defeat Iron Giant and Liquid Flame. |
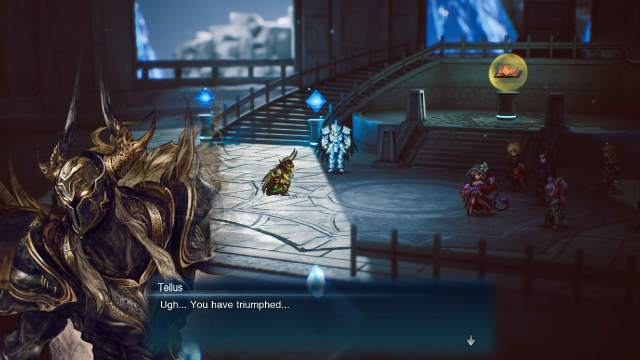
| Nameless Ruins | Continue deeper and survive the scripted encounter with Tellus. |
| Arcane Library | Defeat five Monster Tomes to restore access to the Forbidden Text Wing. |
| Forbidden Text Wing | Defeat Byblos and locate the tome needed to enter Fina’s Psyche. |
| Fina’s Psyche | Search for Fina, investigate the sealed gate, and explore the surrounding memories. |
| Tower of Mysidia | Climb the tower and complete the memory event needed to continue. |
| Fina’s Psyche | Return to the memory world, explore the newly opened path, and defeat the Malboro. |
| Aldorian Base | Speak with the Sworn Eight and continue through the memory sequences. |
| Battlefield | Follow the flowers and defeat Archwitch Fina. |
| Battlefield | Defeat Tellus in the final story encounter. |
| Sakura’s House | Return to Mysidia and finish Chapter 5. |
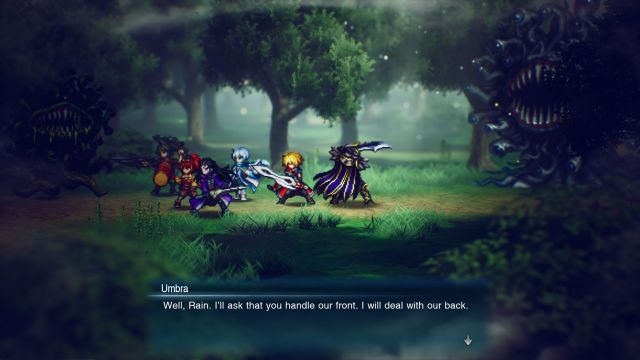
Here’s a list of all the main story bosses in Final Fantasy Resonance Chapter 5 including their levels, HP and weaknesses:
| Boss | Level | HP (Normal) | Weakness |
|---|---|---|---|
| Slagworm | 33 | 90,000 | Wind |
| Iron Giant | 34 | 85,000 | Lightning |
| Liquid Flame | 34 | 78,000 | Ice, Water |
| Byblos | 36 | 95,000 | Fire, Dark |
| Archwitch Fina | 38 | 100,000 | Light, Water |
| Tellus | 39 | 135,000 | Wind |
For the final encounter, bring both physical and magical Wind attacks. Tellus changes his defensive conditions during the fight, so relying on only one damage type can leave you unable to deal damage.
All 17 Tablet Shard Locations in Final Fantasy Resonance Chapter 5
There are 17 Tablet Shards in Chapter 5, bringing your total to 75 if you’ve collected all 58 from the previous four chapters. Here’s where to find all 17 Tablet Shards:
| Location | Where to Find the Tablet Shard |
|---|---|
| Mysidia, the Magiapolis | From the entrance, head down the stairs to the right. Look behind the NPC near the teleport crystal. |
| Mysidia, the Magiapolis | Enter the shopping area and look beside the crates south of the weapon shop. |
| Mysidia, the Magiapolis | Use the blue teleporter to reach the fountain area. Look beside the second pillar on the right. |
| Arcane Library | Near the library entrance, head southwest from the first blue portal and look between the writing desks. |
| Arcane Library | During the later story visit, climb the ladder near the second save point. Follow the upper balcony to its western end. |
| Village of Sunioo | Immediately after entering the village, look between the bench and flowerpot near the entrance. |
| Village of Sunioo | Head to the northeastern igloo and look beside the snowman. |
| Nameless Ruins | In the first room, head west and look beside the fallen pillar. |
| Nameless Ruins | In the second area, descend the stairs near the save point and look beside the fallen chandelier. |
| Fina’s Psyche — First Visit | Near the starting area, look beneath the chain beside the locked gate. |
| Fina’s Psyche — First Visit | Explore the western tents and look beside the crates near Sol’s location. |
| Fina’s Psyche — First Visit | Continue through the western memory sequence and collect the shard in the clearing at the end of the path. |
| Tower of Mysidia | Near the entrance, look behind the large crystal. |
| Tower of Mysidia | Climb the spiral staircase and check the first major landing. |
| Tower of Mysidia | Continue climbing and look along the staircase before reaching the Azure Pot. |
| Tower of Mysidia | After passing the Azure Pot, check the snow-covered section of the stairs. |
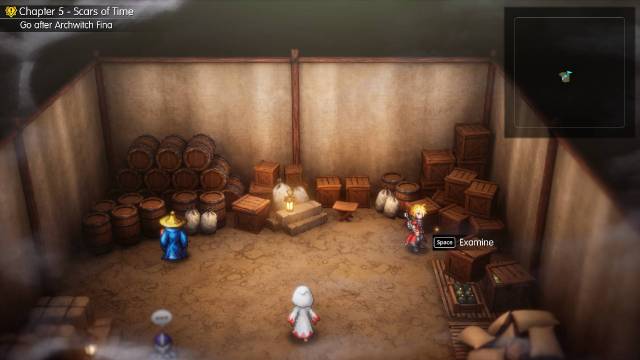
| Fina’s Psyche — Second Visit | After crossing the bridge into the later memory area, check beside the supply crates on the southeastern side of the small camp. |
Chapter 5 Tablet Shard Rewards
If you’ve collected all Tablet Shards available through Chapter 5, you’ll be able to claim the following rewards.
| Total Tablet Shards Required | Reward |
|---|---|
| 60 | War Pick |
| 64 | Magicite Cryst |
| 68 | Mirage Jacket |
| 72 | Sundering Odachi |
The next reward is the Ancient Firearm at 76 Tablet Shards. Since Chapter 5 brings your regional total to 75, you’ll need one additional shard from an area beyond Mysidia to claim it.
Important Equipment and Items to Collect in Final Fantasy Resonance Chapter 5
| Item | Location | How to Obtain |
|---|---|---|
| Seraphim Bow | Mysidia, the Magiapolis | Look behind the shops near the city entrance. |
| Knight’s Sword | Mysidia, the Magiapolis | Take the portal east of the Potion Factory. |
| Thunder God’s Earrings | Sakura’s House | Return to Sakura’s house after she joins the party. |
| Arcane Coat | Village of Sunioo | Follow the hidden route in the north-central part of the village. |
| Resonate Staff | Village of Sunioo | Enter the northeastern igloo. |
| Magi-Blaster | Nameless Ruins | Descend the western staircase while exploring the ruins. |
| Magicite | Nameless Ruins | Open the chest southwest of the save point in the deeper section. |
| Tyr’s Armor | Nameless Ruins | Activate the three statues in the correct order to open the locked entrance chest. |
| Impact Wand | Nameless Ruins | Return to the final room after completing the story sequence. |
| Genmato | Arcane Library | During your first visit, take Platform VI to reach the chest. |
| Book of Strength | Arcane Library | In the Forbidden Text Wing, climb the ladder before approaching Byblos. |
| Magicite | Tower of Mysidia | Look along the eastern side of the balcony on the second landing. |
| Bullseye Mace | Tower of Mysidia | Found along the western side of the same balcony. |
| Guarding Gown | Tower of Mysidia | Look behind the pillar in the uppermost room before returning to Fina’s Psyche. |
| Barrel Blazer | Fina’s Psyche | During the second visit, follow the western path through the forest. |
| Lunar Whip | Fina’s Psyche | Found along the southwestern route before the final memory sequences. |
How to Open the Locked Chest in Nameless Ruins
There’s a locked treasure chest near the entrance of the Nameless Ruins that requires you to activate three statues in the correct order. You can complete the puzzle after reaching the final section of the dungeon.
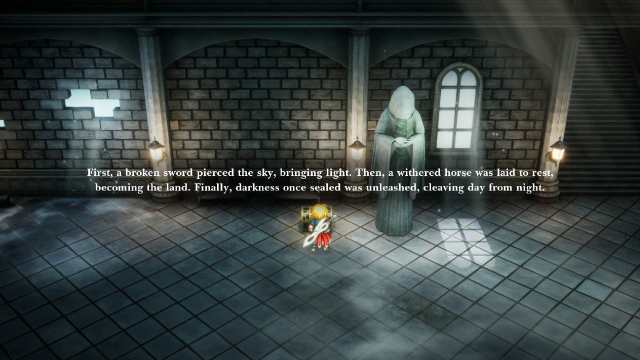
Activate the statues in this order:
- The statue near the save point in the deeper section.
- The statue beside the route where you collected the Magi-Blaster.
- The statue near the entrance of the Nameless Ruins.
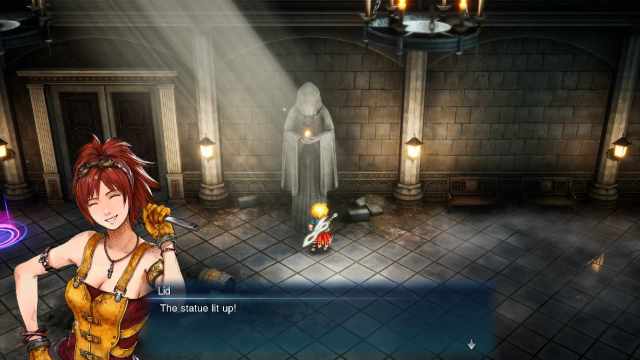
Return to the locked chest after activating all three statues to collect Tyr’s Armor.
All Chapter 5 Side Quests and Rewards
Chapter 5 introduces several new side quests across Mysidia, Dirnado, Zoldaad, and the Enterprise. Some unlock new Visions, while others reward Magicite, exclusive equipment, and permanent stat bonuses.
We’ve already covered The Call from Beyond, O General! My General!, Rogue Rebel, and Nichol’s Duty in our Chapter 4 checklist.
Mog Tag
- Starting location: Mysidia, the Magiapolis, speak to the Moogle near the entrance.
- Reward: Mist X-Potion.
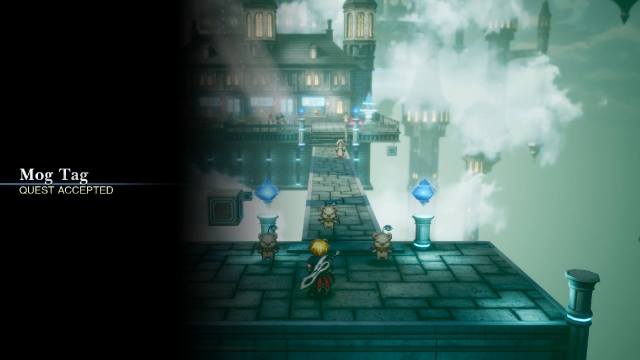
Three Moogles in Mysidia want to play a game of tag, and Rain has to catch each one.
You’ll find them on the eastern bridge, near the central platform, and west of the central platform. Approach each Moogle, press the interact button to catch it, then return to the quest giver to collect your reward.
More Mog Tag
- Starting location: Mysidia, the Magiapolis, same Moogle as the previous quest.
- Reward: Magicite.
- Requirement: Complete Mog Tag.
Speak to the Moogles again to begin the More Mog Tag quest.
One is near the central platform, another is south of the Potion Factory, and the third is east of the factory. Catch all three and return to the quest giver to earn a Magicite.
Even More Mog Tag
- Starting location: Mysidia, the Magiapolis.
- Reward: Magicite Cryst.
- Requirement: Complete More Mog Tag.
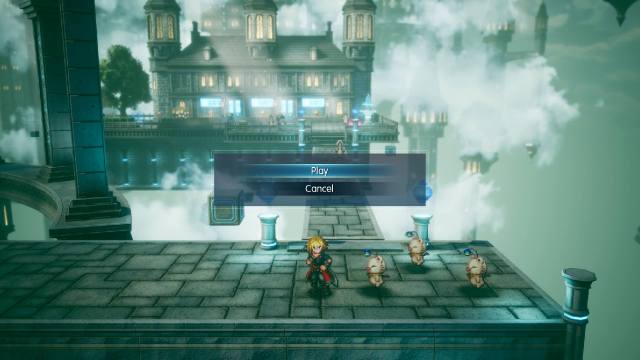
The third Mog Tag quest is a bit harder because they move in erratic patterns and one of them takes massive laps around the potion factory.
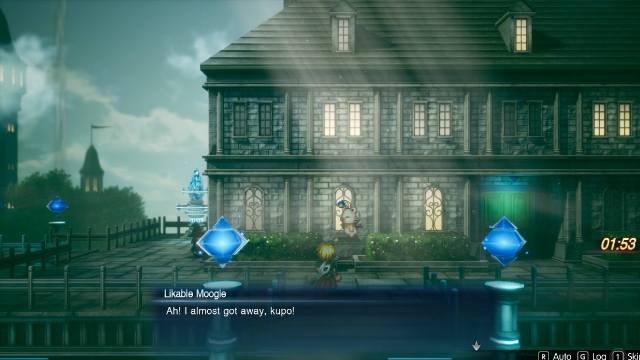
You’ll find the three Moogles near the starting area, on the bridge west of the Potion Factory, and directly in front of the Potion Factory.
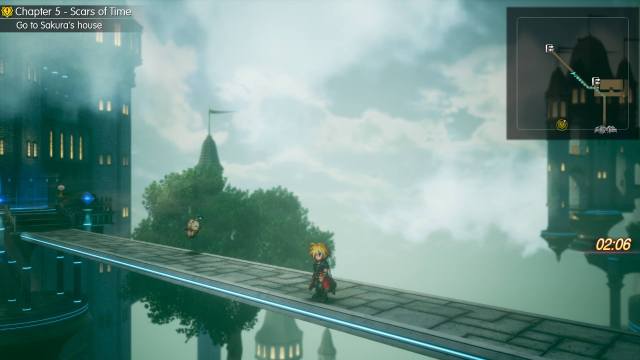
For your efforts you are rewarded with a Magicite Cryst, so this quest is well worth doing early.
Forger of Wills
- Starting location: Dilmagia, the Machinopolis, speak to the Gossiping Girl near the entrance.
- Rewards: Aileen Vision, Magicite.
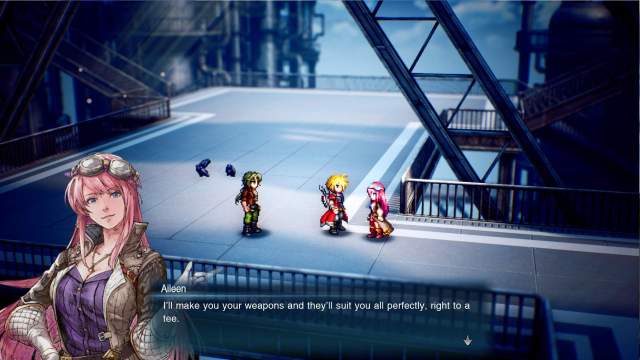
Forger of Wills introduces Aileen, an engineer who can eventually craft unique Adamantite weapons for your party. You should check out all information on the quest and Adamantite locations and weapons.
Victoria Revivified
- Starting location: Mysidia, the Magiapolis, speak to the witch near the shops.
- Rewards: Victoria Vision, Magicite.
- Requirement: Progress through the Sunioo story events.
Victoria Revivified becomes available after you’ve progressed through the early story objectives in Mysidia.
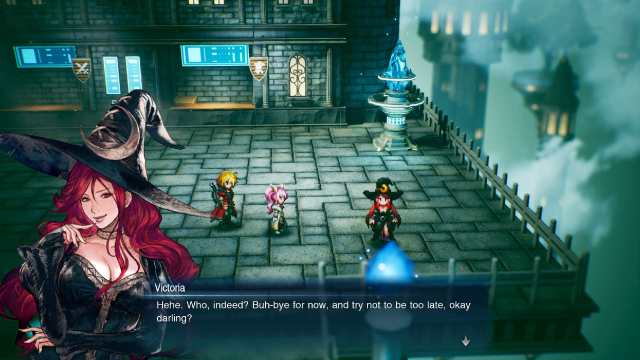
The quest mostly involves walking around and then traveling west of Mysidia to defeat the Black Lizards in the marked encounter. It unlocks Victoria as a Vision.
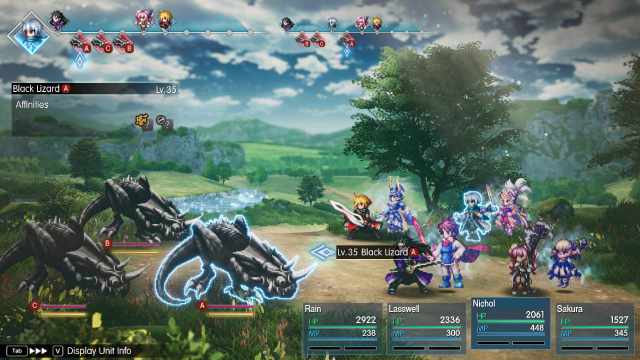
Victoria is worth unlocking as soon as possible because her Mastery Rank 7 ability increases MRP earned by 50%, making it much easier to level up other Visions.
Mechabo Unleashed
- Starting location: Dwarven Forge, speak to Verun aboard the Enterprise.
- Rewards: Overclock Zero, Mechamog Scan, Magicite Cryst.
- Requirement: Complete Mechabo Evolved.
Verun has another series of upgrades for Lid’s Mechabo, and this time you’ll need to collect materials from two sets of enemies.
First, travel to Mysidia and defeat three Mahadevas around the western part of the region. Return to Verun aboard the Enterprise to unlock Overclock Zero.
Next, travel to the western edge of Gronoa and defeat three Malbodooms. Return to Verun again to finish the quest and receive Magicite Cryst and Mechamog Scan. This part can’t be completed until you reach Chapter 6 and unlock Holy to open up the western region.
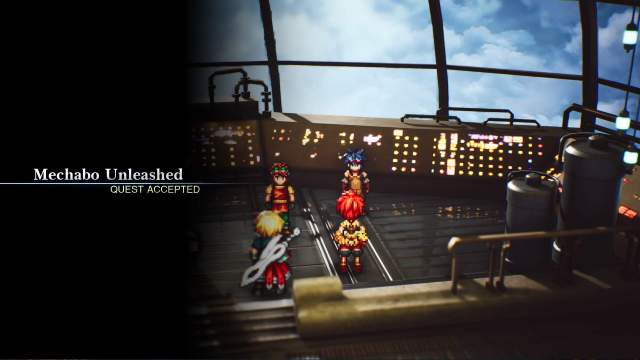
Overclock Zero is a stronger version of Lid’s Overclock ability, while Mechamog Scan can add an elemental weakness to enemies for the remainder of a battle.
Beyond the Blue
- Starting location: Dilmagia Shipyard, speak to the Airship Trading Company chairman.
- Rewards: Chocobo Nitro, permanent stat bonus for Lid.
Beyond the Blue focuses on Lid and her work improving airship technology. The quest involves an encounter with Typhon, an optional boss weak to Ice. Complete the remaining objectives and return to Dilmagia to earn Chocobo Nitro and a permanent stat increase for Lid.
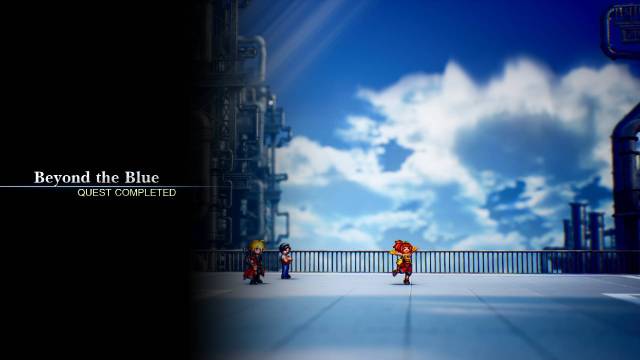
Chocobo Nitro is a useful accessory for Mechabo builds because it gives Mechabo attacks a chance to inflict random debuffs.
Battle at the Big Bridge
- Starting location: Enterprise, speak to Gilgamesh on the deck.
- Rewards: Genji Gloves, Genji Armor.
Gilgamesh returns during Chapter 5 and challenges the party aboard the Enterprise. After the initial encounter, he’ll ask you to visit four bridges scattered around the world map. Once you’ve investigated them, travel to the Kolobos Bridge for the final battle.
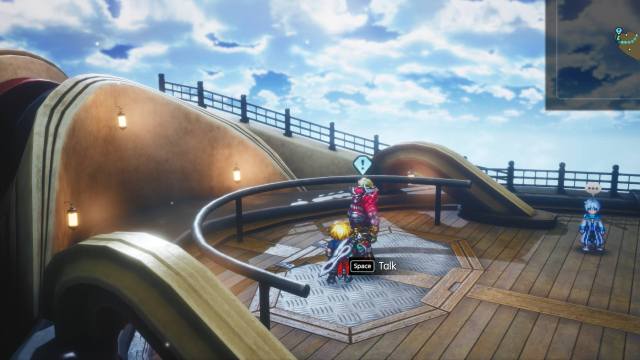
You’ll receive Genji Gloves during the quest and Genji Armor after defeating Gilgamesh at the bridge. The battle includes scripted sequences where Gilgamesh becomes temporarily invulnerable, so don’t waste expensive attacks while he’s protected.
Token Legacy
- Starting location: Rest at an inn after beginning Chapter 5, then follow Jake’s quest.
- Rewards: Trick Coin, permanent stat bonus for Jake.
Token Legacy is Jake’s personal quest and explores his family history. After triggering the quest by resting at an inn outside the Enterprise, travel to the Zoldaad Slums and speak with the marked NPC.
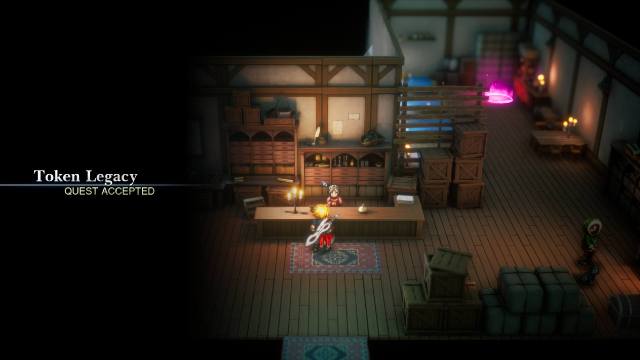
Completing the quest rewards you with Trick Coin and permanent bonuses to Jake’s attributes.
Errand’s End
- Starting location: Zoldaad, the Imperial Capital, interact with the notice board.
- Rewards: Amelia Vision, Magicite.
- Requirement: Complete Token Legacy.
After finishing Jake’s personal quest, you’ll be able to investigate another request in Zoldaad. Read the notice board, speak with Shera at Zoldaad Castle, and follow the objectives to Olderion and Waterfall Way.
Completing the quest will unlock Amelia, who is one of the best visions in Final Fantasy Resonance.
All Chapter 5 Visions and How to Unlock Them
Chapter 5 opens up several new Visions, including Bartz, Lightning, Vaan, and Clive. You can also challenge Sephiroth to obtain his Vision and complete two new side quests that reward Aileen and Victoria.
| Vision | Role | How to Unlock |
|---|---|---|
| Bartz | Breaker | Enter the Sanctum of Light north of Mysidia. |
| Lightning | Breaker | Enter the Sanctum of Light in southern Mysidia. |
| Vaan | Breaker | Travel west of Mysidia and enter his Sanctum of Light. |
| Clive | Breaker | Use the Enterprise to reach his Sanctum southwest of Mitra in the Kingdom of Grandshelt. |
| Sephiroth | Commando | Enter Whirlpool Hollow near Grandshelt and defeat Sephiroth. |
| Aileen | Breaker | Complete Forger of Wills in Dilmagia. |
| Victoria | Commando | Complete Victoria Revivified in Mysidia. |
You can check information on all of these from our Visions tier list.

All Magicite and Magicite Shard Locations in Chapter 5
Chapter 5 has several full Magicite rewards, along with two Magicite Crysts that you can obtain through side quests.
| Location | How to Obtain | Reward |
|---|---|---|
| Mysidia | Complete More Mog Tag. | Magicite |
| Mysidia | Complete Even More Mog Tag. | Magicite Cryst |
| Mysidia | Complete Victoria Revivified. | Magicite |
| Dilmagia | Complete Forger of Wills. | Magicite |
| Dwarven Forge | Complete Mechabo Unleashed. | Magicite Cryst |
| Nameless Ruins | Open the chest southwest of the deeper save point. | Magicite |
| Tower of Mysidia | Open the hidden chest on the eastern balcony of the second landing. | Magicite |
| Salome Cave | Defeat Salome. | Magicite |
| Jotunn Cave | Defeat Jotunn. | Magicite |
| Mysidia Ice Tornado | Defeat Shiva. | Magicite |
| Oblivion Palace | Reach 64 collected Tablet Shards. | Magicite Cryst |
The two Cave Masters and Shiva are optional, so you can collect their rewards later if the battles are too difficult. However, if you’re strong enough, you can even start hunting for stronger Cave Masters near Pharm to get Magicite Crysts.
All Optional Bosses and Special Encounters in Chapter 5
The Ifrit Esper encounter is missing from this list because it was already covered in our Chapter 4 checklist.
Salome
- Location: Salome Cave, Mysidia.
- Level: 39
- HP: 200,000 on Normal.
- Weakness: Wind.
- Rewards: Magicite, Mist X-Ether.
Salome is one of the two Cave Masters available in Mysidia and specializes in Charm and Poison attacks. Equip Monk’s Prayer Beads to protect your characters against Charm before entering the battle. Salome can also use Earth magic, including Stonega and Stonera, so Carbuncle’s Reflect is pretty useful.
Use Wind attacks to build Stagger and focus on defeating her before she can Charm too many party members. Even a strong team can be caught off-guard if she Charms everyone at the start.
Jotunn
- Location: Jotunn Cave, western Mysidia.
- Level: 42
- HP: 240,000 on Normal.
- Weaknesses: Fire, Dark.
- Rewards: Magicite, Mist X-Ether.
Jotunn is the stronger Cave Master in Mysidia, and its high HP makes this a much longer fight than regular encounters around the region. Fire and Dark attacks are effective against it, making Terra and Archwitch Fina useful choices.
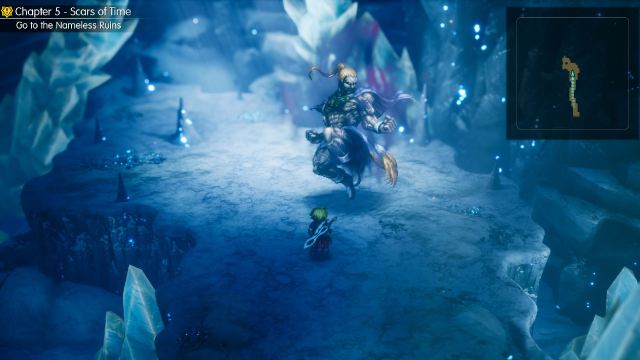
Jotunn becomes more dangerous as its HP falls, so prepare your strongest attacks and Limit Bursts before pushing it into the final part of the battle.
Shiva
- Location: Ice tornado, Mysidia overworld.
- Level: 35
- HP: 115,000 on Normal.
- Weakness: Fire.
- Rewards: Shiva Esper, Magicite.
Shiva is the new optional Esper available in Chapter 5. Fly toward the ice tornado on the Mysidia world map and interact with it to begin the encounter.

Shiva specializes in Ice attacks and can summon additional elemental enemies that may explode if left alive. Focus on defeating these enemies before returning your attention to Shiva.
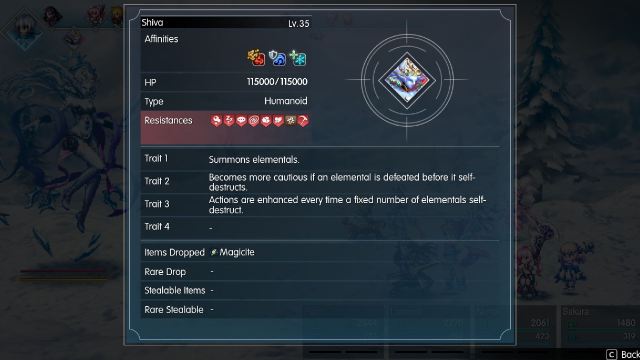
Fire attacks are your best option, and protecting against Sleep can make the encounter much easier. Once defeated, Shiva becomes available as an Esper.
Typhon
- Location: Enterprise, during Beyond the Blue.
- Level: 35
- HP: 75,000 on Normal.
- Weakness: Ice.
- Rewards: Progress toward completing Beyond the Blue.
Typhon can use Snort to remove party members from battle, making the fight harder as it continues.
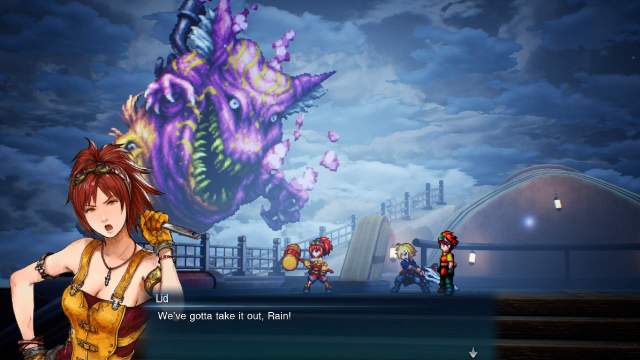
Bring characters with strong Ice attacks and try to defeat him quickly before your party is reduced to one or two members. Lasswell, Tronn, and Terra are useful options for exploiting his Ice weakness.
Azure Pot — Arcane Library
- Location: Arcane Library, fourth floor.
- Level: 36
- HP: 99,999 on Normal.
- Required item: Mist Turbo Ether.
- Rewards: 600 EXP, 1,000 Gil, 500 MRP on Normal, with a chance to obtain an Elixir.
You’ll encounter an Azure Pot during your first exploration of the Arcane Library. Like the earlier Pot enemies, Azure Pot isn’t meant to be defeated through regular attacks. Instead, use a Mist Turbo Ether on it during battle to finish the encounter and collect your rewards.
Switching to Expert difficulty increases the MRP reward to 750. This is a one-time encounter, so equip the Visions you’re currently leveling before giving the Pot its requested item.
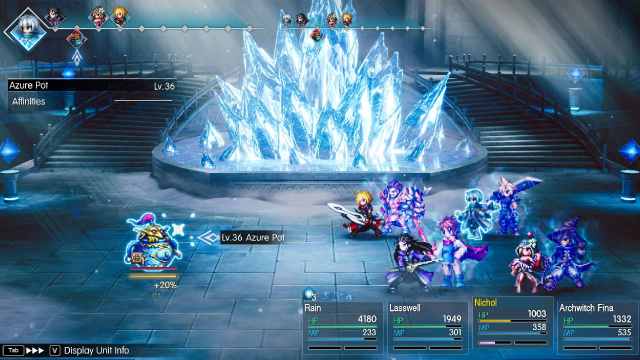
Azure Pot — Tower of Mysidia
- Location: Tower of Mysidia, along the staircase.
- Level: 36
- HP: 99,999 on Normal.
- Required item: Mist Turbo Ether.
- Rewards: 600 EXP, 1,000 Gil, 500 MRP on Normal, with a chance to obtain an Elixir.
The second Azure Pot is located in the Tower of Mysidia. You’ll encounter it while climbing the staircase during the main story. Use another Mist Turbo Ether to complete the battle.
On Expert difficulty, you’ll earn 750 MRP before any other applicable bonuses.
Gilgamesh — Battle at the Big Bridge
- Location: Enterprise and Kolobos Bridge.
- Weakness: None.
- Rewards: Genji Gloves, Genji Armor.
Gilgamesh returns during the Battle at the Big Bridge side quest, starting with an encounter aboard the Enterprise. The first battle contains scripted moments where he cannot be damaged. Afterward, you’ll need to investigate four bridges across the world map before confronting him again at Kolobos Bridge.
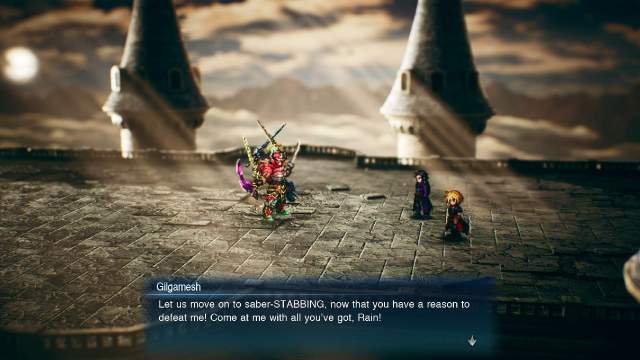
The final encounter also includes periods of invulnerability, so avoid using expensive attacks when Gilgamesh is protected. Completing the quest rewards you with Genji Armor, while Genji Gloves are obtained earlier during the quest.
Best EXP, Gil, and MRP Farming Spots in Final Fantasy Resonance Chapter 5
Chapter 5 introduces some excellent farming locations because you now have the Enterprise and can reach isolated sections of the world map.
Metal Cactuars — Best EXP Farming in Mysidia
Metal Cactuars appear in the western part of Mysidia, near Jotunn Cave and Vaan’s Sanctum of Light. Each one rewards 25,000 EXP, making them one of the best ways to level up during Chapter 5. However, Metal Cactuars have extremely high defenses and can escape after a few turns. Use attacks that hit multiple times rather than relying on single powerful attacks.
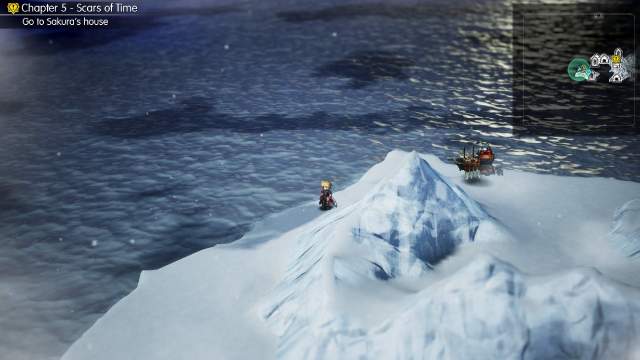
Noctis’s Barrage is useful because it guarantees multiple hits, and Squall’s Double Action can help you attack several times before the enemy escapes. The spawn rate is somewhere around 20-30% so don’t hesitate to escape from other encounters.
Cactuars — Best MRP Farming
With the Enterprise available, you can reach a small isolated patch of land west of Onion Knight’s Sanctum in Dirnado. The area will always spawn Cactuars who will award 220 base MRP on Normal, increasing to 286 when you finish the fight with Stagger.
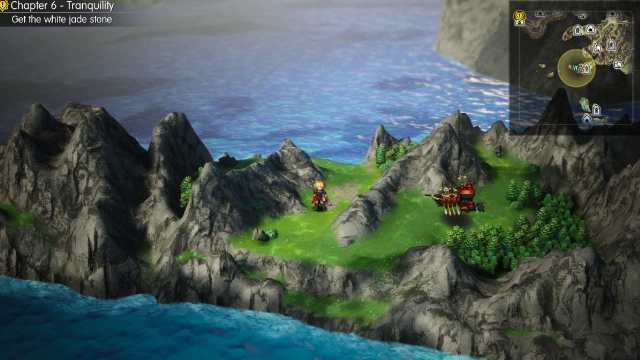
On Expert difficulty, you can earn even more MRP, although the higher enemy stats may slow down your farming. Cactuars have high evasion, so use reliable multi-hit attacks such as Barrage and Tranquility in Tumult to defeat them quickly.
If you’ve unlocked Victoria, her MRP Gain +50% passive at MR7 will also help you level up your other Visions faster.
All Missable Items and Secrets in Final Fantasy Resonance Chapter 5
There are several hidden equipment pieces, and optional activities in Chapter 5 that are easy to overlook during the main story.
Chapter 5 Stat Choice — Sakura
During the story events in the Village of Sunioo, you’ll be given a dialogue choice that provides a permanent stat bonus to Sakura.
| Dialogue Choice | Stat Bonus |
|---|---|
| “With your magic at our side, I bet we can finally give the Sworn Six a run for their money.” | MP +10 |
| “And you’re a wise person, Sakura. You made me reflect on a lot of things. Thanks.” | Magic +3 |
| “Yep, you’ll never be bored when you’re traveling with us, I guarantee it.” | Spirit +3 |
We recommend choosing the second dialogue option for Magic +3, since Sakura is primarily an offensive magic character.
Head to the Chamber of Arms
Now that you have the Enterprise, you can visit the Chamber of Arms northwest of Mobliz Shipyard. If you’ve collected the Ancient Greatsword from the Grandshelt Colosseum or the Ancient Accessory from Quarry Cave, you can challenge their Level 50 guardians to turn them into Legendary equipment.
Make sure to read our Ancient Weapons guide for a full breakdown on all Ancient Arms and Guardian bosses.
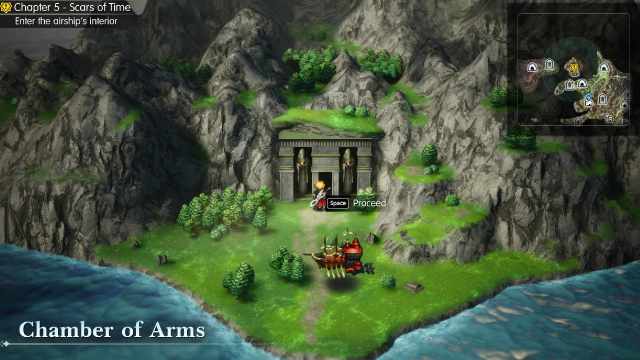
These battles are much stronger than the regular Chapter 5 encounters, so return after leveling up if necessary.
Unlock Aileen and Start Collecting Adamantite
Completing Forger of Wills unlocks Aileen as a Vision and introduces her weapon-crafting questline. Adamantite can be used to craft eight unique weapons.
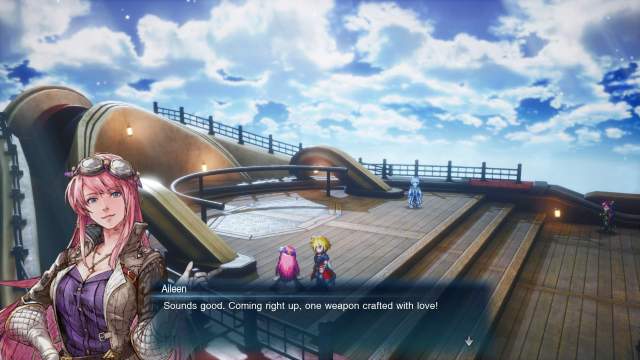
You’ll already have access to the Adamantite reward from Fledgling League Battle 2 if you completed the Colosseum content during Chapter 4.
You can leave Sephiroth, Jotunn, and the Chamber of Arms guardians for later if their encounters are too difficult. The chapter 5 MRP and EXP farm locations are good enough for you to grind and beat them, but Chapter 6 introduces a much better MRP farming location.


