
DYN Campaign Mission 4 Walkthrough in Tempest Rising – 100% Completion
Protect that Physicist!

DYN campaign’s mission 4 has two annoyingly secretive secondary objectives in Tempest Rising. If you don’t move a certain way and explore specific areas, the secondary objectives won’t trigger. So it can be a little frustrating, but I’ve got you covered.
Here’s a complete guide on finishing those secondary objectives and a detailed walkthrough on the “Where it Hurts” mission in Tempest Rising.
How to Complete the Where it Hurts Mission in Tempest Rising – 100% Completion
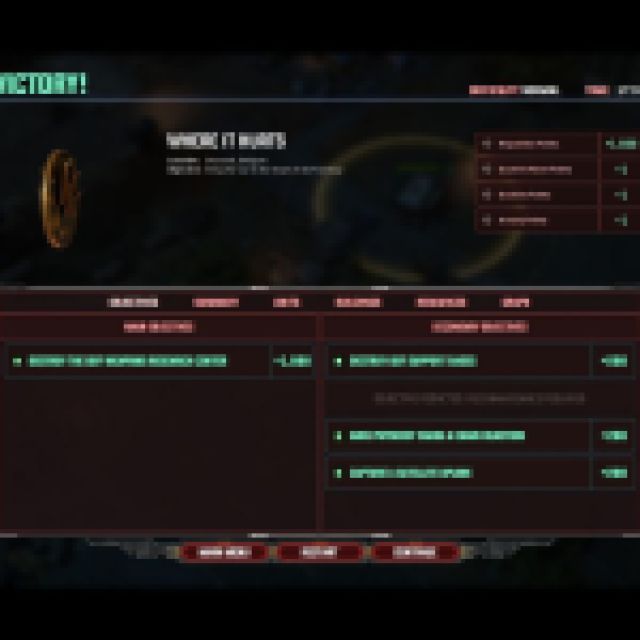
| Main Objectives | Requisition Points | Secondary Objectives | Requisition Points |
| Destroy the GDF Weapons Research Center | 1,000 | Capture a Satellite Uplink | 200 |
| Destroy the GDF Support Bases | 200 | ||
| Destroy the GDF Comms Rig | 200 | ||
| Have a Physicist Cause a Chain Reaction | 200 |
Secondary objectives will be in bold throughout the main objective walkthrough.
Destroy the GDF Weapons Research Center
The game starts with a small base. You’ll need to build a Machine Shop to unlock the other tech, and once you build one, queue a Tempest Rig and a Barracks. After building the Barracks, you should upgrade your Construction Yard to Bastion for the first time in the campaign.
It enables more Dynasty upgrades, but you’ll need a Radar Station first. Try to build a small army and clear the surrounding area. Your goal is to secure the nearest Tempest resource node to the north to improve your economy fast.
Note: You’ll also get a Physicist unit at the start. Keep it alive at all costs.

There are two small Tempest resource nodes on the north and northwest side, but these nodes don’t regrow. They are relatively safe, so you have to mine these first.
Once you get a decent army, move to point A with the “Capture a Satellite Uplink” secondary objective. Use a Technician to capture the building and secure the objective.
If you have your attack move command target everything, you must manually control your units during battle, since they might destroy the Satellite Uplink. If that happens, you need to restart the mission since you won’t get a 100% completion anymore.
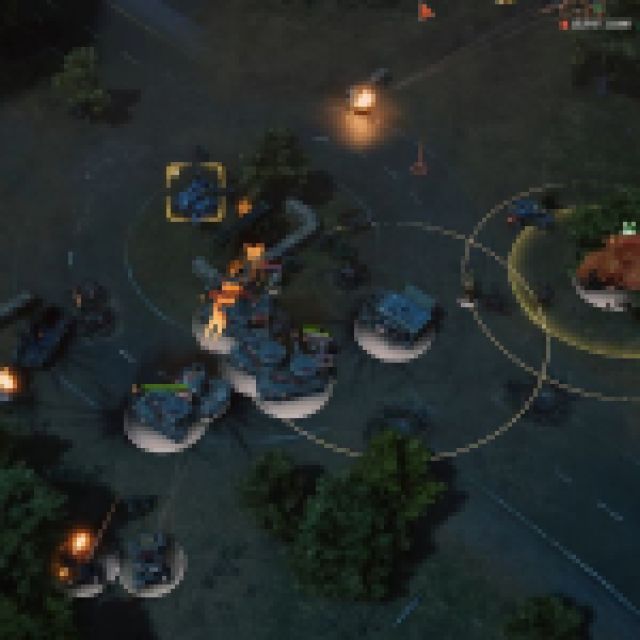
After securing the Satellite Uplink, you’ll find a Tempest resource node below it. This node regrows over time, so move one of your Tempest Rigs here. You want at least three active Tempest Rigs harvesting resources. That should sustain your army production throughout the game.
You can upgrade one of your Barracks to unlock more advanced units. The Satellite Uplink can also be upgraded to a Riot Pod or Specialist Pod, giving you access to the advanced units.
Once you have another decently sized army ready, head west to the GDF Support base, and you’ll encounter a small enemy outpost with a few turrets in the intersection. You’ll notice a broken road on the left, which should trigger a short response from command. Use a Technician to repair the bridge, and cross it with your main army to flank the GDF base.
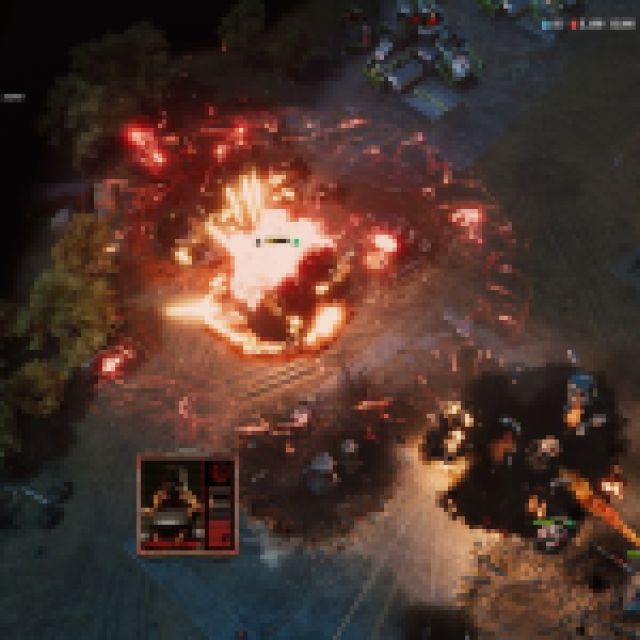
This will trigger a secondary objective, where you need the Physicist to cause a chain reaction in the target zone. Use the Physicist’s Electric Field Generator in the target zone while your army deals with the enemies.
Clearing this side should also help you easily destroy the first GDF support base.
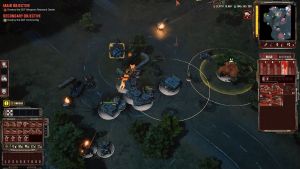
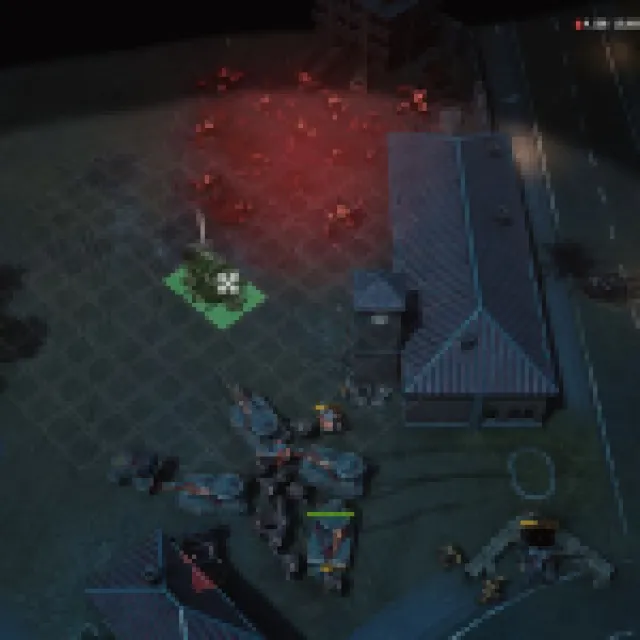
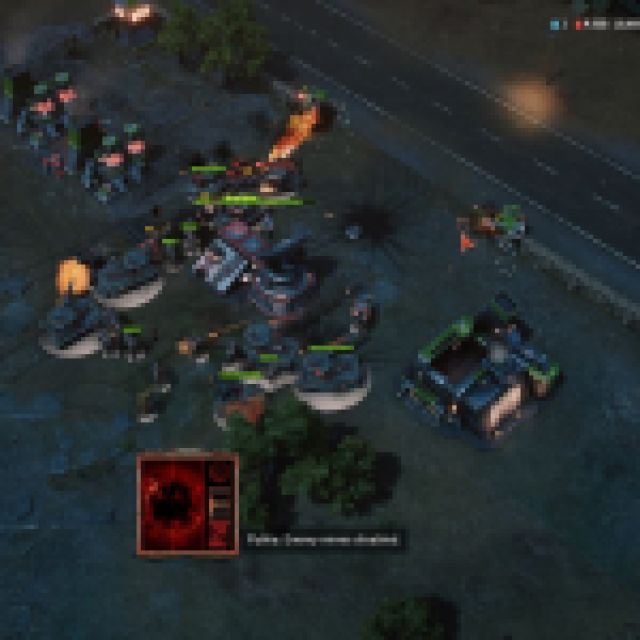
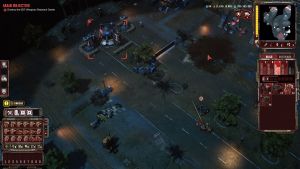
Keep reinforcing your army and head to the intersection near the GDF Weapons Research Center and the 2nd GDF support base. This will trigger another secondary objective, and you’ll need to destroy the GDF Comms Rig near the outpost.
Use the image above as a reference. If you don’t go near the outpost, the secondary objective will not trigger.
You can split your army to clear both the Weapons Research Center and the GDF support base, but make sure to clear the 2nd GDF support base before finishing the main objective.
Both bases are heavily guarded, but you can always shoot the explosive barrels to deal with the turrets. Once you destroy the GDF Weapons Research Center, you’re home free.
When you’re ready to move, here’s our full walkthrough for mission 5 of the Dynasty campaign.