All Hudson Sign Locations in Tears of the Kingdom (TOTK)
President Hudson sign mustn't fall!

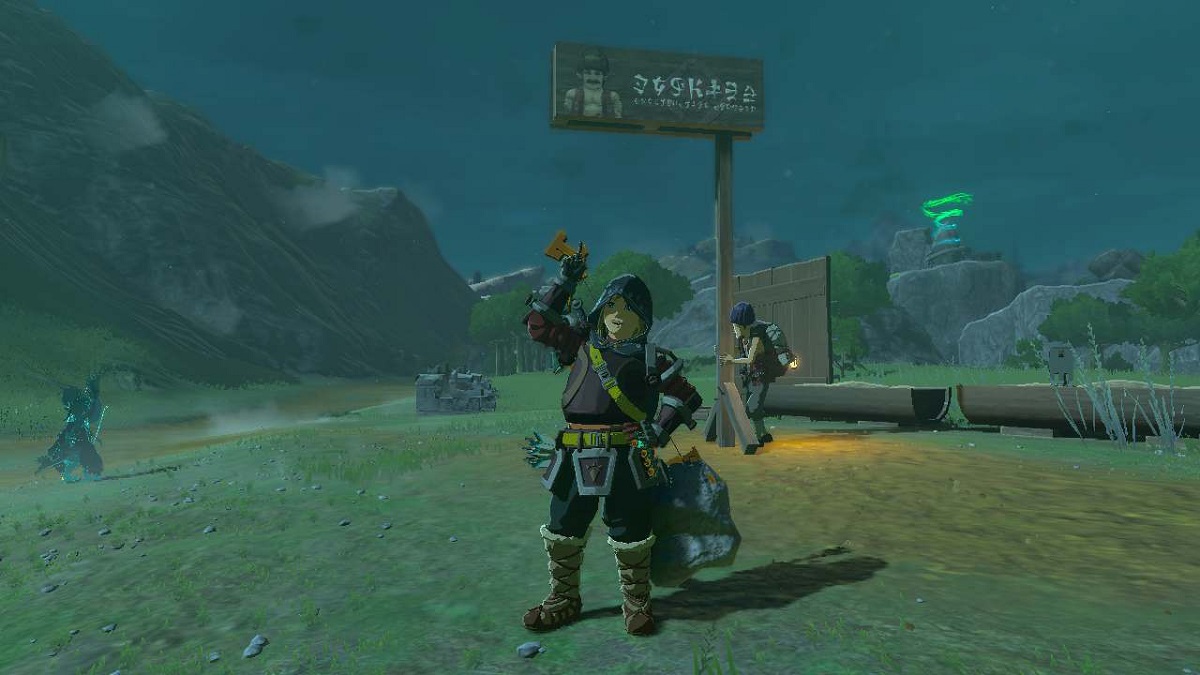
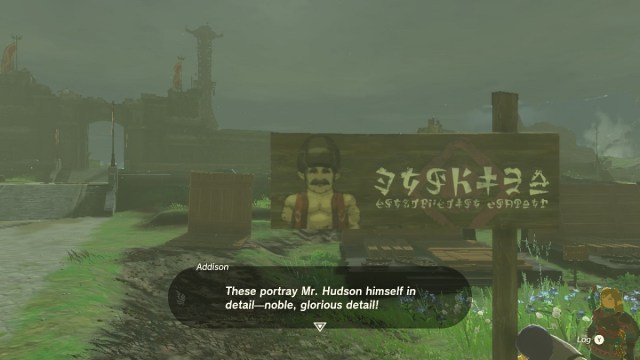
In Zelda: Tears of the Kingdom, you’ll meet Addison, a Hudson Construction worker with a peculiar side quest. Your mission is to secure Hudson signs featuring President Hudson’s face. Here are the locations of the ToTK Hudson Addison sign locations.
All Hudson Sign Locations in Tears of the Kingdom
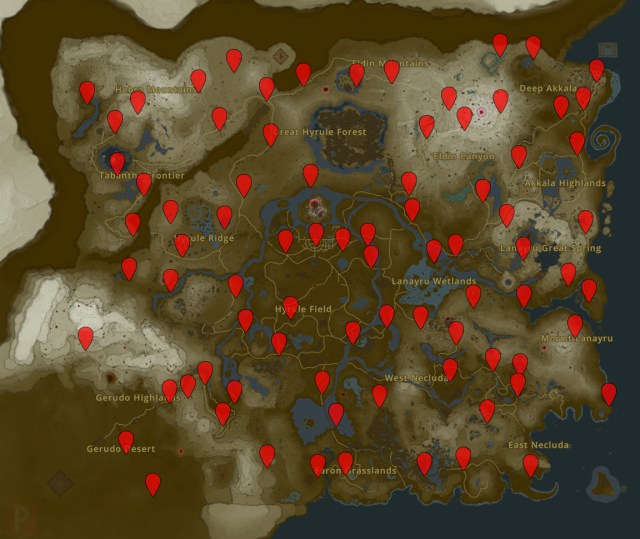
See the map below for all Hudson Sign mini-game locations. Click for full-size.

ToTK Addison Locations, Listed
There are 81 Hudson Construction signs that you need to solve across Hyrule. Here are the Addison locations listed by region.
All Akkala Hudson Addison Signs
- Located just south of South Akkala Stable.
- North of Tarrey Town and southwest of Rist Peninsula.
- Positioned on the pathway connecting Ordorac Quarry and Octorok Lake, just north of Sinatanika Shrine.
- Situated far southeast of Tarrey Town near Ulria Grotto and west of the coastal island chain.
- Found just south of East Akkala Stable.
- On the path leading to Akkala Ancient Tech Lab, a destination in the Yiga Clan quest.
- Perched on a cliff on the northeast side of Skull Lake, situated in the northwest corner of the region.
Hyrule Field Addison Signs
- Located in Hyrule Castle Town Ruins, just south of the broken fountain.
- Found west of Lookout Landing, after a three-way split, at the base of Mount Gustaf.
- East of Lookout Landing and southeast of Hyrule Castle Town along the path in Mabe Prairie.
- Positioned on the coast northeast of Applean Forest, overlooking Hylia River, far east of Lookout Landing.
- On a hill heading towards Rebonae Bridge and the Lanayru Wetlands, far east of Lookout Landing.
- Visit Exchange Ruins just north of Hyrule Field Skyview Tower; Addison is located east of Mayachin Shrine near some trees.
- On the Great Plateau south of Hyrule Field Skyview Tower, drop down north of the Forest of Spirits to find Addison on a cliffside.
- North of Outskirt Stable, follow the path toward Manhala Bridge.
- Located next to the southernmost sign in the area, southeast of Scout’s Hill, right next to the Bridge of Hylia.
Hyrule Ridge Addison Signs
- Ascend west from New Serenne Stable and reach the southern end of the small bog.
- Follow the path north of New Serenne Stable, passing the Royal Ancient Lab Ruins and Tear of the Dragon #1.
- Locate it on the pathway south of Seres Scablands.
- Find it at the summit of Mount Rhoam, situated west of Ludfo’s Bog and northeast of Tabantha Bridge Stable.
- Positioned near the woods by Lake Illumeni and Turakawak Shrine, to the west of Illumeni Plateau and Tear of the Dragon #6.
- On the river bank south of Washa’s Bluff, adjacent to a pier.
- Discover it in Nima Plain, east of Satori Mountain and north of Sanidin Park Ruins.
Great Hyrule Forest Addison Signs
- Northeast of Sikukuu Shrine or west of Tear of the Dragon #11, southeast of Thyphlo Ruins Skyview Tower overlooking Meklar Lake.
- On the pathway north of Mount Drena within the Drenan Highlands.
- To the far north of New Serenne Stable on the path in Rowan Plain, close to Kiuyoyou Shrine.
- On the north bank of Hyrule Castle Moat next to a pier.
Eldin & Death Mountain Hudson Signs
- Right by Foothill Stable to the far south of Death Mountain.
- To the far east of Thyphlo Ruins Skyview Tower, on the path as you approach the Eldin Mountains from the northwest.
- On a cliff north of Pico Pond, northeast of Woodland Stable.
- On the southwest side of Death Mountain, just below the Bridge of Eldin.
- Among the marshes at Gut Check Rock on the northeast side of the region.
- Follow Gonbori River up north towards Goron City to find the sign opposite Gonbori River Cave.
- On the east side of Death Mountain on the side of a cliff.
- On the west side of Death Mountain above Death Mountain Foothill Cave entrance.
- Just north of Thims Bridge in Trilby Plain.
Faron Hudson Signs
- Northeast of Lakeside Stable right next to Floria Bridge.
- On the path heading east towards Lurelin Village just next to Temto Hill.
- East of Mount Granajh and South Lomei Labyrinth on a cliffside overlooking the Oseira Plains.
- West of Highland Stable on a rocky hillside overlooking Haran Lake and Flural Plain.
- Across Menoat River to the far west of Highland Stable, on top of a hill looking over Pappetto Grove.
- Overlooking the south side of Lake Hylia, right on the shore.
- Southeast of Popla Foothills Skyview Tower on a cliff overlooking the Spring of Courage and Dracozu Lake.
Gerudo Desert & Highlands Hudson Signs
- In the Gerudo Highlands, southwest of Gerudo Highlands Skyview Tower on top of a small plateau overlooking the desert.
- Follow the path past Stalry Plateau and through Yarna Valley. You can head southeast from Gerudo Canyon Skyview Tower.
- In the southwest corner of the East Barrens. Head southwest from Siwakama Shrine or head east from Karahatag Shrine or the Lightning Temple. Addison is on a cliff overlooking two sand dunes.
- Northeast of Gerudo Canyon Skyview Tower next to the path heading into Koukot Plateau.
- Just south of Gerudo Canyon Stable.
- As you enter Gerudo Canyon Pass from Digdogg Suspension Bridge, you’ll see Addison as you head south.
- Just to the east and below Gerudo Canyon Skyview Tower, next to some crates.
- Head east from Gerudo Town past the enemy hideout, and you’ll see Addison hiding out in a small abandoned base, next to some wooden slats and crates.
Hebra & Tabantha Addison Signs
- On the south side of Hebra Mountains, southwest of Talonto Peak.
- South of Rito Village on the circular path going around Lake Totori. Go southwest from Lucky Clover Gazette.
- Southeast of Pikida Stonegrove Skyview Tower overlooking the Tabantha Snowfield to the east.
- On the pathway leading to Great Hyrule Forest northeast of Snowfield Stable.
- North of Rito Village and just southeast of Rospro Pass Skyview Tower.
- In North Tabantha Snowfield. Northeast of Pikida Stonegrove Skyview Tower, and southeast of Tear of the Dragon #8.
- Southwest of Snowfield Stable.
- West of Tabantha Bridge Stable, across the Tabantha Great Bridge.
- South of Sturnida Secret Hot Spring and the Sturnida Basin, by a dock on the southern half of Lake Kilsie.
- On the path towards Kolami Bridge.
Lanayru Addison Signs
- South of Kurakat Shrine, and northeast of Kakariko Village.
- On the peninsula south of the Lanayru Sea and south of Tear of the Dragon #9 at Lodrum Headland. Addison is overlooking the Bay to the east.
- On the west side of Lanayru Bay on the coast.
- In the Lanayru Wetlands on Mercay Island, the largest island which also has a chasm. It’s just north of Jonsau Shrine.
- By the path that runs alongside Zora River, north of Boné Pond, and just west of Inogo Bridge.
- South of Zora’s Domain, by the bridge right over Ruto Lake.
- Northeast behind Upland Zorana Skyview Tower.
- In the southern part of the region at Brynna Plain, underneath the cliff where the Apogek Shrine is.
Necluda Hudson Signs
- Northeast of Rabella Wetlands Skyview Tower amidst a small forest, and south of Meda Mountain.
- To the far east of Hateno Village at Mapla Point.
- On top of a small plateau next to Nirvata Lake at Ovli Plain.
- Heading into East Necluda on the path between Cliffs of Quince and Robred Dropoff.
- On the path west of Kakariko Village, just northeast of Sahasra Slope Skyview Tower.
- Across Owlan Bridge by Batrea Lake on the island where Tear of the Dragon #4 is.
- South of Eagus Bridge on the island where Tear of the Dragon #4 is.
- At the three-way split in Midla Woods leading to Hateno Village.
- Follow the path east out of Kakariko Village and you’ll find Addison propping up a sign between Pillars of Levia and Bonooru’s Stand.
- East of Lurelin Village, on a cliff just above Tear of the Dragon #7.
- Mount Lanayru, on the northeast side, northeast of Mount Lanayru Skyview Tower.
- East of Dueling Peaks Stable on top of a rock in the center of Ash Swamp.
How to Solve Hudson Sign Puzzles in Tears of the Kingdom
At each location, you’ll find Addison holding a sign with President Hudson’s likeness on it. It is up to you to find a way for the sign to remain standing when Addison lets it go. Most often, you have some objects in the area that you can place under the sign using the Ultrahand ability. Sometimes you will have to construct more complex objects, somewhere it will be a snowball that you need to roll until it is big enough to support…etc.

This mini-game gives you practically unlimited possibilities to be creative. When you have placed support under the sign talk with Addison again and ask him to let go. If the sign stays—congratulations, you did it! But if it falls, no problem—back to the drawing board, and try again.
When you finish successfully supporting each sign, talk again with Addison to receive some rewards—sometimes it’s rupees, sometimes it’s food, sometimes both.
How to get Addison’s Fabric in ToTK
You’ll get Addison’s fabric after fixing all of the Hudson signs. There are 81 signs in total, and after helping this poor enfeebled man all over Hyrule, Addison will be so ecstatic to have spread the legend of Hudson that he’ll hand you his fabric to affix to Link’s glider. It’s a lovely fabric as well, with vivid neon colors that will start to glow at night. Well worth the effort.
You can use Addison’s fabric by visiting Sayge at the Kochi Dye Shop in Hateno Village. Hand him the fabric and, for 20 rupees, he’ll change Link’s glider for you.
For more Zelda Tears of the Kingdom guides here on Prima Games check out how to get the Zora Armor Set, find out how many Shrines are in the game, and see the locations of all Cherry Blossom Trees.
