Rise of the Tomb Raider – Siberian Wilderness, A Cold Welcome, Best Laid Plans
Fight off Trinity soldiers as you discover the location of the Crown of a Prince!
In the Siberian Wilderness region of Rise of the Tomb Raider, Lara Croft finds herself back in the cold tundra as she discovers magnesite ore and stumbles across a few relics along the way.
Siberian Wilderness
A Cold Welcome
Push through the snow as you make your way down the snowy path ahead. When you reach the deserted camp you need to find the resources to build a fire and shelter. Head left of the camp and use Survival Instinct to locate the three items you need to complete this task. Collect the two tree branches and the fresh deer kill, then head back to the camp to build a fire.
Once you’ve got a fire going, it’s time to start upgrading your tools and weapons. Access the weapons menu to upgrade your bow and increase the damage. You should also have at least one skill point by this time, so feel free to upgrade Lara’s abilities before moving on.
When you’re ready to proceed, head left of the camp site. There’s a narrow trail to the left of the main path here. If you go down the narrow trail you’ll find some crafting supplies. Remember to use Survival Instinct to point out crafting materials and your next destination. Toward the end of the trails a large stone bounder where the two paths connect. Climb up onto the boulder to find another scroll.
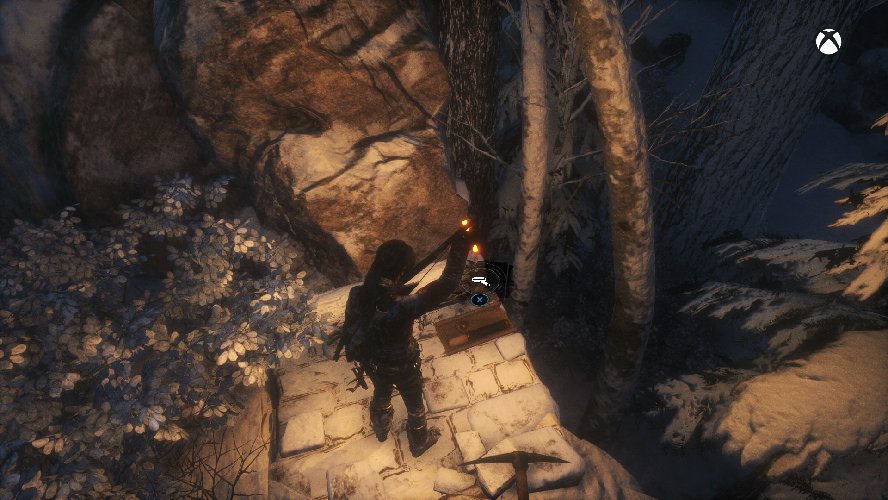
From the boulder, jump onto the nearby tree branch, climb up on top of the branch and move to the end. Jump across to the next tree branch, then on to the wooden platform ahead. Open the box here to find more crafting materials (five feathers), then slide down the rope line to reach the ruins below. Examine the monolith by one of the blue flags here. There’s also a survival cache to the right of the blue flags (if you’re facing away from the zip line). It’s marked by a glowing spot in the snow.
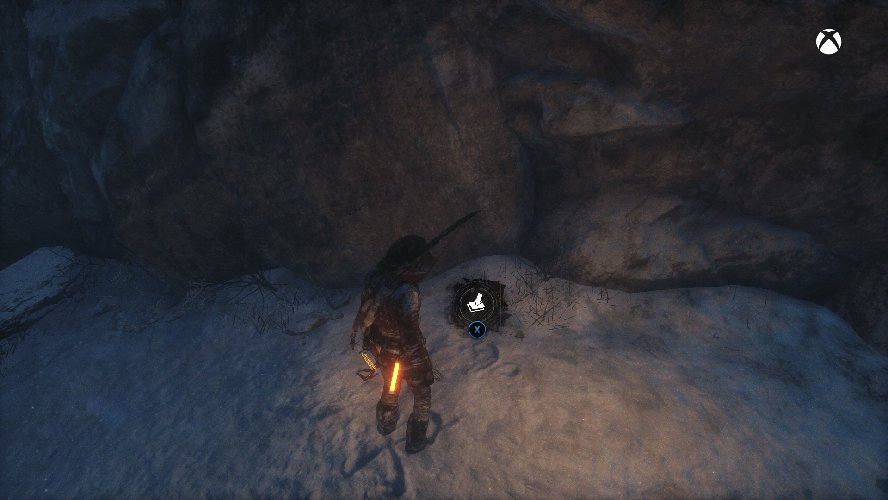
You can also scramble up any trees with bare bark at the base. There happens to be one such tree in the direction you need to go. Scramble up the tree to reach the branch above, then jump over to the adjacent ledge. Move toward your destination to initiate a cut scene of a bear attacking.
Now it’s time to run, but you can’t just run and expect to escape the bear. When you see a log on the ground ahead, run across the log and jump over the deep snow just beyond. Continue to run from the bear and do not stop until Lara automatically slides into the small opening at the end of the path. If you stop at all the bear will maul Lara and you’ll have to start over.
After sliding into the small opening, wait until the bear’s face gets close to Lara, then stay with the Y button to move bear away. Do this repeated until the bear keeps his face in the small opening, at which point go to town and maul that bear with everything you’ve got until you see another short cut scene.
Echoes of the Past
When you wake up you need to find resources to patch up your bear wounds. Activate Survival Instinct to locate the three items you need in the snowy area ahead.
Best Laid Plans
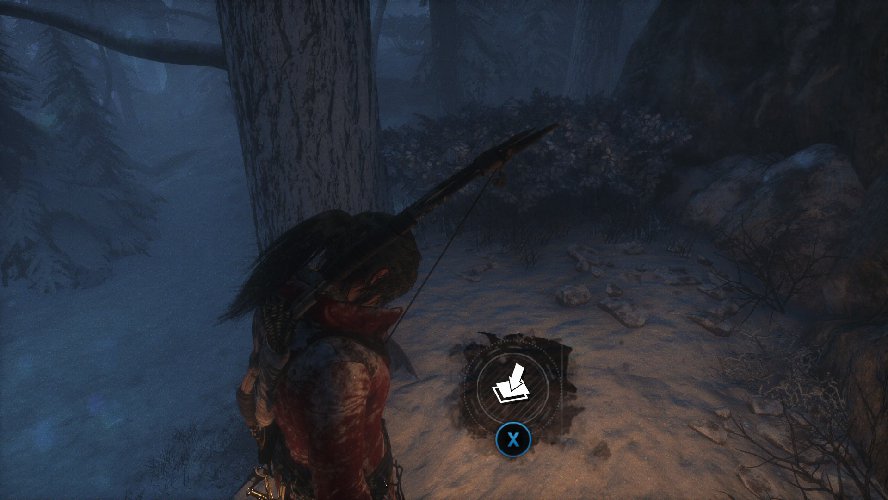
Heal yourself then head back down the hill and climb up the wooden structure at the end of the path. Pick up the mushrooms on the ground in the cave ahead, then climb up the ice wall at the end. Grab the salvage box on the right, then move out onto the snow-covered ridge and jump up to the zip line above. Slide down to the camp site below, collect the salvage materials near one of the blue flags, then head toward the next destination point to find another hidden item in the snow. Climb up the nearby tree and jump over to the ledge to find another item box that holds the Crown of a Prince relic.
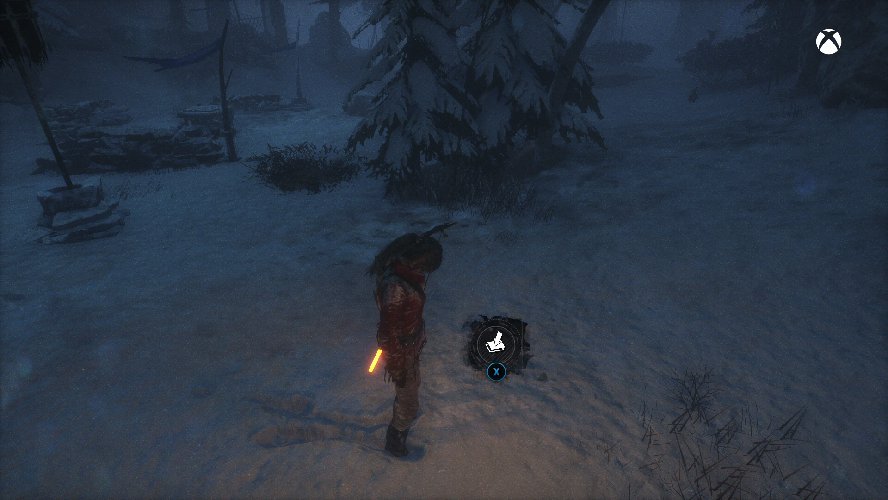
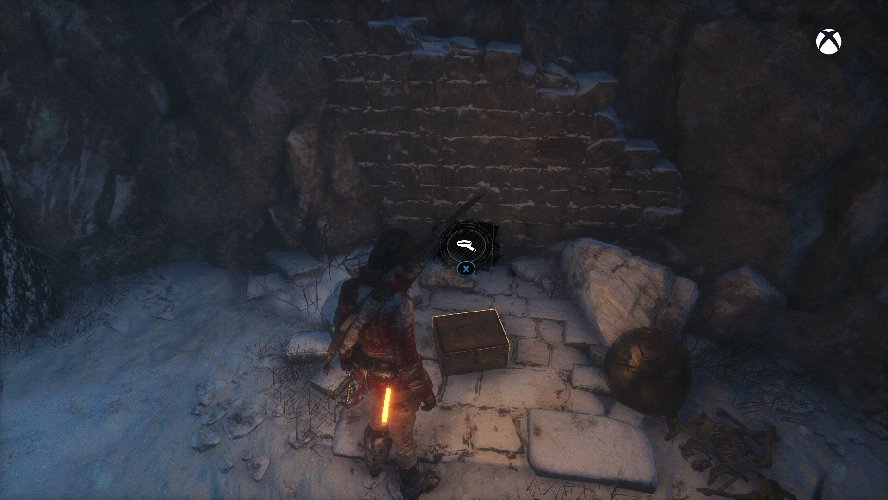
Drop back down and continue toward the destination point, and onward into the cave beyond. Collect two more mushrooms on the cave floor, then continue through the small opening as you collect more mushrooms and look for cloth.
When you get into the open area ahead, activate Survival Instinct to see the Magnesite Ore deposits on the wall. Collect all of the ore in the room as well as the scroll in the far corner. Head back out of the cave the same way you came in. Continue toward the next destination point and hug the right side of the area to find another item hidden in the snow on top of a stone ledge.
Grab the mushrooms in the tree stump on the right, just before you reach the destination point, which is your original camp site. Craft some poison arrows at the camp fire. You can also craft some silent arrows if you’re in the mood.
After another short cut scene, you find yourself perched in a tree high above an enemy from Trinity. Press Y to drop down onto the enemy, then press Y again to finish him off. Loot the body, then hide in the nearby bushes for a second enemy to approach. Take him down and loot the body again, then move toward the next destination point.
The Grab and Go challenge is now active. You need to loot a total of three bodies to complete the challenge. You’ve already looted two bodies, and you’ll run into several more enemies from Trinity on the way to the next destination point. Use the bushes as cover and attack with arrows to take down any enemies you come across. If you attack with arrows be very careful. If you miss it’s possible the enemy could spot you and open fire.
Defeat the four remaining enemies in the area, loot all of the bodies and examine the table at the camp site to collect more information on what’s going on. Once that’s all done, head to the next destination point and collect the boxes of salvage in the area. It’s time to battle against the bear again, but this time you have to kill it.
Head into the cave entrance and prepare to engage the bear. Your best tactic against the bear is the poison cloud. Aim your arrow with LT, then press RB to launch an arrow that creates a poison cloud and stuns the bear. Make sure you’re not too close when you do this or else you’ll take damage from the cloud as well. Use a poison cloud to lure the bear out of the cave and into the open.
Once you’re out in the open, use the snow covered boulder to gain some leverage against the bear. It can’t attack through the boulder, so you can take a moment to figure out your next move if you get into trouble. You can also refill your arrows at the quiver behind the boulder.
Run around the open area, using the poison gas cloud as often as possible. Once you have the bear stunned, riddle it with normal arrows until it charges at you again. If you can connect at least two arrows every stun, you can finish off the bear in three stuns or less.
With the bear down, loot the body for resources, then head into the cave. There’s quite a bit of loot in the cave, so make sure you gather all of it before you head into the next corridor. There’s a scroll on the ground, a deer, a strong box and a loot crate that can all be looted for materials and items. Once you’ve collected everything, break down the brick wall to continue into the next room.
Continue on to the Glacial Cavern or head back to our Rise of the Tomb Raider game hub for more tips and tricks to get through the game.
