
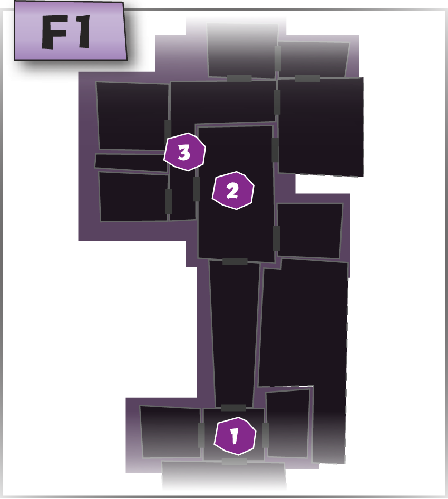
Luigi’s Mansion: Dark Moon – Gloomy Manor Walkthrough – A-4 Visual Tricks
How to get the Spindle Amethyst, Octagon Amethyst, Star Amethyst AND the Oval Amethyst
Welcome to another handy extract from our Luigi’s Mansion: Dark Moon eGuide. Prepare for a scare and peer down below to find a substantial excerpt that’ll help you through the fourth section of the Gloomy Manor: A-4 Visual Tricks.
There are four gems to collect in this part so pay close attention!
GET ACCESS TO THE FULL GUIDE NOW
Head to the Lab
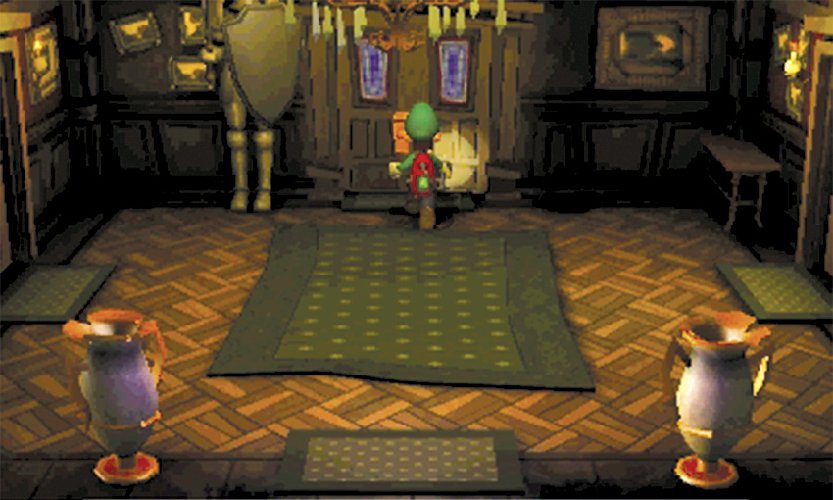
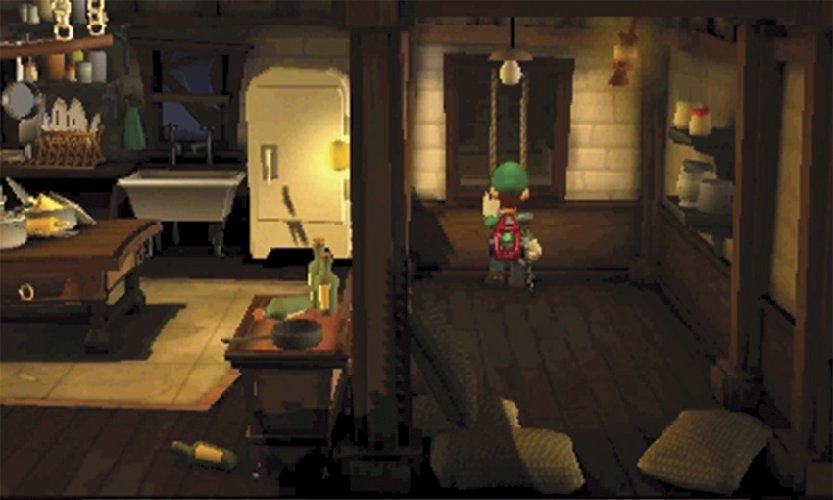
 When you arrive in the Entrance, one of the suits of armor seems to be missing. To reveal it, you’ll need to acquire the Dark-Light Device. Luckily, Professor E. Gadd wants you to do just that. To make the most of your time in the mansion, head to the Lab and collect the Dark-Light Device before you search individual areas.
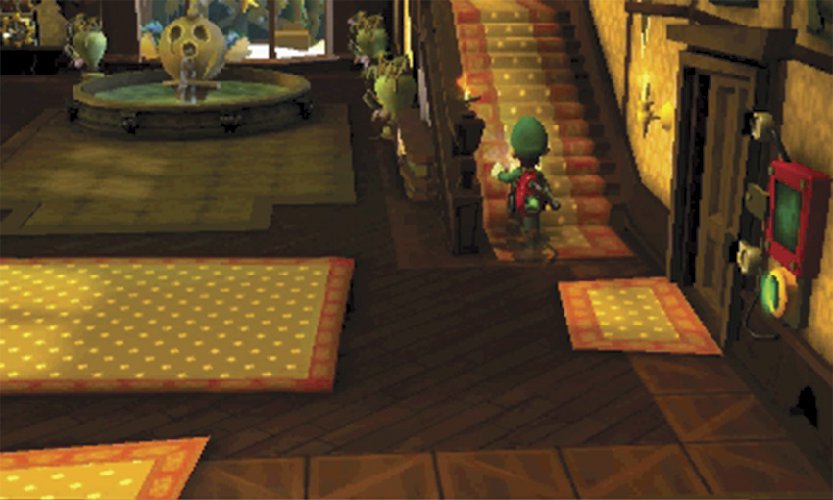
 By this time, you shouldn’t have any trouble finding the Lab. Run through the Guard Hall and across the Foyer, then enter the door near the fountain.
 When you reach the Common Hall, the Lab door vanishes. To retrieve the Dark-Light Device, you’ll need to find another way into the room. Answer the Duel Scream, then return to the Foyer.
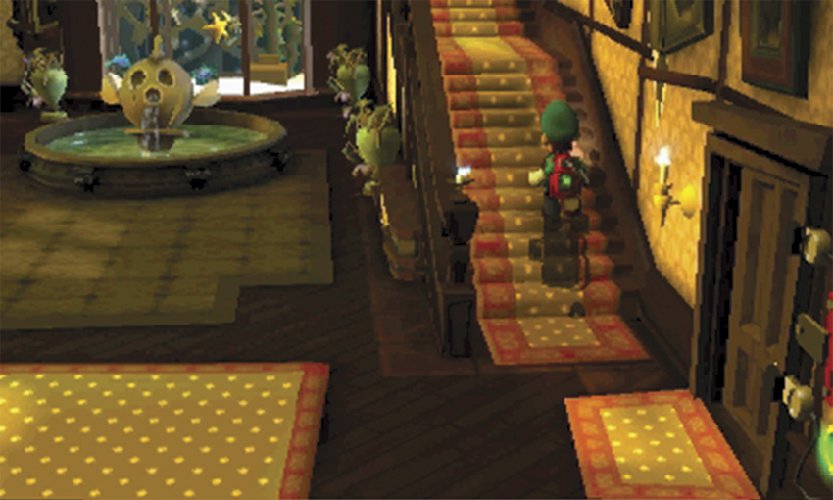
Cross the Foyer and climb the stairs up toward level F2. The blue flames along the path indicate the presence of another hidden ghost.
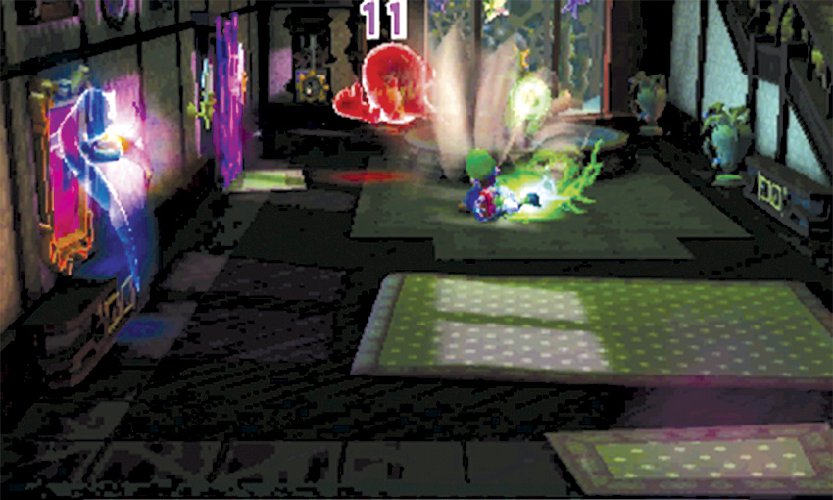
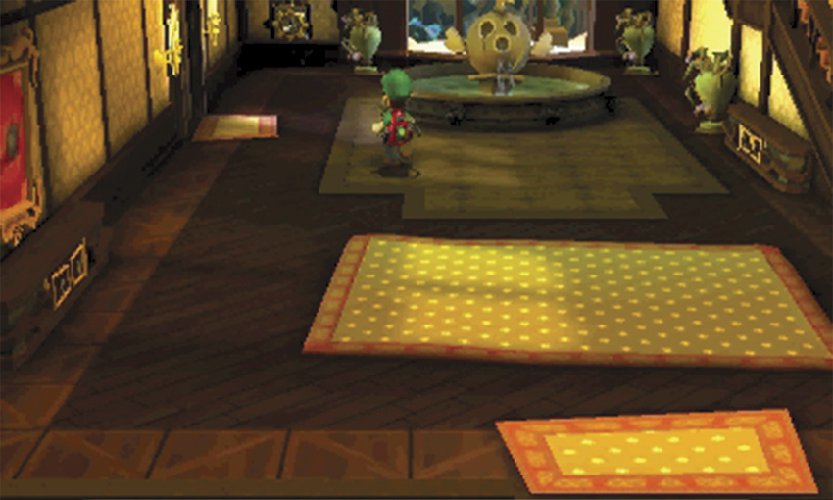
Once again, the stairs give way before you reach the next floor. A Hider taunts you and vanishes into a nearby object, and a Slammer emerges from the fountain. Capture both ghosts, then capture the two Hiders that join the battle. Once you clear all four enemies from the area, head back up the stairs to reach level F2.
Find the Secret Passage
The Parlor is directly above the Lab, making it the most likely location for a secret passage. Leave the Foyer through the western door and follow the Master Hall to the Parlor.

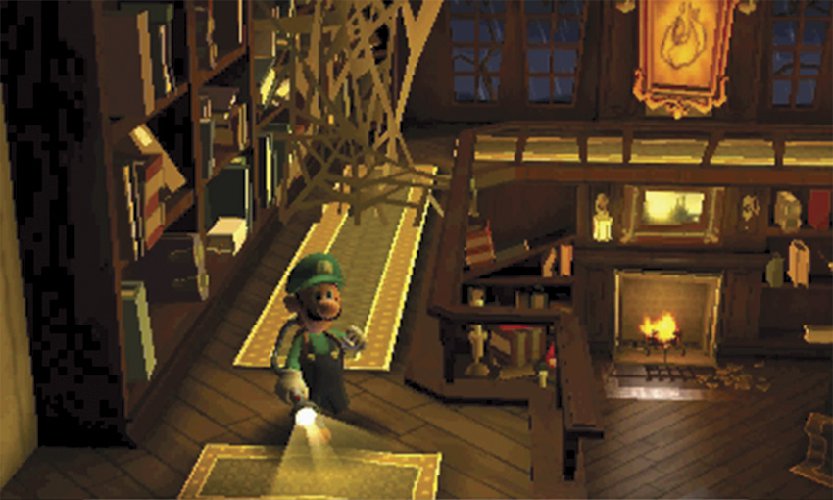
When you reach the Parlor, cross the room to trigger a short cinematic. Some Spirit Balls emerge from the fireplace and cause the nearby clock to vanish. Inspect the now-extinguished fireplace to drop down to the Lab.
Use the Dark-Light Device


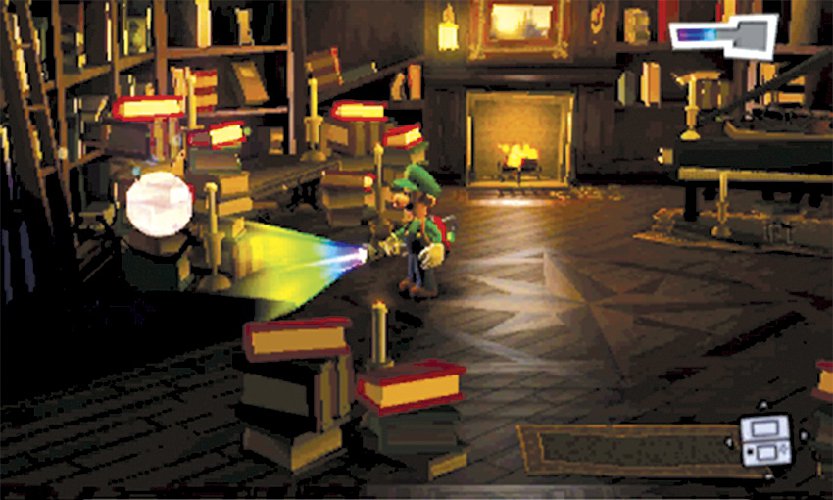
The Dark-Light Device is on the workspace in the Lab’s northeast corner. When you attempt to collect it, a Greenie grabs the gadget and disappears through the spinning chalkboard.
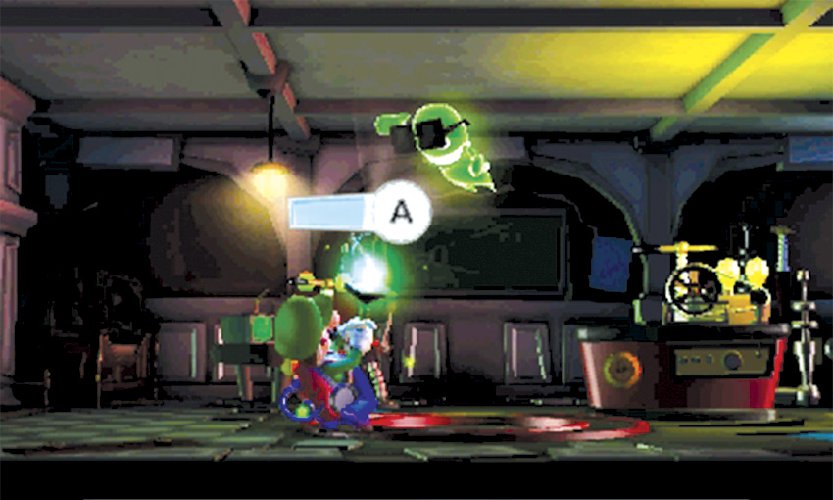
Vacuum the chalkboard and pull the Greenie back into the Lab. This enemy uses sunglasses to protect itself from Strobulb flashes. Before you attempt to stun this target, A-Pull the sunglasses off of its face. Once the Greenie is vulnerable, flash it and capture it. When you do, two more Greenies appear. Repeat the process to capture the new additions, then collect the Dark-Light Device they leave behind.

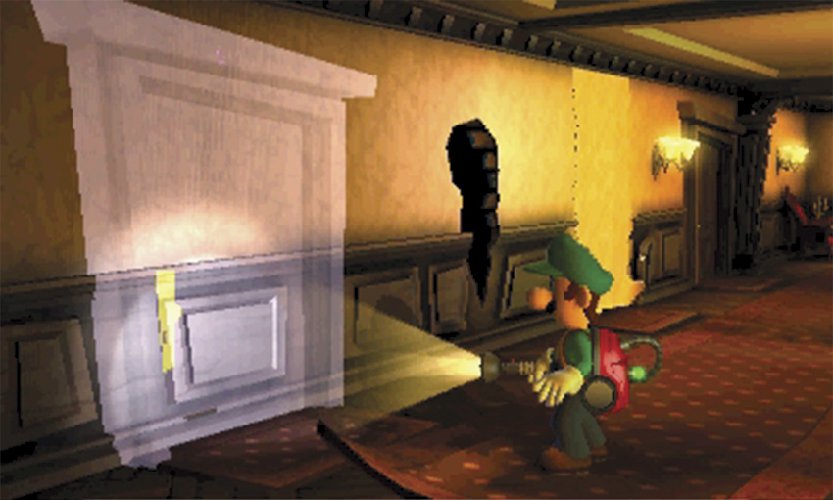
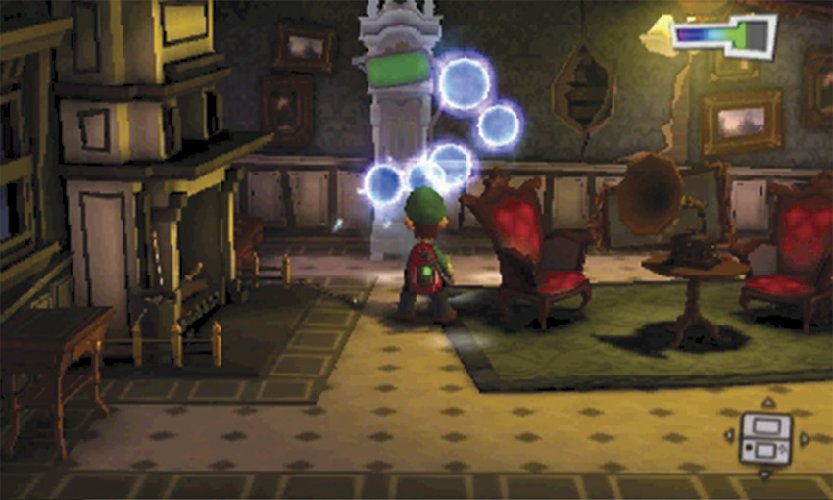
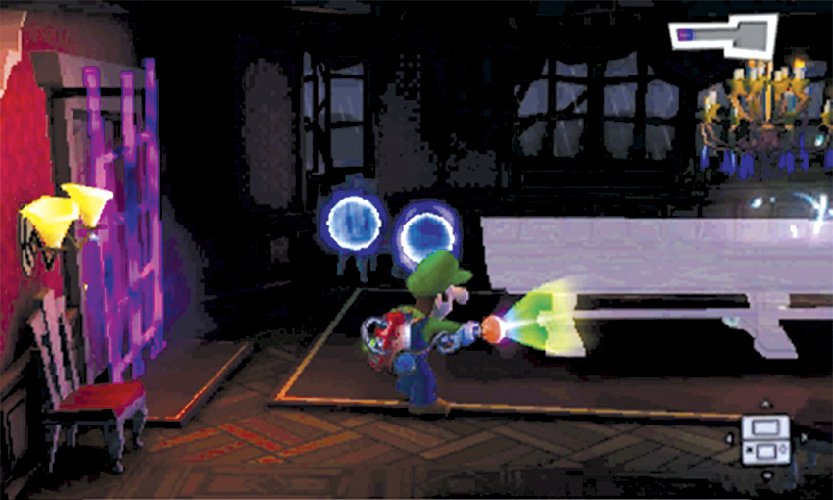
After you answer the Duel Scream, use the Dark-Light Device to reveal the hidden objects in the area. Move to the Lab’s northwest corner and aim your Flashlight at the dark patch on the wall. Hold  to bathe the area in Dark Light until the Spirit Balls appear.
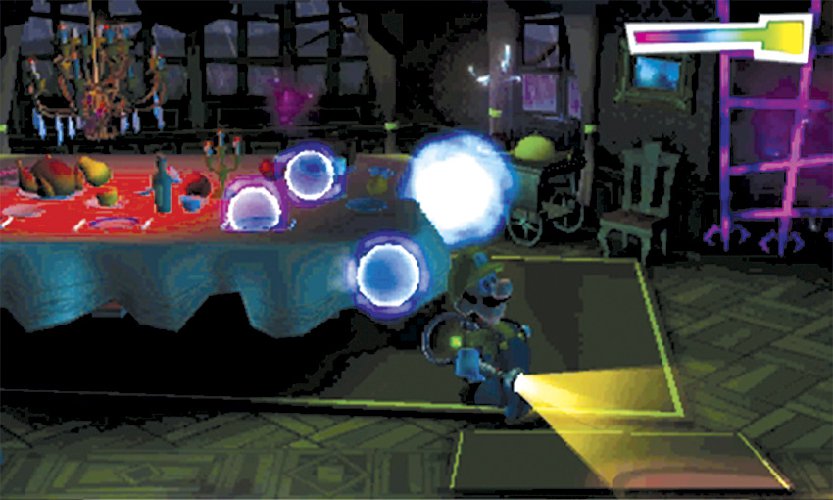
To reveal the hidden object, you must capture all of the Spirit Balls before they vanish. Take care to avoid contact with the floating orbs—just stand back and vacuum Spirit Balls, adjusting your position as needed.

When you capture all of the Spirit Balls, a safe appears on the wall. Repeat the process to reveal the toolbox hidden directly under the chalkboard and the Lab’s missing door. Use the Strobulb to open the safe, then check any of the Lab’s remaining objects. Before you leave, use the Dark-Light Device to see the hidden trail left by the ghost responsible for these illusions.
The trail leads out of the Lab, across the Common Hall, and through the Foyer. Before you pursue this mysterious ghost, however, use the Dark-Light Device to reveal the missing objects in the areas you skipped when the mission started. The Foyer’s fountain, the vase in the northeast corner, and the drawers in the southwest corner have all vanished.
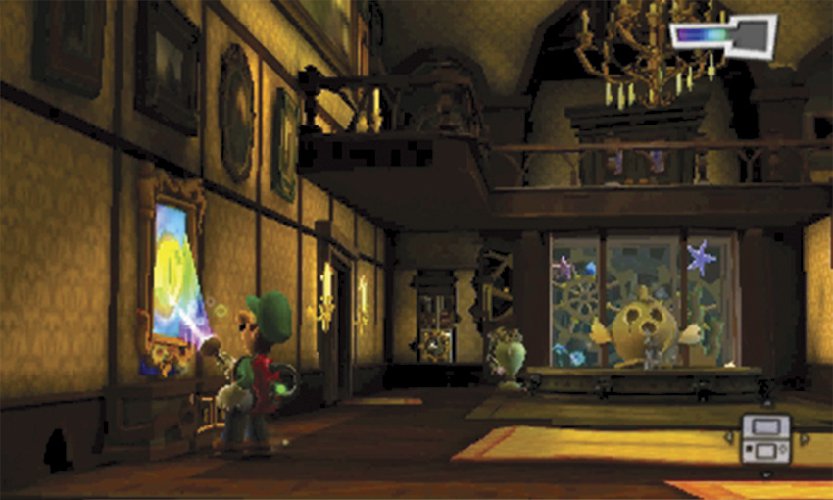
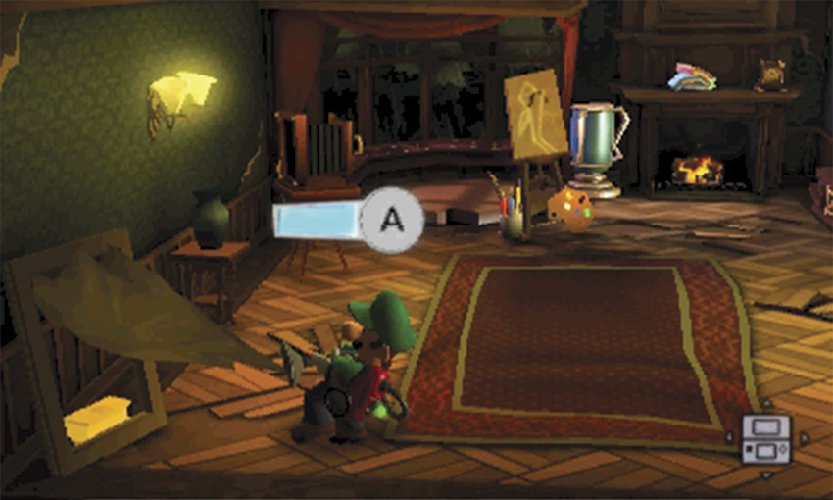
In addition to breaking Spirit Ball illusions, the Dark-Light Device can affect the framed sketches located throughout the mansion. Vacuum the painting in the Foyer’s southwest corner, then bathe the revealed sketch in Dark Light. Hold the beam in place until the hidden treasure spills out of the sketch.

Before you head back toward the Entrance, take a moment to search the Coatroom to the east. Move across the room until two Greenies spring their trap. Both enemies appear at the door leading to the Foyer; react quickly to catch both Greenies with a single Strobulb flash. Capture both enemies with a single attack earn a nice treasure reward, then deal with the Greenie that emerges from the north wall. Search the objects located throughout the room, then make your way back to the Entrance.
Hunt for Treasure
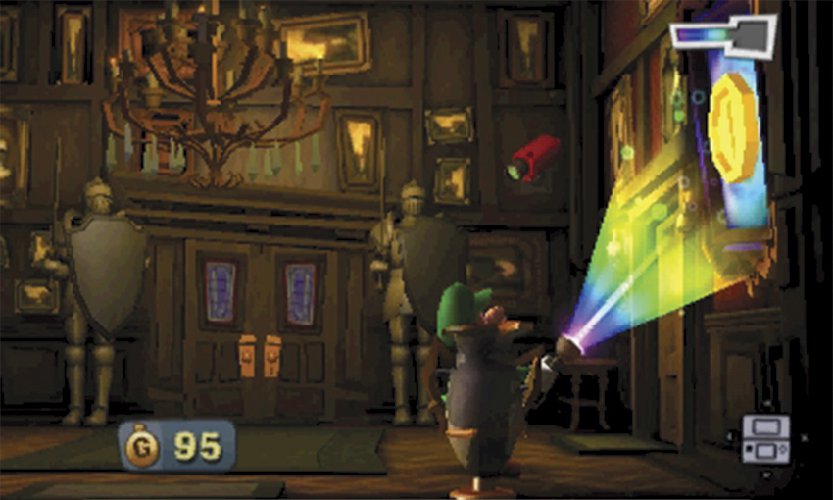
When you reach the Entrance, use the Dark-Light Device to reveal the missing suit of armor, then use it to pull the treasure out of the framed sketch. Search the room’s remaining objects, then head through the door in the foreground to search the Front Yard.
Interact with the standard objects as you search the Front Yard. Use the Strobulb to flash the purple flowers, vacuum the weeds, and check the vases placed around the area. During this mission, the Front Yard’s fountain is missing. Use the Dark-Light Device to reveal the fountain in the west half of the area.
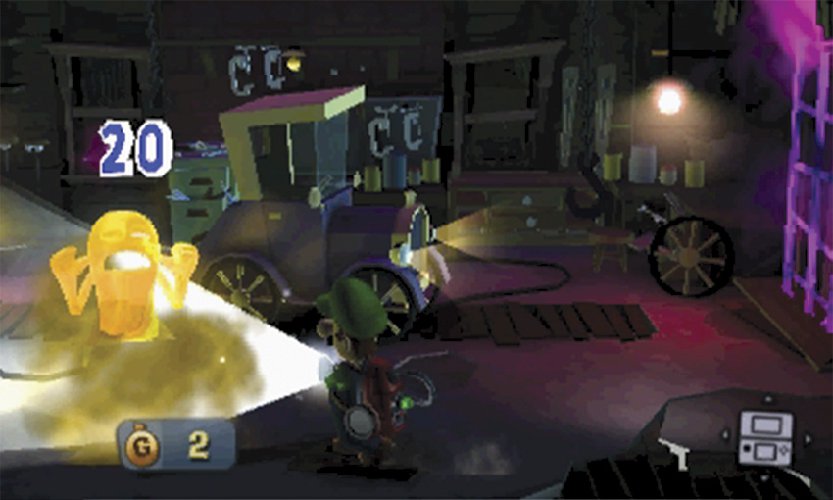
When you’re ready, head back inside and enter the Garage. Search all of the objects in the room, and use the Strobulb to flash the mice skittering across the floor. When you’re ready, move back toward the door to draw a Gold Greenie out of hiding. Capture the elusive enemy, collect the resulting reward, and head back through the door.

 Move across the Entrance and head into the Mudroom. As you search the objects around the room, peek out of the window to find the doghouse has disappeared from the Mudroom Exterior. When you’re ready, use the Strobulb to open the locked door and head out to the Mudroom Exterior.

 Use the Dark-Light Device to reveal the missing doghouse. After you capture all of the Spirit Balls, open the doghouse to find a bonus challenge. Complete the challenge to earn a substantial treasure reward.
Bonus Challenge: Mudroom Exterior Doghouse
During A-4 Visual Tricks, the Mudroom Exterior doghouse contains a bonus challenge.
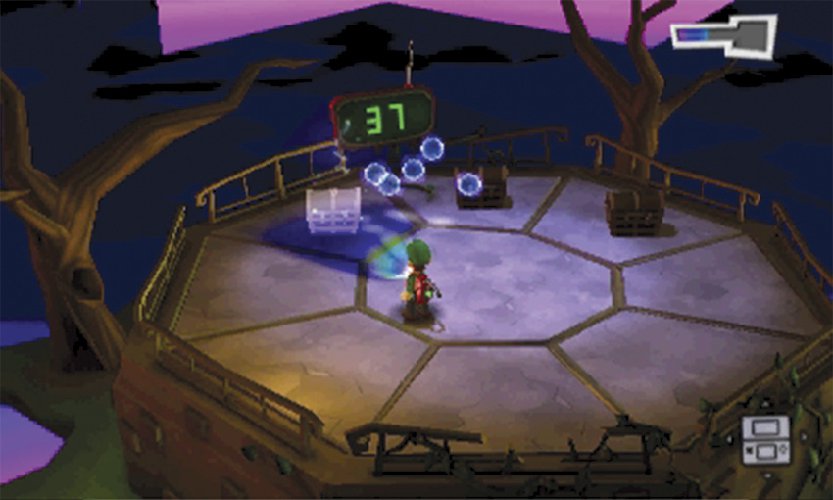
When the challenge begins, there are two chests in front of you. Rather than search the chests, use the Dark-Light Device to find the nearby hidden chest.
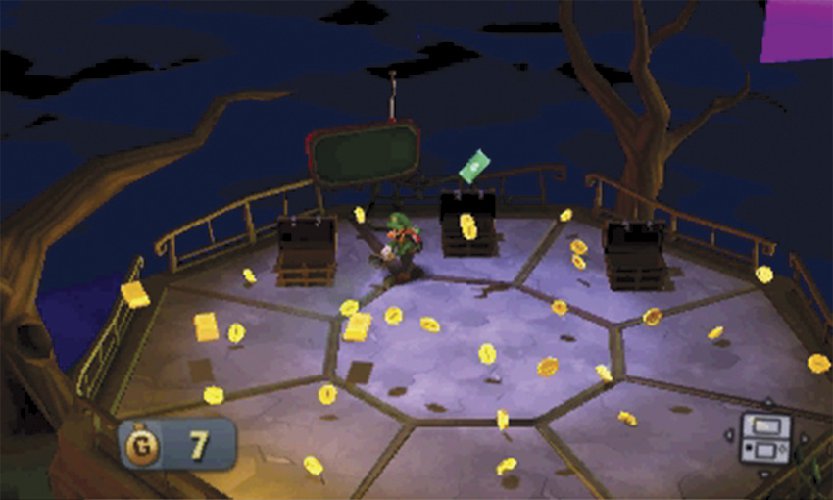
Capture all of the Spirit Balls and reveal the hidden chest before time runs out. Open all three chests and collect the treasure to return to the Mudroom Exterior.
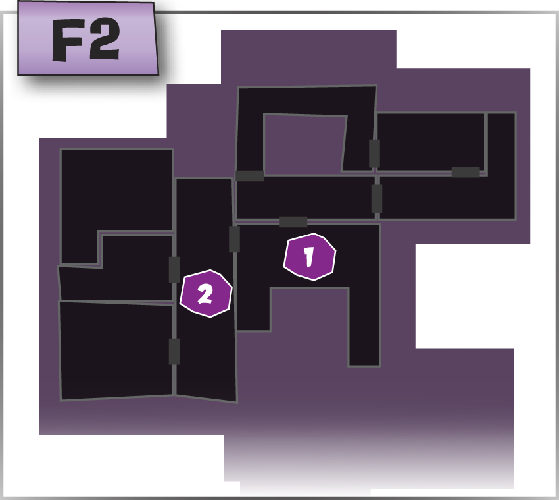
 When you’re finished searching the areas around the Entrance, return to the Foyer and head upstairs.
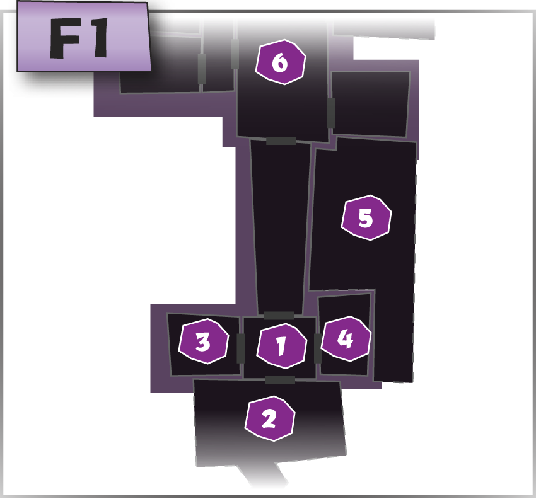
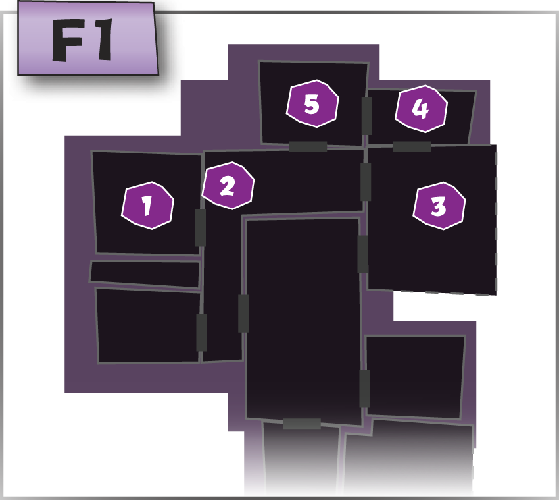
Don’t worry about exploring the rest of level F1 just yet—your search of level F2 will lead you back downstairs.
Pursue the Mysterious Ghost
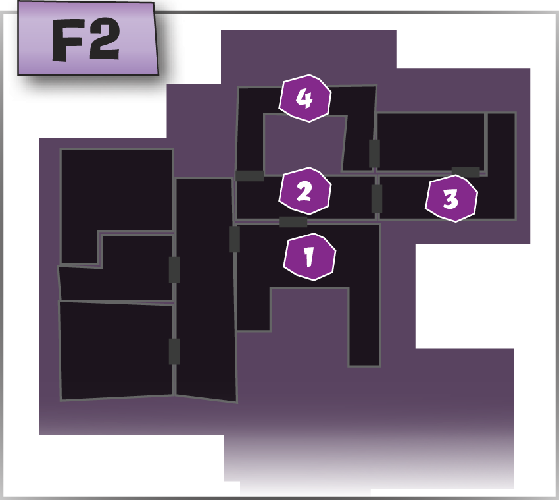

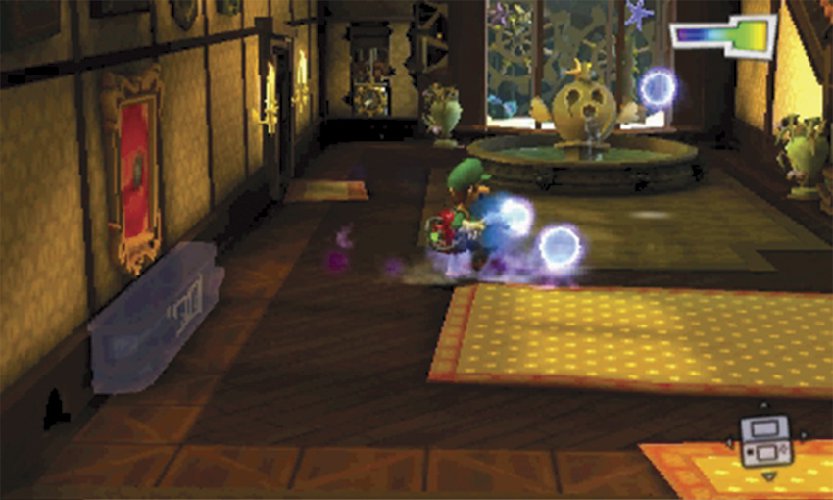
Use the Dark-Light Device to follow the hidden trail as it moves through the Foyer, then follow it into the Lobby.
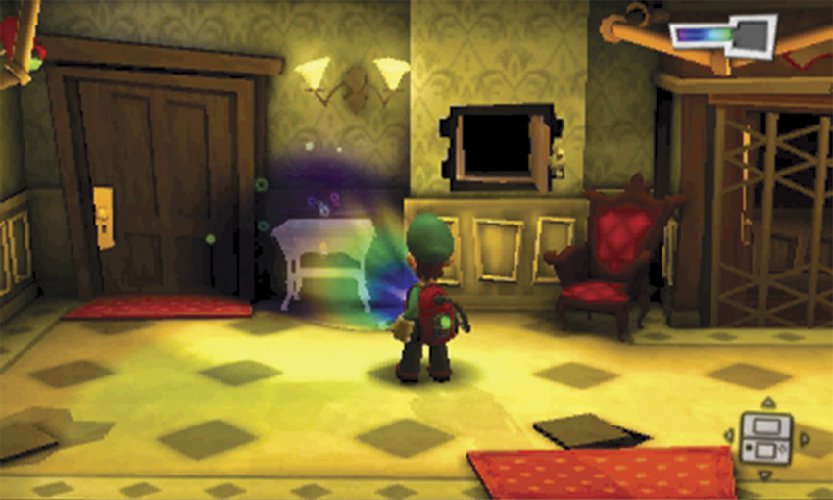
As you search the Lobby, use remember to use the Dark-Light Device. Reveal the missing table near the northwest corner and the missing vase in the southwest corner. Search both objects to receive some treasure.

Follow the hidden trail to the east wall. Use the Dark-Light Device to reveal the missing door, then head out to the Balcony.

The trail leads to the Dining Room, but the path is blocked by a large web. Vacuum the treasure hidden high in the northwest corner, just under the overhang. Look through the window for signs of the ghost, then leave the Balcony and return to the Lobby.
During this mission, the F2 level of the Library is blocked by a large web. To get into the Dining Room, you must use the Kitchen’s dumbwaiter. Before you head back downstairs, however, continue your search of level F2.
Resume the Treasure Hunt

Return to the Foyer and continue to the Master Hall. Pop into the Parlor and use the Dark-Light Device to reveal the missing clock. Collect any loose treasure and search any objects you skipped during your previous visit. When you’re ready, return to the Master Hall and continue your search in the Bedroom.

Search the objects around the Bedroom, then A-Pull the hanging cord and use the secret passage to move to the Study.
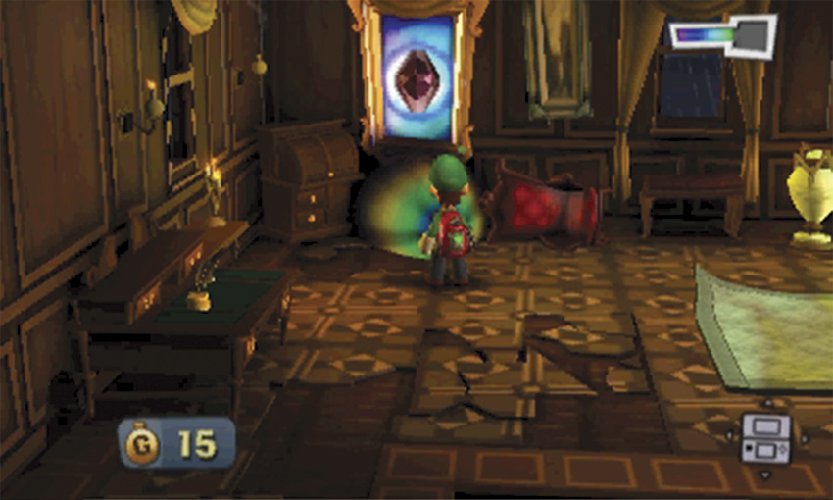
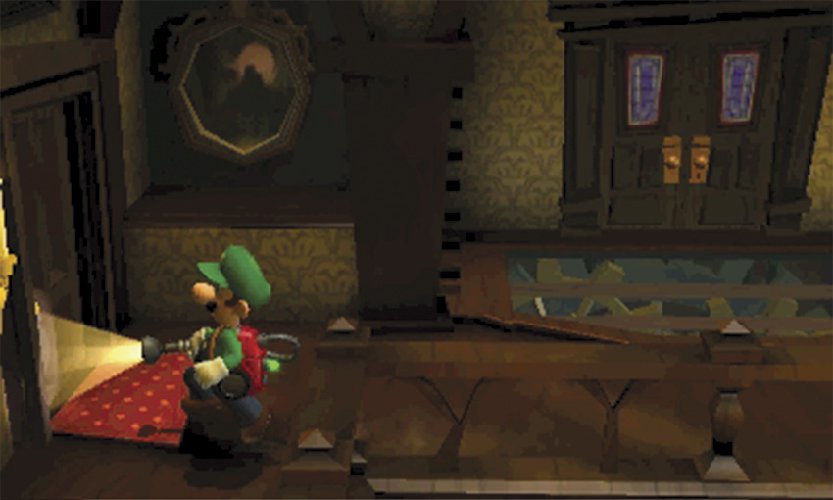
Now that you have the Dark-Light Device, you can collect the Spindle Amethyst from the Study. A-Pull the curtains blocking the framed sketch, flash the bats that swoop down from the ceiling, then use the Dark-Light Device to pull the Gem out of the sketch. Use the Poltergust to roll the carpet, step on the switch, and inspect the fireplace to drop down to the Studio.
 Gem Location
A-Pull the Study curtains to expose the framed sketch near the northwest corner. Bathe the sketch in Dark Light until the Spindle Amethyst falls to the floor.
Reach the Dining Room
Search the objects in the Studio, then A-Pull the loose canvas in the southwest corner to find some treasure. When you’re ready, step out of the Studio and into the Common Hall.
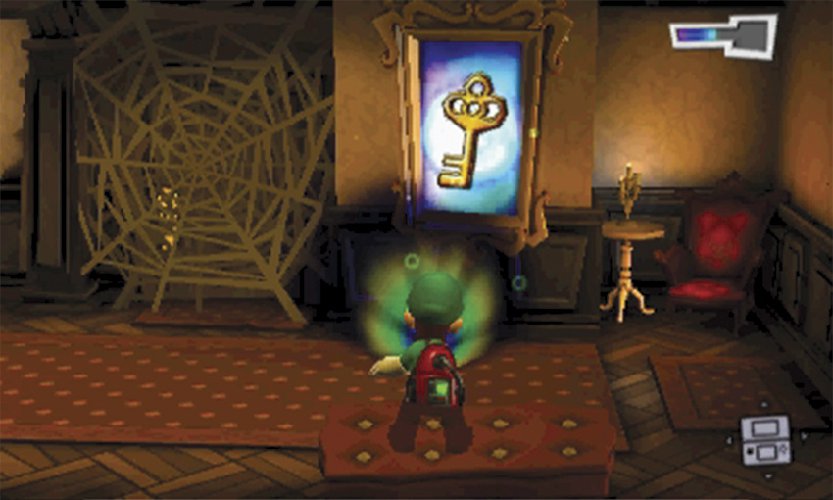
Follow the Common Hall north and continue around the bend. The Library is still blocked, but you now have the tools needed to reach the Patio. First, use the Dark-Light Device to pull the Key out of the framed sketch just past the Library Door.
 Key Location
The Common Hall contains a Key hidden in a framed sketch. Bathe the sketch in Dark Light until the Key emerges.
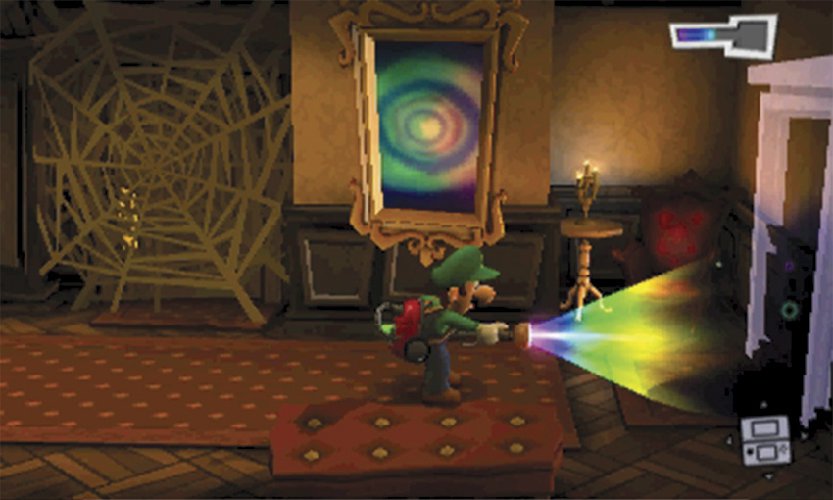
Aim the Dark-Light Device at the end of the Common Hall to reveal a missing door. Collect the Spirit Balls to break the illusion, then head through the door to find the Patio.

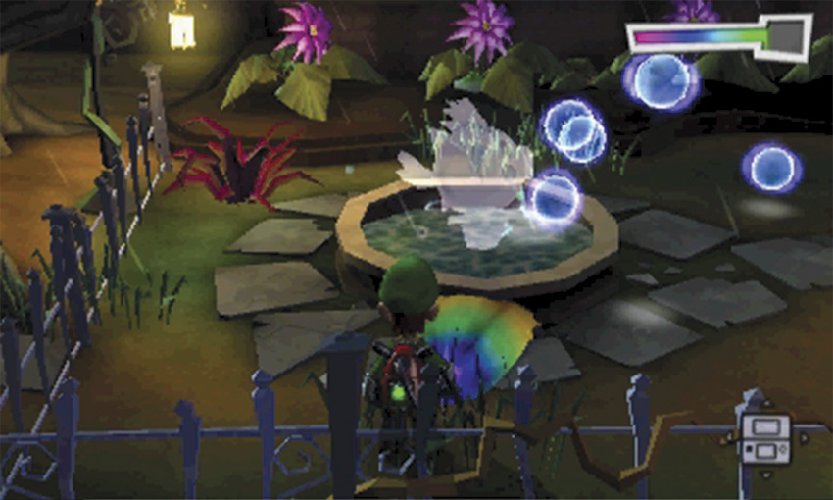
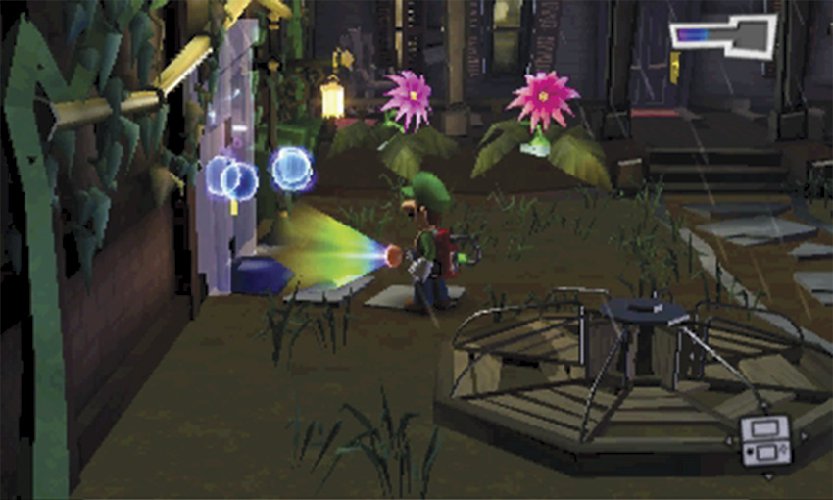
The Patio is full of hidden treasure, so take your time exploring the area. Flash the bats hanging above the porch, then flash the purple flowers at the edge of the grass. Use the Poltergust to vacuum the merry-go-round until it stops producing treasure. Move to the water and use the Dark-Light Device to reveal the missing fountain. When you capture all of the Spirit Balls, the fountain spits the Octagon Amethyst onto the grass.
Gem Location
To find the Octagon Amethyst, use the Dark-Light Device to reveal the Patio’s missing fountain. Vacuum all of the Spirit Balls, then collect the Gem from the grass.
Use the Dark-Light Device to reveal the hidden door near the Gem’s landing spot. Once the door is in place, head inside the small area Under the Stairs.
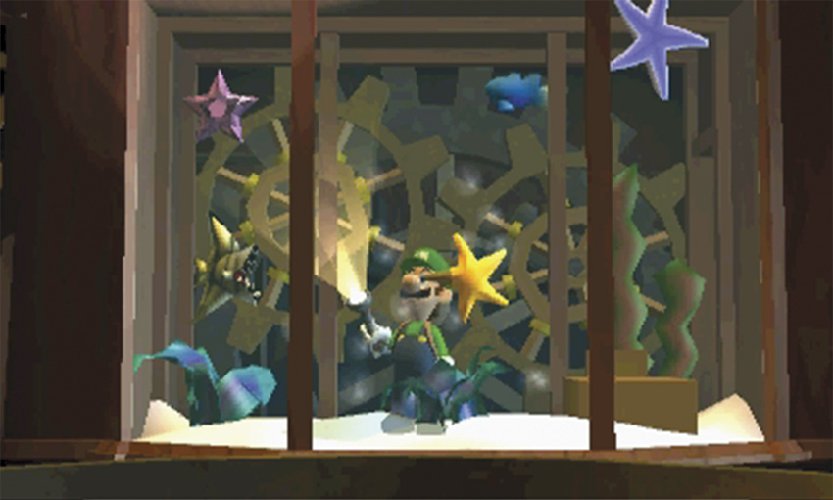
Flash the gold spiders just through the door and collect the resulting treasure. Move use the door in the northwest corner to find the small space behind the Foyer aquarium. Vacuum the Star Amethyst down from the glass, then make your way back out to the Patio.
Gem Location
To collect the Star Amethyst, use the Dark-Light Device to reveal the hidden door in the Patio. Move through the area Under the Stairs, then vacuum the Gem from behind the aquarium.
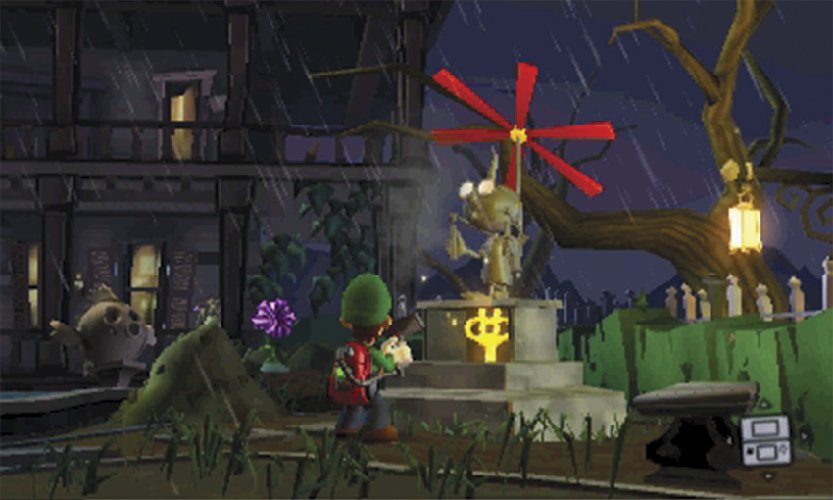
When you leave the area Under the Stairs, resume your search of the Patio. Move to the dark spot along the Patio’s east edge and use the Dark-Light Device to reveal the statue of Professor E. Gadd. Vacuum the rotor above the statue to reveal a Key hidden in its base. When you finish your search of the area, use the Key to unlock the Kitchen door to the north.
Key Location
To find the Key hidden in the Patio, use the Dark-Light Device to reveal the statue near the area’s east edge. Vacuum the rotor above the statue to eject the Key from a hidden compartment.
Before you enter the Kitchen, peek through the windows to witness some enemy activity.
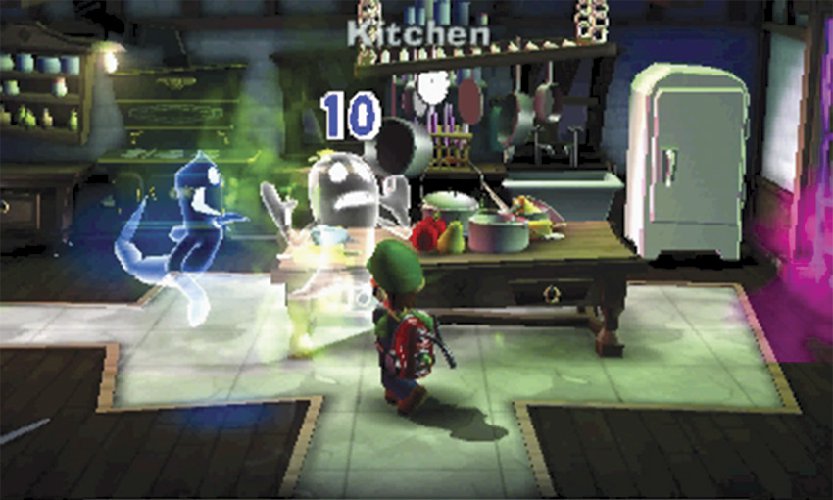
As soon as you enter the Kitchen, surprise the nearby ghosts with a Strobulb Flash. There are four ghosts hiding in the area—two Greenies and two Hiders. Clear the room of enemies and search the surrounding objects. Before you head up to the Dining Room, use the door to the left and enter the Library.
Cross the Library and use the Dark-Light Device to reveal the globe near the room’s west edge. Capture all of the Spirit Balls, then use the Poltergust to pull the globe from its stand. Shoot the globe into a nearby object to reveal the Oval Amethyst. After you collect the Gem, leave the Library and return to the Kitchen.
Gem Location
Use the Dark-Light Device to reveal the globe near the Library’s west wall. Vacuum the globe and launch it to find the Oval Amethyst.
When you’re ready, A-Pull the cord in the Kitchen’s northeast corner and climb into the open dumbwaiter.
Defeat the Boo

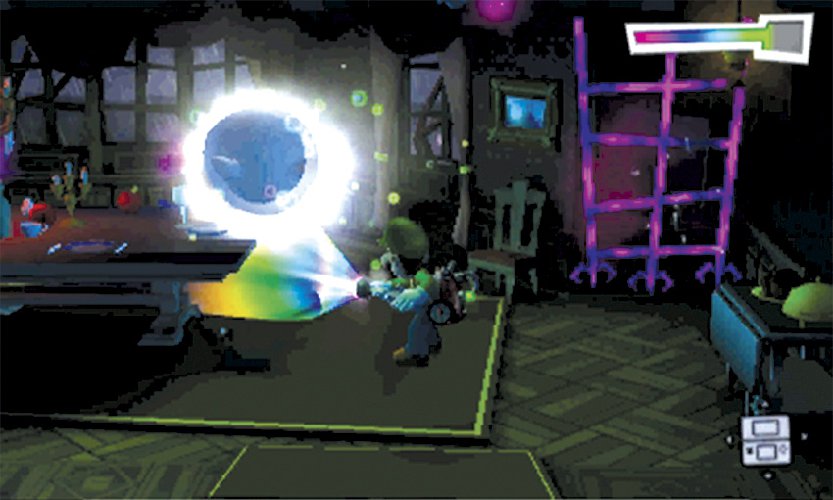
You reach the Dining Room just in time to see a Boo use Spirit Balls to hide a large table. Search the room’s remaining objects and A-Pull the curtains along the north wall, then use the Dark-Light Device to reveal the missing table. When you collect all of the Spirit Balls, the Boo returns to find you’ve undone its work. When the Boo vanishes, use the Dark-Light Device to find its hiding spot. Look for the faded images that indicate the Boo’s recent locations, and listen for the sounds of discomfort the Boo makes when it comes in contact with Dark Light.
It takes several seconds of sustained Dark Light to stun a Boo, and a depleted Dark Energy Gauge takes a while to recharge. Use short bursts of Dark Light to locate the hidden enemy—when you find the Boo, you’ll want to ensure you have an adequate supply of Dark Energy!
When you pinpoint the Boo’s location, use the Dark-Light Device to hold it in place. When the Boo becomes dazed, use the Poltergust to vacuum its tongue. Once you latch on, move away from the ghost to charge an A-Pull. When the Power Gauge is full, press  to send the Boo ricocheting around the room. Try to collect the treasure it drops, but make sure you capture the weakened enemy before it recovers. Move in and hold
  until you’ve crammed the Boo through the Poltergust nozzle.
If you fail to find the Boo or capture it before it recovers, the enemy attacks from the shadows. Watch out for the bright glow that proceeds each attack—such a glow means that the Boo is about to charge, or that a burst of Spirit Balls is about to be released. Stay clear of the Boo and vacuum any Spirit Balls that appear, then make another attempt to stun the Boo with the Dark-Light Device. After you capture the Boo, answer the Duel Scream to complete the mission and return to the Bunker.
 Boo Location
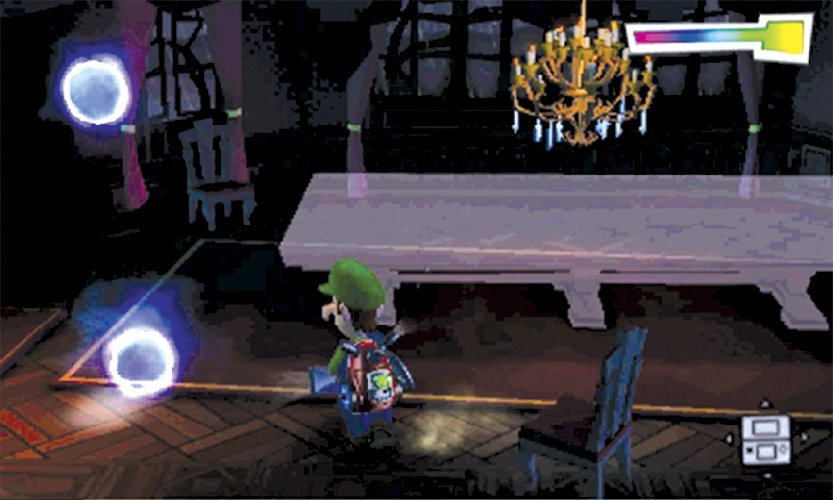
This mission’s Boo is located in the Dining Room table. Use the Dark-Light Device to reveal the missing table, the utilize the established tactics to defeat the unnamed Boo.