The Division Security Mission: Napalm Production Site
Complete the next major Security mission to advance the story and take out Joe Ferro and the Cleaners.
This article covers the Napalm Production Site mission of the Security wing in The Division. The mission tasks you with taking down the Cleaner’s napalm production site, which also happens to be their home base. If you’ve been doing any of the side missions you probably had to fix the water issue because the Cleaners were trying to shut down the water supply so their fires couldn’t be put out. Now you’re taking things one step further in the Napalm Production Site mission.
- Take down the Cleaner napalm production.
- Destroy the napalm tank.
- Locate the other napalm tanks.
- Destroy the napalm tanks (5).
- Reach the fueling depot.
- Power up the generator.
- Start the detonation sequence.
- Defend the detonator.
- Destroy the remaining napalm tanks (5).
- Reach the watch tower.
- Find Joe Ferro.
- Defeat Joe’s guards.
- Defeat Joe Ferro.
- Escape the building.
Follow the waypoint until you reach the first group of enemies on the lower level. Before you engage the hostiles, target the big tank in the middle of the area. Not only will that complete your current objective, you’ll also damage any nearby Cleaners. Once that’s done finish off any remaining enemies before you move on to the next napalm tank.
Work your way around to the next open area to discover there are five more napalm tanks that need to be taken down. You can attack some of the enemies from a higher vantage point as you approach the area, but you may have difficulty targeting the tanks. If you move down the first flight of stairs, you can hit one of the napalm tanks before you engage the enemies.
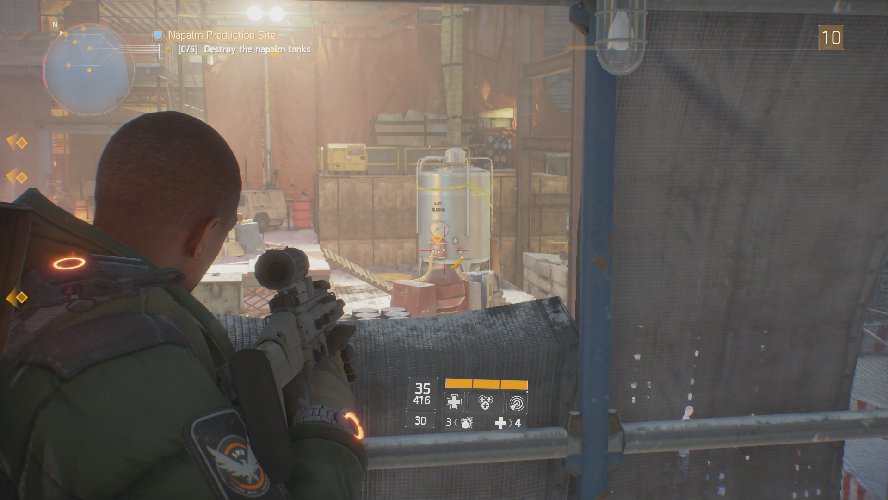
With one tank down, move back up the stairs and around to the northwest side to find cover on the upper level. From here you can rain down bullets on the hostiles below and target the second napalm tank. The main enemy here has an overshield and will use a turret, but from your high vantage point you should be able to take them down with relative ease.
Move around to the remaining three napalm tanks marked on your mini-map and take them out before moving on to the fueling depot. On your way out of this immediate area you’ll find a restock crate at the top of the stairs near the entrance to the fueling depot. Restock your ammo then activate the device to open the gate into the depot and a lot more enemies.
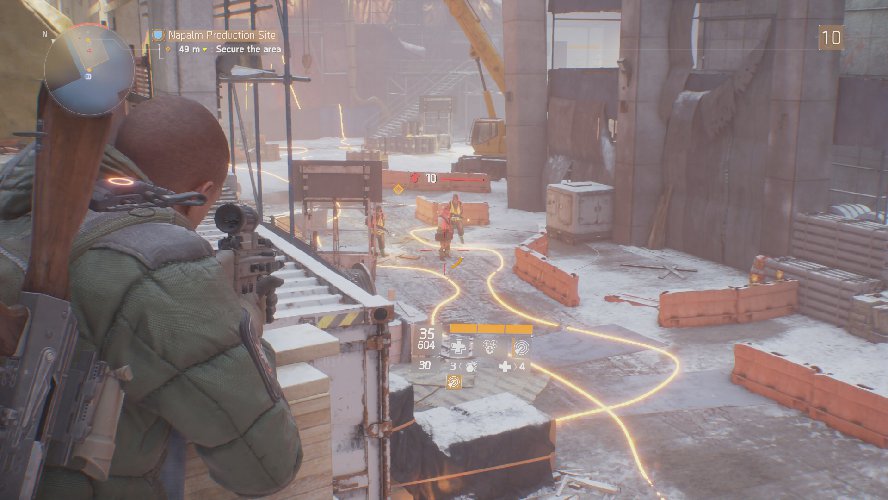
Climb up the containers to the left so you have a better point of engagement on the hostiles below. You’ll face two waves of enemies, then the boss of this immediate area will attack from the far side, on the second level. He uses a high-powered weapon that will drain a significant portion of your health if you take a hit. Wait behind cover until you see the light on his weapon, then let him fire off one round before you come out of cover and fire off a single burst. After one burst of fire, resume your cover and wait for the next shot before coming out again. You should be able to hit him with two or three bursts of fire each time he pops out to fire three shots of his own.
Once all of the enemies are down you need to power up the generator. First head back to the entrance of this area to restock your ammo, then move through the blue container to the left of the entrance and head down the stairs on the far left to find a loot crate below. Collect the loot then continue to follow the waypoint makers to your next destination.
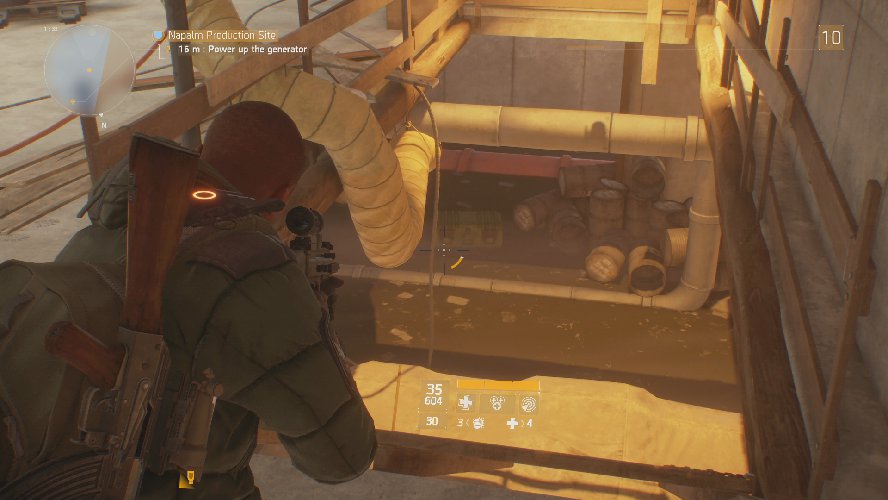
Turn on the generator then head up the nearby stairs to start the detonation sequence. You now need to defend the detonator for two minutes. Do not stand by the detonator because it will explode and inflict significant damage to anyone nearby. Instead, head up the stairs where the boss of the area was attacking from and make that your point of engagement. This makes it very difficult for any hostiles to reach you before you have time to lay into them. In addition, if any of them make it to the detonator you have a great vantage point to take them down.
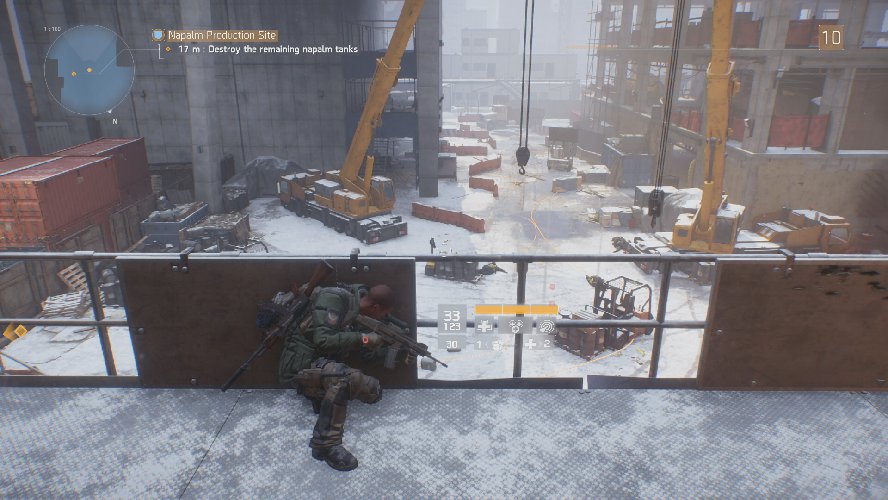
Clear out all of the hostiles, then seek out and destroy the remaining napalm tanks. When you get up the stairs another wave of enemies attacks. Finish them off then shoot the napalm tanks surrounding the area and head over to the watch tower where a few more enemies attacks. Finish them off and you’re tasked with finding Joe Ferro.
Before you seek out Mr. Ferro, head over to the north corner of this small area to find a closed cargo container. Open the container and pick up the loot inside, then follow the waypoint markers to find Mr. Ferro.
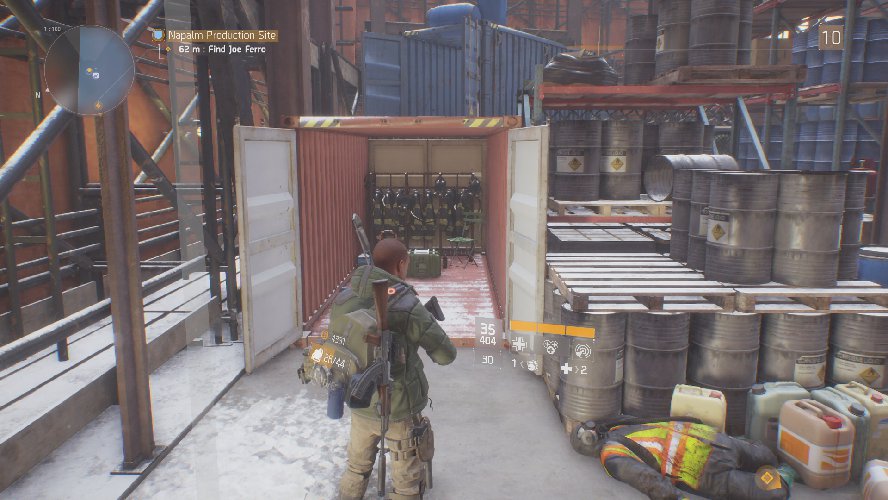
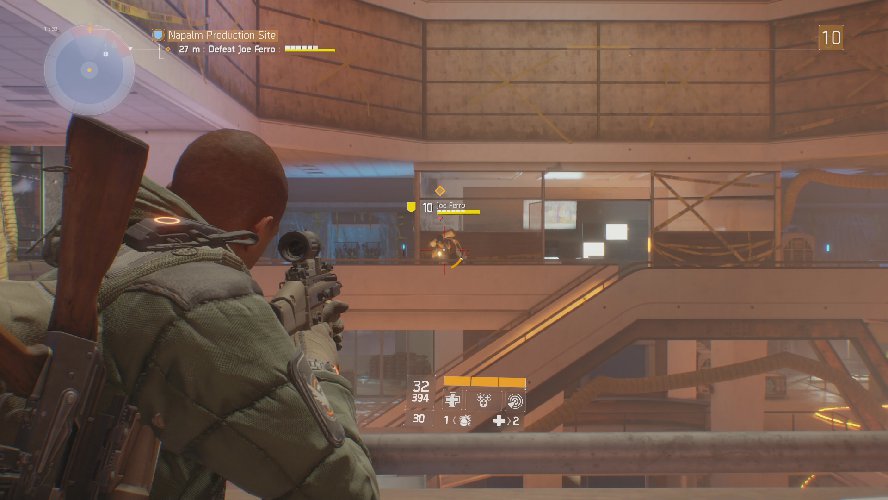
You’ll pass a restock crate along the way. Fill up on ammo then head into the elevator and make your way to the floor above. In the open area here you will face off against a bevy of Joe’s guards, follow by Joe himself. Stay on the upper floor and take the enemies out as they appear. Some will try to rush up the stairs to engage you, but you should have plenty of time to take them out from your present vantage point.
Once you’ve cleared the initial group of hostiles, focus on Joe but attack him from across the room. If he moves in closer to you, move around to the opposite side and continue you attack. Like many of the Cleaner bosses you’ve faced up until this point, Joe uses a flamethrower but doesn’t have a gun. If you stay on the opposite side of the room he won’t be able to attack with anything other than his grenades, which are easily avoided. Defeat Joe to complete the mission.
Move on to the Times Square Power Relay Tech mission (coming soon), or head back to our Division walkthrough and guide to find the best character builds, team strategies for the Dark Zone and more!
