Banned Footage Vol. 1, the first DLC pack for Resident Evil 7, is now releasing around the world. In it players can take on two new tapes that offer unique challenges and game modes for players to survive. In this article we’ll show you how to complete the Bedroom Tape DLC in Resident Evil 7, which tasks players with escaping a bedroom in the Baker residence without being detected.
How to Escape the Bedroom
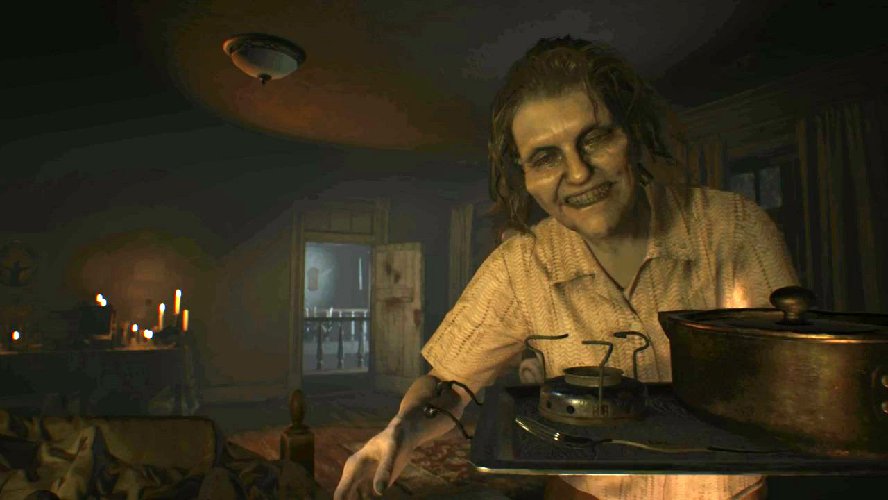
In this tape players once more take on the role of Clancy, the infamous cameraman first seen in Resident Evil 7’s Beginning Hour demo. Trapped in a bedroom, and chained to the bed, players must find a way out without alerting Marguerite to their escapades. Below you will find a step by step guide that will help you escape the room.
You awaken in a bedroom, chained to the bed. Marguerite drops off a plate of food, then leaves the room. As soon as she leaves the room, pick up the Spoon and use it to unlock the shackle.
Now, take the Lantern that hangs beside the bed.
From here, move to the dresser and take the Lighter from the vase resting there. Do not open any of the drawers as this will cause noise.
Turn around and look for a clock resting on the other side of the bed. Interact with it to obtain the Broken Clock Hand.
You can use the Broken Clock Hand to pick the lock on the massive Grandfather Clock in the corner, beside the soda. Inside you will find a Untitled Painting A.
As soon as you grab the Painting A, the Grandfather Clock will go off, alerting Marguerite. Shut the clock and hang the Lantern back up. You have about a minute before she shows up, so get into bed and lock yourself back into the shackle.
Once Marguerite leaves again, use the Spoon to unlock the shackle and take the Lantern once more.
There are two more painting in the room to collect. Grab Untitled Painting B off of the barrel to the left of the bed.
The third painting, Untitled Painting C, can be found already hanging on the wall over the table with all the candles on it.
Arrange them in the correct order using the outlines on the wall. The correct order is Painting B, Painting C and then Painting A.
Putting the Paintings in the right order will reward you with the Needle, which can be found sticking out of a doll below the paintings.
Head back to the clock by the bed and set it to 5:00. This will reveal a secret door. Read the note next to the door.
The noise once more draws Marguerite’s attention to the bedroom. Move the clock time back to hide the door, and return the paintings to their original spots. Untitled Painting B goes on the barrel, while Untitled Painting C should be re-hung on the first nail. Simply return Untitled Painting A to your inventory. Put the Lantern back on the bottom hook, and then climb back into bed. You’ll have another minute or so to pull this off, so don’t feel too rushed. Just make sure everything gets back to the right places.
This time around, Marguerite brings you a new tray of delicious goodies. One she leaves, pick up the Fork and the Stove.
Climb out of bed, grab the Lantern and open up the combination lock on the door beside the bed. The combination is Snake-Fig-Apple.
Head into the next room and use the Fork to open up the bottom drawer of the wardrobe.
Inside you will find a Solid Fuel.
Combine the Solid Fuel and the Stove together.
Remove Untitled Painting B from the barrel and replace it with the newly combined Solid Fuel Stove.
Now light it with the Lighter. This will cause one of the wine bottles to explode. Take the Corkscrew out of the top one.
Marguerite is alerted once more, and you’ll need to return things to the way that they were. Remove the Stove from the barrel and replace Untitled Painting B. Replace the Lantern on the bottom hook beside the bed, climb back into the bed and strap yourself in. You only have about forty seconds this time around, so make it fast.
Once she leaves, climb back out of bed and grab the Lantern. This time around, use the Corkscrew to remove the cork holding the Lantern Hook into place.
With the cork removed, pick up Lantern Hook A.
Now, head into the next room and do the same with Lantern Hook B.
With both Lantern Hooks in your inventory, combine them together to make an Iron Statuette.
Head back into the first room and look behind the dresser for the Knife.
With the Knife in tow, return to the storage room and use the Knife to cut the tape on the projector. This will allow you to place the Lantern inside.
Interact with the first pedestal and use the Fork. Move it around until it fills the image of the snake’s head in the image.
Now, interact with the second pedestal and use the Iron Statuette to fill in the outline of the side of Medusa’s head.
This completes the shadow puzzle and opens up the bird cage closest to the image. Grab the Snake Key inside.
After grabbing the Snake Key, Marguerite enters the main room. Pull out the Knife and open the door to the main room. A short cut scene will play out.
After the cut scene, interact with the clock next to the bed to reveal the secret door once more.
Use the Snake Key on the door, and then climb into the tunnel and run for your life.
This concludes the Bedroom tape that is included in Banned Footage Vol. 1, the first DLC pack available for Resident Evil 7. If you’re struggling in the main game, be sure to take a look at our guide on how to get the M21 Shotgun, one of the strongest weapons in the game. You can also return to our Resident Evil 7 guide for more tips, tricks and articles to help you survive the Baker estate and make it out alive.


Published: Jan 31, 2017 02:56 am