Now that players have a good idea of what Monument Valley 2 has to offer, the game will begin to introduce more complicated pieces to its puzzles. This is especially seen in The Viaduct, which introduces players to the game’s iconic split paths mechanics, which forces the player to use Ro and her child on different paths to click different buttons. In this article we’ll walk you through each part of the Viaduct level in Monument Valley 2, and help you solve any puzzles you come across along the way.
How to Solve The Viaduct
After the level begins, the world is shrouded in mist. You can barely make out the path ahead, so tap the ground to follow it and have Ro and her child climb up a series of ladders. After a moment the game will take over, and you’ll find yourself face to face with a set of stairs that you can interact with. Tap and hold down on the stairs, and then swipe all the way down to close them, revealing a flat platform.
There are two buttons you’ll need to press to progress in this area, so be sure to move Ro all the way to the end of the stairs after you pull them down. Once the two are in place, lift them up again until they have reached the two sets of stairs. Tap on Ro’s button to have her head up the stairs, and the child will do the same. With the buttons pressed, the exit to the next area will appear. Tap to go through it.
The next little bit you get is another of Ro’s visions, where she conversates with one of the Valley’s spirits. To solve it you’ll need to line the platforms up so that Ro can walk across it and reach the spirit. Read the dialogue, and then you’ll be transported to the next area.
Ro and her child are separated once more, move them up the path, and interact with the moveable platforms in the center of the walkway. First, move the one on Ro’s path to her, and have her move onto it.
Now, with Ro in place, move the platforms again, which will allow the child to climb onto it. Have Ro climb off onto the immovable platform on the other side, and then move Ro’s child to this end as well, which will activate the glowing button in her path.
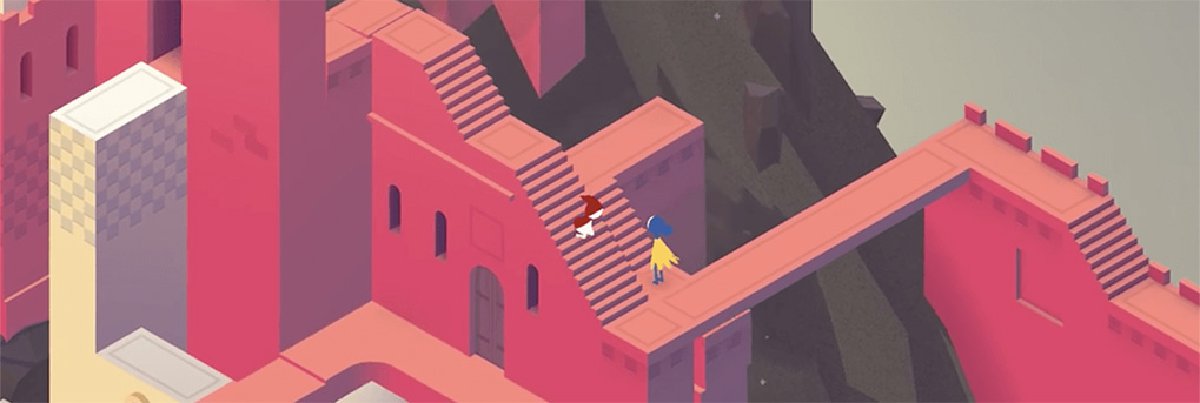
After a brief cutscene of sorts, Ro and her child are met by another puzzle. Head down the walkway to the end, which will trigger Ro’s child to do the same, activating a button at the end of the path. This will open the door directly beneath the button. Have Ro go through the door, which will transport her to the opposite platform on the other side of the level.
Move her to the far end, which will trigger another button, which will reveal a revolving platform underneath the child’s path in the middle. Place the child on the path, and then twist it so that she moves towards Ro. This will trigger another button, which will push Ro above her child, and open the two doorways on both paths. Head through these doorways to move to the next area.
Once in the next area you have two central platforms that can be twisted and turned by interacting with the wheel in the middle of the screen. Interact with it, and turn it so that the platform will allow Ro to move to the other side.
Now that Ro is on the opposite side, turn the platform and the child will move as well. Now you need to move Ro so that the child steps onto the pink moveable blocks in the corner, and then lift her up to the next platform, where she can activate the button here. Have Ro stand on the button below to move the child onto her button.
With both buttons activated, two new doors open and the world shifts some. Cross the bridges over to the stairs, and then twist them so that Ro can head over to her open door. This will move you to the next area.
The trick to completing this area is to bring Ro and her child back together. To do this, look for the circles on the wall beneath Ro’s child. You can twist these to move different areas of the pathway near Ro’s child. Turn them until Ro’s child can reach the stairs, and then continue to twist and turn them until Ro and her child are reunited. At this point the level’s end can be achieved by interacted with the black item that rises onto the path to the left of Ro and her child. Draw the symbol again, and the level will end.
You can continue on to the next part of our walkthrough, Chapter 5: The Archipelago, or head back over to our Monument Valley 2 guide, where we have links to all the Monument Valley 2 content that we’ve produced so far.


