The Tough Possessor can be a handful! Once you figure out its tricks, however, you’ll find this foe can be defeated rather quickly. Approach the Dark Moon piece near the north wall to begin the battle. Like all Possessor encounters, this battle is divided into three distinct phases. 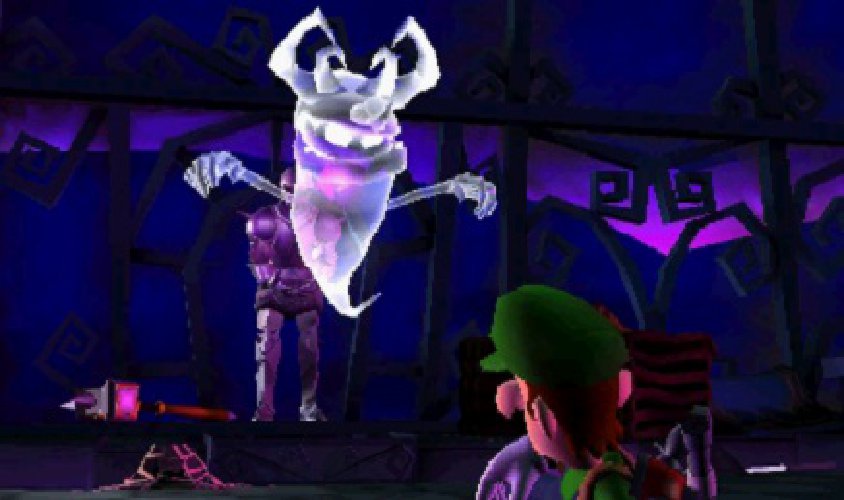
Phase 1
When the battle starts, the Tough Possessor splits in half and possesses two suits of armor. Move to the center of the room and lure both enemies onto a single rug. If one of the enemies is lagging behind. Bait the closer enemy into attacking—while it recovers, the slower suit of armor should be able to catch up. When both enemies are in place, perform an A-Pull on one of the rug’s corners to send both suits of armor crashing to the ground.
Be patient! If your attack fails to topple both enemies, the surviving suit of armor reassembles its fallen ally.
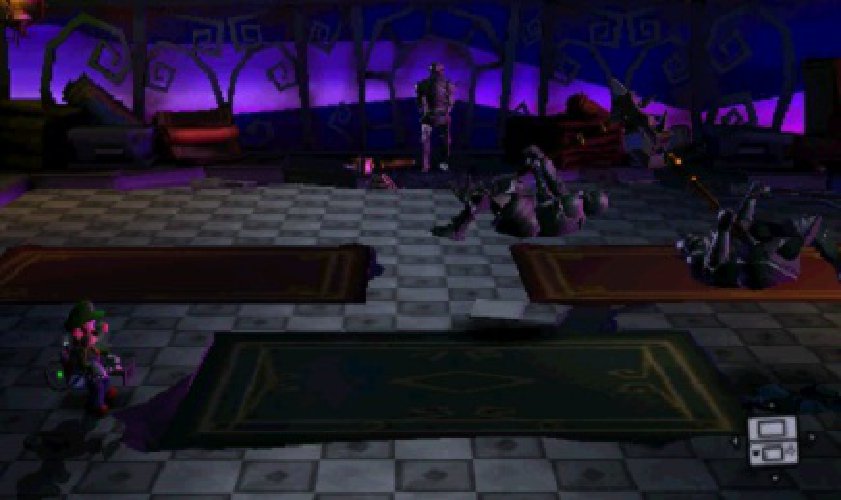
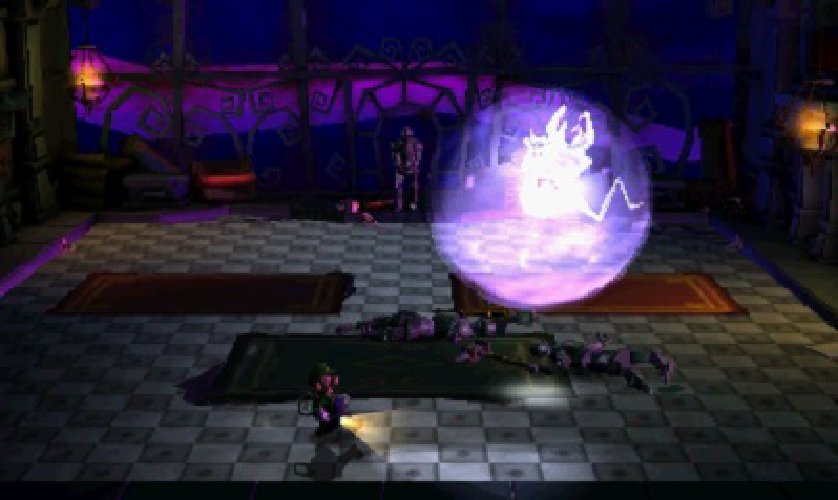
When both enemies are toppled, the Tough Possessor returns to its original form and prepares a charge attack. Move out of its path and allow it to charge into one of the room’s walls. Flash it with the Strobulb before it recovers, then latch on with the Poltergust and perform an A-Pull.
Phase 2
After you peel the Tough Possessor’s first layer, the ghost splits apart and takes control of three suits of armor. Once again, you must lure the enemies to a single rug. When they’re in place, A-Pull the rug to send them crashing to the ground. The Tough Possessor reappears and prepares another charge attack.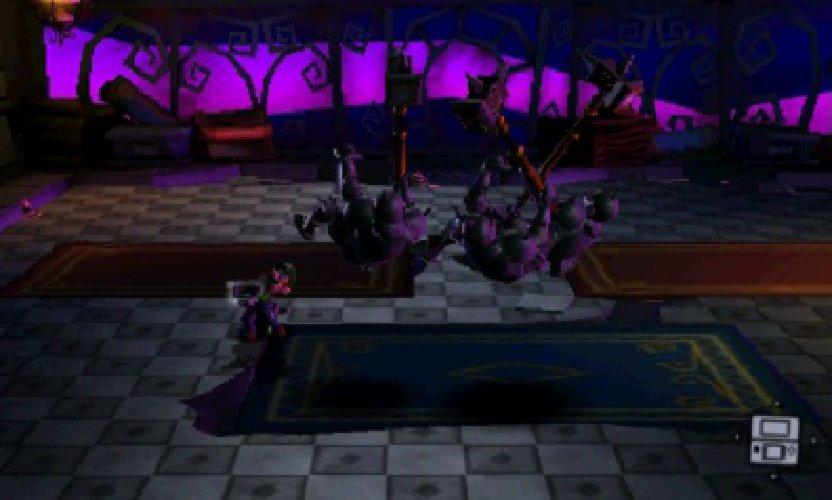
During this phase, the Tough Possessor uses two energy orbs to increase the width of its path. Give the ghost plenty of room to charge past you, then swoop in and follow it toward the wall. When the Tough Possessor crashes, flash it with the Strobulb, latch on, and perform an A-Pull to peel off the ghost’s second layer.
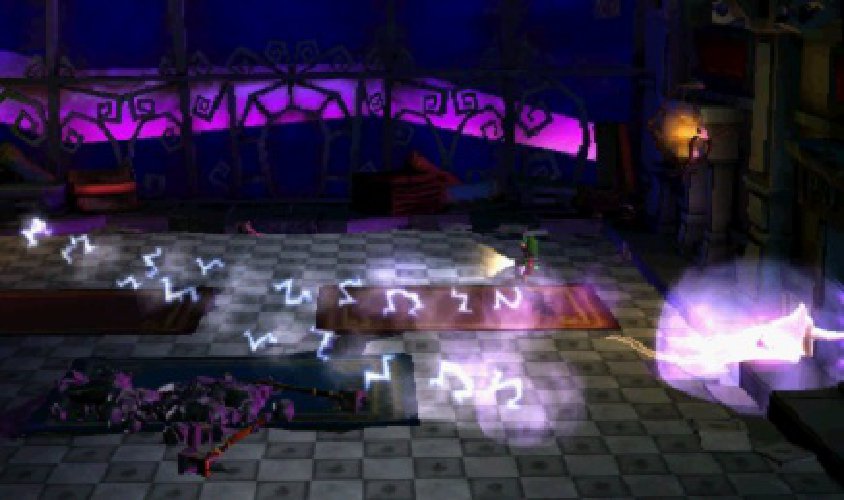
Phase 3
When the battle’s final phase starts, the Tough Possessor takes control of a massive suit of armor. This enemy is much less predictable than the smaller versions, so you have to stay on your toes. Dodge the debris that falls from the ceiling, but try to stay on the northernmost rugs—this allows you to avoid the giant sword that occasionally slices through the tile.
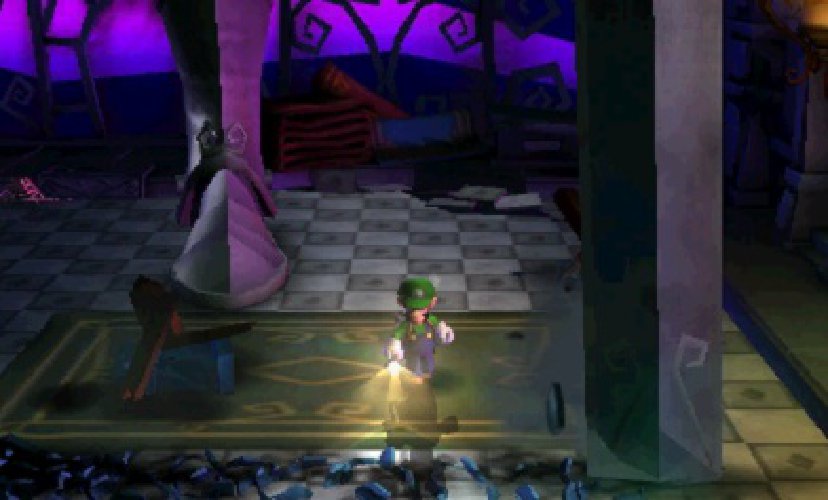
Eventually, the giant suit of armor attempts to stomp on you. To topple this imposing enemy, you must bait it into placing one of its feet on each of the room’s northernmost rugs. When you see one of the boots lift off of the floor. Run along the length of the nearest rug. The enemy will sometimes perform several stomps before it finishes the attack, so make sure you keep moving. When the first boot is in place, move to the remaining northernmost rug.
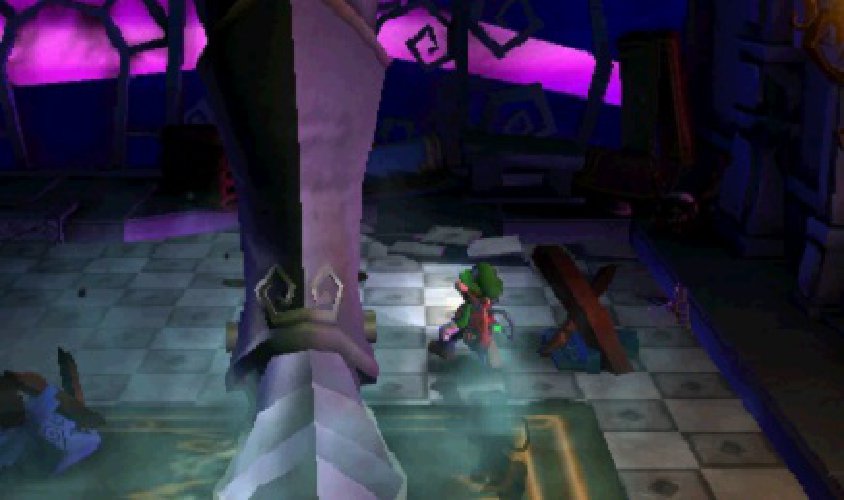
Dodge the debris and avoid the giant sword. When the knight performs another stomping attack, bait it into slamming down on the rug. When both feet are in place, stand between the northernmost rugs and A-Pull one of the rugs to knock the knight off-balance. Quickly A-Pull the remaining rug to send the massive enemy crashing to the floor.
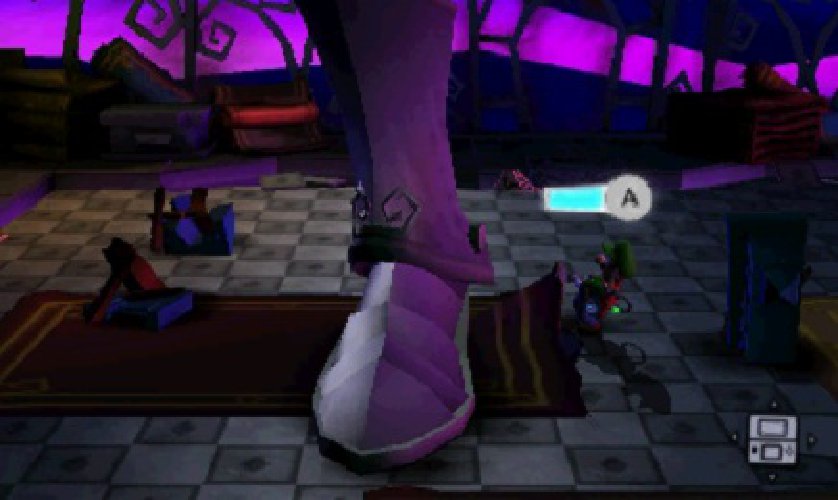
When the Tough Possessor emerges, it prepares another charge attack. During this phase, the ghost uses three energy orbs to greatly increase the width of its path. Give the Tough Possessor plenty of room to charge past you, then follow it to the wall. Flash the ghost before it recovers, then latch on and perform another A-Pull to capture the Tough Possessor.
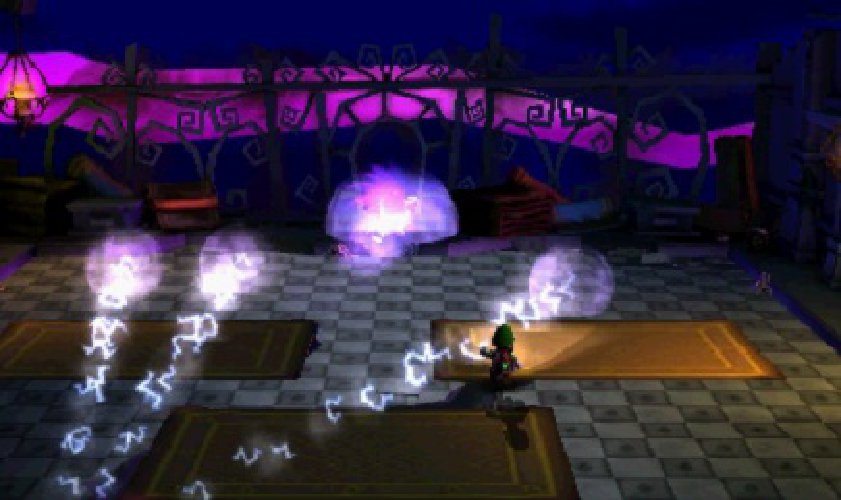
Collect the Dark Moon piece, then answer the call on the Duel Scream to complete the mission.
Ready to learn more? Get the complete, official eGuide to Luigi’s Mansion: Dark Moon.




Published: Apr 3, 2013 12:58 PM UTC