
BrokenLore: UNFOLLOW Walkthrough – All Achievements, Collectibles & Endings
Help Anne overcome her demons, or not.
BrokenLore: UNFOLLOW is the latest installment in this beloved horror indie franchise from Serafini Productions. It features multiple chapters full of intriguing storytelling, jumpscares, and plenty of collectibles. Here’s a detailed walkthrough of the game, including all chapters, endings, achievements, and collectibles.
Table of Contents
- All Trophies and Achievements
- Walkthrough Chapter 1
- Walkthrough Chapter 2
- Walkthrough Chapter 3
- Walkthrough Chapter 4
- Walkthrough Chapter 5
- Walkthrough Chapter 6
- Walkthrough Chapter 7
- All Doll Locations
- All CD Locations
- All Elysium Symbol Locations
- All Endings
All BrokenLore: UNFOLLOW Trophies & Achievements

There are a total of 21 trophies (including Platinum) and 20 achievements to unlock in BrokenLore: UNFOLLOW.
| Trophy/Achievement | Description | How to Unlock |
|---|---|---|
| Creator Award (Platinum) | Unlock every achievement | Unlock all 20 trophies in the game to earn the Platinum trophy (PlayStation exclusive). |
| First Doll | Find your first Mini Anne doll | The first doll can be found in the room to the right at the start of Chapter 1. |
| First Track | Pick up your first CD | The first CD is found inside the master bedroom on the second floor of the house in Chapter 1. |
| What Is This? | Discover your first Elysium symbol | The first Elysium symbol is in the bathroom on the first floor of the house in Chapter 1, after the cutscene that turns the room red. |
| Bon Appetit | Feed the monster | Feed the monster for the first time during Chapter 1 in the kitchen. |
| Home Sweet Home | Complete Chapter 1 | Finish the first chapter of the story. |
| Back to School | Complete Chapter 2 | Finish the second chapter of the story. |
| Happy Birthday | Complete Chapter 3 | Finish the third chapter of the story. |
| Hospital Shift | Complete Chapter 4 | Finish the fourth chapter of the story. |
| Night at the Pool | Complete Chapter 5 | Finish the fifth chapter of the story. |
| Retro Nightmare | Complete Chapter 6 | Finish the sixth chapter of the story. |
| In the Belly of the Beast | Complete Chapter 7 | Finish the seventh (finale) chapter of the story. |
| The Bad End | Reach the bad ending | Choose ‘Revenge’ in both instances to unlock this ending. |
| Speed Runner | Complete the game in less than 3 hours | Your game time can be tracked via the timer in the pause menu. |
| Game Over | Die more than 5 times | Die to any boss-type antagonist(s) more than five times cumulatively. |
| The Good End | Reach the good ending | Choose to ‘Let Go’ in both instances to unlock this ending. |
| Finder of Truth | Discover all Elysium symbols | Find and interact with all 15 Elysium symbols in the game. Unlocks secret ending. |
| Untouchable | Finish the game without dying | Don’t die in any chapter of the story and reach the final cutscene. |
| Playlist Complete | Collect all CDs | Find and collect all 12 CDs in the game. Some will be vinyls while others will be CD cases. |
| Librarian | Obtain all game documents | Game documents consist of all handwritten papers and drawings that get added to your inventory. |
| Doll Collector | Collect all Mini Anne dolls | Find and collect all 9 Mini Anne dolls in the game. |
BrokenLore: UNFOLLOW Walkthrough
BrokenLore: UNFOLLOW’s story features a total of seven chapters that follow the tormented journey of a young girl named Anne as she grapples with the consequences of being bullied on social media.
Important Note: This game depicts mature themes such as bullying and eating disorders, which may be sensitive for some players.
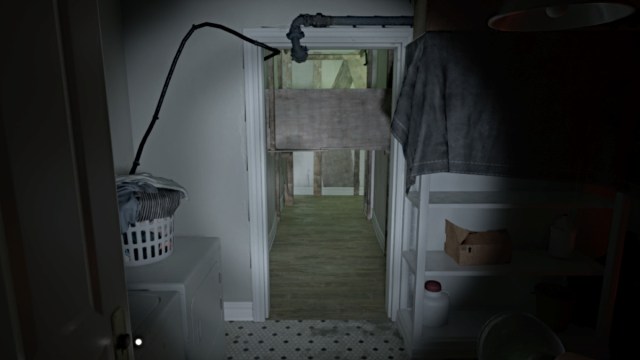
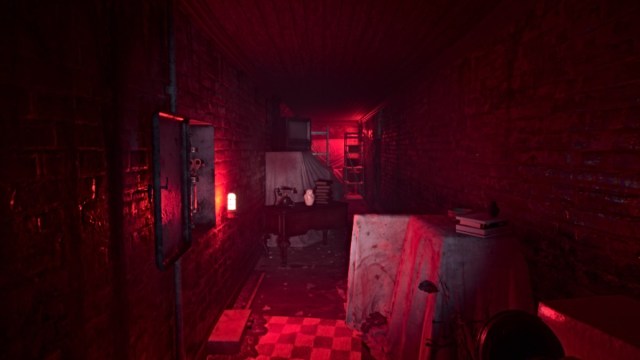
Chapter 1
The first chapter begins with you in the shoes of a young girl named Anne, who wakes up in a damaged and strangely quiet house. A follower count notification also occasionally appears in the bottom left corner of the screen, and it’s influenced by exploring new areas, interacting with unique objects, finding important items, etc.
Get your bearings and explore the rooms on the first floor. Most are locked, except the room on the right and the basement in the back hallway. The basement is too dark to explore, and you’ll need to find a Flashlight first.
Head up to the second floor and explore the unlocked rooms there for notes and items.
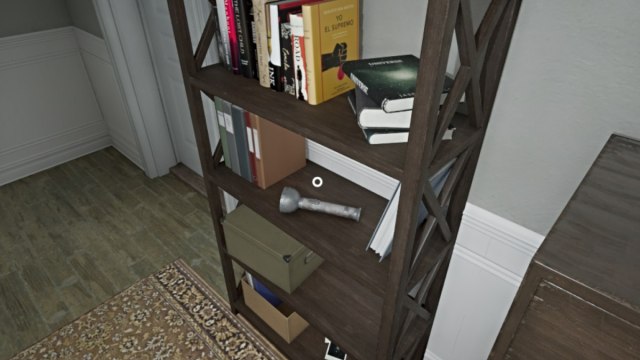
Now head up to the third floor, where you’ll find the Flashlight on a shelf in the corner of the small hallway.
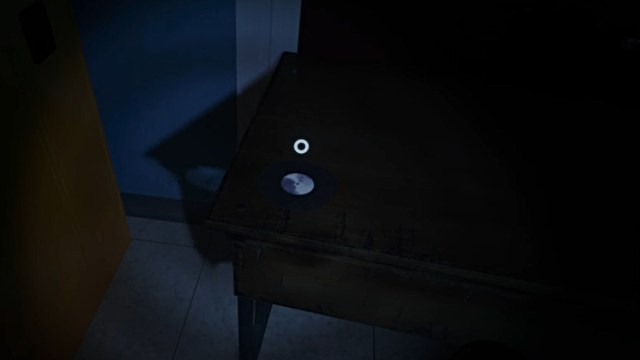
Next, go back down to the second floor and into the bedroom at the end of the hall that’s now open. Inspect all items in there and pick up the Battery on the desk for the Flashlight. Now you can use it to explore the basement, so head back to the first floor and take the stairs down to the basement level.
Try to open the door leading further in, and the door at the top of the stairs will shut. Backtrack up the stairs and leave the basement, and the door at the opposite end of the hallway will open.
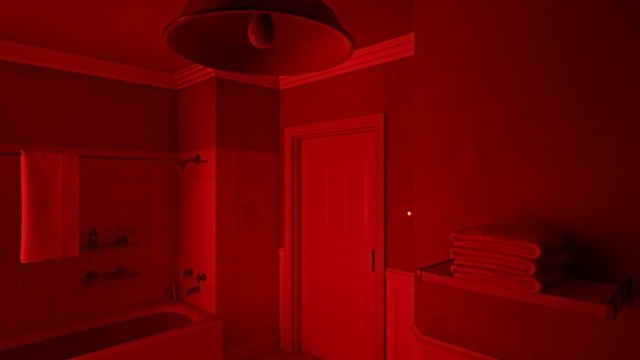
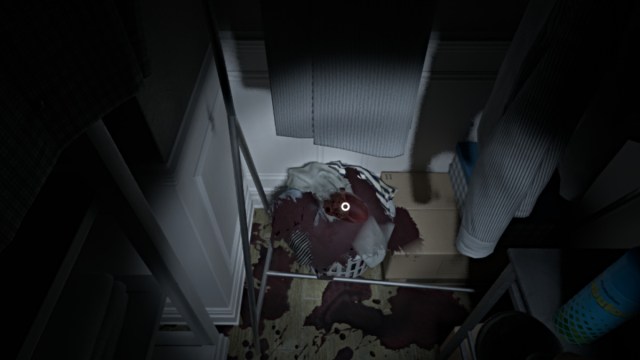
Go inside the bathroom and pick up the note on the shelf near the tub. Then, go over to the sink vanity and press the light switch. Try to leave the room, and a cutscene will trigger. Once you regain control, leave the bathroom and answer the phone when it rings. When the message ends, go back down into the basement, which now has a trail of blood.
Go through the doors leading further into the basement and follow the winding path until you find a Piece of a Painting on a table at a dead end. Inspect it to trigger yet another cutscene, and a strange creature will appear behind the chain-link fence on the other side of the room.
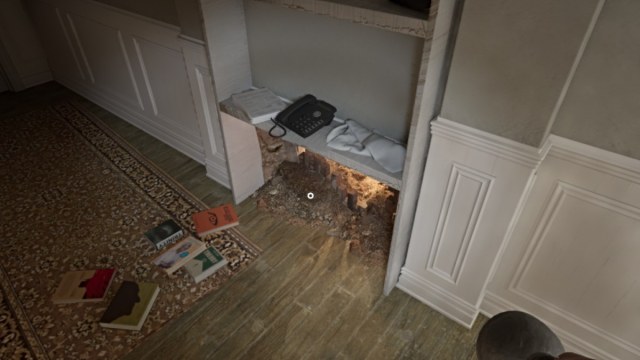
Once it takes off, you now need to escape the basement before the creature kills you. At one point, it’ll block your path, so kite it around a column further back to clear the path. When you’re out of the basement, try to open the other doors nearby, including the basement door, and a crawlspace will appear beneath the shelf.
Crouch through it to reach the other side of the house, which is also disheveled, with furniture everywhere. Go into the room straight ahead and then follow the path to the left. The creature will bust through the door on the left, and you need to get through that same door to escape.
Kite the creature if you need to, or simply shove past it through the open door. Follow the hallway ahead into a living room, and take the next door on the left. Keep running until you reach a door at the far end of the next hallway. Interact with it to trigger another cutscene.
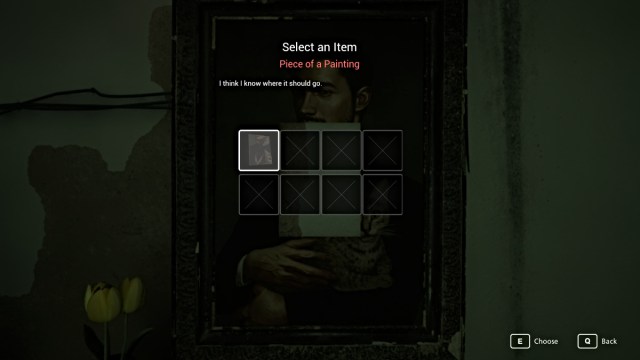
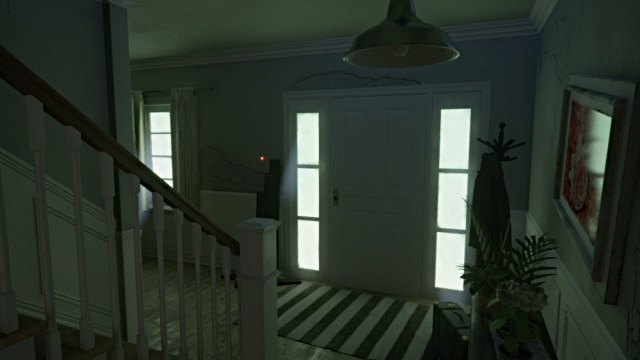
Once it’s over, you’ll end up back in the first-floor bathroom, though it’s no longer red. Leave the room and go through the door on the right, back to the foyer. Go past the front door to the small room on the left, where you’ll see a painting with a piece missing in the center.
Interact with it, and your inventory will open. Select the Piece of a Painting item (the one you got in the basement) to place it. Next, head up to the laundry room on the second floor, where a strange passage has appeared.
Make your way through it to the dead end, where you’ll find the Attic Key on a table. Take it, then head back out. Go up to the third floor and use the key to unlock the only door there.
In the room ahead, pick up the picture of Grace to trigger a cutscene. Anne’s mother will summon her down to the kitchen for dinner. Head back downstairs and enter the kitchen through the door to the right of the bathroom.
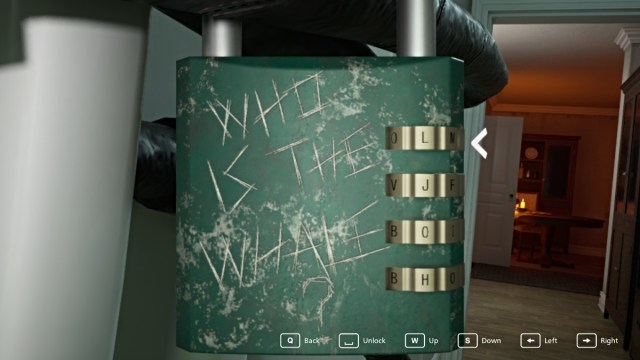
Explore the area, then approach the fridge, which is currently chained and locked. To open it, interact with the combination lock, and enter the following letters: A-N-N-E.
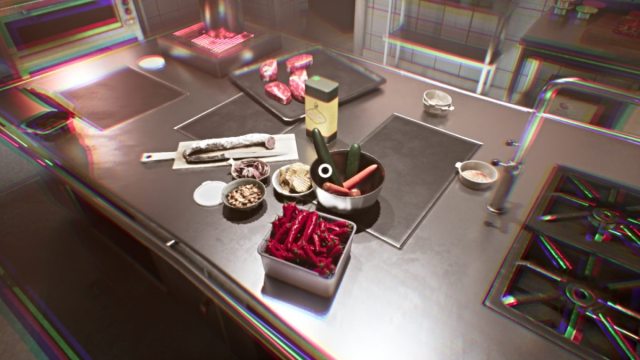
Open the fridge and take the milk carton from the side door. Return to the adjacent dining area to trigger another cutscene, where a monster will suddenly appear and demand to be fed. Inspect the Heart Milk Spaghetti recipe page on the table for a hint, and you’ll need a few items that aren’t in the kitchen.
Go into the bathroom next door and retrieve the Spaghetti Bolognese from the toilet. Next, go up to the master bedroom (second floor) and pick up the Heart in the adjacent closet. Return to the kitchen and place all three items in the pot of water on the stove.
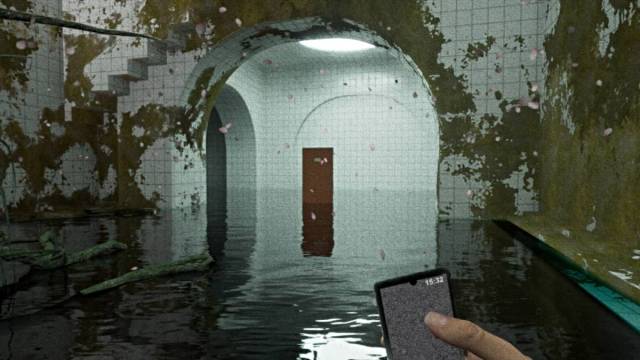
Once the Heart Milk Spaghetti is ready, feed it to the monster to trigger a cutscene. When you awaken in the underground passage, run into the room ahead and answer the phone. Once the call ends, follow the passage ahead as more dialogue between Anne and Grace plays.

Keep going until you find Grace at a dead end. Interact with her to get one final cutscene before the chapter closes.
Chapter 2
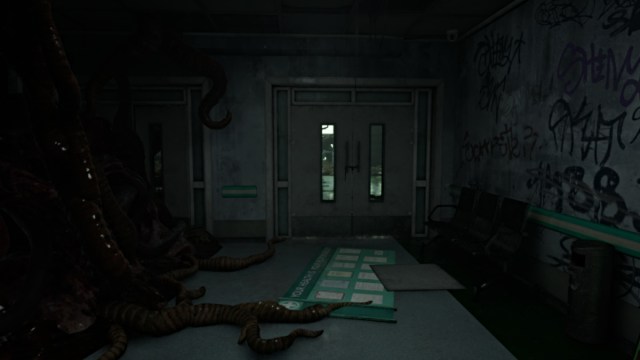
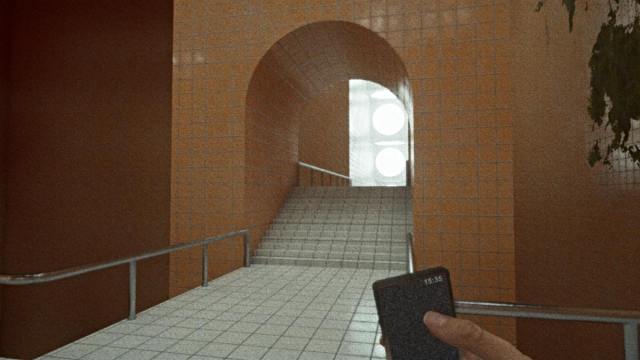
The second chapter starts in the utility room of a school, so follow the path out into the hallway ahead. Follow that hallway all the way to a dead end, and enter the classroom on the right, which is full of shadow figures.
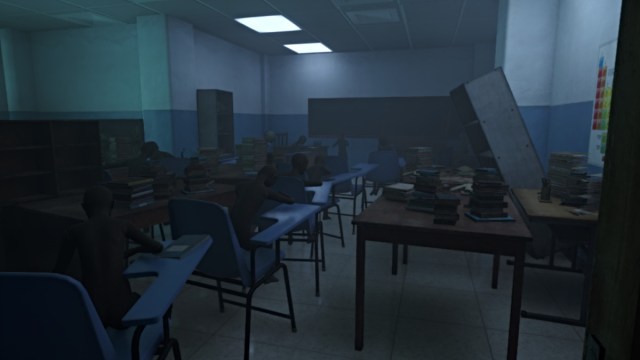
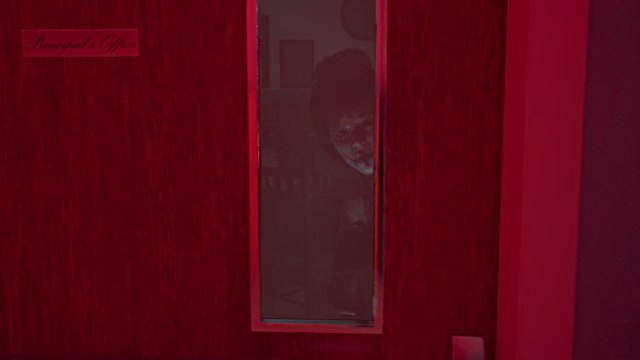
You’ll need to crouch underneath the tables in the room to get through, so follow the winding path under them around to the other side. Exit the classroom to the hallway and follow it to the door of the Principal’s Office. A brief cutscene will show Anne’s mother arguing with the principal.
Once the scene ends, go inside the office and grab the Battery on the desk for your flashlight. Backtrack and continue through the hallway until you reach the gymnasium on the right. Go inside and approach the big screens in the center for another cutscene about Anne’s bullies.
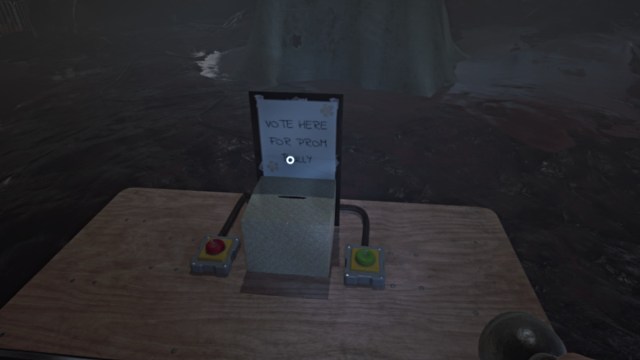
When it’s over, you’ll need to find and collect three Student IDs for the voting box on the table beneath the screens. Take the left passage first and follow it until you reach the shower room. Go through the door on the other side to the bathroom stalls. Explore it, then return to the shower room and go to the far side.
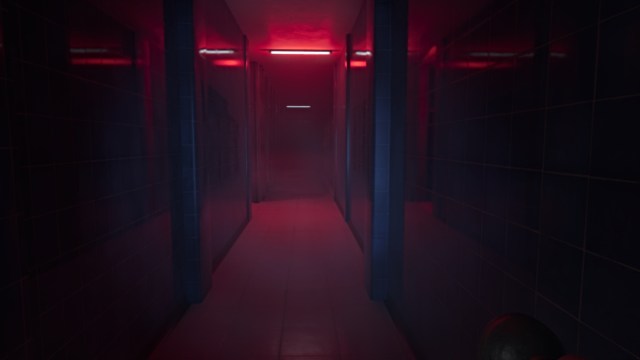
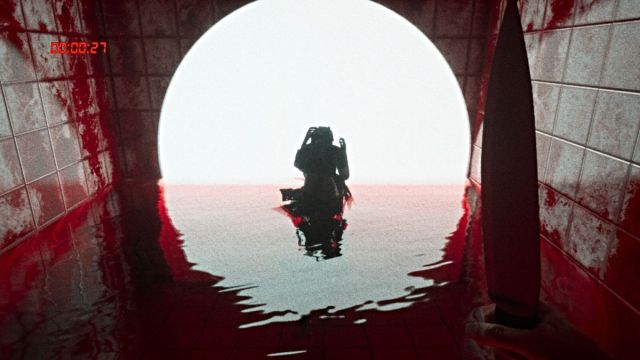
Follow the new hallway back there (lit red) and explore that section of the shower room until you’re confronted by a nightmare version of Camille, one of Anne’s bullies.
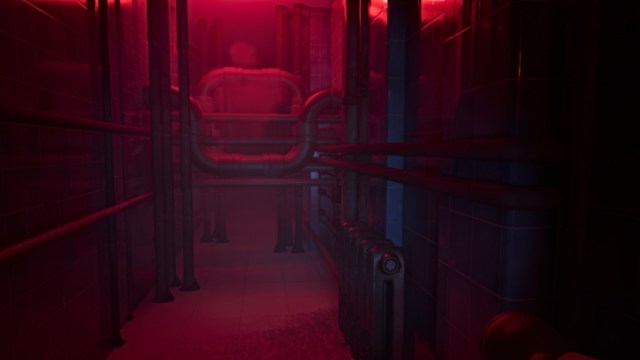
You’ll need to stay out of her clutches and escape the maze-like shower room. Hold sprint and circle the room until you find a passage covered in pipes (seen above). Crouch under the plumbing to continue on and be free of Camille.
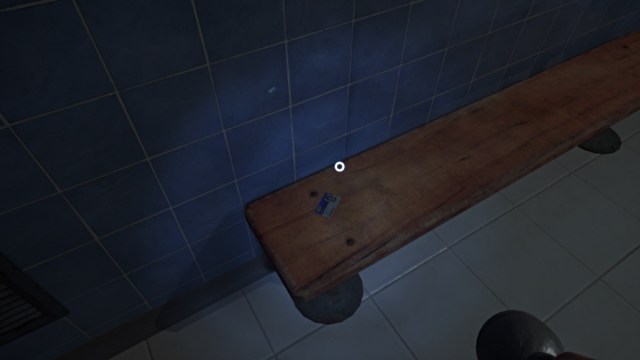
Proceed into the locker room ahead on the left, where you’ll find Camille’s ID on a bench. Pick it up, and the face of a girl named Aki will suddenly appear on the nearby screen. After the cutscene, backtrack to the gymnasium and this time go down the right passage.
Follow the path into a library. Slide between the shelves until you’re spotted by two more nightmarish figures (Rob and Leo). You’ll need to avoid them while finding their IDs and a way out.
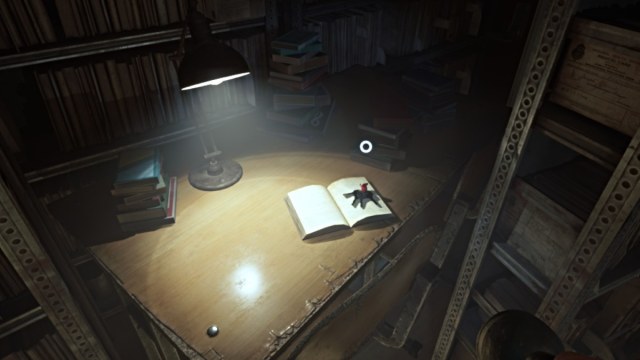
The door to the other side of the library where their IDs are is locked, so you need to find the Keys to unlock that door. You’ll find them atop an open book on a table in the back of the room where Leo is patrolling.
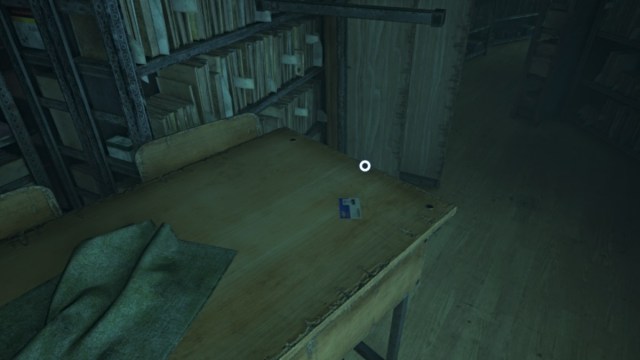
Grab them and run for the locked door. Enter, and you’ll find Leo’s ID on a table on the path ahead. Take it and continue forward. Slide between more shelves, and soon you’ll be chased by Rob. Maneuver through the maze of shelves until you reach an upturned table blocking your path.
Interact with it to push it out of your way, then continue on. Keep following the path through the maze until Rob attempts to grab you. Mash the appropriate button to escape, and you’ll reach the end of the maze. Rob’s ID is on top of a table by the exit door. Take it, then return to the gymnasium.
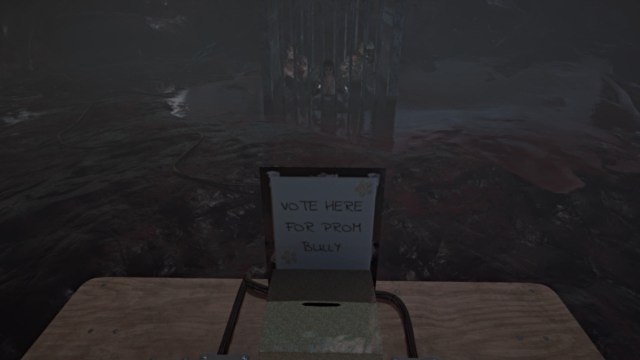
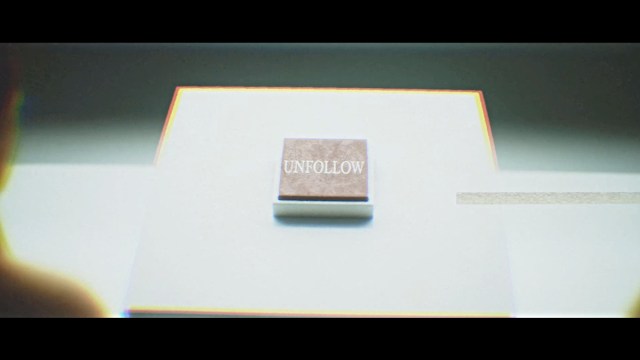
Place all three ID cards in the voting box, and a cutscene will trigger. Soon you’ll be forced to choose whether to ‘Let Go’ of the past and move on, or seek ‘Revenge’ against Anne’s bullies. Make your choice (your follower count will be impacted), and the bullies in the cage will be “killed” either way.
Once it’s over, exit via the hallway in the back to continue. Go into the kitchen at the end of the hallway on the right, and a clip will play on the TV in the back. When it’s done, leave and go through the double doors nearby, where the same monster from Chapter 1 will appear and block your path, demanding another meal.
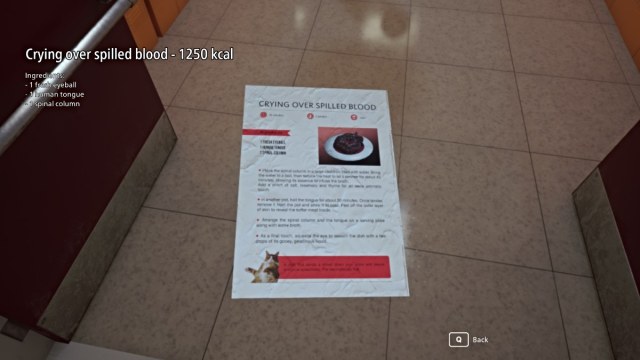
Pick up the recipe sheet, then backtrack to the gymnasium. Go over to the open cage and interact with it to trigger a cutscene. Anne will collect the “ingredients” from there. Now return to the kitchen and use the lit stovetop to cook the meal.
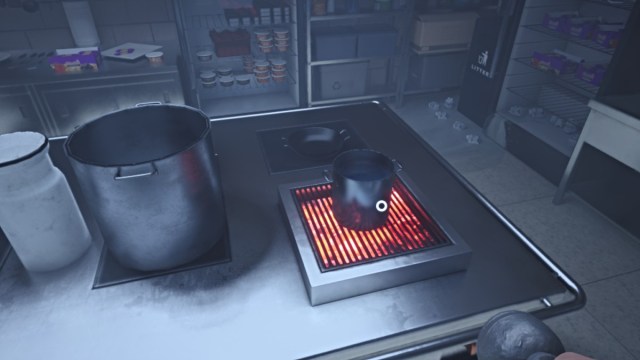
Return to the monster and feed it the meal to end the chapter.
Chapter 3
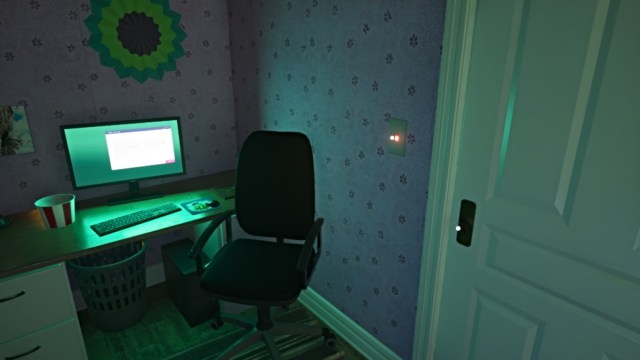
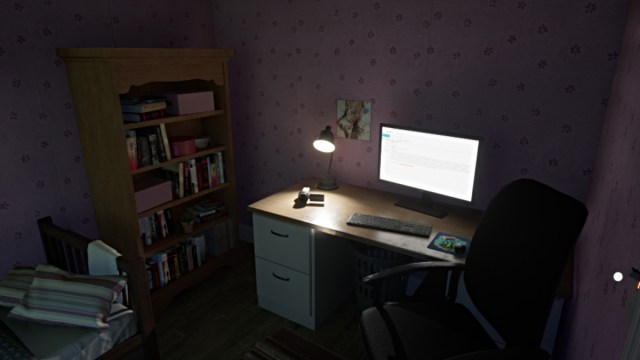
This chapter starts by waking up in Anne’s bedroom. Explore the room and interact with everything until Anne mentions that she needs to act more like Aki. On cue, Aki will appear on Anne’s desktop screen and demand to be set free. Once the cutscene ends, leave the room and go downstairs.
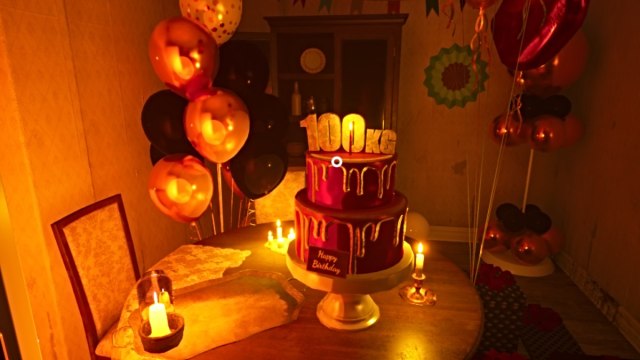
Enter the kitchen and interact with the birthday cake on the table for a brief cutscene. Next, interact with the note on the table that mentions rebuilding yourself to be like Aki. You’ll also see a metal figure stand you need to attach pieces to.
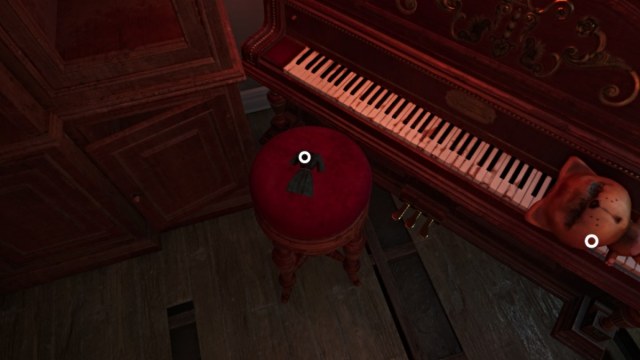
Go upstairs to the master bedroom and pick up the Doll Pieces lying on the dresser. Next, go up to the attic room on the third floor and collect the blue Doll Dress on the chair by the piano.
Now head back down to the first floor, and the door to the basement will burst open. Go into the basement and enter the first room, which appears to be a dead end. The light above will short out, so grab a Battery from the toolbox on the table nearby to power up your flashlight.
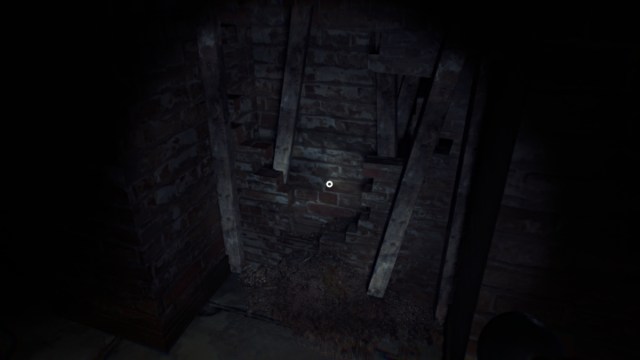
Look for a break in the brick wall and crawl through it. In the next section, crawl through the ventilation shaft and follow the path until you reach a hallway glowing red.
Follow it to the next section of the ventilation shaft and continue crawling through until you reach the dead end of the basement. Pick up the Doll Head from the shelf in the corner, then backtrack into the ventilation shaft.
Soon, the masked figure from earlier will appear and give chase, so quickly make your way out of the vents. Take a breath, then continue ahead to the next crawlspace under a table. The masked figure will appear again, so wait for it to turn and walk away (or bum rush past it if you prefer).
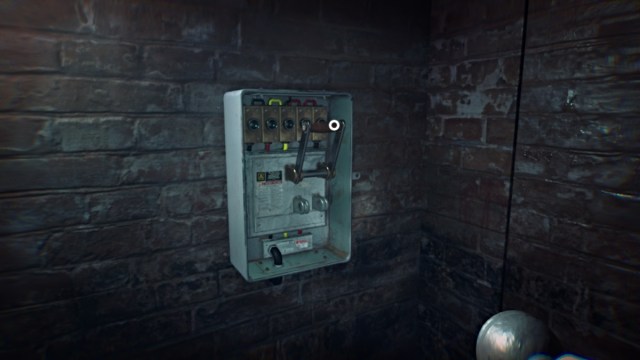
Run through the passage to a small room on the left (crawl to get inside it), where you can hit a breaker switch to kill the lights in the basement. Now you need to make an escape from the basement. Kite the masked figure where needed and hold sprint until you’re back on the first floor.
Return to the kitchen and place the doll parts on the metal stand. A cutscene will play, and the chapter then ends.
Chapter 4

After the initial cutscene with Anne’s mother, explore the room for multiple medical records, including Anne’s. Next, go to the door with a keypad beside it.
Punch in the following numbers: 5-3-1-7.
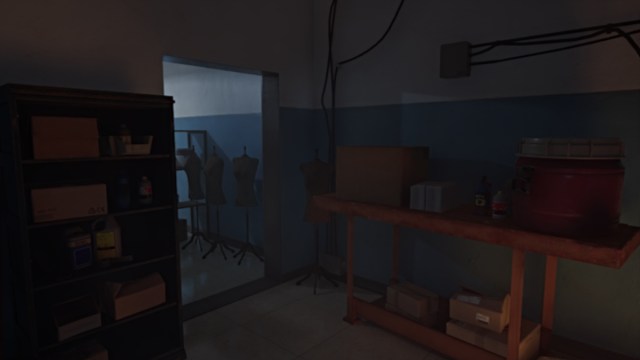
Once unlocked, leave the room, and the hallway ahead will be full of mannequins. Follow the path and then turn left at the fork (right is a dark dead end). Follow the next hallway straight until you see a wheelchair roll by.

Turn left again at the wheelchair and then go into the red room on the right. Go to the door on the opposite side and try to open it. A mannequin will appear behind you, but just move past it and go back to the other side, where a lit table will have a surgery note and a Phone.
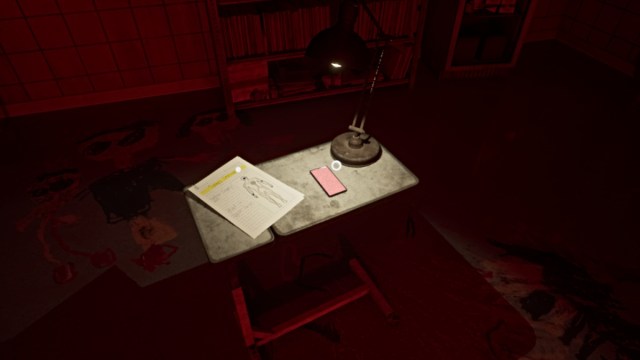
Pick up the phone and turn back to face the mannequin. Approach it and aim the phone’s flashlight at the mannequin’s head when prompted, then both its arms. This will defeat it, after which you can leave via the back door to the next section.
Continue through the hallway and through the surgery room ahead until you encounter Anne’s mother. Use your phone’s flashlight to keep her at bay while progressing into the hospital. Be careful not to look away from her for too long, and do your best to walk backwards to keep the light on her.
Go straight down the hallway she came from and turn right (your left, if walking backwards). Keep going until you can turn and slip between two shelves to the next area. Approach the stairwell, and the monster from earlier will appear, demanding another meal from you.
Pick up the recipe page, then backtrack between the shelves to the previous area. Turn and head right down the hall, then right again into a small room. Go to the fridge in the back and grab the bottle of Red Wine.
Next, go to the other side of the room and slip past the fridge to reach the cooking area. Pick up the Chili Peppers from the container on the counter, then leave the room.
As you do, you’ll be ambushed by a strange figure who then carts you off back to Anne’s mother. After the lengthy cutscene, get your bearings and leave the room.
Once in the hallway, head left, where you’ll see more mannequins scattered around. Some of them will turn hostile and approach you, so keep your phone light ready for them. Turn right at the corner and then head into the laundry room.
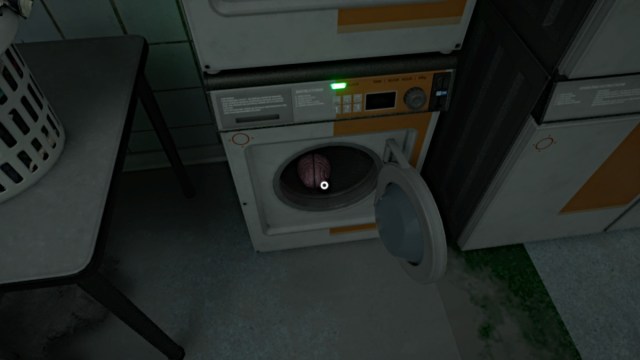
Approach the running washing machine and take Anne’s Brain from it once the machine’s door opens. Now return to the kitchen and cook the meal in the oven. Bring it to the monster nearby to clear the path forward.
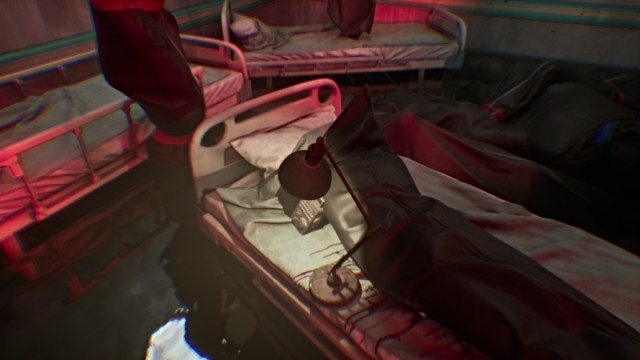
Take the stairs down to the lower area that’s flooded, where Anne’s Mother will be patrolling. You’ll need to maneuver around her and reach the very back of the area to grab the Cafeteria Keys from a gurney. Due to the narrow walkways and all the obstacles in the way, you’re honestly better off simply outrunning her than trying to keep her stunned.
Once you have the keys, make a run for it to the exit. Look for the doorway with an ‘Exit’ sign above it, and go through it. Take the next left and head toward the glowing butterfly at the area’s exit. Go up the stairs and slide between the shelves to finally escape.
Once back on the main level, use the keys on the double doors leading to the cafeteria, where Anne’s mother will confront you in one final boss encounter.
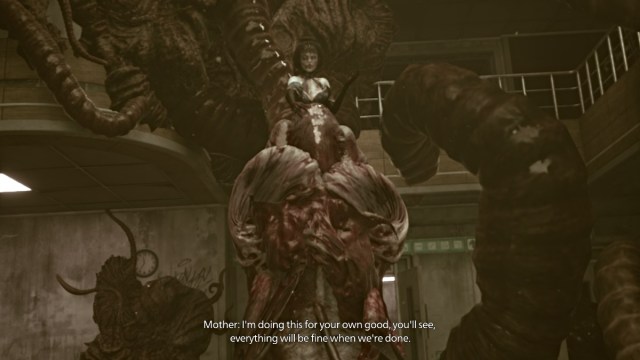
Use your phone’s light to burn the “heart” of the cocoon around her when possible, and watch out for the tentacles around the room. Occasionally, a group of her minions will spawn and chase you, so use your phone light to defeat them. Once they’re gone, you can then target the heart of her cocoon. Repeat this process three times until the fight ends.
Once Anne’s mother is defeated, she’ll fall to the floor and insist that what she did was for Anne’s benefit. Again, you’ll need to decide whether to ‘Forgive’ or seek ‘Revenge. The choice is yours, and a cutscene will play afterward.
The chapter then ends.
Chapter 5
This chapter starts back in Anne’s home on the second floor. Get your bearings and head downstairs to the TV room on the left.
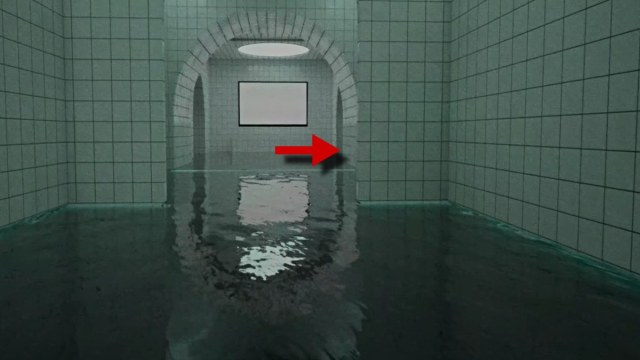
Interact with the TV, and you’ll be transported to a strange liminal space that resembles a pool. You’ll need to navigate your way through it to escape, so start by heading left. Keep going until you see two doorways ahead (seen below).
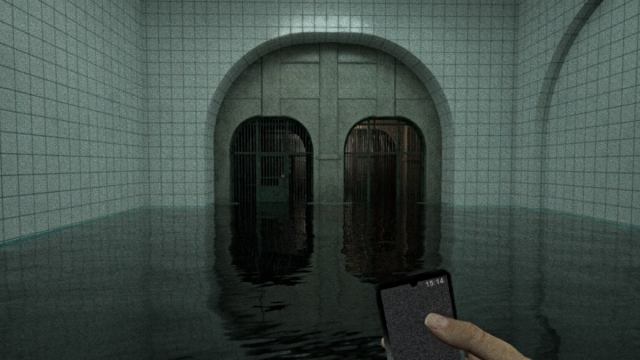
Go through the doorway on the right and then turn right to continue along the path until you reach the next section that resembles a labyrinth. Keep to the right side of the room and go through the next doorway that leads towards a large pink tree with an apartment door in the center.
Approach it for a brief jumpscare, then continue around the corner to the left. In the next section, wade through the waters and navigate towards the light in the back right corner of the room. From there, go up the long stairwell to an orange room where a giant version of the Mini Anne Doll will spring up as a jumpscare.
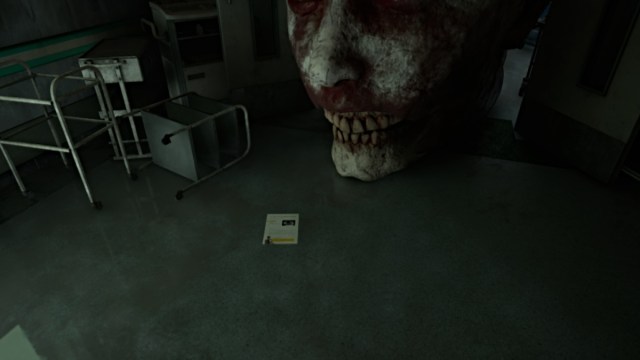
Take either walkway around it and head up the next stairwell, where a giant skeleton with long hair will appear overhead (likely easter egg). Continue to the next section, and follow the railed path after the cutscene.
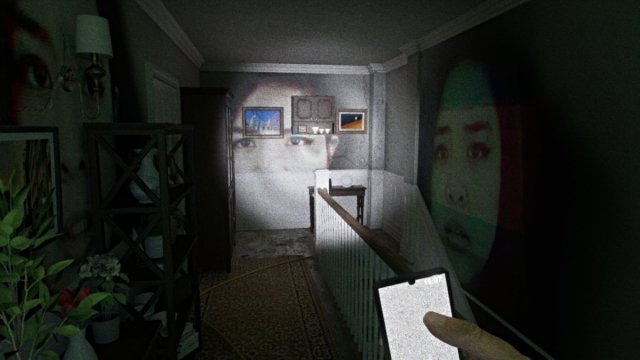
In the next hallway, head straight towards the TV screen, where a cutscene will play out. Once it’s over, take either hallway (left or right) around and use your phone for light. Navigate towards the light in the distance until you reach another TV screen.
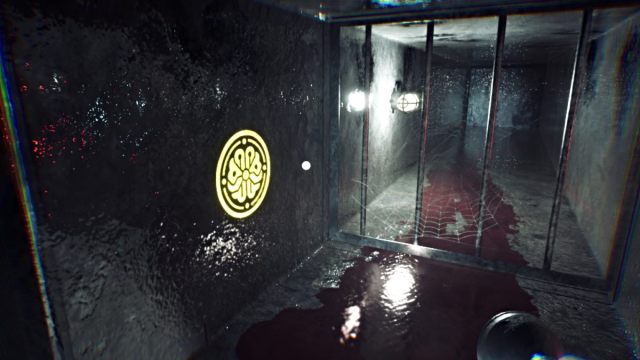
This time, however, the mangled figure from the hospital will emerge from it and give chase. Hold sprint and maneuver through the passageways until you reach a large, flickering Elysium symbol on a dead-end wall. Approach it, and a Roman numeral will flash on your screen.
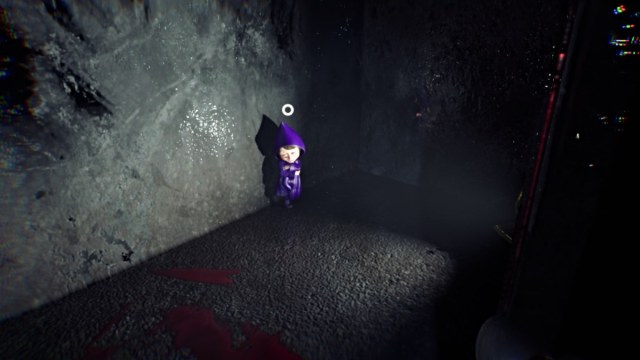
Next, you’ll be the one to emerge from the screen with a knife, and this time you’ll need to track down the victim crouched in a corner near a spotlight. Also, note that you only have one minute to complete each of these intervals (watch the timer in the top-left corner).
Once you do, the process repeats again, and you’ll need to do this until you need to flee one last time. This time, the walls will be covered in blood, and you’ll need to follow the yellow arrows to find the Elysium symbol to escape.
Once done, the chapter ends.
Chapter 6
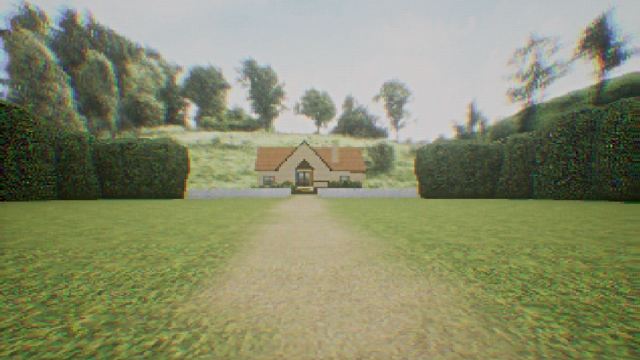
This chapter drops you into a hyper-pixelated liminal space that addresses Anne’s personal conflicts with her boyfriend Josh. Approach the TV in front of you to view a scene with Anne and Josh. Once it’s over, continue down the hall until you reach an open area with a house.

Approach it until the house floats away, and then go through the doorway in the wall behind it. In the next section with hills and hot air balloons, go to the one at the far end and board it to reach an elevated walkway.
Follow that walkway and continue to the next few linear sections. Watch the scenes on each television along the way to get a full understanding of the situation between Anne and Josh.

Once the house floats back down into a dark pit, jump off the walkway into the pit and continue through the next linear section until you end up in the dark hallway from the start of the chapter.
Keep going until you’re approached by a strange floating balloon figure, at which point a chase will ensue.
You’ll need to stay out of its reach while sprinting through the halls, and the goal is to follow the numbers marked on the walls. Make sure the numbers are going up, not down, and dodge the moving red balloons with POW! labels. If you get hit by one, it’ll spin you around to throw off your sense of direction, so be mindful.
Keep going past the halls labeled ‘6’ until a final cutscene plays, and the chapter ends.
Chapter 7
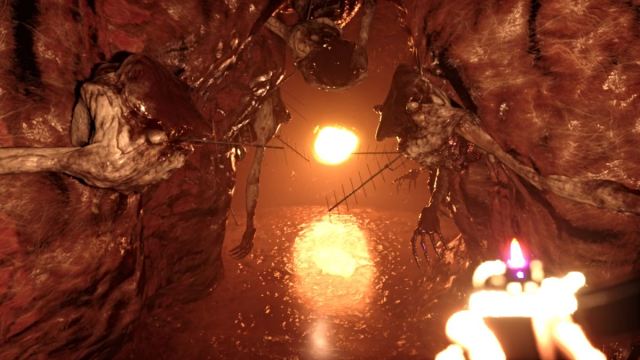
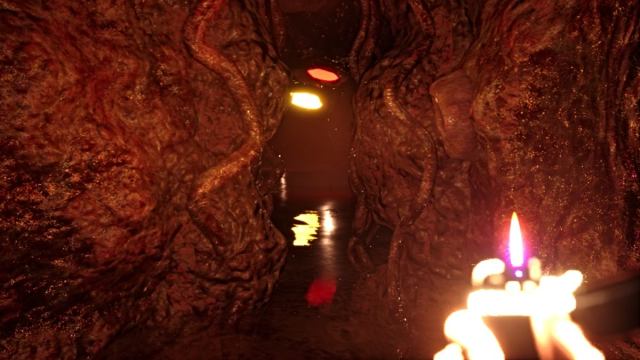
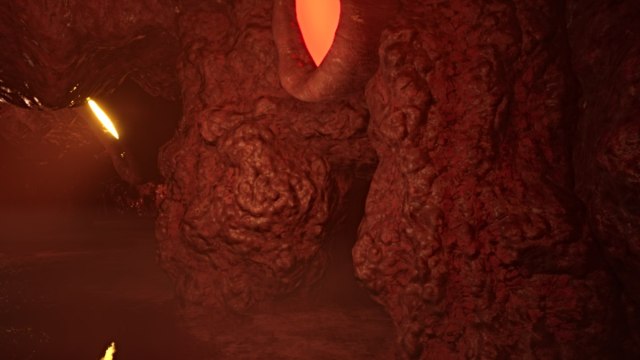
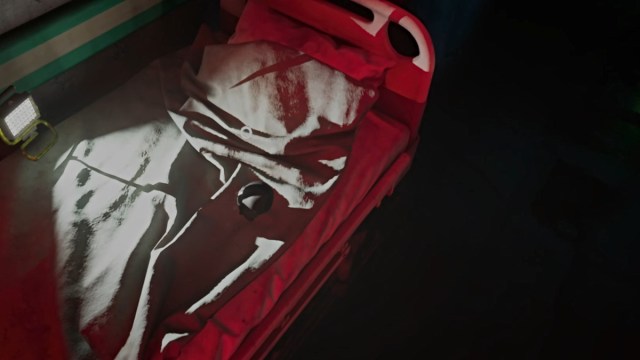
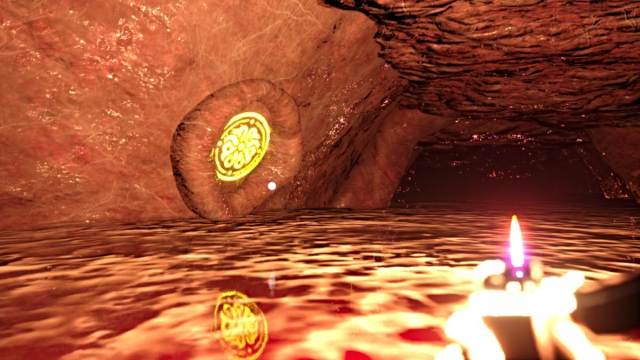
The final chapter opens with you trapped inside a strange, gore-filled tunnel. Pick up the Lighter from the outstretched hand in the room and light it to open a path ahead. Continue until you reach the next fleshy gate in the main passage.
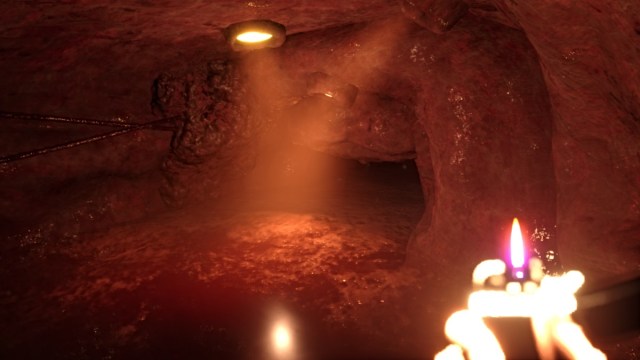
Detour to the left to find an outstretched nodule to press, which will open the gate. Return and keep going until you find yet another gate blocking your path. Make a detour once more, this time to the right, and find another floating nodule to open the gate.
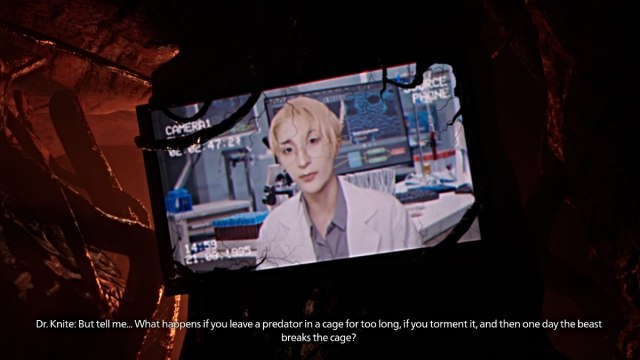
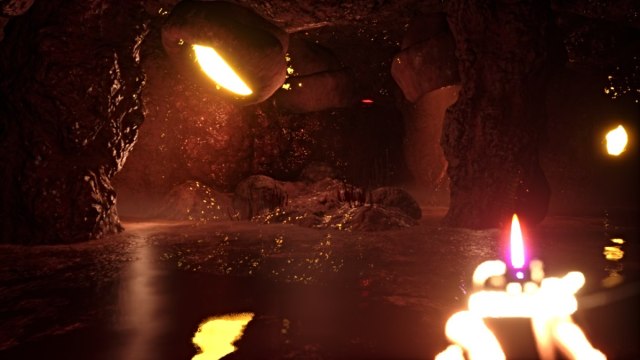
Advance until you reach another fork in the path. The route ahead is currently a dead end, so detour left and follow the winding passage until another nature program from Dr. Knite plays.
Once done, continue until you reach another floating nodule to press. Now backtrack all the way through the tunnel to the fork in the path, and this time go straight.
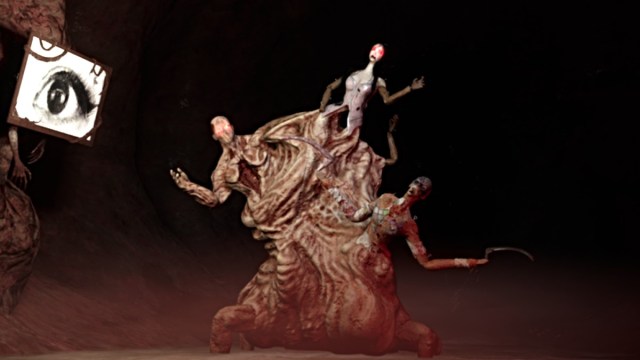
Crouch through the crawlspace ahead and continue until you reach what looks like an incline in the path. Try to go up that incline, and a cutscene will trigger where a fleshy abomination of Anne’s bullies appears.
As expected, it’ll give chase, and you’ll need to outrun it by backtracking through the tunnel. Bum rush your way past the tentacle obstacles and quickly crouch through the crawlspace before sprinting on. Eventually, the abomination will get stuck, giving you some breathing room.
After sliding down through a brief cutscene, slip through the gap ahead into the next section. Here, the abomination will be patrolling the area, so watch your step and do your best to stay hidden.
Start by heading left through the tunnel on that side (you’ll need to wait for the tentacles to vanish). Run until you reach a fork in the path and go left again, until you reach the dead, and then press the floating nodule there.
Now, backtrack and this time go down the right path of this section. When you can, turn left and go down a narrow tunnel until you see a gap to slip through.
Do so, and watch for the abomination here as you make a beeline for the tentacle gate a little ways up on the left. Pass through it once you’re able (remember your lighter needs to be on to burn the tentacles). From here, take the left path and follow it to the next section.
From here, you need to make it to the right side of the section while still avoiding the abomination. Once near the dead end on the right side, look for another gap to slip through on the left wall.
Once through, you’ll see a spiral staircase that leads to your escape. Ascend as far as you can until a cutscene sends you to an alternate path. Approach the flesh wall ahead, and Anne will climb it up and out of what looks like a mouth.

This has you emerge from the mouth of the monster you fed several times before. Once you have control, approach the bright screen ahead to get the final cutscene of the game.
All Mini Anne Doll Locations in BrokenLore: UNFOLLOW
There are a total of nine Mini Anne Dolls in the game, and all can be collected in one playthrough. They’re easy to detect by the giggle they make when you’re close.
Chapter 1
01 – TV Room – First Floor
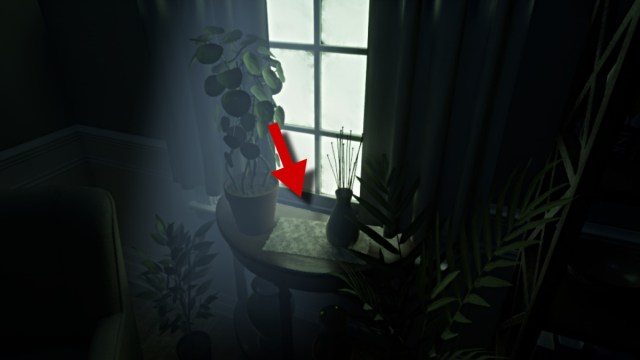
The doll is sitting on a table in front of the window in the room opposite the stairs at the start of the chapter.
Chapter 2
01 – Gymnasium Stands
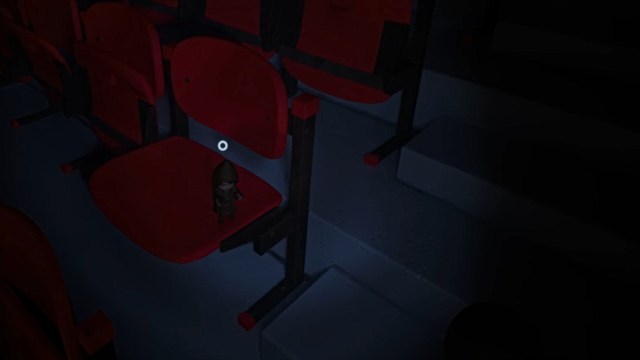
This doll is found on a chair in the stands on the left side of the gymnasium.
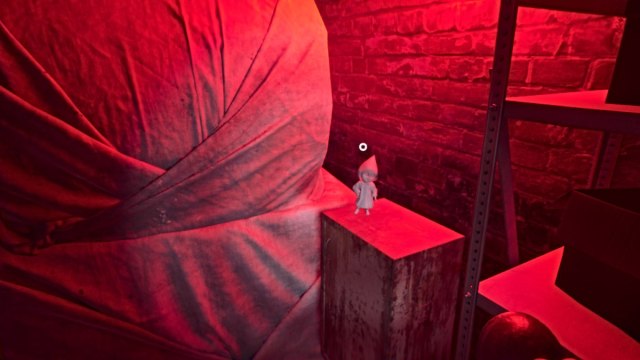
02 – Shelf Inside Library
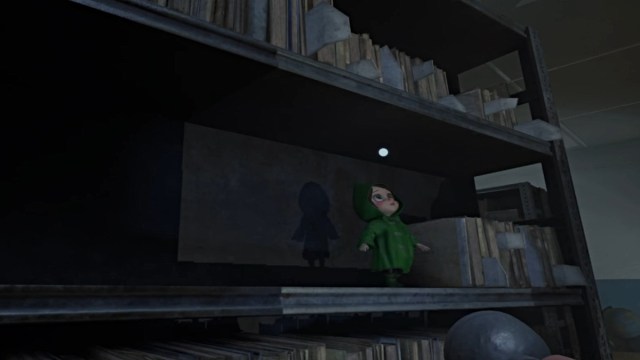
This doll is on a shelf inside the library, near the center where Leo first gives chase. Kite him around if needed so you can grab this safely.
03 – Garbage Can Inside School Kitchen
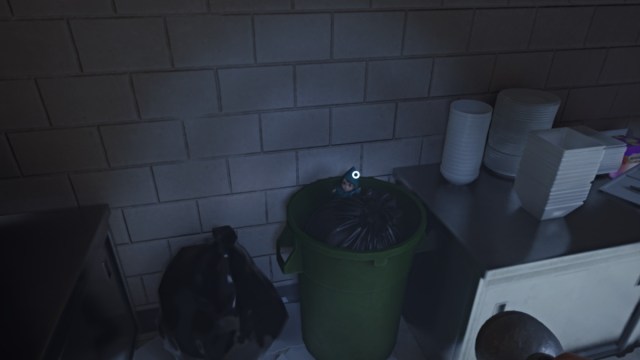
This doll is inside a garbage can on the right side of the school’s kitchen, which is found down the hallway after the gymnasium section.
Chapter 3
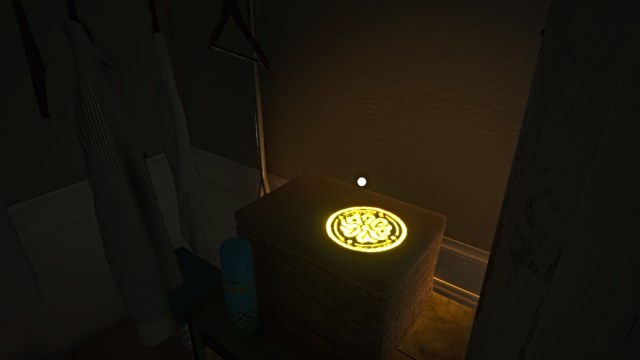
01 – Basement Hallway
This doll is on top of a metal box to the right inside the red-tinted hallway in the basement.
02 – Basement Vent Shaft
This doll is inside the ventilation shaft section of the basement.
Chapter 4
01 – Hospital Gurney – Flooded Area
This doll is on the gurney to your left just as you enter the flooded area of the hospital (where Anne’s Mother is patrolling).
Chapter 7
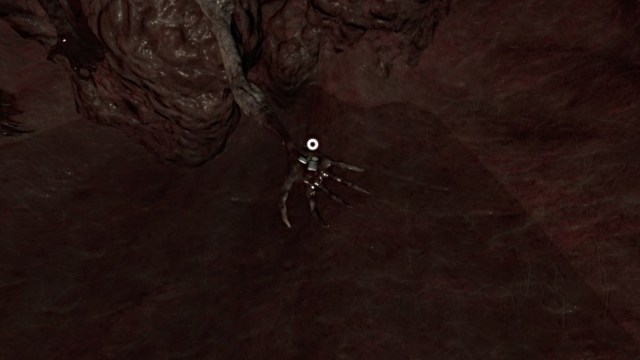
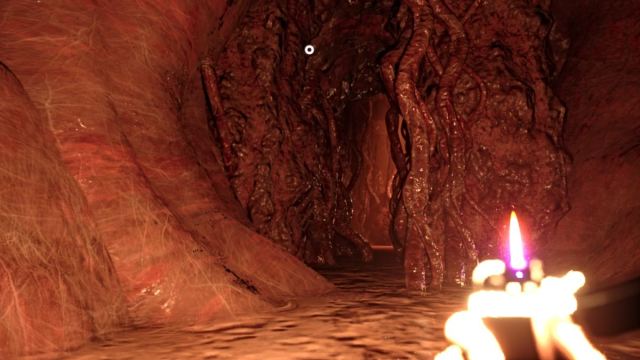
01 – Crawlspace

This doll is sitting inside a clawed hand at the end of the right-side flooded crawlspace (normally, you go through the left flooded crawlspace to progress).
04 – Beneath the Monster

The final doll in the game is directly beneath the monster after you emerge from its mouth near the end of the chapter. Run toward the monster, and it’ll be on the floor ahead.
All CD Locations in BrokenLore: UNFOLLOW
There are a total of 12 CDs to collect in BrokenLore: UNFOLLOW, and they’re all scattered across each chapter of the game. You can track your collectible progress via the legend in the top right corner of the pause menu.
Chapter 1
01 – Master Bedroom – Second Floor
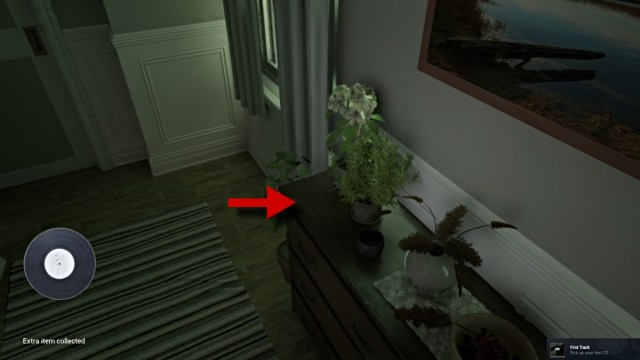
This CD is on the dresser across from the bed in the master bedroom on the second floor of the house.
02 – Shelf in the Basement
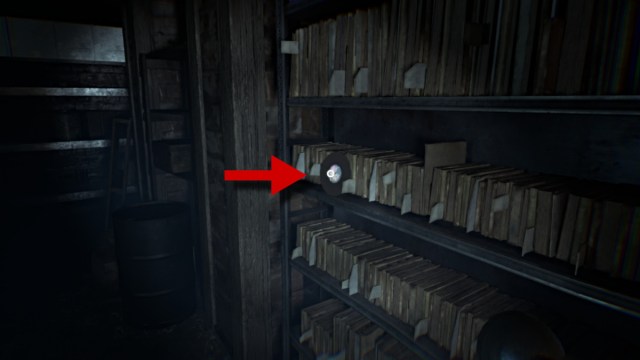
This CD is on a packed shelf in the basement near the back, where you find the Painting Piece.
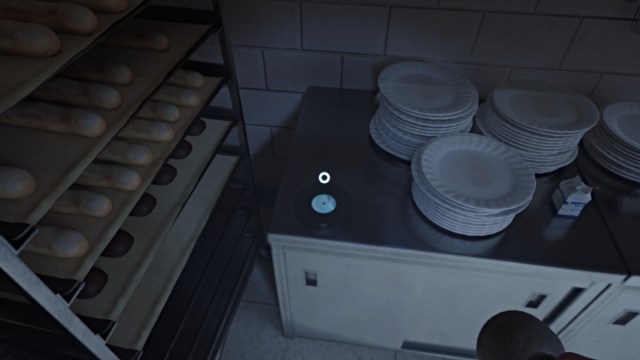
03 – Kitchen Pantry
The final CD in Chapter 1 is on the bottom shelf inside the kitchen pantry. You can access this room after the attic.
Chapter 2
01 – Classroom Desk
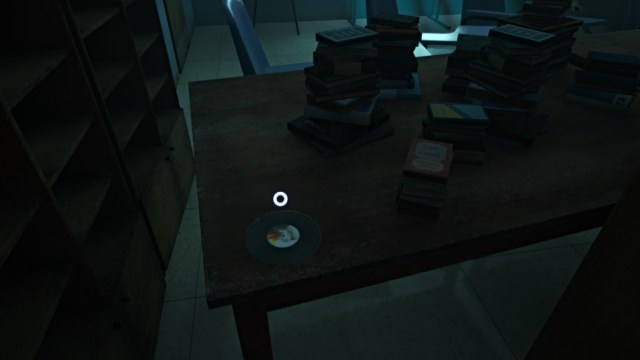
This CD is on a table inside the classroom. You need to crouch through to reach the rest of the school.
02 – Hallway Table Near Gymnasium
This CD is on a table near the entrance to the gymnasium.
03 – Kitchen Table
This CD is on top of a counter on the left side of the kitchen, found down the hallway after the gymnasium section.
Chapter 3
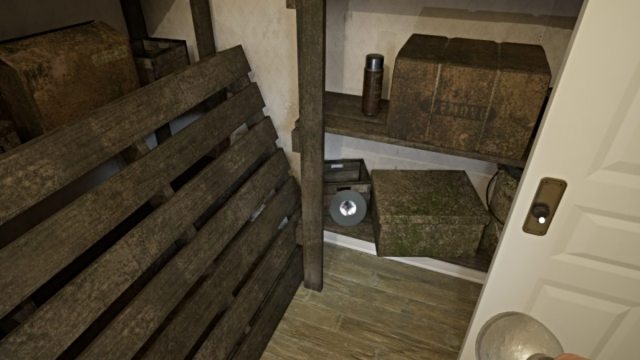
01 – Behind Laundry Room – Second Floor

This CD is lying on the floor inside the hidden passage behind the laundry room.
02 – Shelf – Third Floor
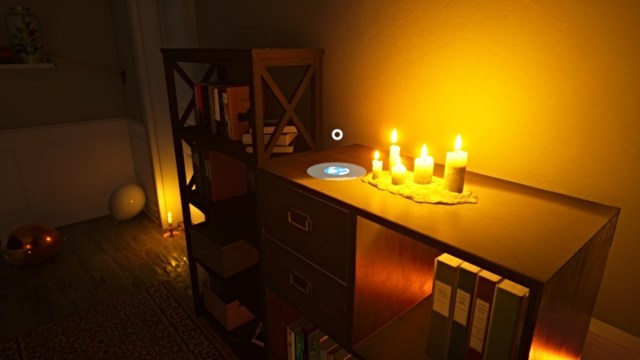
This CD is on top of the shelf on the third floor, next to the door leading to the attic room.
03 – Foyer – First Floor
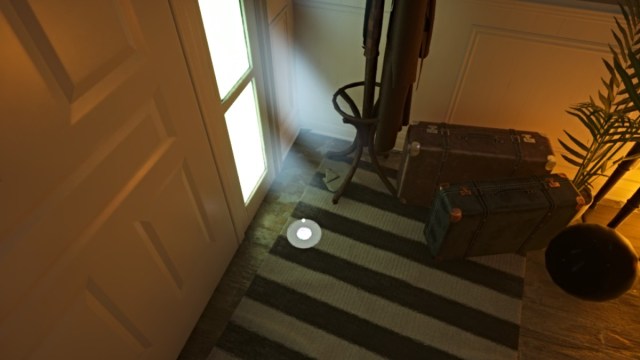
This CD is on the floor by the front door.
Chapter 4
01 – Top of Stairwell
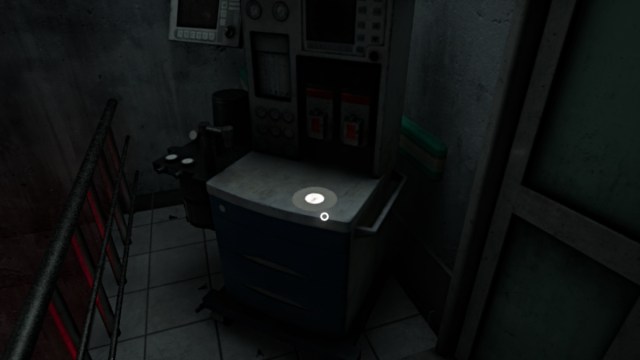
This CD is lying on a machine at the top of the stairwell after you feed the monster.
Chapter 7
01 – Detour Room in Flesh Tunnel
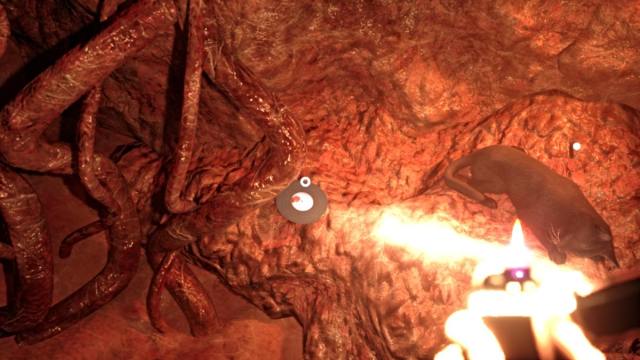
This CD is located in a small “room” off the main path of the flesh tunnel, next to Anne’s cat.
02 – Nodule Room After Dr. Knite
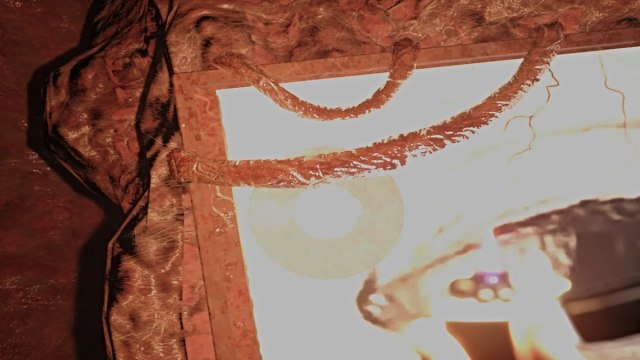
This CD is hiding in the top-left corner of the eyeball screen in the nodule room after you watch the Dr. Knite program.
All Elysium Symbol Locations in BrokenLore: UNFOLLOW
There’s a total of 15 Elysium Symbols scattered across all chapters of the game. To collect them, approach and use your ‘interact’ button.
Chapter 1
01 – Red Bathroom – First Floor
This symbol will appear on the wall behind the toilet in the bathroom after the cutscene.
02 – Crate in Basement Hallway
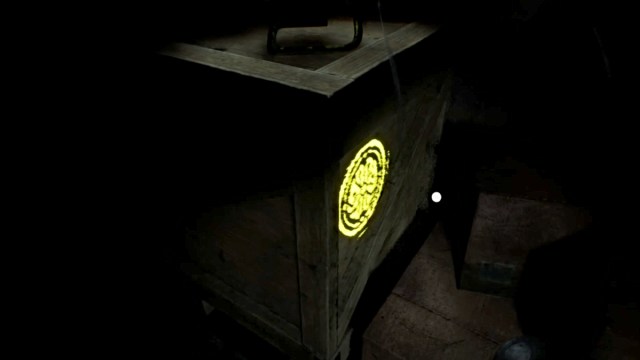
When you re-enter the basement after the cutscene in the bathroom, look for this symbol on the side of a crate in the hallway (left side) that has a light sitting on it.
03 – Passage Behind Laundry Room
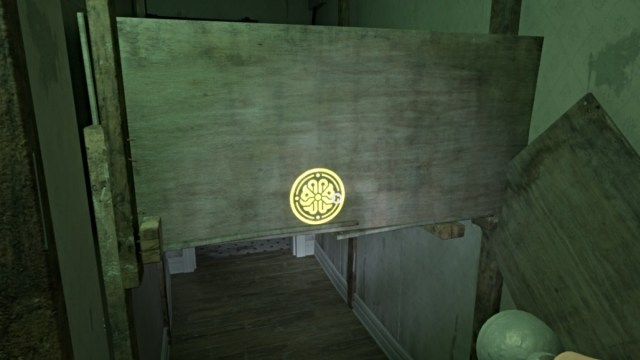
This symbol is on the back of a wooden board as you leave the hidden passage behind the laundry room after getting the Attic Key.
Chapter 2
01 – Side of School Locker
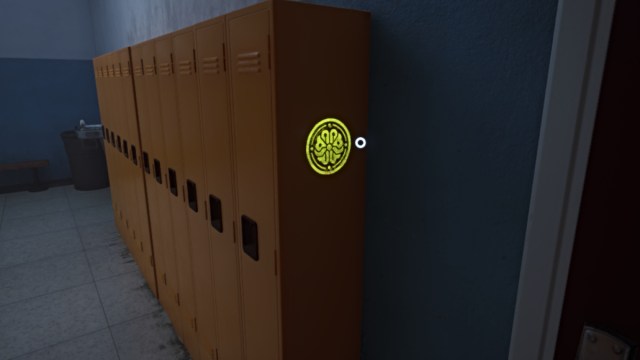
This symbol is on the right side of a set of orange lockers in the school hallway.
02 – Gymnasium Stands
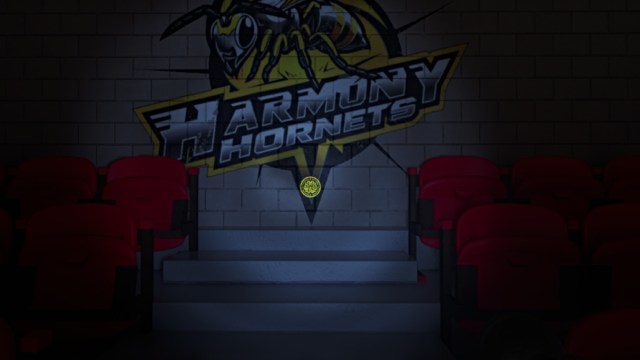
This symbol is underneath a Harmony Hornets sign in the stands on the right side of the gymnasium.
03 – Blue Locker Room
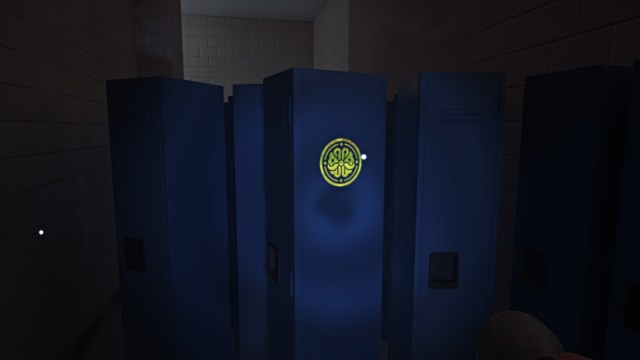
This symbol is on the back of a blue locker in the left passage from the gymnasium.
Chapter 3
01 – Master Bedroom Closet – Second Floor
This symbol is on top of a box inside the closet next to the master bedroom.
02 – Basement – First Room
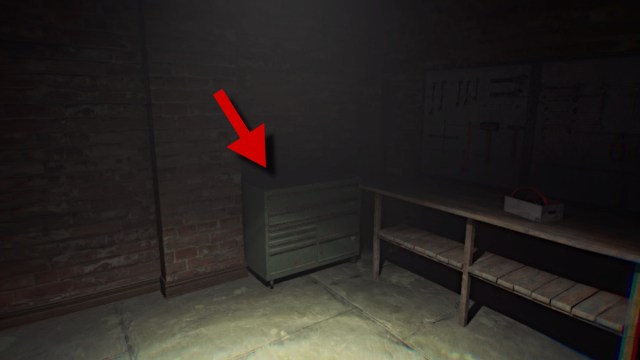
This symbol is on top of the green toolbox in the first room of the basement.
03 – Basement – Vent Shaft
This symbol is inside the ventilation shaft section of the basement.
Chapter 5
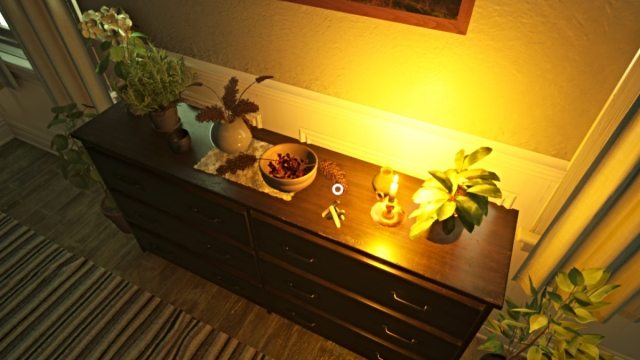
01 – Bowl in Foyer – First Floor
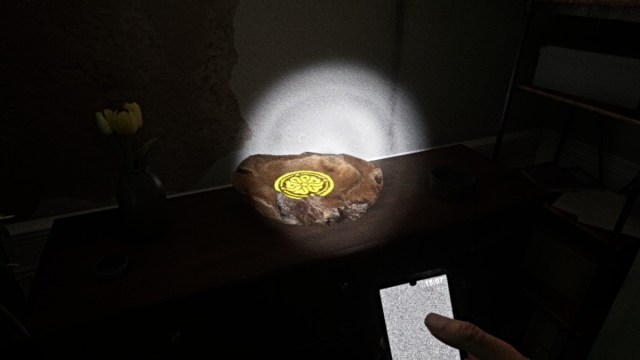
This symbol is inside the bowl on top of the dresser near the house’s front entrance.
02 – Pool Area – Door
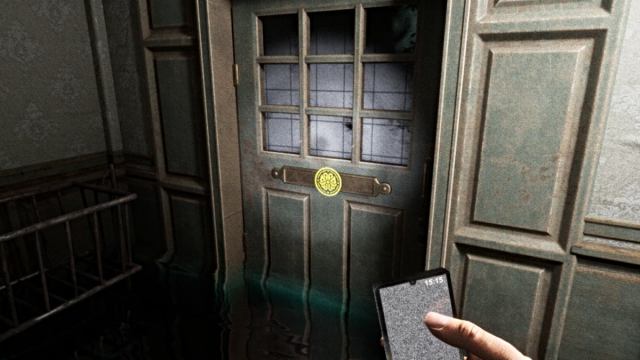
This symbol is on the front of a door in the first section of the pool area.
03 – Wall After Dr. Knite
After the Dr. Knite clip plays on the screen, go down the tunnel to the right, and the symbol will be on the right-side wall.
Chapter 7
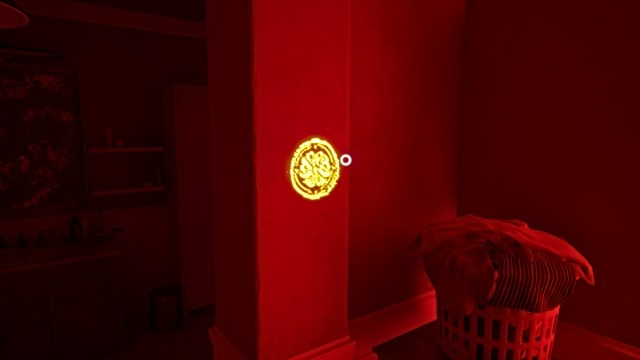
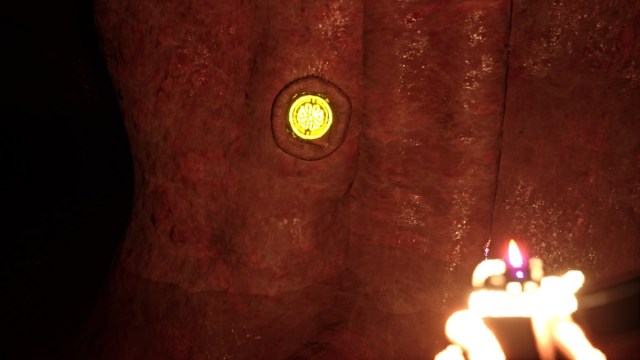
01 – Nodule on Flesh Wall
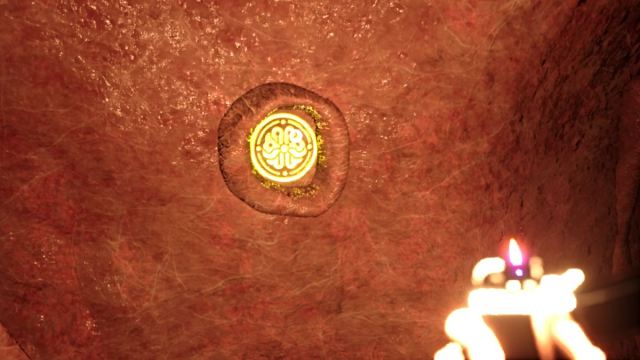
This symbol is on a nodule on the left side of the flesh wall after you escape the initial section of the area.
02 – Nodule on Flesh Wall 2
This symbol is inside another wall nodule during the first flooded crawlspace section.
03 – Nodule on Flesh Wall 3
The final Elysium sign is inside another wall nodule near the end of the level.
How to Unlock All Endings in BrokenLore: UNFOLLOW
There are a total of three endings you can unlock in BrokenLore: UNFOLLOW. Two are tied to choices you make in certain chapters, while the third secret ending is tied to collectibles.
- Good Ending – Choose to ‘Let Go’ of your anger against the bullies and your mother during Chapters 2 and 4, respectively.
- Bad Ending – Choose ‘Revenge’ against both the bullies and your mother during Chapters 2 and 4, respectively.
- Secret Ending – Collect all 15 Elysium Symbols in the game, then play the ending from the Extras menu.