
Tempest Rising GDF Mission 2 – 100% Walkthrough
Acknowledged!

The second mission of GDF’s campaign in Tempest Rising teaches you the basics of defending your base and managing the key Tempest resource. With multiple secondary objectives, you can rack up a bunch of requisition points and unlock the competition-specific achievement as well.
Here is a complete walkthrough of the second mission of the GDF faction in Tempest Rising, including strategies to complete the secondary objectives as well.
GDF Campaign Mission 2 Complete Main and Secondary Objectives
| Main Objectives | Requisition Points | Secondary Objectives | Requisition Points |
|---|---|---|---|
| Deliver your troops to the GDF outpost | 400 | Secure the area for the Support Beacon | 200 |
| Defend your base while gathering Tempest | 400 | Call in a Beacon within the target area | 100 |
| Destroy the Dynasty Silos | 400 | Construct a Refinery near the Beacon | 100 |
| Place a Guard Tower in the target area | 100 | ||
| Use an Engineer to steal the Tempest Rig | 100 |
Main Objective – Deliver Your Troops to the GDF Outpost
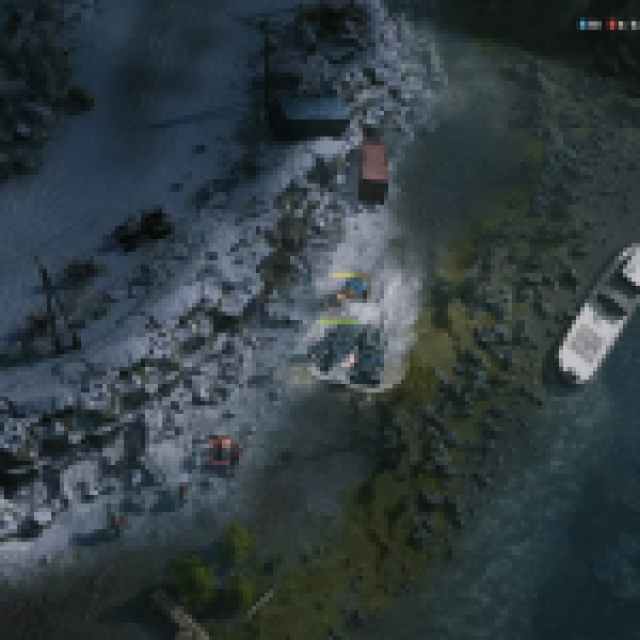
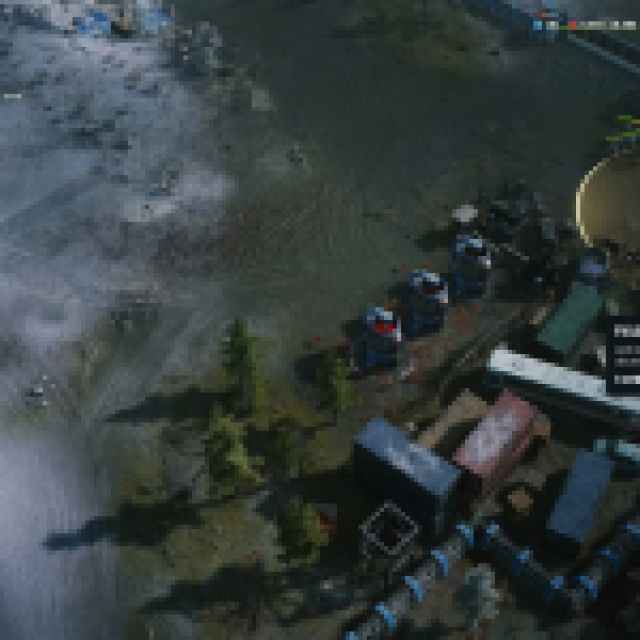
The mission starts by giving you a squad of three vehicles: two Riot Vans and a Sentinel. Your path forward is fairly straightforward, and I recommend keeping the Riot Vans in the front and the Sentinel at the back if you want it to survive. Take the path below to flank some of the enemies, and you don’t need to deploy your units at the moment; the Riot Vans are more than enough to take on any threat.
Continue forward until you’re directed by the game to deploy the units from the Riot Vans. Your squad will have a few Field Scouts and Grenadiers, as well as the Riot Vans. Direct them all towards the GDF outpost and take out the tanks and units attacking the gate.

Enter the outpost with all your units to complete the first main objective.
Secondary Objective – Secure the Area for the Support Beacon
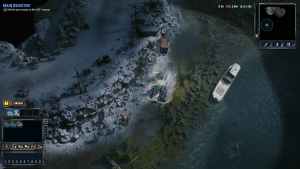
Once you’re inside the outpost, direct your attention northeast to spot six enemy units that are guarding a Tempest resource spot. Take them all out with the units that you brought with you.
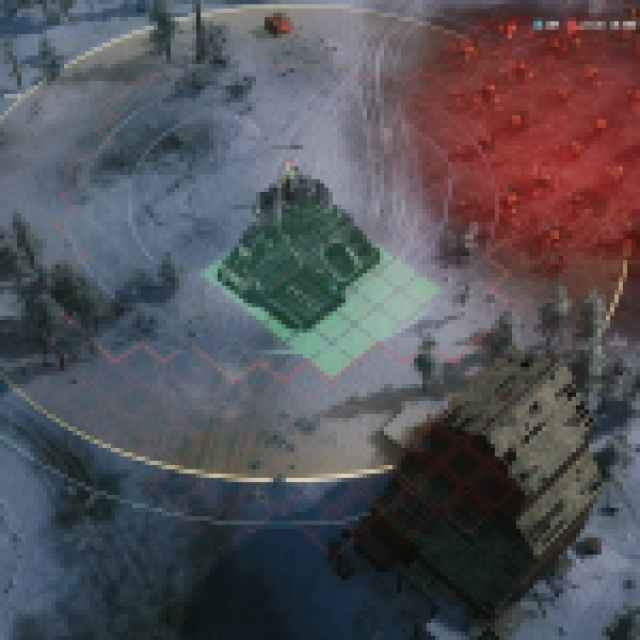
Secondary Objective – Call In a Beacon Within the Target Area
Once you have secured the area, call in a Support Beacon.
This allows you to expand your base by building different structures within its vicinity.
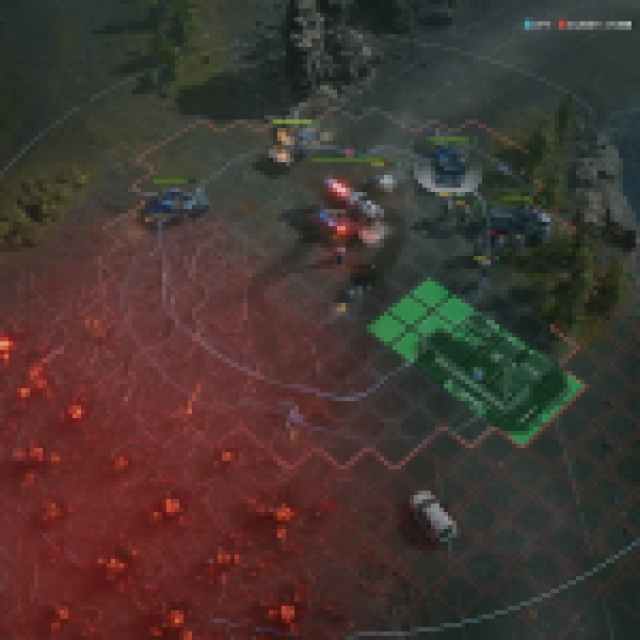
Secondary Objective – Construct a Refinery Near the Beacon
With the support beacon active, build a Refinery within its proximity. Make sure you’re fast, though, because the beacon is active for a limited time, and you’ll have to wait for its cooldown to complete.
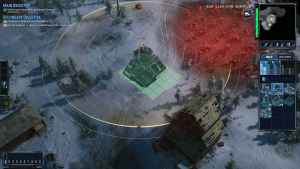
Now you have two refineries active, which means faster acquisition of Tempest. Pretty soon, you won’t know what to do with it.
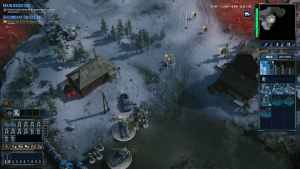
Main Objective – Defend Your Base While Gathering Tempest
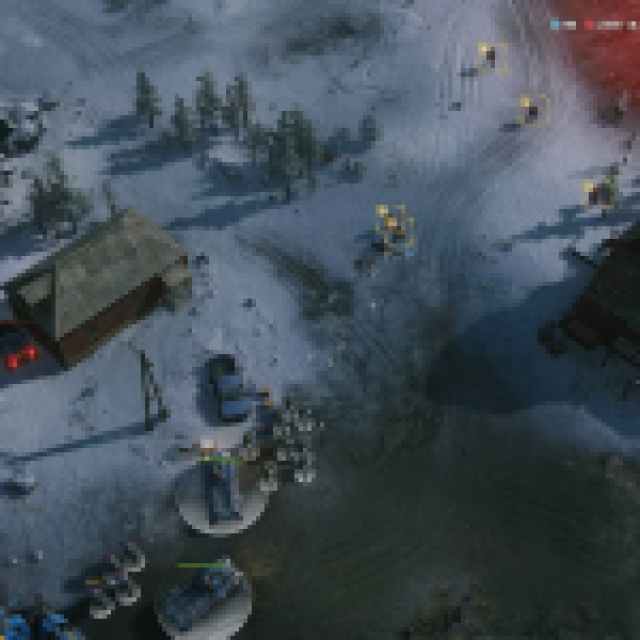
After the construction of the second Refinery, direct your attention back to the base. You will constantly be attacked from the three different entry points. To make sure you have steady unit recruitment, build a Barracks and a Vehicle Bay.
For each gate, I recommend placing the following units and refreshing their unit count whenever you see them go down.
- 10 Field Scouts
- 5 Drone Operators
- 10 Grenadiers
In addition to units, you can also place the following defensive turrets at the gates:
- Grenade Turret
- Gatling Turret
Remember, you can directly repair both Turrets, which I recommend doing every time a gate is attacked.

Additionally, train another Harvester at the Vehicle Bay so you have a total of three. This speeds up production substantially. To make sure you’re never running out of power and Tempest storage, build the following whenever you’re free from defending.
- Power Plants: Increases the total available power for buildings.
- Silos: Stores additional resources including Tempest and the maximum amount of credits.
Like I said, with two Tempest sites and three harvestors at your disposal, you won’t know what to do with all the cash at hand. This is why it’s important to liberally spend on training units and deploying them at the gates.
Secondary Objective – Place a Guard Tower in the Target Area
After building a Barracks, you will be asked to train an Engineer and create a Guard Tower at a designated spot. This is simple enough, and the Engineer is trained at the Barracks.
You can send in a few Field Scouts in the Guard Tower, adding an extra layer of defense at the northeast gate.
Secondary Objective – Use an Engineer To Steal the Tempest Rig
This is my favorite part of the mission. Now that you have a pretty strong defense, it’s time to mess with the Dynasty even more. Recruit two Engineers just to be on the safe side, train a Riot Van if you lost your previous ones, five sentinels, four Grenadiers, and five drone operators. Round up the party, and make your way to the Tempest Rig of the Dynasty, located southeast of the map.
Destroy the tanks on the path, kill the enemies, and capture the Tempest Rig using one of the Engineers safely tucked away in the Riot Van.


Once you’ve captured the Tig, clear out the area with your party. Now the fun part, deploy a Support Beacon at this very point and build a Barracks.

It’s basically game over at this point, and you can probably see where this is going.
You now have three harvesters working for you, and a Tempest rig with practically unlimited Tempest resource at your disposal. Recruit as many Drone Operators and Grenadiers as possible at the new Barracks and start building a small army of pure, unadulterated firepower.
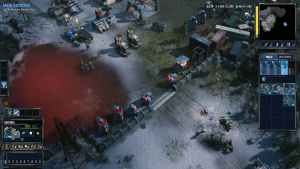
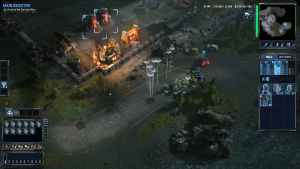
Main Objective – Destroy the Dynasty Silos
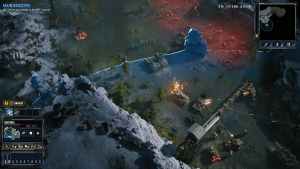
With your small army, continue moving southeast instead of approaching the Dynasty base head-on. Destroy the Silos using your Drone Operators and throw everything you have at the Dynasty, whether it’s Grenadiers, Setinenls, or just regular Field Scouts. You don’t need to worry about cash, and you can put your Barracks on overtime and set the spawning location to the base.

Wreck havoc, and enjoy your rewards! If you finish all the secondary objectives as well, you will receive a total of 1800 requisition points and the Hornet’s Nest+ achievement.