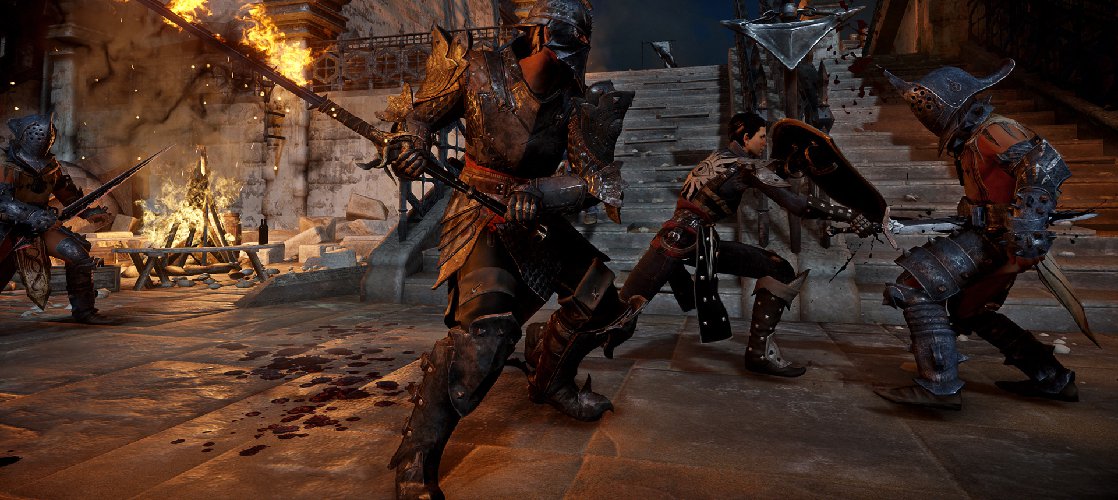
Find Cassandra in the chantry
After the battle, speak to the boy in the room. Pick up the loot at your feet, read the journal on the desk in the corner. Head through the door, then immediately to the left to find loot and two Elfroot plants behind the building here. Collect the items, then continue down the path and up the stairs to the left. Read the sign on the left at the top of the stairs. There’s loot all around this area.
From the top of the stairs, if you head around to the right to find loot near the corner. Just ahead is another sign to the left. Circle around to the left, then access the chest to the left of the last hut on the left before you reach the main building. Head straight toward the top of the stairs again to find more loot directly ahead. From the top of the stairs (facing the small town), head to the corner on the left to find loot, then inside the nearby hut to find another note to the left.
With all of the loot collected, head to the main building in the far left corner (from the entrance). As soon as you’re inside, look to the left corner to find more loot, then go the far left corner to find another note. Run directly across the hall to find another note before you reach the middle of the hall, and loot on the far side, to the left.
Before moving to the far end of the hall, head through the door on the left side of the hall. Proceed down the stairs, then to the right. In the room ahead you’ll find a note and loot to the left, and a second note to the right. If you continue down the hall, there’s a locked cell to the left that only a Rogue can open. If you’re not a Rogue, Remember this area for later when you have a Rogue in your party. There are more cells at the end of the hall that require a Rogue, but there’s also loot in the far right corner.
Collect the loot then head back up to the main hall. Near the end of the hall there’s a door to the right and left. Head into the door on the right to find a book on the bed to the left. In the room on the right there’s a book in the far right corner and an area where you can turn in research. With both rooms examined, head through the final door at the end of the hall to initiate another cut-scene.
Report to Haven’s chantry
Look around the town to speak with Varric, Solas, Threnn. To the left of Solas you’ll find more loot. There’s nothing in the building directly behind Solas, but the apothecary building is to the left of him. Inside the apothecary building is a note and a chest. Collect the loot and speak to Adan about potions. Enter the other building in the immediate area surrounding Solas to find a book on the bed inside.
Head down the main stairs to where Seggrit’s shop is, then head to the far left to find more loot and a book by the fire, with two more pieces of loot, a note and a chest in the area to the right. With all of the ancillary activities out of the way, head to the waypoint on the map and open the door to enter the building for another cut-scene.
At this point you’re introduced to the War Table. Follow the on-screen directions to perform a scouting operation on the red mark in the Ferelden area. Head out to the Hinterlands to initiate another cut-scene.
Clear threats at the crossroads
There’s Elfroot scattered throughout the area, so make sure you’re constantly scanning for it. Speak to the requisitioning officer down the hill and to the right of the camp site. Once she reports, drop down the hill straight ahead from the camp site. When you drop down a second time look to the left to find a chest.
When you reach the bottom of the hill, head to the right to find iron near the rocks to the right. If you head left from this position, you’ll find another chest up the hill and more loot and iron just beyond it. Continue forward to find one more piece of iron, then circle back around to where you found the first piece of iron. Make your way down the path to find more iron ahead and to the left. Templars attack as you proceed forward. Defeat the enemies then watch another cut-scene.
Speak with Corporal Vale about the state of the Hinterlands
After the cut-scene you can explore the area to find loot and side quests (marked with exclamation points). If you wish to skip the side quests and loot, just head to the next waypoint marker on the map. Otherwise, pick up the loot on the ground directly ahead, then look to the left to find two more loot items on the ground leading to the fast travel point. Down the path to the right of the fast travel point is another piece of loot. Continue to follow the path around to the right to find several more loot points. There’s an Elfroot plant near the stairs. Pick up the crafting item then go back to the path and continue to follow it to the northwest.
When you reach the cave open the chest to the right shortly after you enter. There’s a second chest farther down on the right. As you exit the cave, Templars attack in the small village ahead. Work your way through the village fighting off Templars and pickup up loot. Northwest of the village is a rift that needs to be sealed. As you explore the countryside you’ll find more rifts, Templars and sidequests.
Once you’re ready to proceed with the main story, head to the waypoint marked on the map to find Corporal Vale. Speak to him to move on to the next quest in the main storyline.
Travel to Val Royeaux
At this point you need to pull up your quest map and mark the potential camp sites. You need a power level of four before you can proceed with the story. Securing two camps is one way to do this. Once the camp sites are marked, they will show up as your primary objective.
Head toward the closest camp site and take down any Templars that stand in your way. If you come across rifts tread carefully. At your current level most of the rifts in this area will be difficult for you to close and you will likely end up killing your entire party. Stick to the securing the camp sites and you will reach power level four very quickly.
Once you have the proper power level, open the quest map, then access the world map. Fast travel back to Haven, then head to the war room (the last door inside the main building from before). Select the Orlais area to see that you should have a single option, the Val Royeaux area. Select the Val Royeaux location on the map. After a brief cut-scene, confirm the operation to watch another short cut-scene.
Read the two signs on the left and one sign on the right to gain XP, then head down the path to find two more signs on the right and one on the left. Continue into the square ahead to find signs all over the circular structure in the middle. As you approach the far side of the square, another cut-scene begins.
Return to Haven’s chantry
To continue the story head back to Haven and make your way to the war room again. If you wish to partake in some of the side quests here, head toward the circular structure in the middle of the square and an arrow will fly into the middle of the road surrounding it. Read the message attached to the arrow, then move to the exclamation point on the map to accept an invitation.
Read all of the signs around the circular object in the middle to obtain as much XP as possible, then leave the square to initiate another cut-scene. After the cut-scene, return to Haven and head back to the main building for another cut-scene.
Return to the Dragon Age: Inquisition Walkthrough, or continue to The Captain of the Chargers.
 Get amazingly detailed maps with all collectables labled plus how to influence character relationships in this 350+ page, 100% complete, official strategy guide.
Plus, the Collector’s Edition guide includes the following 3 digital in-game items – Mount, Ring, and Multiplayer Chest! Get your copy today!


Published: Nov 26, 2014 04:16 pm