One of the most impressive aspects of Skyrim is its three-dimensional world map. Access it in the game, and you’re transported to the heavens, peering down at the landscape you’re still standing on. From here, you can view locations you’ve found or cleared, as well as hold capitals. But early on in the creation of the guide, I realized we’d have to create an entire world map completely from scratch. This was the point when terror set in.
Fortunately, our map makers (the good folks at 99 Lives studio, with over 20 years of map-making experience) decided they didn’t need much of a summer, and stitched together every single section of the game world from about 20 feet off the ground; resulting in a messy, but workable tapestry of landscapes. While I spent my evenings checking, plotting, and referencing all the topography and locations, our cartographers painstakingly transformed the map into a gigantic, useable, and highly accurate representation of the Province of Skyrim itself. This is a map you’ll find exclusively in the guide, online map tool, and iPad app. But just how much detail is there?
Glad you asked.
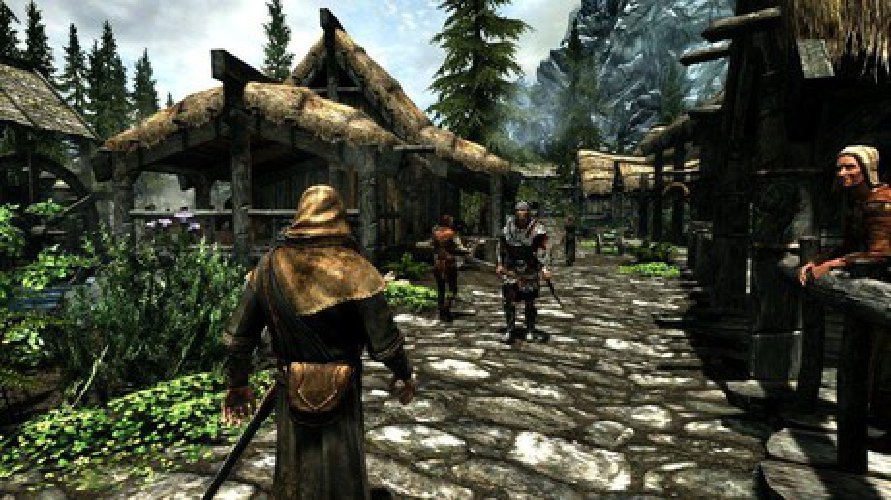
Fig 1.A: Here’s a picture of the main thoroughfare in Riverwood. Note the lumber mill on the left, behind the blacksmith’s.
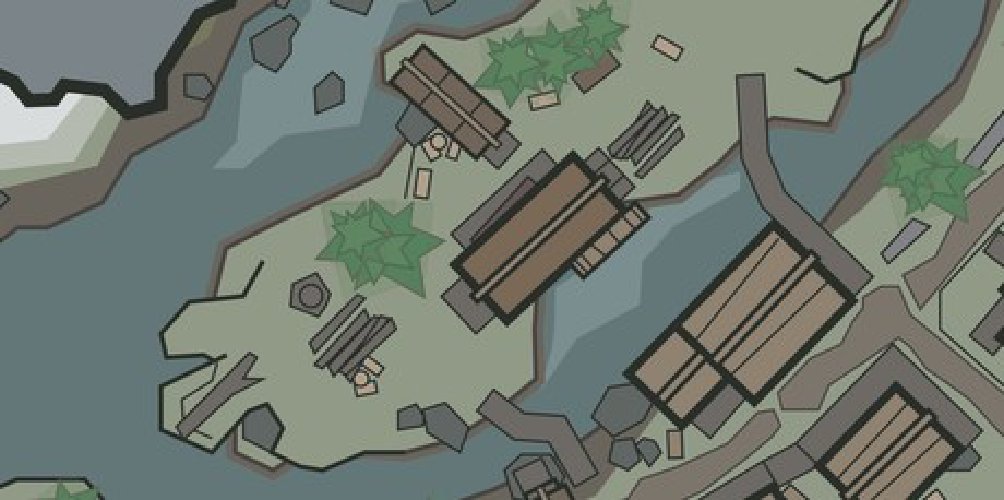
Fig. 1.B: Here’s the guide’s map version of this immediate area. Although zoomed in a little closer than usual, this shows every bit of scenery, down to a wood-chopping block (and a second block you can’t see in the screenshot; close to the jetty that’s also obscured in the first picture by the mill itself). Also note the accurate placement of the large pine tree, and three smaller trees. Color is important, too; the gray-brown of the log pile is the same as the wooden walkways, and even the tree stump just behind the pile of logs.
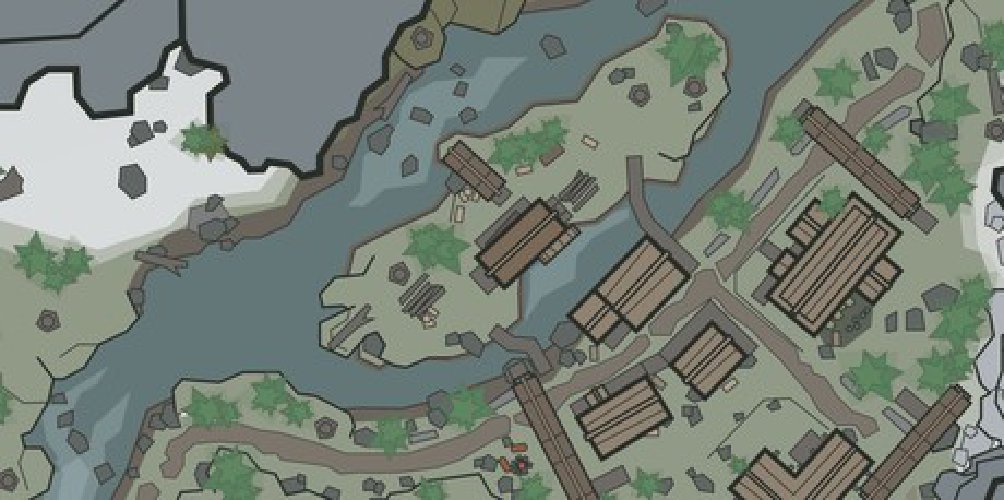
Fig. 2: Let’s zoom out a little. Notice the different coloration of river water? The lighter the gray-blue, the faster the water is traveling. We can now see the settlement of Riverwood more clearly. For example, we now know the lumber mill is on an island. There are tree stumps dotted around. The Sleeping Giant Inn (the largest building, to the east) has a few crops growing close to the south-eastern side. The three guard patrol battlements are also visible, as is a small campsite, just outside the southern entrance. Welcome to Riverwood!
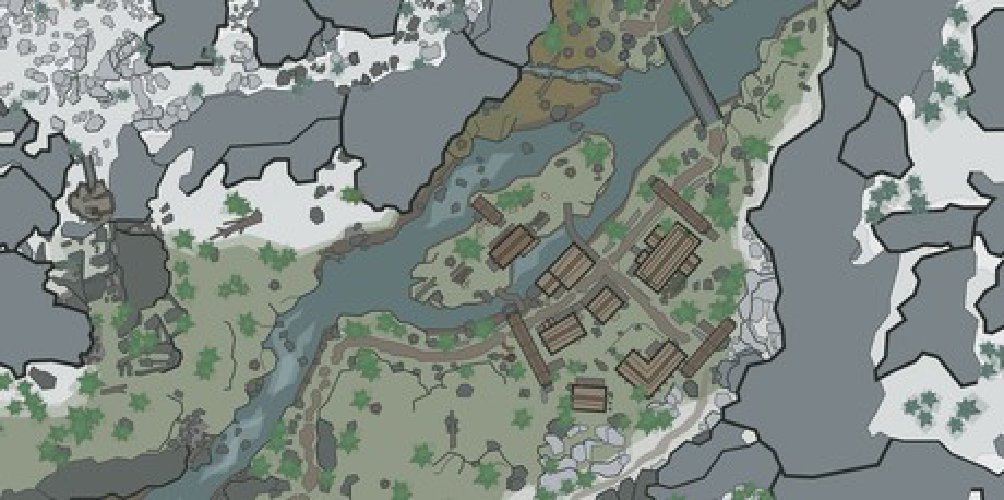
Fig. 3: Zooming out a little further, you get a great view of Riverwood and its immediate surroundings. Now you can view the main road leading into town, and out to the northern stone bridge. The north-eastern bank of the river has a number of tree stumps and scattered logs. To the east are some steep rocks; this settlement is at the foot of the largest mountain in Skyrim; the Throat of the World. To the west is a small folly, a stone tower where bandits lurk.
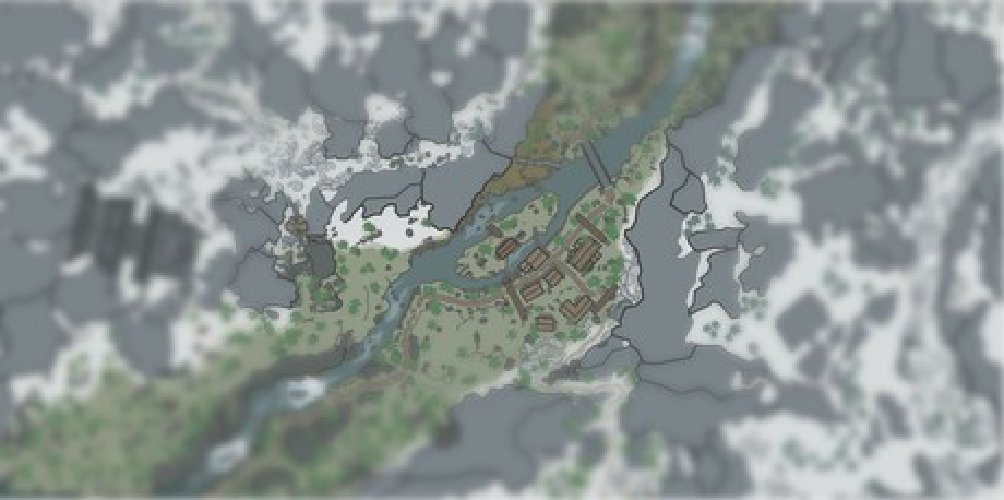
Fig. 4: More surroundings are revealed as we zoom further out. If you follow the course of the river, you can see rapids to the southwest and north. There’s a small winding path to the south of Riverwood. Most of the Throat of the World is difficult terrain, but there’s a curved path to the east that’s visible. Dominating the western edge of the map is the ancient Nordic crypt; Bleak Falls Barrow. Notice the trail leading northwards from that general area. The sense of scale now begins to become apparent.
At this point, we’ve blurred the map so as not to reveal too much of the Province.
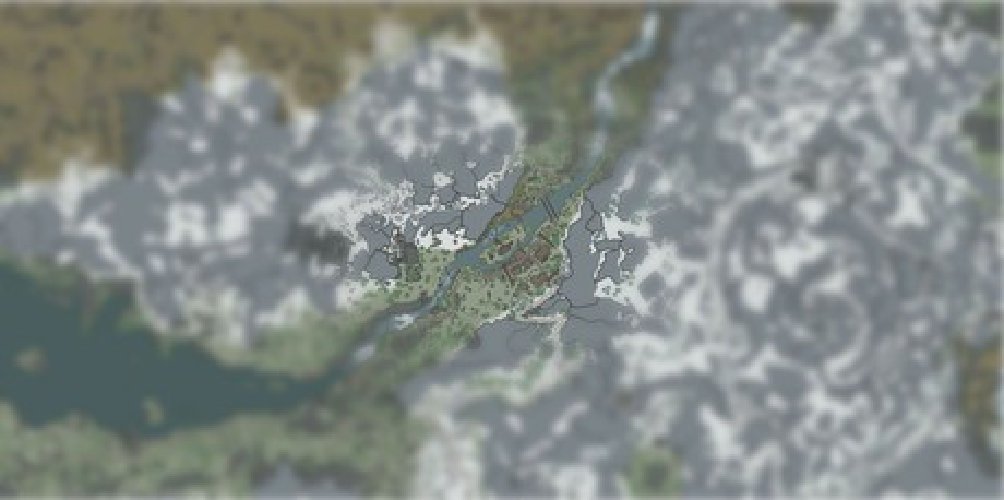
Fig. 5.A: Expanding the map again, much more of the Holds of Falkreath and Whiterun become visible. Almost all of the Throat of the World is now visible. To the north are the small farms and meadery on the outskirts of Whiterun, the hold capital. West is Lake Ilinalta. Notice the roads, and how every individual tree is still visible. We’re looking at around five percent of Skyrim’s landscape at this point.
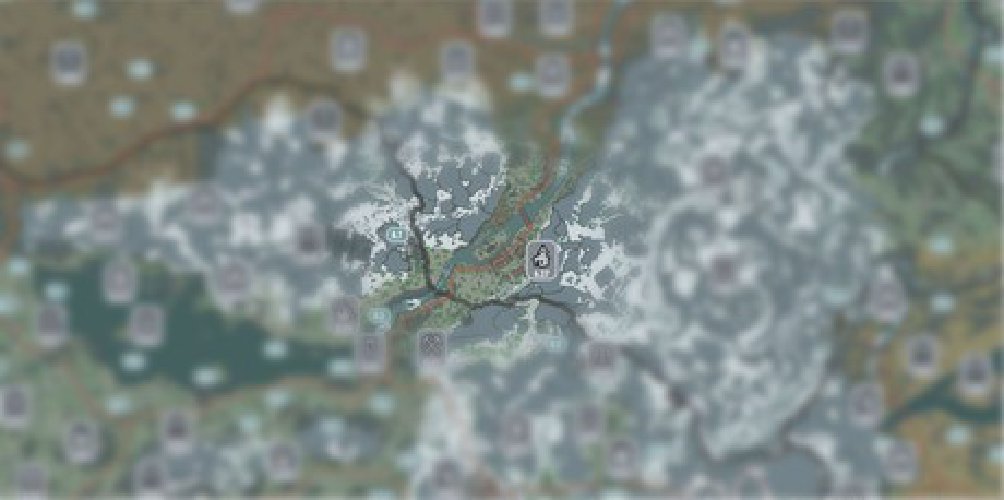
Fig. 5.B: Here’s the map zoomed to the same level with Primary Locations (numbers) and Secondary Locations (letters) marked. Riverwood is location 6.27. Overlaid on the map are hold boundaries (in black), and main roads (in brown). Remember that with the interactive versions of the guide map, you’re free to zoom in and out at any point, as well as switching on and off locations, roads, and viewing other topographical information.
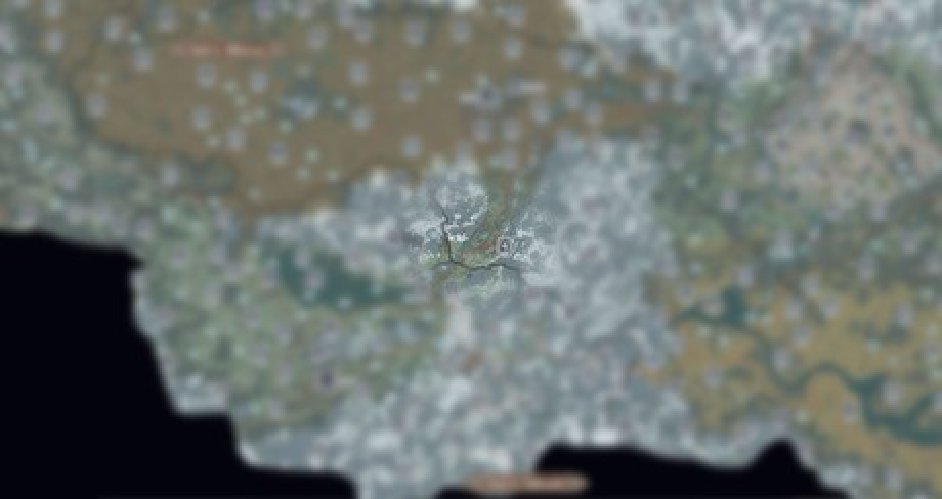
Fig. 6: Finally, here’s a section of the world map that appears as a poster in the guide (as well as part of the fully-functional interactive element). It shows the entire Hold of Falkreath, as well as the surrounding landscape.
We’ve striven to create a map of unmatched clarity and depth. We hope you enjoy exploring it!
Special Thanks to Steve Cornett: I’d be remiss if I didn’t mention the tireless and dedicated help everyone at Bethesda committed to throughout this project. This guide would be floundering in a sea of confusion without their help. In particular, Level Designer Steve Cornett, who almost single-handedly wrangled the entire list of quests, worked ceaselessly on dramatically improving the Training, Inventory, and Bestiary sections, and was available and offered amazing amounts of insight and help throughout this entire process. You have my eternal gratitude.
Purchase the Elder Scrolls V: Skyrim Prima Official Guide and Collector’s Edition Guide where all strategy guides are sold. Buy the digital eGuide and interactive Jumbo Map Pack here. This guide is also available as an iBook for the iPhone and iPad. An iPad map app will be available shortly after launch.




Published: Nov 10, 2011 5:00 AM UTC