
Zelda Echoes of Wisdom – Eldin Temple Walkthrough
The floor is lava.

The adventure in The Legend of Zelda: Echoes of Wisdom does not end after bringing peace to Hyrule Castle, so players have a choice among three more rifts to tackle. Here is the complete Eldin Temple walkthrough for Zelda: Echoes of Wisdom.
Zelda Echoes of Wisdom Eldin Temple Walkthrough
The trip through the Still World before the actual temple is fairly straightforward, except the constant obstacle of traversing over lava pits. Two Echoes that are necessary for the temple are the Tweelus and Lava Rock Echoes, as they can withstand the heat of the lava and remain platforms to jump on.
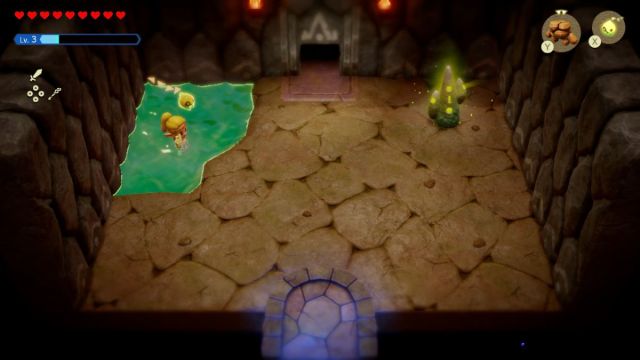
Hit the checkpoint upon entering the temple, and be sure to use the hot spring in the corner to heal. Go through the northern door and use either Bombfish or Zirro Echoes to uncover a bindable chest containing eight Twisted Pumpkins.
Take the eastern door for a narrow lava pool and two geysers. Bind the lava rock to the first geyser, then use a Flying Tile Echo to get across, and then bind the lava rock to the second geyser. Jump on the rock to get to the next door.
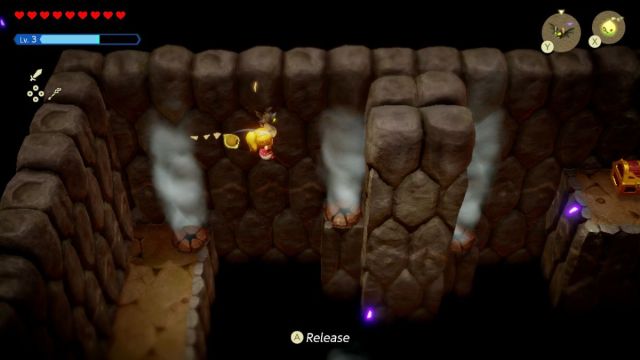
The room is mostly a bottomless pit with a few air vents around. Hold onto a Keese or Cloud Echo while in the air vents to glide around safely. The chest in the northeast corner will contain a Small Key, so grab it and then go back to the first room of the temple, which contains a locked door.
The unlocked room contains a lava pool that rises and recedes for a short period of time. You will have to be quick to grab the treasure chest containing a Golden Egg at the south end of the room but summon a Tweelus or Lava Rock Echo to save you from the rising lava. There is a lava rock on the lefthand side of the room that is covering a button, so bind the rock out of the way and hit the button for the north door to unlock.
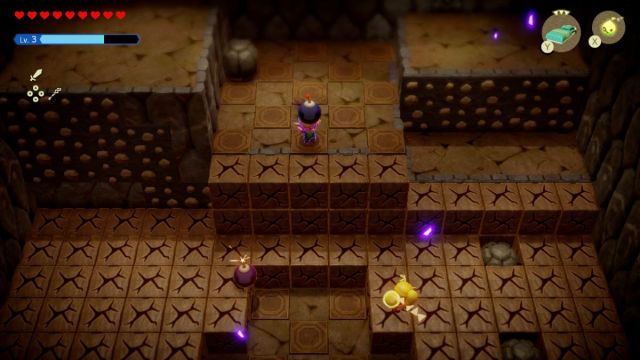
The 2D room can be traversed with a Flying Tile Echo, then a Tweelus and Strandtula Echoes to pass over the larger lava geyser. The next room has fiery vents that will hurt you, so hold or place Tweelus Echoes to block the damaging gusts. Grab the chest containing the Dungeon Map before going south.
The room has a switch to the left, so jump and send a Flying Tile Echo to trigger it before the lava rises. Use Tweelus and the climbable walls to get to the eastern unlocked entrance and grab the treasure chest containing a Small Key. Go back to the Dungeon Map room and go north.
How to Defeat Evil Bomb Link
The next room will have you fight evil Link, who will be throwing bombs at you. Dodge the bombs, jump up the platforms, and use Swordfight Form to attack fake Link. You will have to chase him around the room several times, but keep on him before sending more bombs. Defeating him will drop the Bombs of Might, so you can use bombs while in Swordfighter Form.
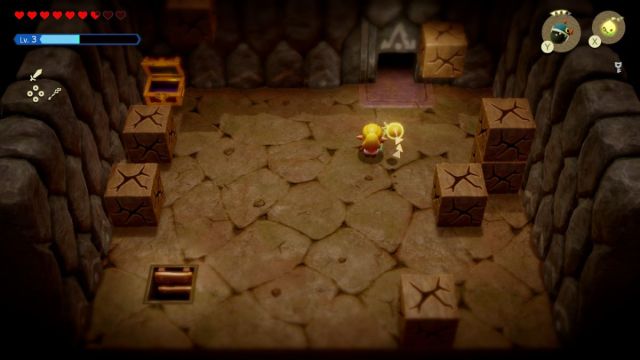
The next room will have three doors to travel through alongside purple goo webs and cracked blocks in the way. Use Swordfighter Form’s bow and bombs on the obstacles and grab the treasure chest containing a Small Key hiding in cracked blocks in the middle of the room. Go through the northeast door first.
Bomb the northwest corner of the room for a treasure chest containing 100 Rupees, then bomb the northeast for a passage to fight the Fire Wizzrobe. Defeat it to earn its Echo and a treasure chest containing a Small Key. Go back to the multi-door room and take the southwest door.
Take the ladder, climb down south to learn the Ghirro Echo, and open the treasure chest containing the Big Key at the bottom. You will then have to climb up quickly before the lava gets you and use the Flying Tile Echo across the gap when the ladder breaks. Take the final locked door in the northwest section of the room.
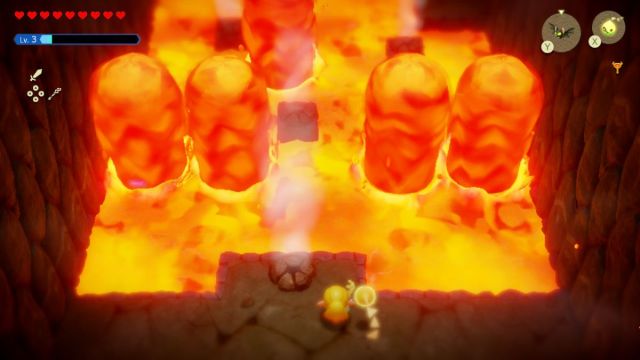
This is the final room of the Eldin Temple, and you will have to traverse a long lava pool to avoid geysers. Use the Keese or Cloud Echoes on the air vents to squeeze by the geysers. Be sure to break the lone pot for a Fairy before using a Lava Rock Echo to elevate yourself to the next part, where you will have to do the same.
Hit the checkpoint next to the boss door and prepare for Volvagia, where defeating the snake-like dragon will reward you with a full Heart Container and Din’s Sanction. The latter is a key item, alongside the other two, which were earned by completing the Faron and Lanayru temples.