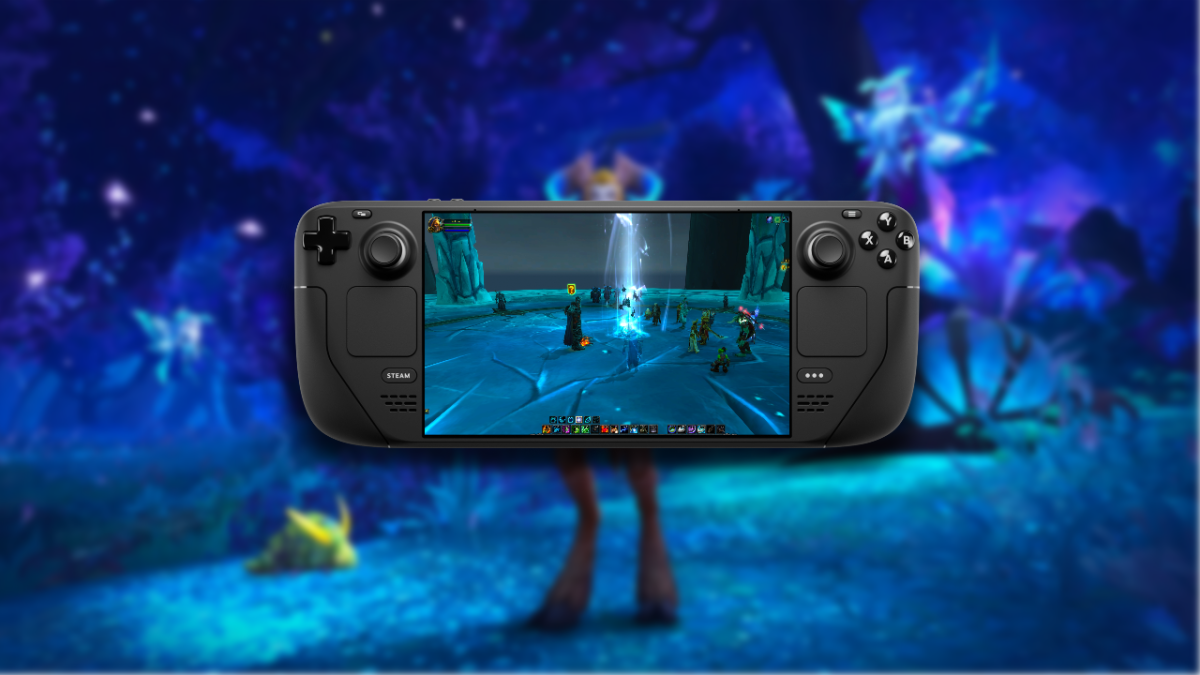
World of Warcraft: How to Play on Steam Deck
Trying to download World of Warcraft onto your Steam Deck?

The Steam Deck is perfect for gamers who want to explore their favorite worlds on the go, especially games like World of Warcraft. But downloading WoW may be a bit more confusing than some would think. Here is a guide on how to play World of Warcraft on the Steam Deck.
How to Download World of Warcraft to Your Steam Deck
Having a massive game to explore like World of Warcraft at your fingertips is an absolute game changer. Luckily, the Steam Deck does allow you to play the giant MMO. The only issue is, you have to download a separate installer.
How to Download World of Warcraft on the Steam Deck:
- Open your Steam Deck in Desktop Mode.
- Open the Browser.
- Go to Blizzard’s Download Page.
- Download the Windows Installer.
- Open up Steam on Desktop Mode.
- Go to Library.
- Click Add Non-Steam Game.
- Add Battle.net Installer to Steam.
- Locate the Installer in the Steam Library and Click Compatibility.
- Toggle the Force the Use of a Specific Steam Play Compatibility Tool.
- Launch the Battle.net Installer.
- Go back to Library.
- Click Add Non-Steam Game again.
- Search for latest added folder under Date Modified.
- Open It and Go to pfx/drive_c/Program Files (x86)/Battle.net.
- Select Battle.net Launcher.exe and Add to Steam.
- Click on the Cog Wheel Icon and Select Properties.
- Toggle the Force the Use of a Specific Steam Play Compatibility Tool.
And there you have it. After 18 long steps, you can officially launch World of Warcraft on your Steam Deck using the Battle.net Launcher. Make sure you open the launcher though to actually play the game. It will not be a separate title in your Steam library.
Stay tuned to Prima Games for more Steam Deck and World of Warcraft tips.
