
Star Wars Outlaws Photo Mode Screenshots Location
Take a shot!

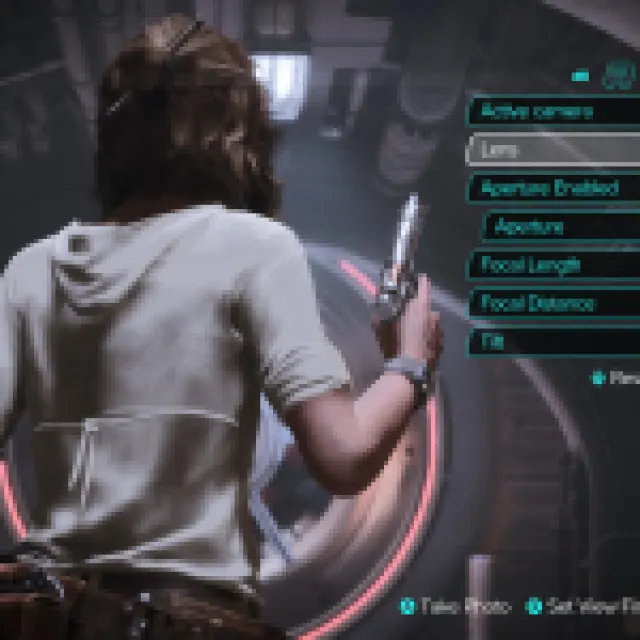
Star Wars Outlaws comes with a robust photo mode that allows players to capture their favorite moments in and out of combat. The PC version gives you the freedom to use a screenshot tool or allow the in-game photo mode to capture a high-quality photo as well. If you can’t figure out where all your saved shots are, though, here is the Star Wars Outlaws photo mode screenshot location.
Photo Mode Screenshots Location for Star Wars Outlaws
You can access the photos you’ve taken in Star Wars Outlaws at the following location in the main installation folder.
C:\Users\[YOUR USERNAME]\Documents\My Games\Outlaws\Photos
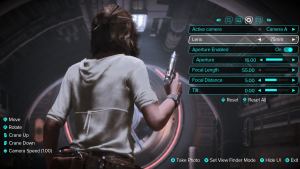
Keep in mind that the Photos folder contains screenshots that you take with the “Take Photo” option while the photo mode is active.
If you took the screenshots using Ubisoft Connect’s shortcut by turning off the photo mode interface, you can find your screenshots in the following location instead.
C:\Users\[YOUR USERNAME]\Pictures\UbisoftConnect\Star Wars Outlaws
We recommend that you use the prompt in the photo mode interface to take these screenshots because those are fairly high-quality by default. Most screenshots I took were around 10 to 15 MB in size.
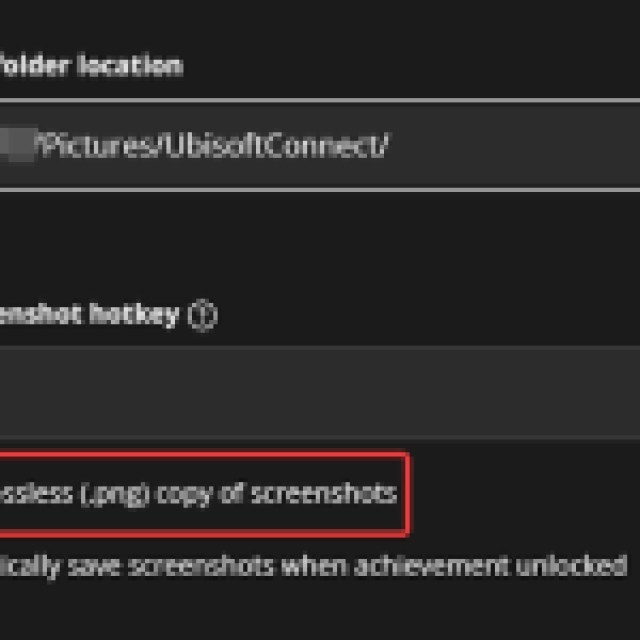
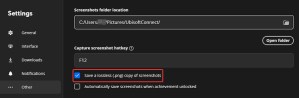
If you still want to use Ubisoft Connect to take screenshots, you should enable the lossless option in the client’s settings. This will save an additional high-quality screenshot without any compression.
- Open Settings in Ubisoft Connect, and select the Other tab at the bottom
- Here, check “Save a lossless (.png) copy of screenshots” under Capture screenshot hotkey
- You can also change the default screenshots folder above as well
Similarly, on consoles, the screenshots will be saved on the storage. If you want to improve the image quality on PC further, make sure to reduce the in-game blur, and disable the yellow paint that’s used for navigation purposes.