
Resident Evil Requiem Complete Walkthrough – Leon RPD (Raccoon City Center)
Time for a little RE2 again.
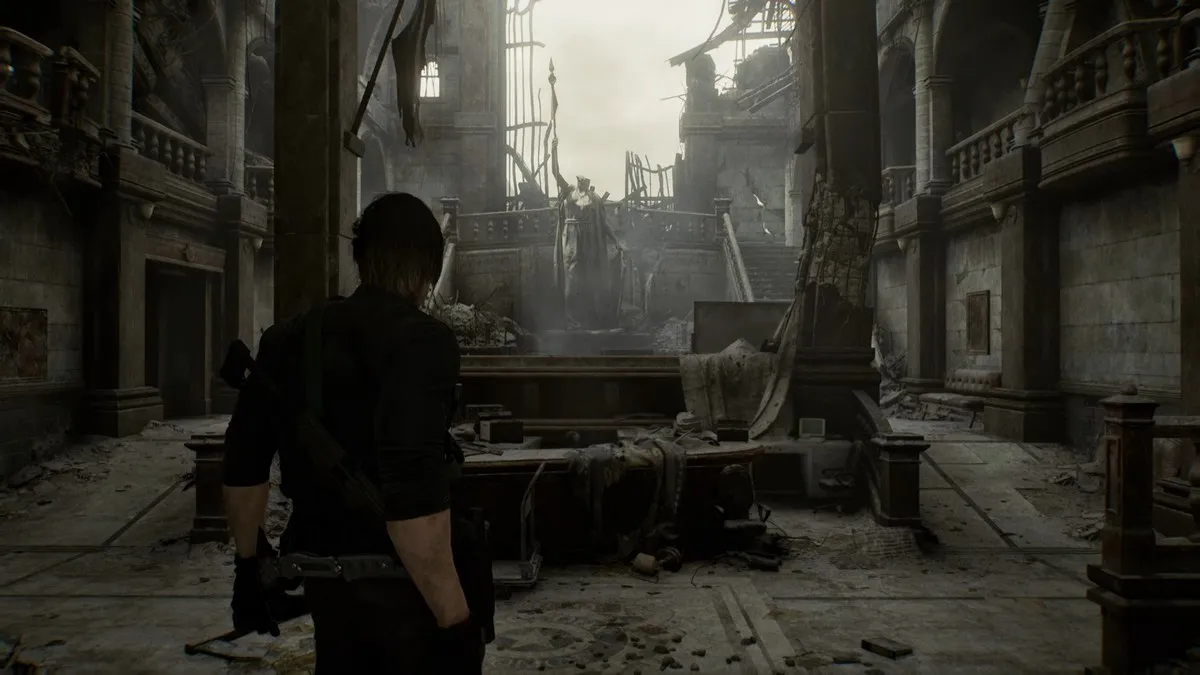
After the scene with Victor in East Raccoon City, the Resident Evil Requiem story brings Leon back to the RPD.
With all the nostalgia flooding in for both RE fans and Leon, the RPD is a bit messy now, and here’s a walkthrough to get you to the next chapter in RE9.
Spoiler Warning
Complete RPD Raccoon City Center Walkthrough – Resident Evil Requiem
Finding Grace
At the start, before heading to the alleyway, turn left onto the road and go straight to the Mr. Raccoon on top of the wreckage. Go back and take the alleyway once you’ve got him.
Follow the path to the RPD gate since there’s nothing here. Keep going straight and enter the RPD. Go to the back near the statue, and it should trigger a cutscene. There’s a save computer and a supply box here. Take the supplies behind and read the note telling you there are leftover supplies in the armory, a working shotgun in the Kendo shop, and a weapon upgrade part and advanced team supplies in the parking garage.
Turn left and take the only open door. Read the file on the desk and keep going straight. Turn left from the West Office and follow the path. Take the handgun ammo on the desk and go to the room with the blackboard. Read the file and go to the destroyed wall on the roof.
Shoot the Mr. Raccoon on the rubble. Turn back and go to the other unexplored hallway. There’s a zombie there, but it feels more like a nostalgia trip here.
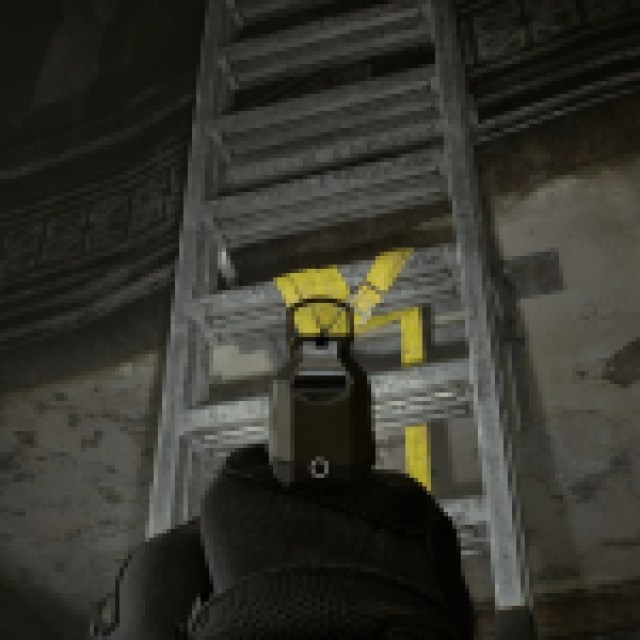
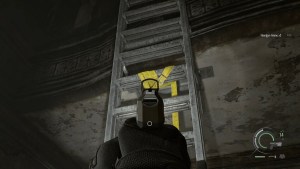
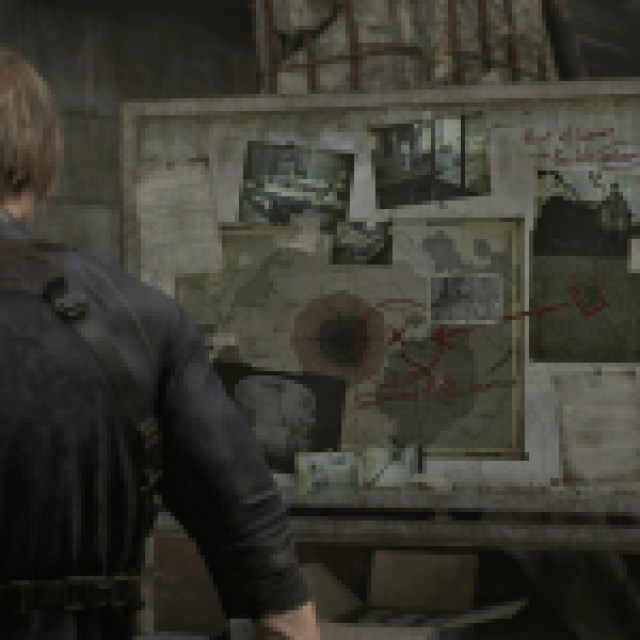
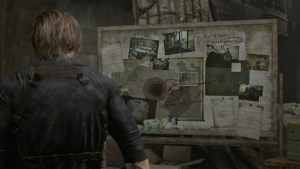
Turn left and go straight to the next room. Shoot the yellow tape to bring the ladder down and head up. Go straight and follow the hallway leading up to the S.T.A.R.S. room. There’s a bunch of clues here, including a safe from the office and a bunch of clues from Barry’s files.
Will be updated in the future for full completion walkthrough
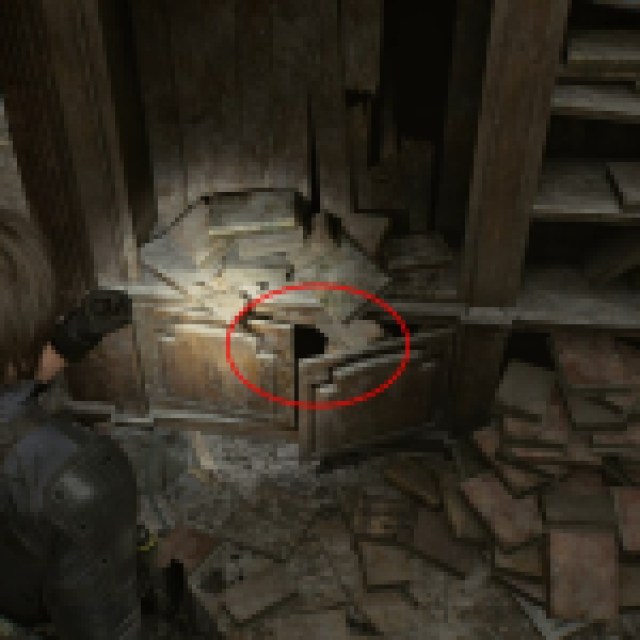
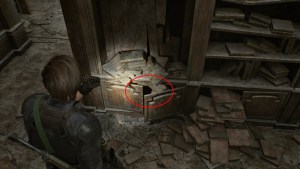
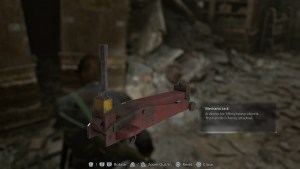
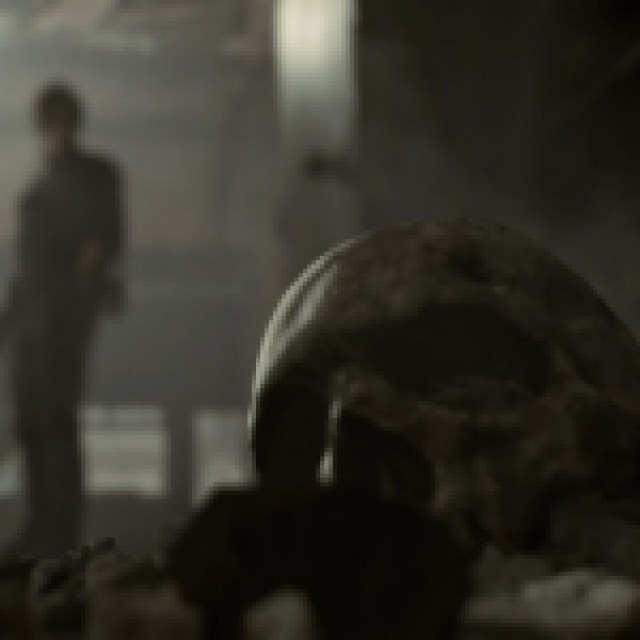
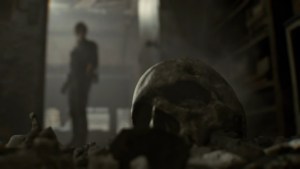
Go back to the hallway and go to the Library area. There’s a Mr. Raccoon in one of the shelves at the center. It is hidden behind one of the bottom shelves by the books. You can hear it, so chop it with your hatchet. Take the Mechanic Jack on the floor.
Run up the Library and take the door leading to the center of the RPD. Use the Mechanic Jack to open both gates on the east and west sides of the RPD. Go to the east side for now and follow the hallway. You’ll hear Zeno and Grace here. Keep going forward until it triggers the cutscene.
Since you have to play the flashback in the cutscene, here’s a walkthrough of the orphanage section.
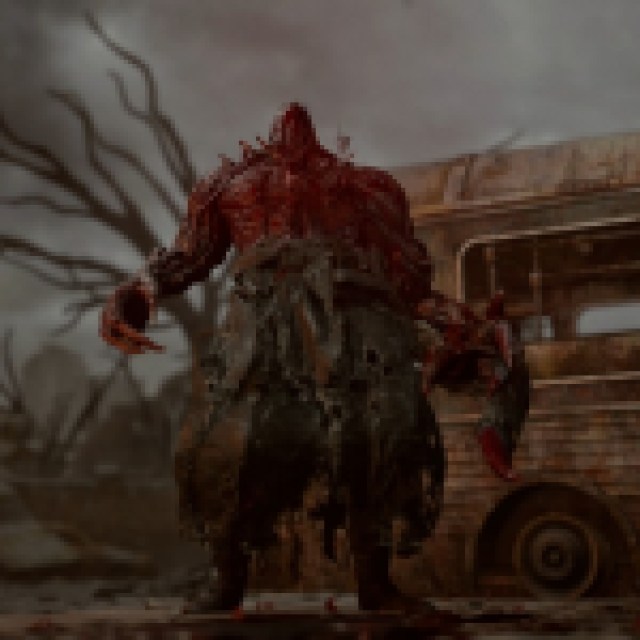
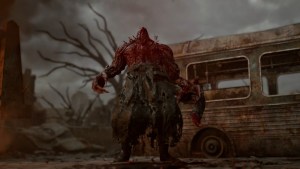
After going through the flashback (orphanage) and returning to the cutscene again, surprise, surprise, Mr. X shows up again.
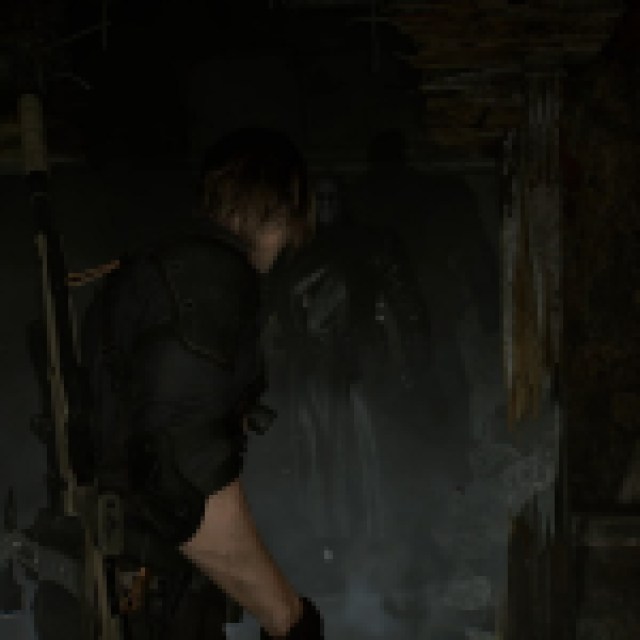
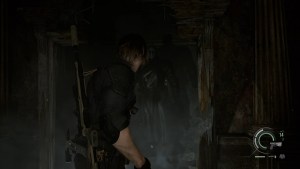
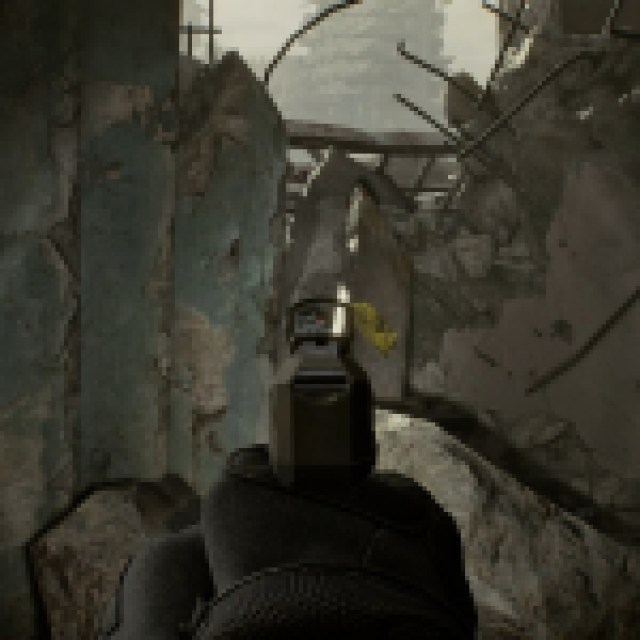
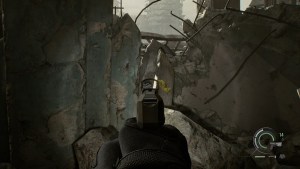
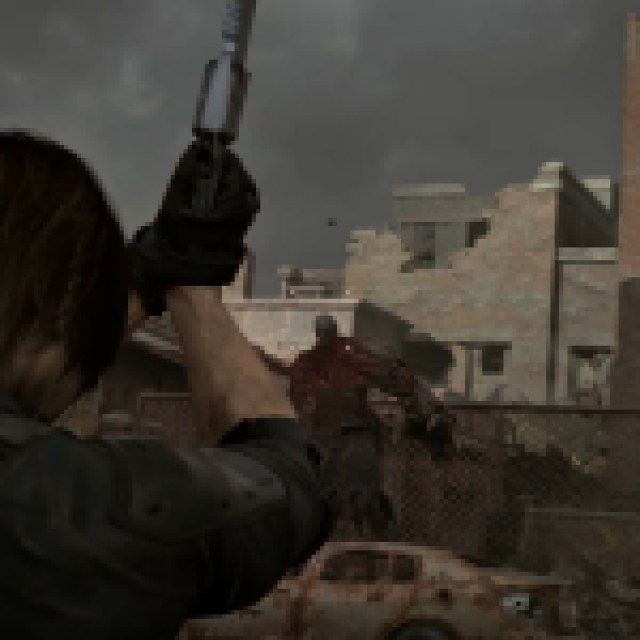
You end the cutscene stalling Mr. X under some rubble. Once you can finally move, run straight and turn left. Mr. X will start breaking walls, including the one on the left. Turn right to the hallway and go through the hole in the wall.
Go straight to the main hallway and take the door on your right. Once you turn right at the corner, Mr. X breaks the wall again on the right. Move back a little and wait for Mr. X to commit to that corner on the left and run to the right where he broke the wall. Go up the stairs and jump across.
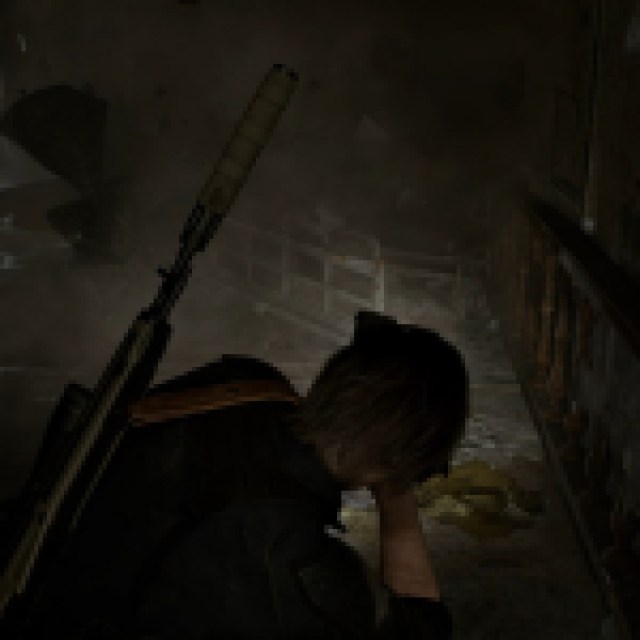
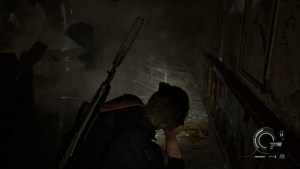
Turn left instead of right and take the hallway. Mr. X will break the wall with a post and start running back to the other side (Chief’s Office). Wait for Mr. X to break through here and run around the hallway, but take the shortcut through the wall Mr. X broke with the post. Exiting here triggers a cutscene.
Exit outside the second floor from the back. Run straight and go to Kendo’s Gun Shop, which should bring back some old memories. Go through the back to trigger a short cutscene.
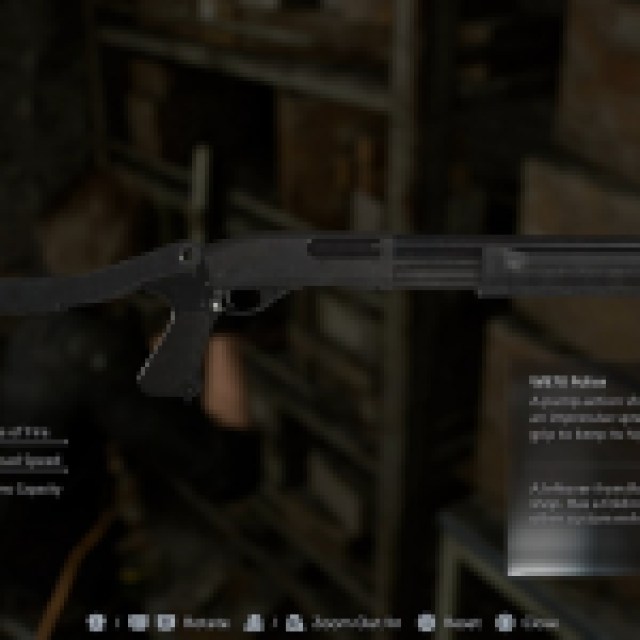
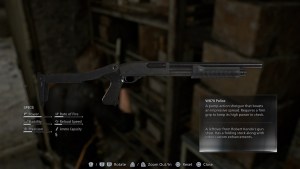
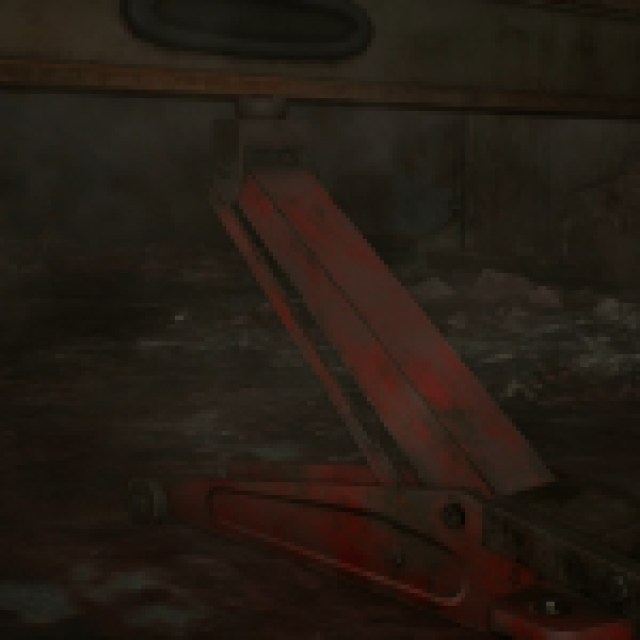
There’s a W870 Police Shotgun by the shelf near the door. Go out and grab the supplies on top of the containers. Access the shop and upgrade the new shotgun if you want, since it is a better one than your old shotgun. But, if you upgraded your old shotgun, it is better to stick to it and focus on other weapon upgrades. You can save here as well.
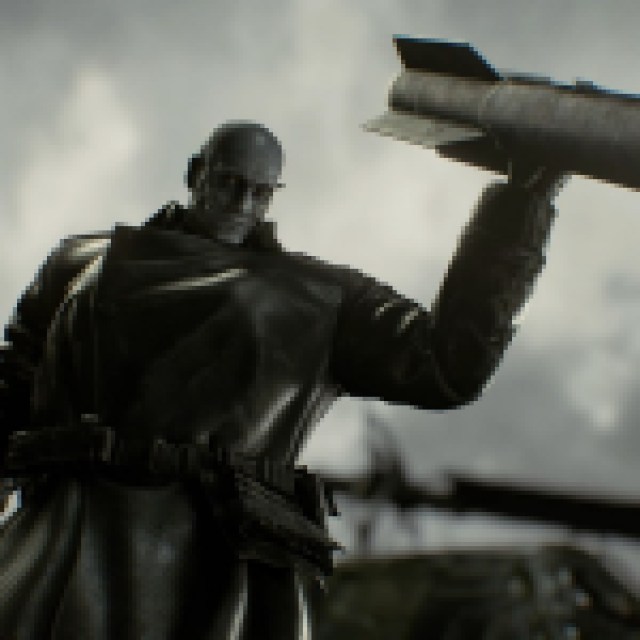
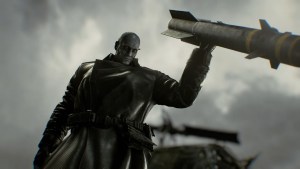
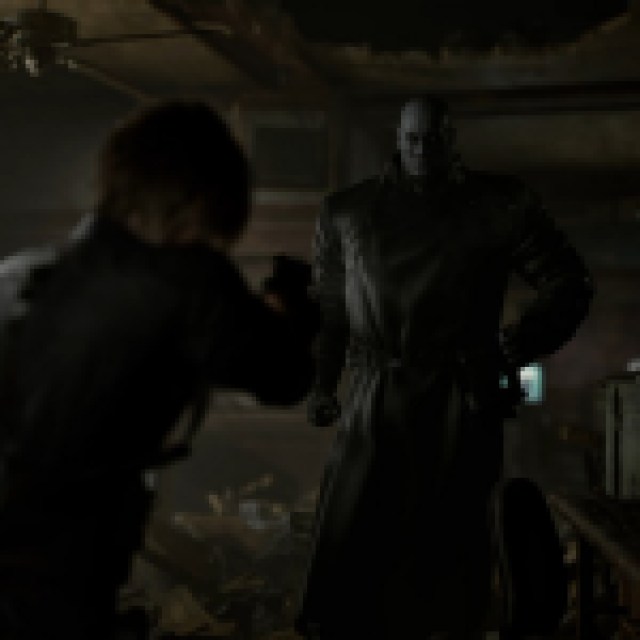
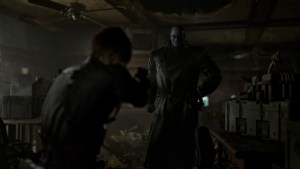
Once you go straight to the open area, next to the basketball court, Mr. X reappears for one final showdown.
Mr. X Boss Fight
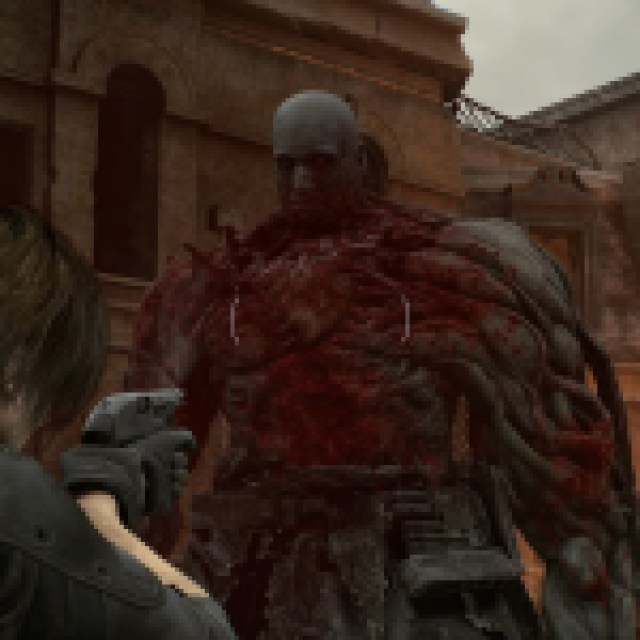
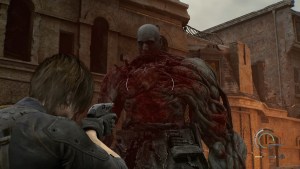
In this fight, Mr. X has his core exposed on his chest, which will be the main weak point. Mr. X has three deadly attacks you need to worry about.
First, he slams the ground and starts rushing to you with a forward swing. When he rushes to you, he doesn’t just run straight, he follows you. Time your parry when he is about to hit you so you can get a few shots in afterward.
Second, he likes to jump onto cars and leap toward you. However, he leaves himself open with his chest out. In other scenarios, he also grabs cars and throws them at you. As long as you are always moving, you should be able to dodge these attacks.
Third, he always does a three-swing combination when you are near. If you get cornered and get hit the first time, it is almost impossible to get away, so just try your best to parry the other hits.
Throughout the fight, use your strongest weapons when his core is exposed. That means using some Requiem shots and maybe some rifle shots. When you trigger perfect parries, switch to the shotgun and spam its chest for a couple of shots.
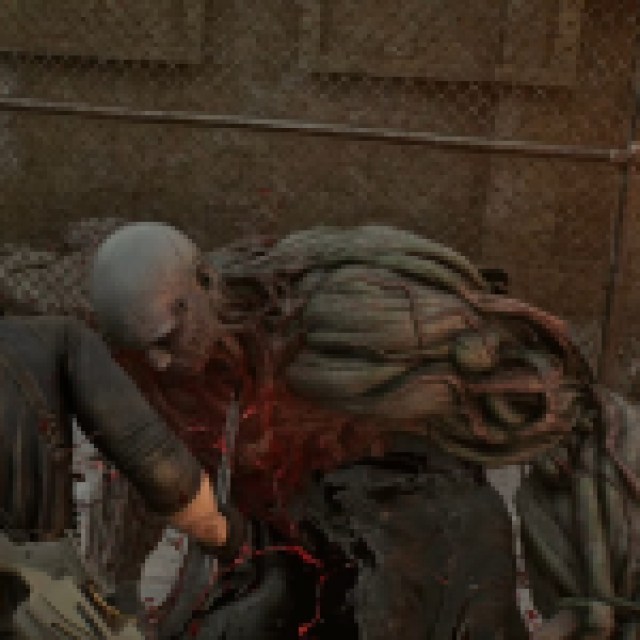
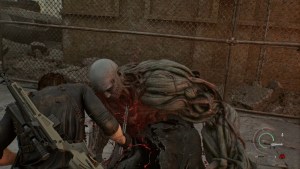
When he goes down to one knee, go to him and perform an execute with your hatchet. He will survive the first execute. Keep doing what you are doing until you can bring him down again the second time. The next execute will be the kill shot. Just remember to sharpen your hatchet because you can’t parry when it is broken.
After defeating Mr. X, run to the basketball court, break the box to grab the ammo, and open the gate. Run past Mr. X’s dead body and continue through the orphanage. This ends this section of the walkthrough.
Now it’s back to the orphanage, but in the present day, this time.