
Resident Evil Requiem Complete Walkthrough – Leon East Raccoon City
Leon's toughest puzzles here.
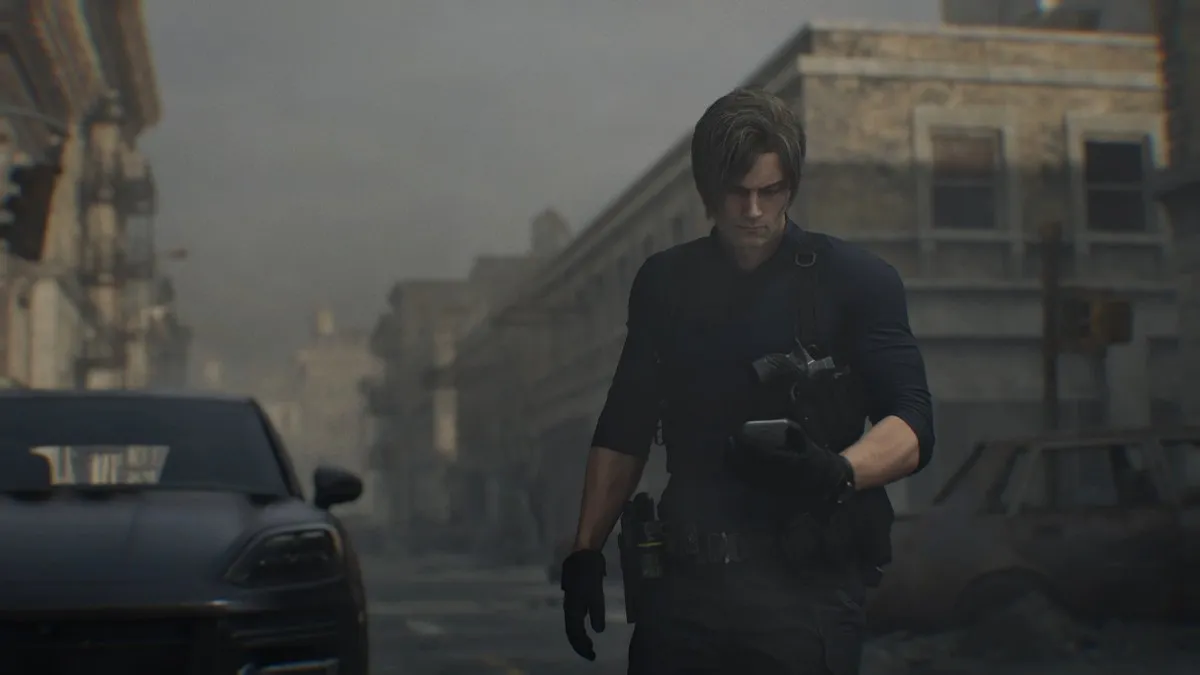
After the big reveal of a new character at the end of the Water Treatment Plant in Resident Evil Requiem, the story moves forward with Leon revisiting a familiar place… Raccoon City.
However, it starts at the east side of Raccoon City, which will shift to the RPD soon, as seen in the trailers. Here’s a complete walkthrough of the East Raccoon City area in RE9.
Spoiler Warning
Complete East Raccoon City Walkthrough – Resident Evil Requiem
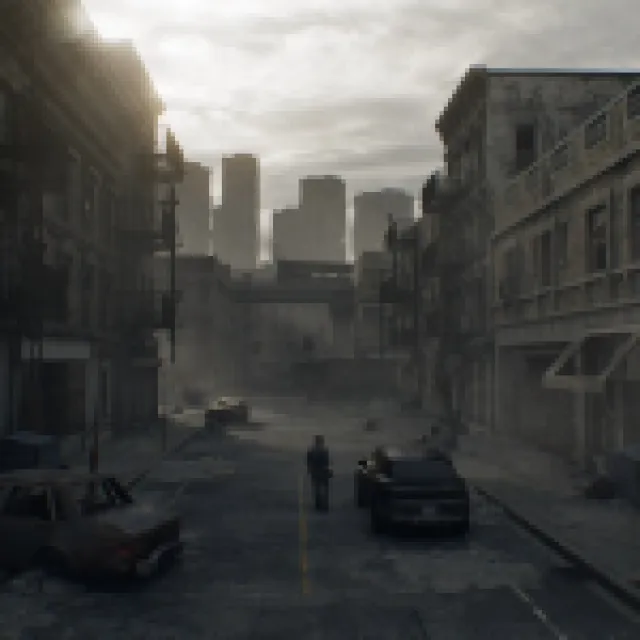

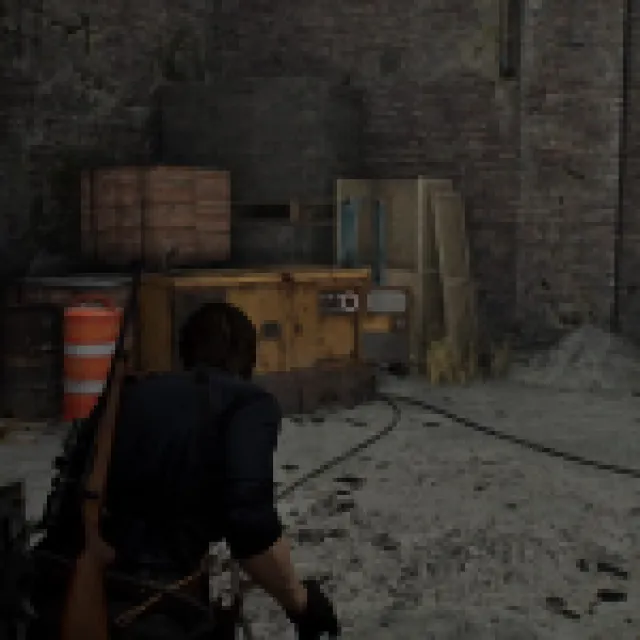
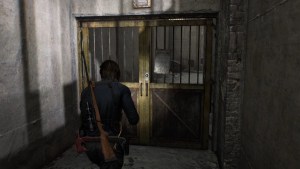
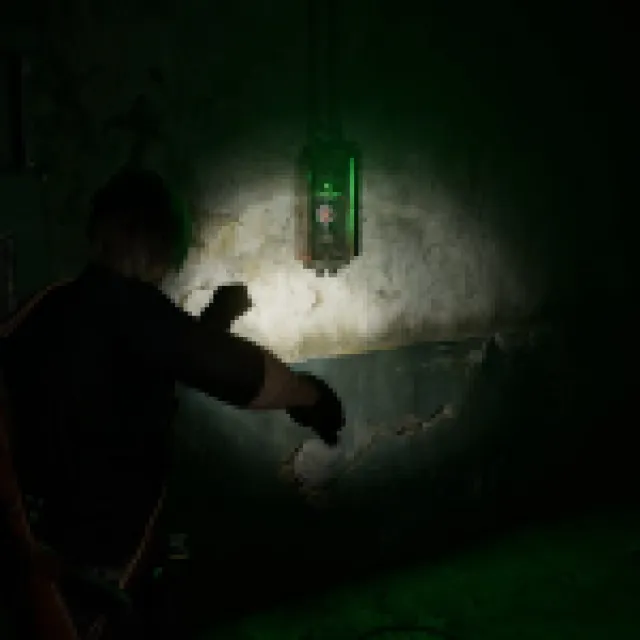
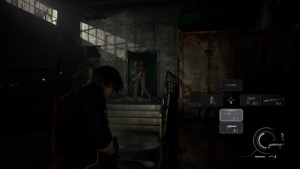
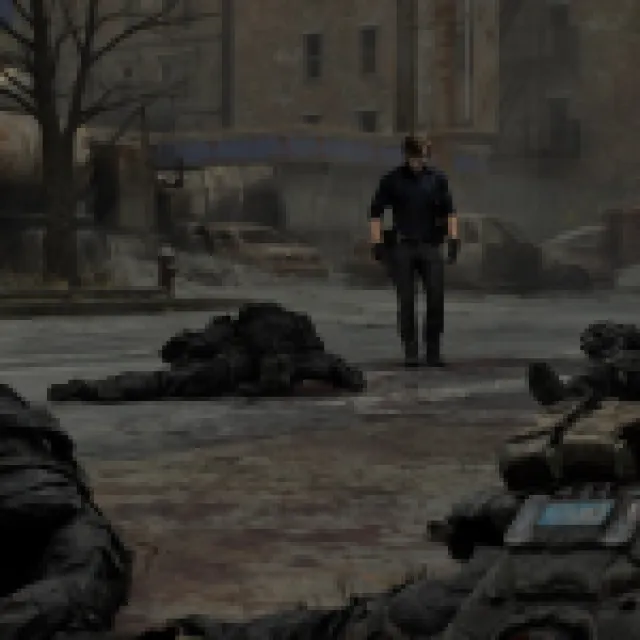
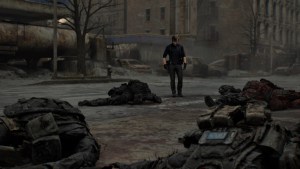
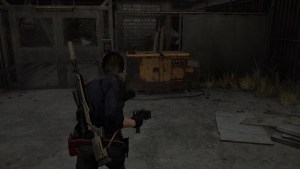
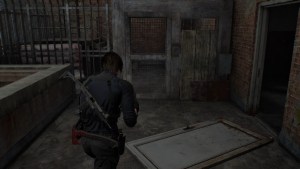
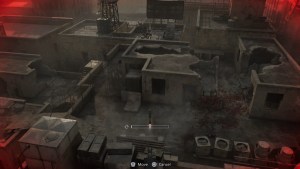
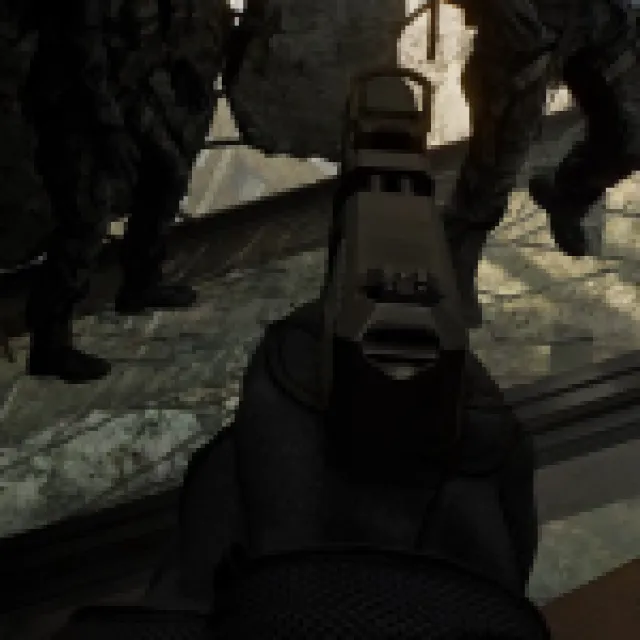
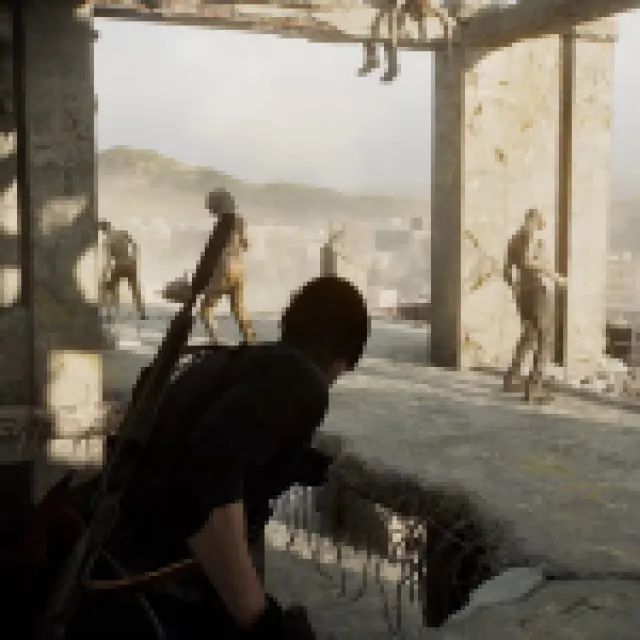
The story starts with Leon exploring the streets of East Raccoon City. The area is spacious, but there’s nothing much to obtain here apart from a destructible box near the parking area.
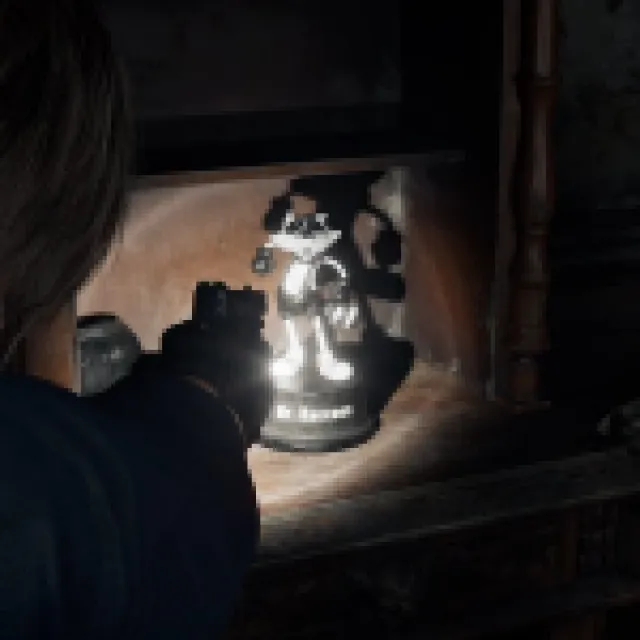
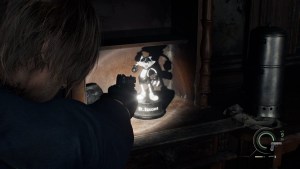
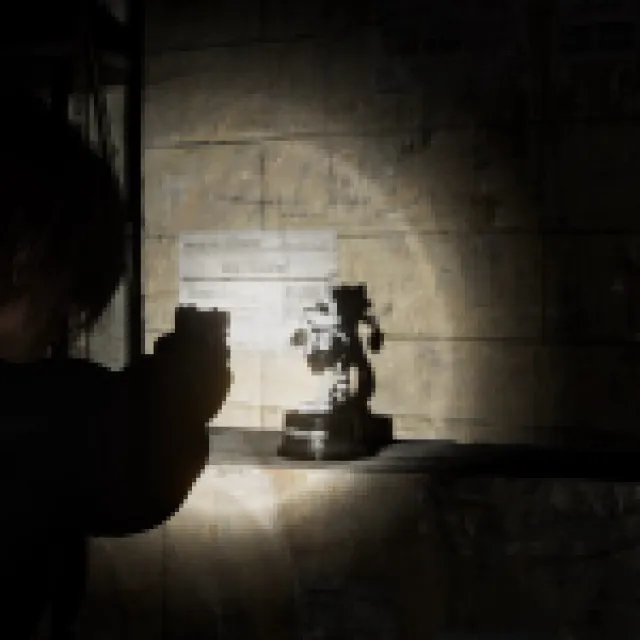
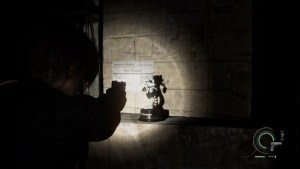
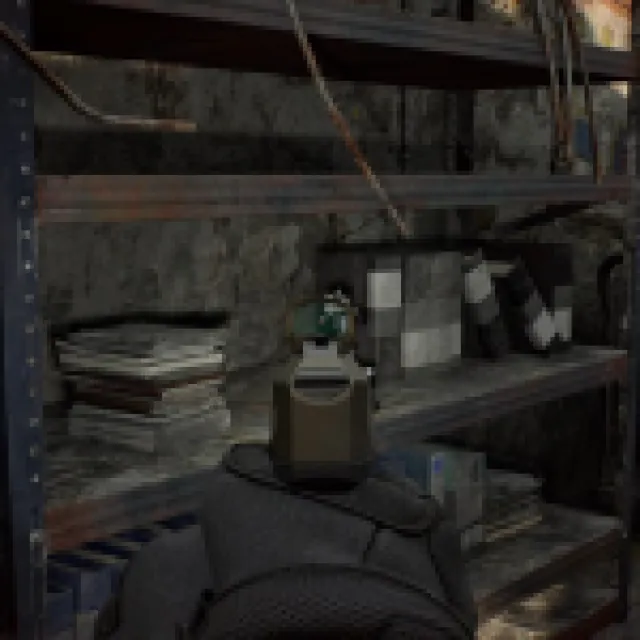
When you reach the dead end with the locked container, go to the abandoned buildings on the side. Go to Cafe Oasis first and get the Mr. Raccoon by the counter. Go to the kitchen, grab the Scrap, and move on to the next building. Grab the Scrap by the globe, the shotgun shells by the desk, and the Med Injector inside the case on the bar counter.

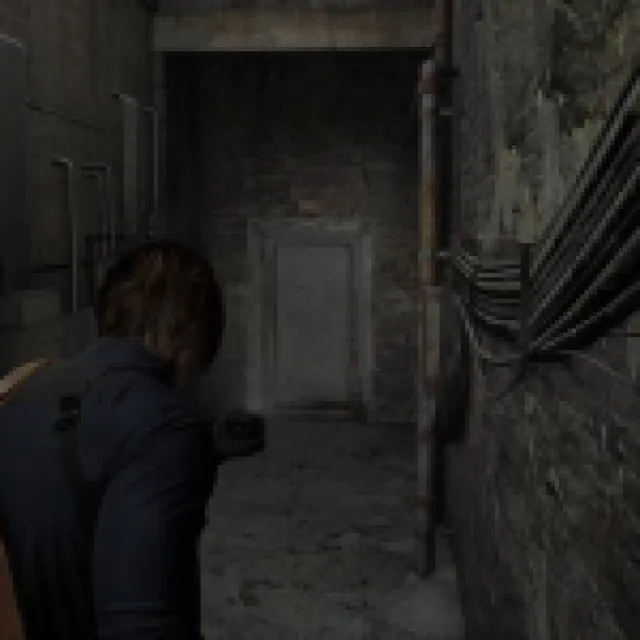
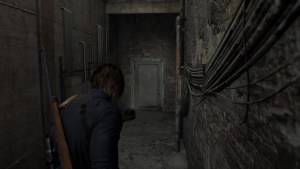
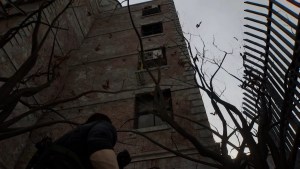
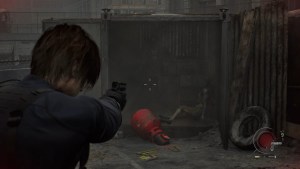
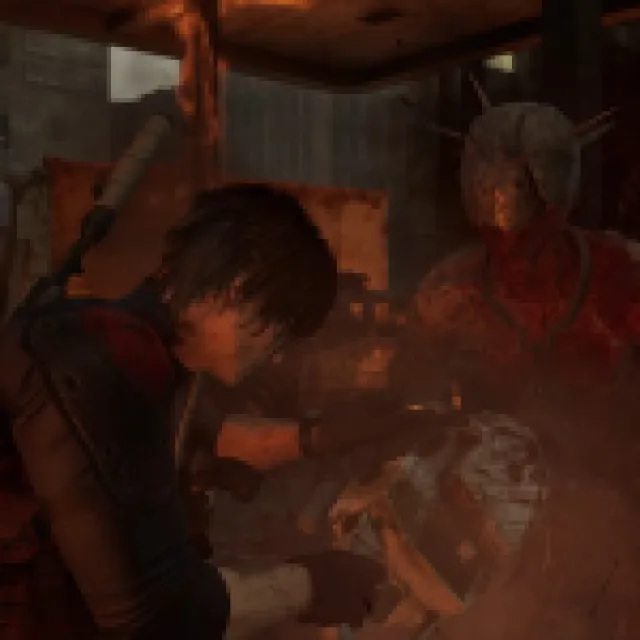
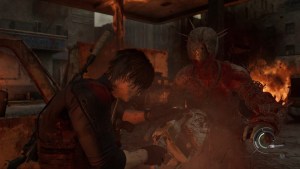
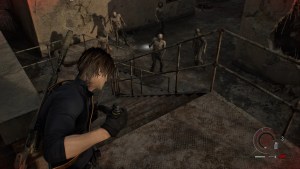
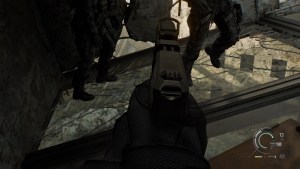
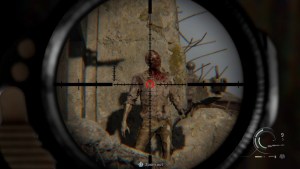
Interact with the revolving door to move forward. You’ll eventually reach a cutscene with a new enemy. You’ll have to fend off the spider boss and start in a hallway of an abandoned building. Move forward and grab any loot in your path.
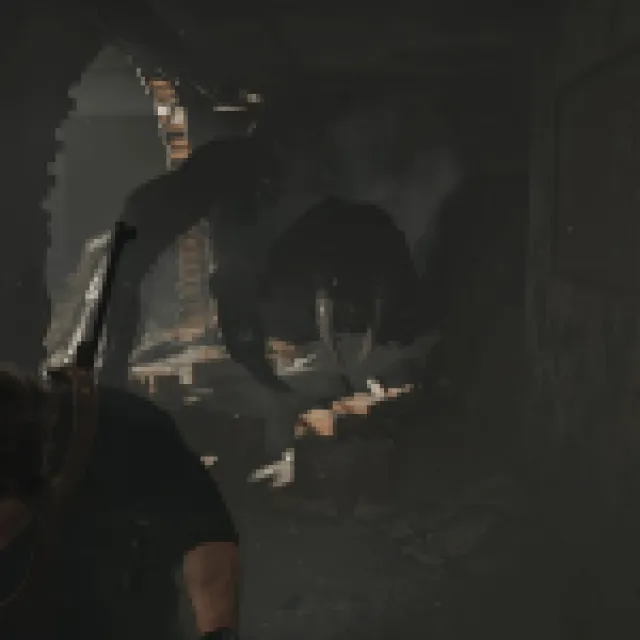
Use your melee weapon to slash through the webs. When you push far enough, the spider boss will prevent you from moving forward. Shoot it and run back until the spider pushes you against the door.
Run to the opposite side and through the door. Slash through the web, turn left, and go up the stairs until you reach the top, since the top floor is blocked off. Slash through the webs and grab all the loot from the boxes.
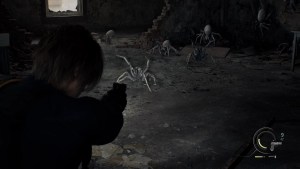
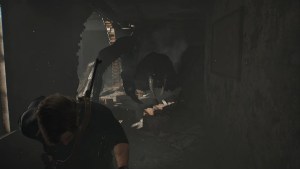
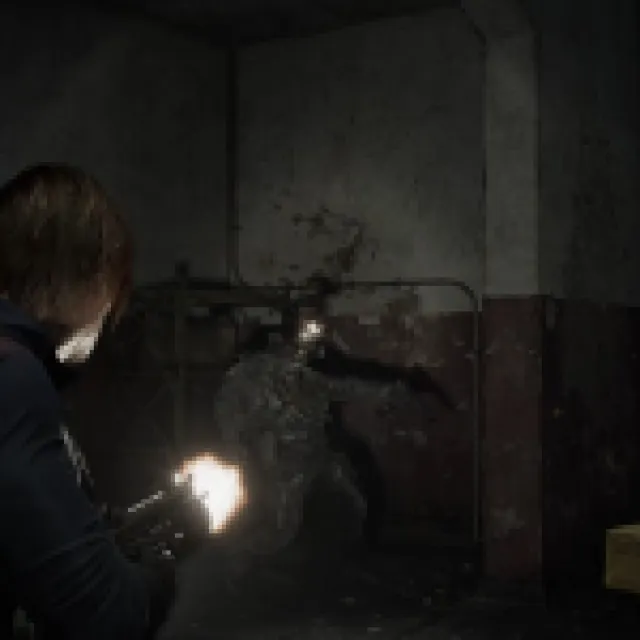
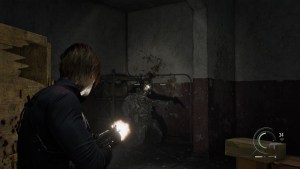
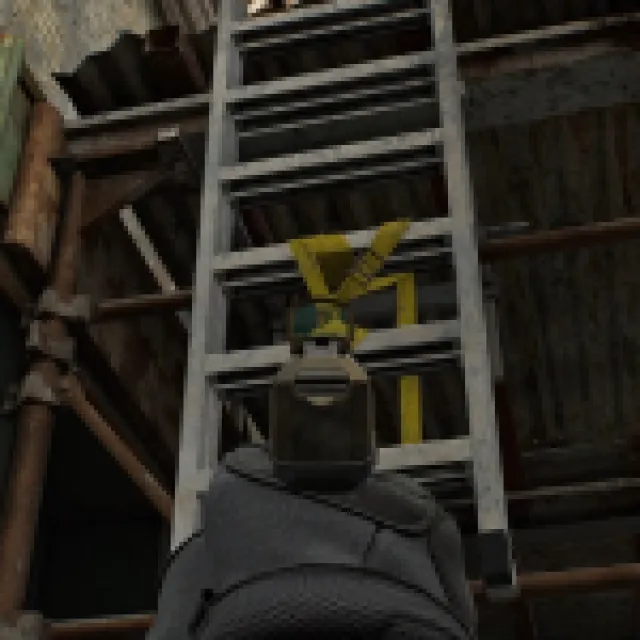
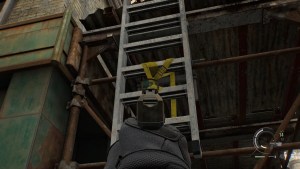
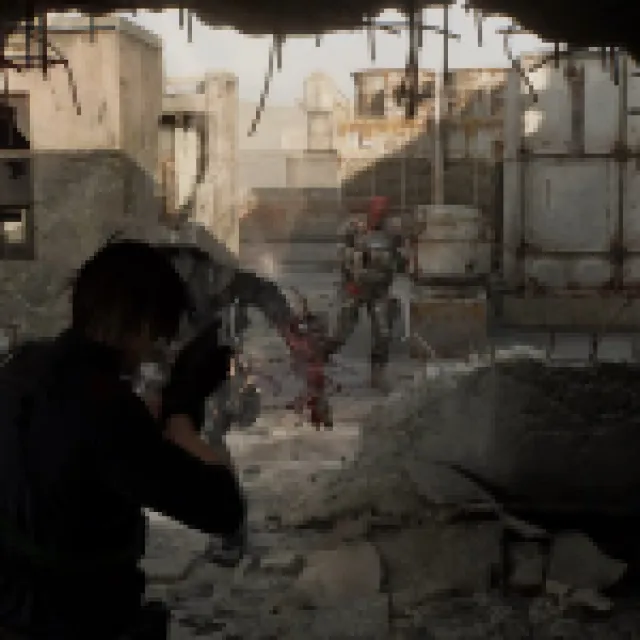
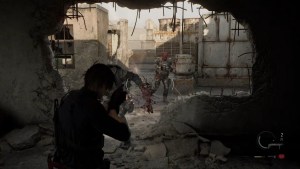
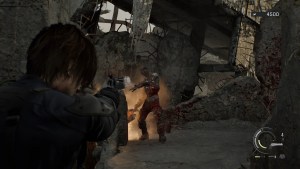
Smash through, and you’ll find several small spiders there. Use your hatchet to end them. Keep moving forward, and the spider boss will try to block you from going to the balcony. Keep going and climb the ladder. This begins the actual fight with the spider boss.
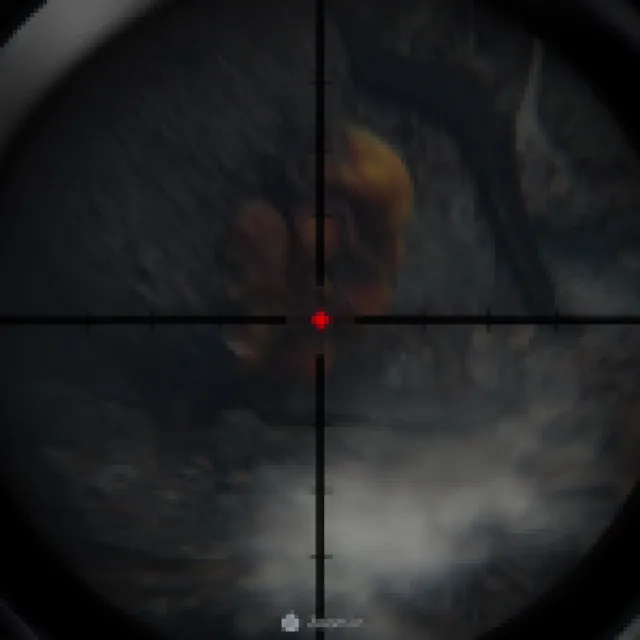
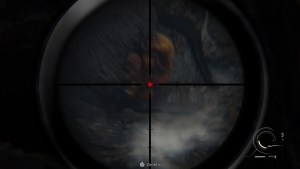
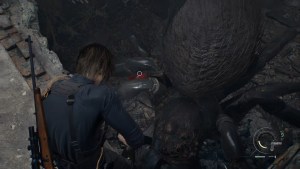

Its weakness is the cysts on the tail. It is tough to shoot them, though. Move to the other side of the building to find a throwable propane tank. Throw it and shoot it to stun the spider boss. Use your rifle to deal maximum damage to the cyst. Keep shooting it normally and you’ll eventually beat the spider boss. Your last shot should trigger the cutscene with Leon beating the spider and ending up at the subway.
Head back and go up the stairs. Go straight to the turnstiles and exit through the door. Leon will break the door open, leading to the other section of East Raccoon City. This will trigger a cutscene showing a locked gate and an explosive plan. Run straight until you reach the Central Camp (there’s handgun ammo by the driver’s seat of the van, opposite the Central Camp, and shotgun shells by the trunk of the car next to the camp).
Once at the Central Camp, search the insides of the tent. Read through the file inside the camp, and it should lead to your main objective with three detonator parts marked on the map.

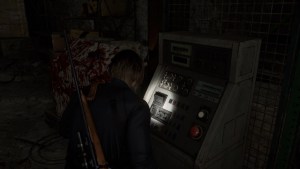
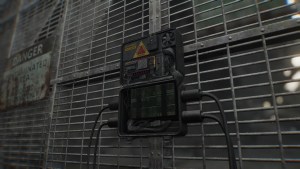
Go to the yellow generator at the back and turn it on. This triggers a cutscene. Now, the BSAA is apparently involved in all this. In the camp, this will be your save point, and it also introduces a shop system instead of a storage chest.
Grab the Tactical Tracker and interact with the supply box to open the shop. You’ll find some new weapons, body armor, inventory upgrades, healing, ammo, and weapon upgrades here.
The Tactical Tracker gives you the credits used to purchase items from the shop, which you gain from either getting capsules or killing enemies.
This is where things get confusing, since you know there are three parts marked on the map, but you can’t really progress without choosing the right or only path first.
Detonator Part 1 – Distributor

At the back of the Central Camp, you can press the button to open the garage (next to the generator). Crouch and go through the garage door. Go to the room on the left first. Grab the hand grenade inside the case and the Gunpowder (Small) inside the locker (which teaches you a recipe as well).
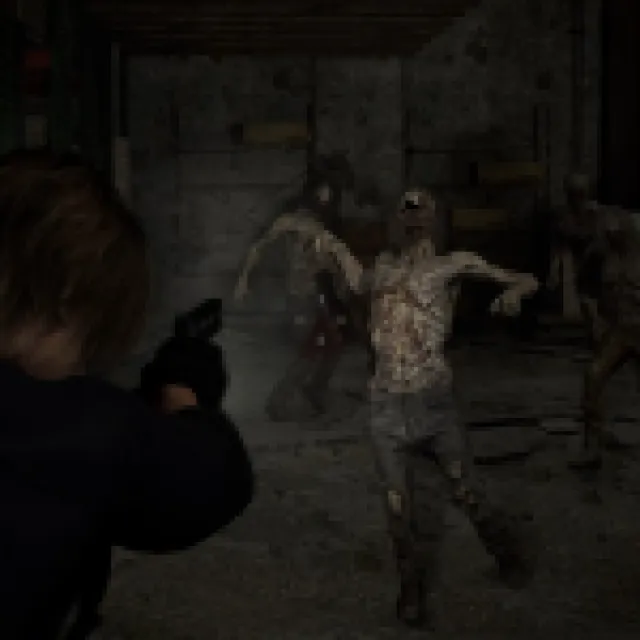

Go straight to the storage area and turn left to get a Green Herb inside a box. Once you keep following the path, a bunch of zombies start spawning from the ground. Use the hand grenade here if you want. Deal with the zombies and try to use their weapons against them to save some ammo.
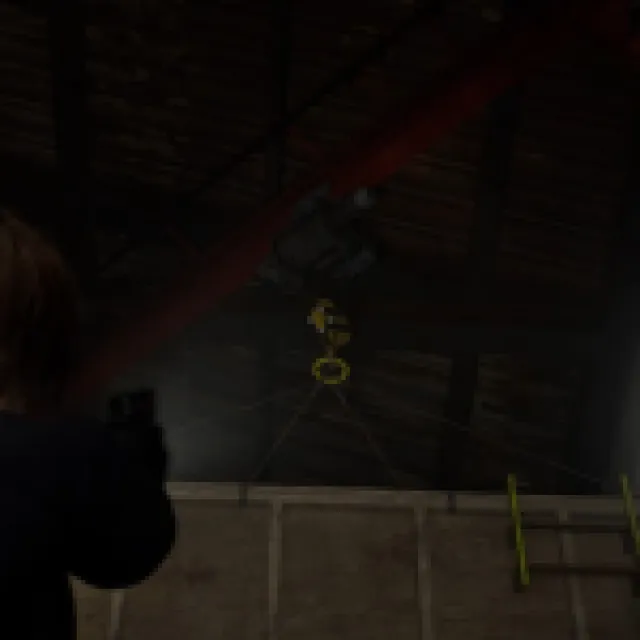
Once it is clear, grab all the random loot from the slain zombies and start exploring again. Go to the control machine with a button at the corner of the warehouse. It doesn’t work, but it points to the container on top where you have to shoot the hook to bring it down. Climb up the container and work your way up. Zombies will start showing up again. Deal with them and grab the Green Herb by the window.
Drop down to the wooden planks (top of the warehouse shelves). Shoot the other hooks on the containers with the yellow tape to bring those containers down as well. Deal with the zombies that spawn again. Make your way to the hole of the warehouse that leads to a door. Shoot the zombie waiting for you by the door.
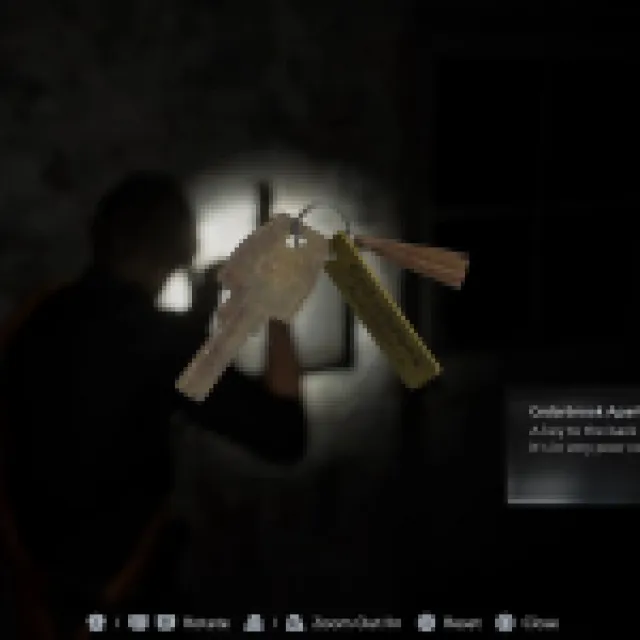
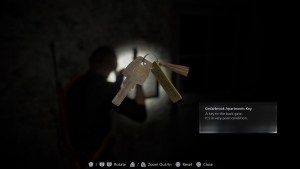
Keep going straight to get the Cedarbrook Apartments Key by the metal case near the door. Keep going straight and eventually exit through the roof. Take the ladder up, and you’ll find a generator. This adds another objective: obtaining fuel for the generators.
Go to the next room and follow the path, which eventually leads to another ladder leading to the rooftop. Grab the Green Herb at the opposite side of the roof.
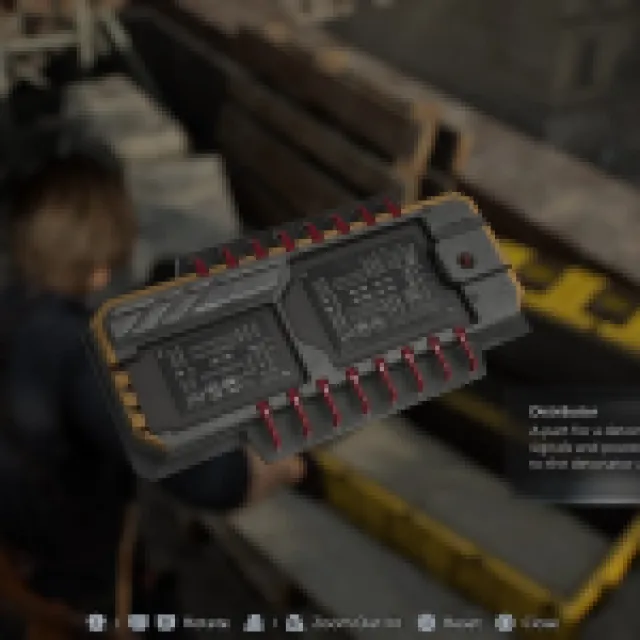
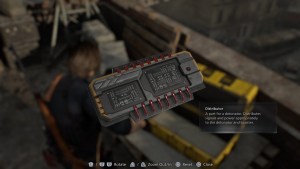
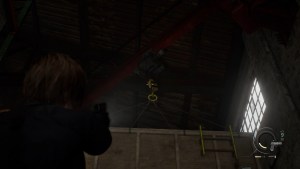
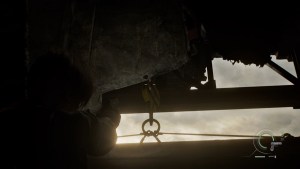
On the other side, there’s a big yellow case. Open it and grab the Distributor.

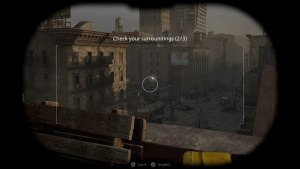
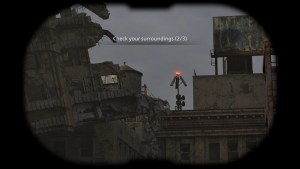
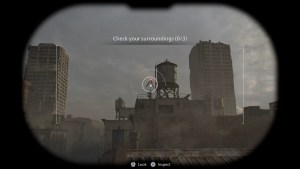
Check your surroundings and look for the two beacons and the gas station to make Leon stop using the binoculars.
Detonator Part 2 – Signal Receiver
With the Cedarbrook Apartment Key, you have your next path forward. But first, go down from the rooftop by using the elevator on the side. This is now a direct shortcut to the Central Camp, and this rooftop is for later on when you get the fuel for the generator.
Save and manage your inventory at the Central Camp. Go to the staircase leading down, near the elevator, and open the gate with the Cedarbrook Apartments Key.
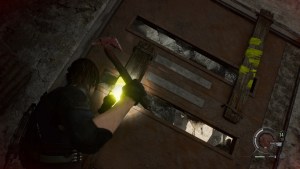
Head straight and shoot the yellow tape on the hanging case above. Head straight past the staircase and shoot the yellow tape on the ladder to go up there and pick up some more items.
Go back and take the downards staircase and through the underground parking garage. Take out the enemy in the hallway (stealthily if possible).
Go to the small room on the left and destroy the Mr. Raccoon on top of the box. Get some rifle ammo inside the lockers, green herb by the table, and a Scrap inside a breakable box on the shelves.
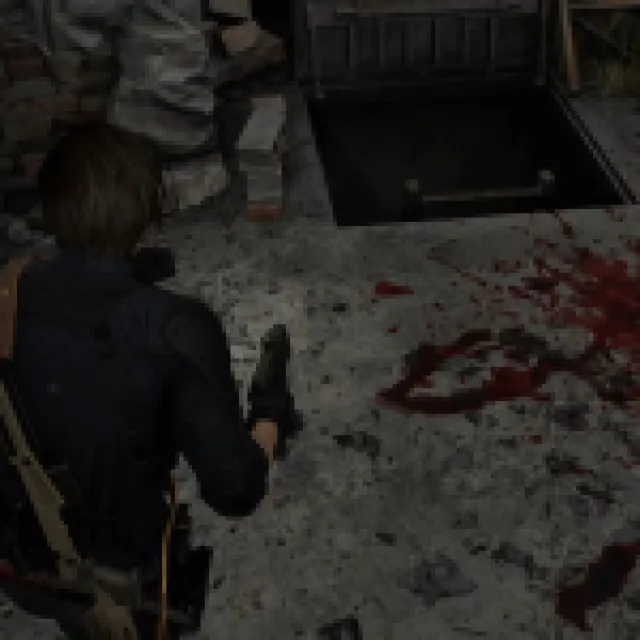
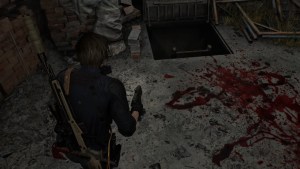
Continue forward to the other room at the end of the hallway. Ignore the zombie smashing the gate underground and move forward. Take the Gunpowder (Large) from the shelf. You can’t open the door without the crank, but there’s a hatch going down.

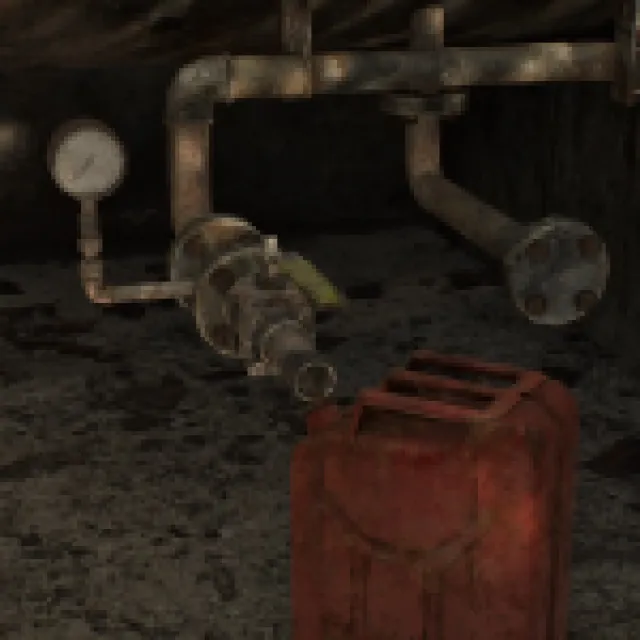
Go down the ladder, head straight, and grab the green herb by the desk. Keep going forward until you reach the Sewage Facility. Head down to the center by dropping down. There’s a breakable box behind and a Valve Handwheel. After taking the wheel, zombies will spawn from the center. Deal with the two zombies, preferably killing them on one side.
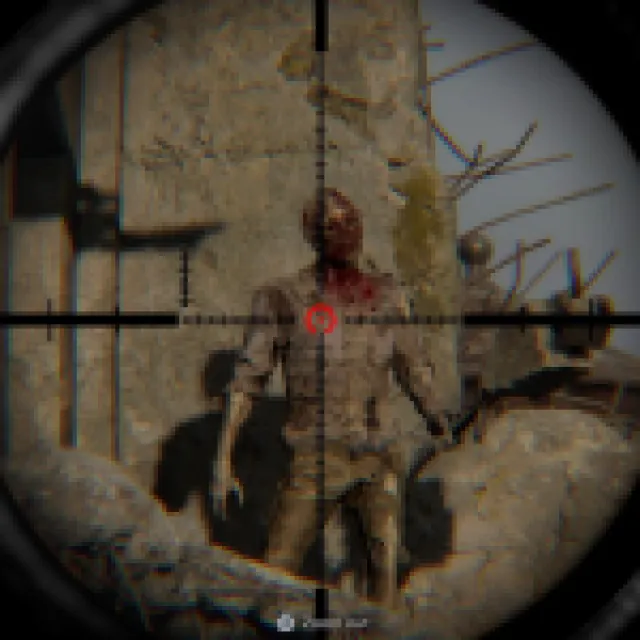
Use the Valve handwheel on the slot and start rotating the door. You’ll see one of the cyst-covered monsters again. Back off the valve and shoot the cyst whenever possible. Lure it away from the zombies you previously killed so they don’t double-mutate. But if it is unavoidable, just try to kill them as fast as possible.
After dealing with all the enemies, make sure the valve is turned all the way. Grab the boxes on the side. Go to the next area and deal with more zombies again. Use the propane on the side to kill one or two zombies to save some ammo.
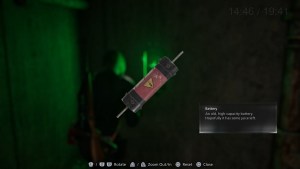
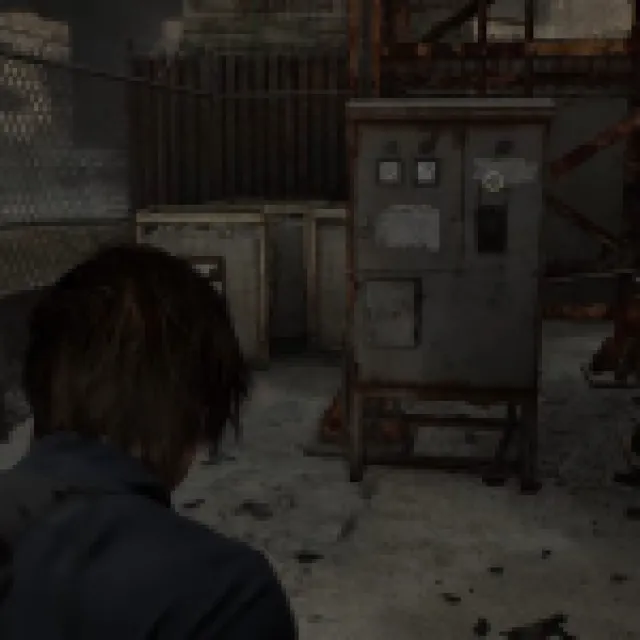
Go up the staircase and follow the path going to the door. Grab the battery from the fuse box. Open the locked door and go straight up the ladder. Go back to the underground parking garage gates with the zombie smashing through. Stealthily eliminate the zombie and place the Battery there. Turn left and take the ladder next to the gate.
Jump down to the other side and work your way through the flooded garage. Try to stealthily kill as many zombies as possible. Open the container trucks for some more items. Even the container near the end is worth opening, even if it only has zombies inside, just for the extra credits (there’s a propane tank there anyway).
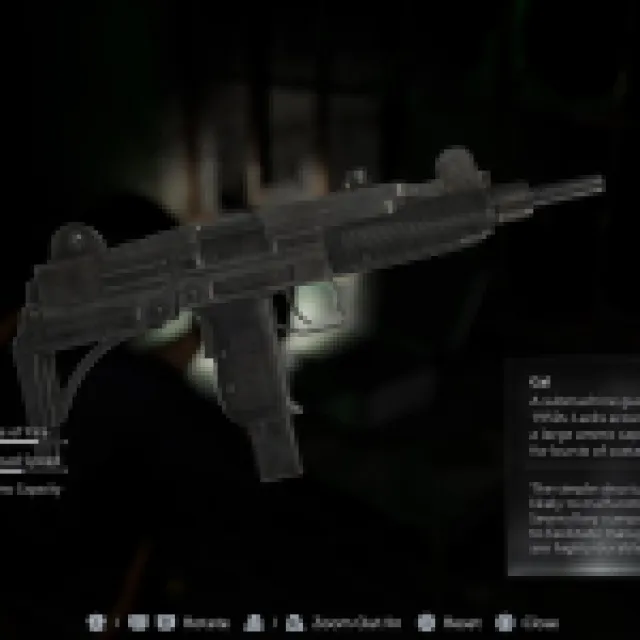
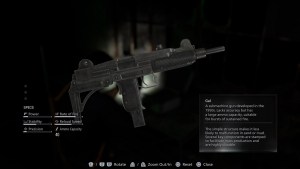
Once you are done exploring, go up the stairs and through the door. Zombies will start going out the door. Eliminate them and go inside the room. There’s a Green Herb, some ammo inside boxes, and a Gal (machine gun weapon) on the desk. Grab the 2nd Battery by the fuse box and take the ladder. Follow the path on top and eliminate any zombies in your way. Drop down at the end, which should take you to the parking gate. Place the 2nd Battery and run up the ramp.
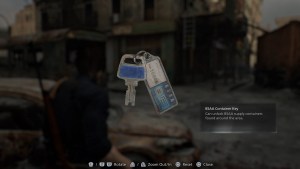
Run straight near the Fuel Camp to trigger a cutscene. Leon finds out about what happened to the BSAA agents and gets a BSAA Container Key. Go inside the container and take the Med Injector (read the note as well).
Move inside the Cedarbrook Apartments. Run to the right and vault out the window. Shoot the yellow tape on the case and grab the item. Head back inside and go to the opposite side. Grab the green herb on the floor and open the container with a bunch of ammo.
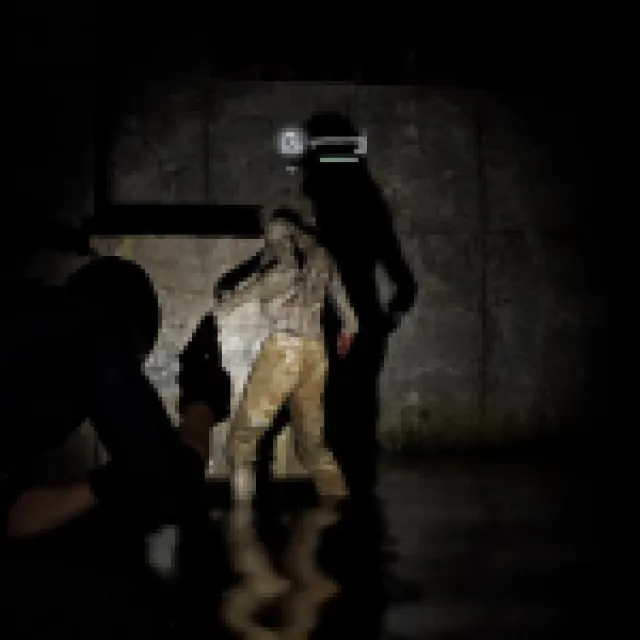
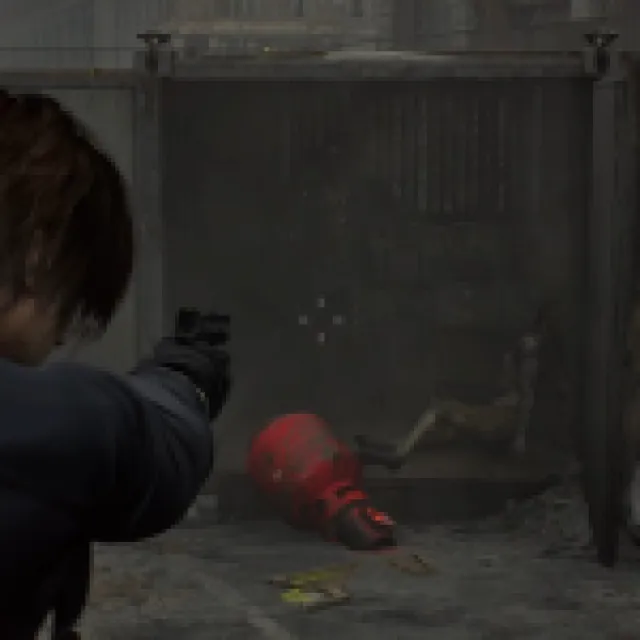
Head up the staircase and the way should be straightforward. Once you reach the other side of the apartments, an infected BSAA agent comes back to life. Shoot the head until they are dead since they have body armor. Jump down, and there should be more BSAA agents, including one with an SMG and a helmet. Keep shooting it until the helmet goes off, and keep shooting until they die. I suggest using the shotgun to break through the helmets.
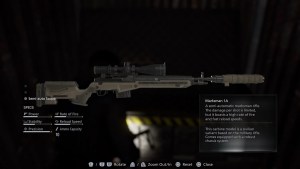
Open the container here for more ammo. Go to the door with the crank under the staircase. Take the Rusty Crank and open the door. Go back to the streets again, and you can open the BSAA container to the east for the M1A rifle (a lot of zombies here, but there’s a propane tank you can use).
Go back to the underground parking garage and use the Rusty Crank to open the locked door there. Move forward and take the ladder. Eliminate the zombies around and open the locked door leading to the main street. Open the container at the back for more ammo and grenades.
Once you go back to the main street, some of the zombies might mutate, so be careful. Your next stop is the fuel station, but you can go to the end of the street and pull the lever near the power grid to bring down a bridge connecting the two areas.
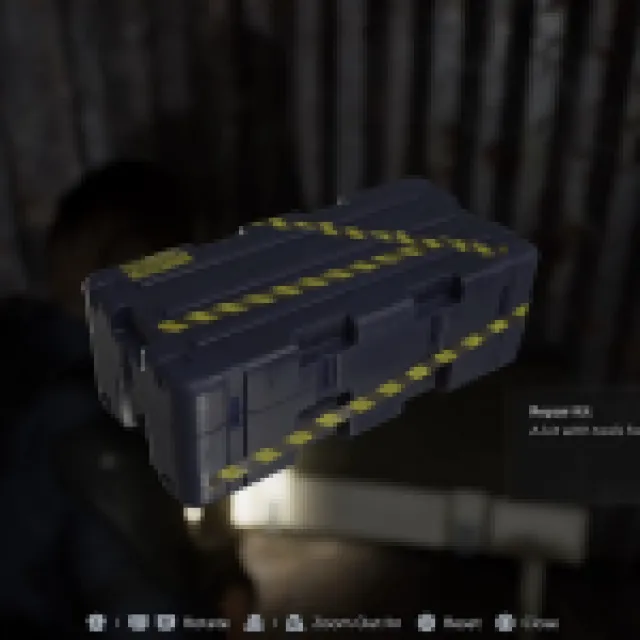
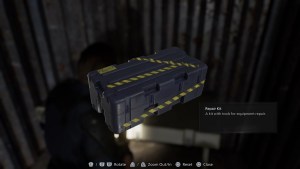
Once the bridge is down, you can go back to the Central Camp to save and buy items. If you do go back, you can also open the BSAA container here and grab the Repair Kit (needed for the story).
Face the fuel station and go to the left side, you’ll see a ladder with a yellow tape. Shoot the tape and climb up the ladder. Turn right to the containers and drop down to the fuel station. Go take the staircase at the back. Once on the roof, drop down one of the holes to go inside the station.
Open the lockers, break the boxes, and grab the empty gas can at the side exit. Go back inside and deal with all the zombies, including the one using the chainsaw. Before grabbing the chainsaw from the zombie when the station is clear, open the door and shoot the zombie holding a propane tank.
Grab the chainsaw again and deal with all the zombies. Head outside with the chainsaw and clear everything. There should be another tough zombie with a burning chainsaw outside – kind of showing you who is cooler here.
Just keep smashing the chainsaw against him, and even if he attacks at the same time, it’ll smash against the other chainsaw, staggering both of you. Attack until he is dead. Wasting ammo on him is kind of a waste, so you could restart if you lost the chainsaw.
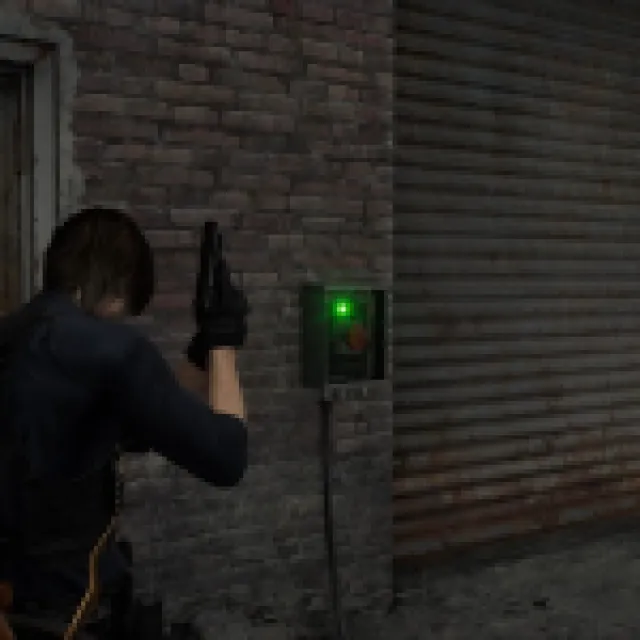
Go to the back and use the empty Gas Container and refill it with fuel. Go to the side exit and refill the generator. Press the button and exit. Zombies could reappear on the main street, but you can stealthily deal with them.
Fill the generator with fuel near the power grid you lowered the bridge to. Press the button, go inside, and take the ladder up. Open the container and grab all the ammo, healing, and Scrap. Jump down the other side and turn right after the red container to take another piece of Scrap.
Go to the main area and deal with all the zombies. After you circle around, more zombies will show up, but you can use the propane tank nearby. Open the container in the middle and grab the shotgun ammo. Open the locked gate to open the shortcut to the street, but go back after opening. Take the hatch going down to the sewers.
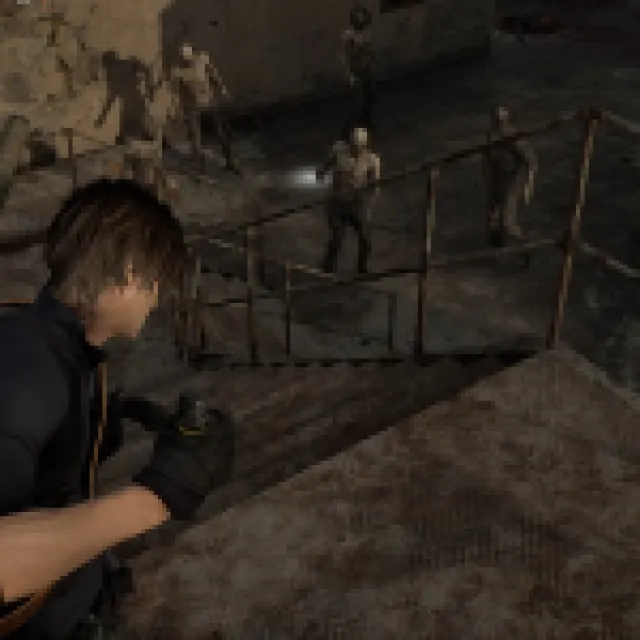
Take the path leading to the Ridgewood Station (this is basically the other side of the path when you beat the spider boss). Keep following the path and take the ladder going down. Grab the green herb and the ammo by the shelves. Go to the train and loot the breakable box behind for more ammo. Head to the side, going to the Ridgewood Station. There are zombies here, and it’s best to deal with them stealthily. It’s very dark, though, so if you fail, be prepared to shoot anything that moves.
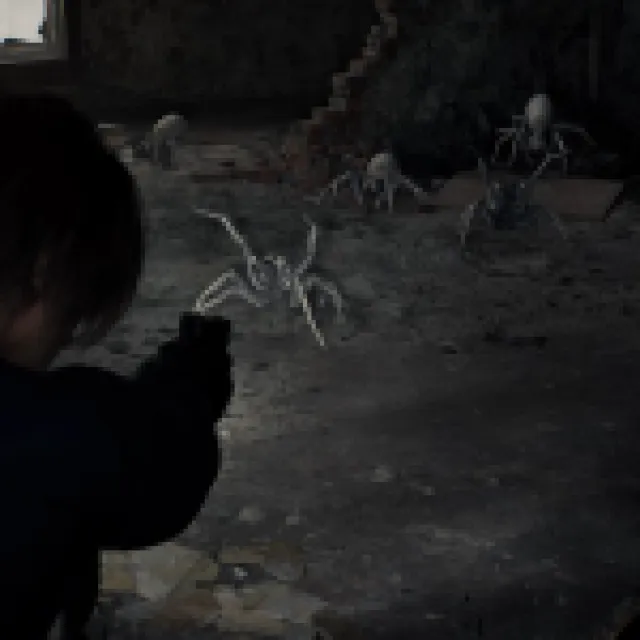
Go straight and enter the next train. There’s a Mr. Raccoon on one of the seats, and some small spiders will also show up. Grab your hatchet and start smacking. Move to the other side and run up the platform. Kill the zombie and go to the opposite side to open a container filled with a lot of ammo.
Head back and go up the staircase. Open the locked door on the right, but don’t enter yet. Go straight, but don’t try to stealthily kill the zombie.
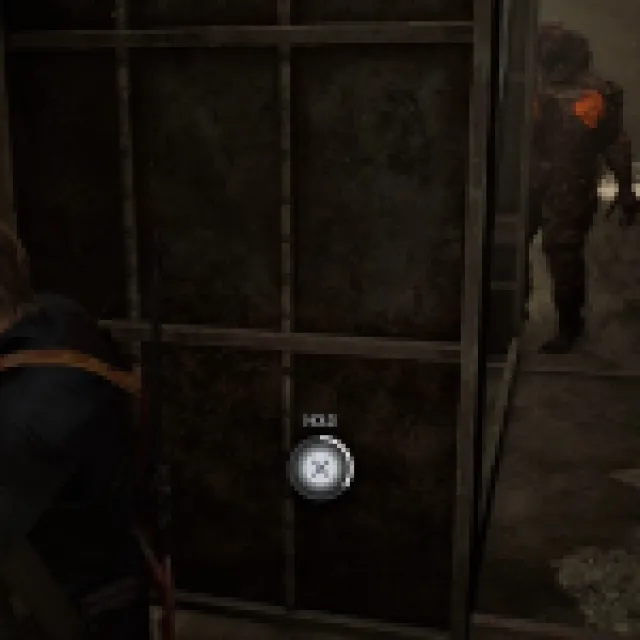
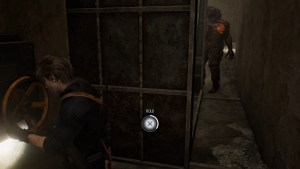
There’s another one on the floor that you can’t see, so just shoot it. Go through the turnstiles and open the locked door leading to the very first area. Go through the streets and head straight to the BSAA container near Cafe Oasis.
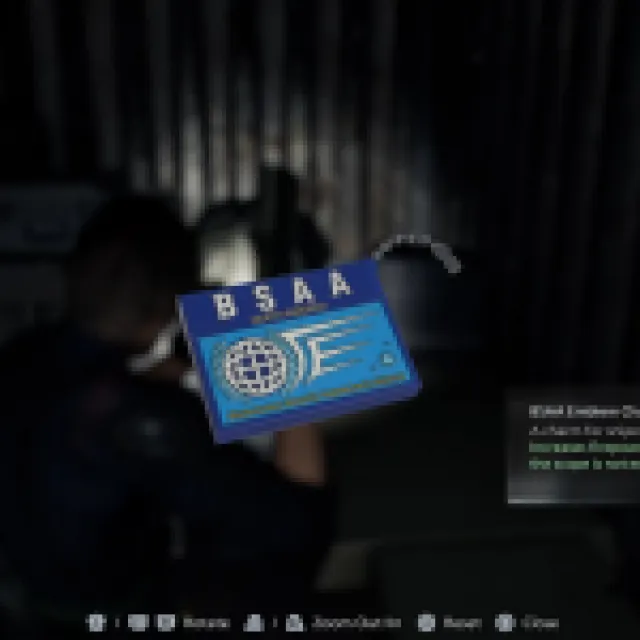
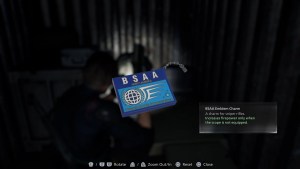
Zombies will spawn here, so deal with them all. Open the container and grab the BSAA Emblem Charm (adds firepower) and a legendary tracking module in the case. Go back to the subway and through the turnstiles again. Sherry will even talk to you here with a nice little detail.
Follow the path and turn left to the door instead of going down to the trains. Continue straight, and you should see the main gate to Raccoon City again.
Go back to the Central Camp to save and fix what needs fixing. Head to Cedarbrook Apartments right after. Go up, and a BSAA zombie breaks through the other wall. Shoot the explosive in its hand. Head to the roof and use the Rusty Crank Handle to open the way.
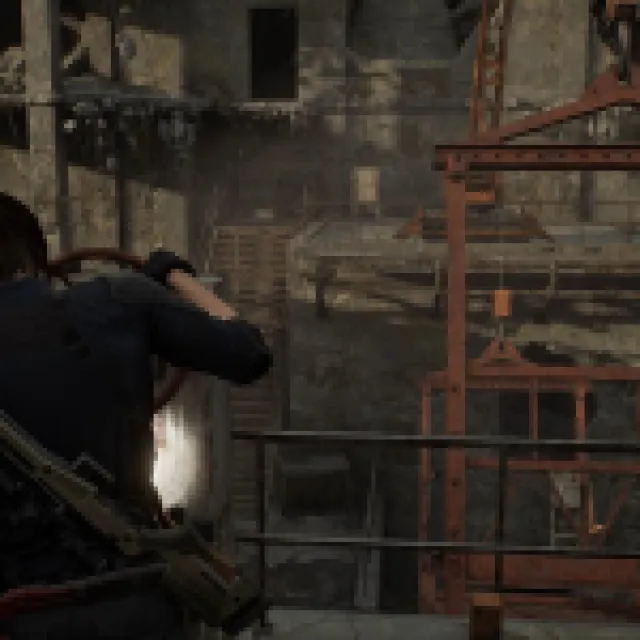
Head up to find zombies playing with the BSAA artillery. Run from house to house and try to inch closer to the end. Loot everything on the way, but focus on dealing with the BSAA zombies and getting closer to the artillery. Prepare to use some hand grenades when you see the BSAA zombies get close to each other because they are extremely tough.
Once you are near the opposite side, jump up to the roof and use the BSAA artillery for yourself. Shoot the other two BSAA zombies using the artillery.
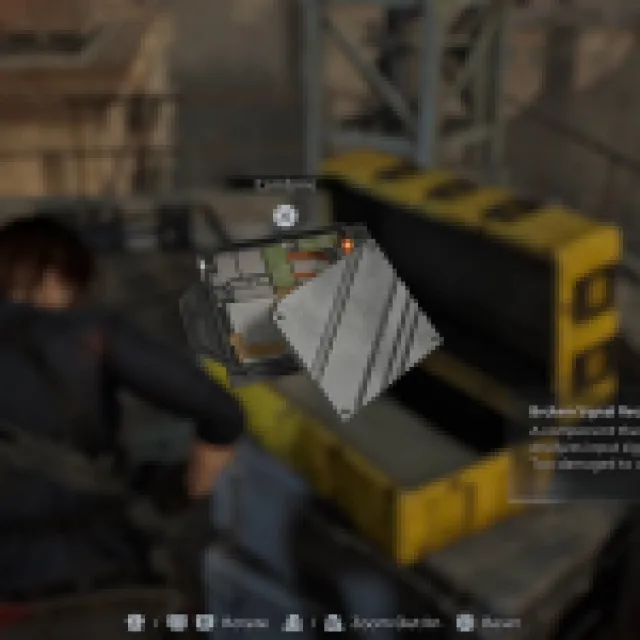
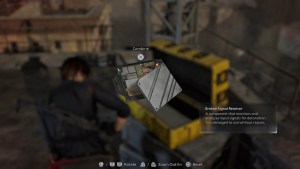
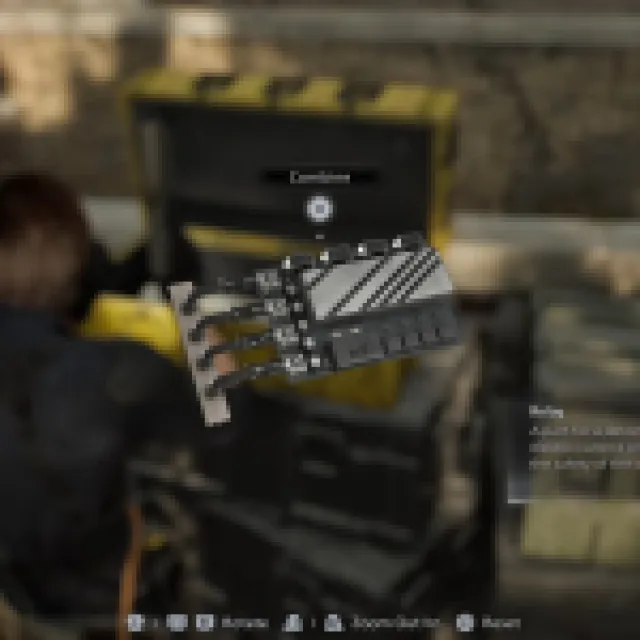
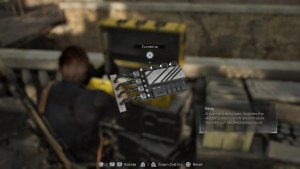
Look behind you and take the Signal Receiver inside the yellow container. Combine the Signal Receiver and the Disruptor with the Repair Kit by examining them. Loot whatever you missed around the rooftop and head back.
Zombies should reappear on the other side, and there might be too many here, so use a hand grenade if possible.
Once you are on the staircase going down, take the ladder instead of going through the door for a shortcut to the apartments.
Detonator Part 3 – Relay

Go to the Central Camp and take the elevator. Take the hatch going down and into the other roof. Put fuel in the generator and open the gate. Open the container for a hand grenade and some ammo.
Take the Zipline taking you to the other side. Go through the broken buildings. Take the Scrap in the trash can and the ammo on the desk.
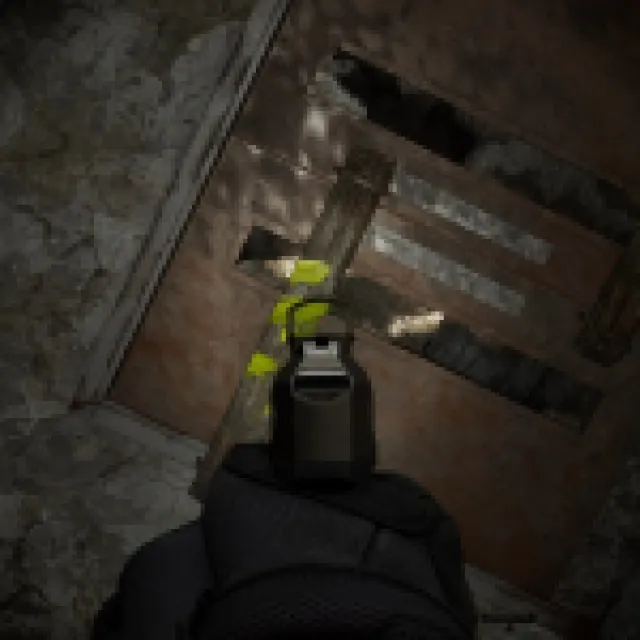
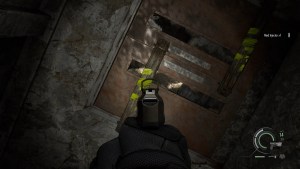
Keep going straight, and you’ll see a door with some wooden planks with yellow tape. Use your hatchet to break it and go inside the office. Grab the green herb and go back.
Take the staircase on the left. Head up and keep following the path, and stop at the office. Break the Mr. Raccoon on the shelf.
Go back to the staircase near the broken elevator. Take the (almost hidden) path next to the elevator. Go straight and take the ramp going up until you see a door with two wooden planks. Break it and climb through. Walk through the pillar to get to the other side.
You’ll see more wooden planks on the door on the other side. Shoot it and jump over. Jump over again and turn left. Shoot the wooden planks below and on top to open a path through. Jump down and jump over until you reach the elevator door. Open it and jump down.
Run up the ramp and stay left. The right container will fall first, and after it passes, switch to the right to avoid the left container. Run straight and slide down to the glass floors. Break the door with the wooden planks. The game will teach you to shoot the glass floors to let the BSAA agent fall instead of fighting them directly. Each glass floor takes two handgun rounds to break.

This area is going to be a bit tough since there are so many BSAA agents. After breaking the door, break the glass immediately in front of the two unaware BSAA agents ahead. Turn right, and you’ll wake up two more BSAA agents with two more sleeping on the far right and on the north. Use a shotgun to deal with the two BSAA agents nearby, but lure them closer to you so you don’t wake up the other ones.
Shoot the glass floor on the right and the one in front. Clear the first floor, and then go back to the glass floor with the shelf. Shoot the glass floor to drop the ramp on top of it and go to the second floor. Get your rifle out and walk up slowly.
Shoot the BSAA on the third floor first because it sprays with its SMG. Once you make a sound, the other BSAA agents will now come for you, including another one using an SMG on the bridge. Take cover and deal with the BSAA agent approaching you with dynamite, then deal with the other zombie with the SMG, preferably with the rifle as well. Loot everyone and cross the bridge. Jump down the end and turn right to the locked gate.
Grab the hand grenades and open the yellow container to find the Relay.
Destroying the Main Gate
Take the door on your left, which is a safe room with a supply shop. Continue back and cross the bridge. Head inside the building and push through the other side.
Shoot the yellow tape on the ladder on your left and go up. Open the container and loot some supplies. Go back down and take the stairs going up and use the binoculars to inspect ahead. Turn right and jump down the railing.
Follow the path on the right and deal with the zombies ahead as you go to the 2nd floor. Keep following the path until you can hear a lot of zombies. Most of them are on the third floor, so keep rushing up the staircase. Push through and deal with the group of zombies near the short bridge. Use a hand grenade if you need to, since there are about 5-6 zombies stacked here.
Head up the stairs again and deal with more zombies. It is another big group, but with an annoying zombie that just keeps spawning weapons from the ground and throwing them at you. After dealing with them, go up again.

Slide down the ramp and turn the valve. Go down the stairs and the path on the left. This opens up the locked door leading to the safe room. If you don’t need to save, just follow the path on the right instead.
Deal with the zombies, but be careful, since some of these will actually mutate before you even kill them. Eliminate them all and push through the bridge in the middle.
Use a rifle to deal with the one zombie on the top floor corner throwing objects at you. When you cross the bridge, you’ll hear a chainsaw.

Deal with the regular zombies quickly. I’d suggest using two shots of Requiem on the chainsaw zombie and finishing him off with some shotgun blasts because that’s one tough cookie. If any zombie mutates, just ignore them if they don’t know you are there.

Once you go up again, there’s a zombie holding a propane tank on the right. Shoot it fast with a handgun. Deal with the remaining zombies, and hope you still have enough ammo left. Follow the path and through the door. Use the valve to bring down the scaffolding lift.
Drop down, go to the lift, and press the button. Zombies will jump onto the lift every time the lift stops. Use a machine gun or a shotgun to deal with them quickly, since there’s no space here. Near the end, there’s going to be too many zombies, and you’ll just have to wait a little until the cutscene triggers.
Once down, head forward and deal with even more zombies. Keep going straight and head to the locked door leading outside from the sewers. The gate is just there, but try to complete everything here before advancing. After detonating the gate, a cutscene triggers.
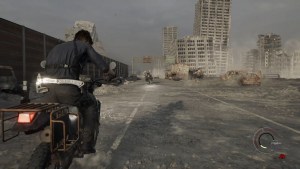
Ride to the RPD
Leon goes for a ride on the motorcycle. Navigate the highway until another cutscene shows up.
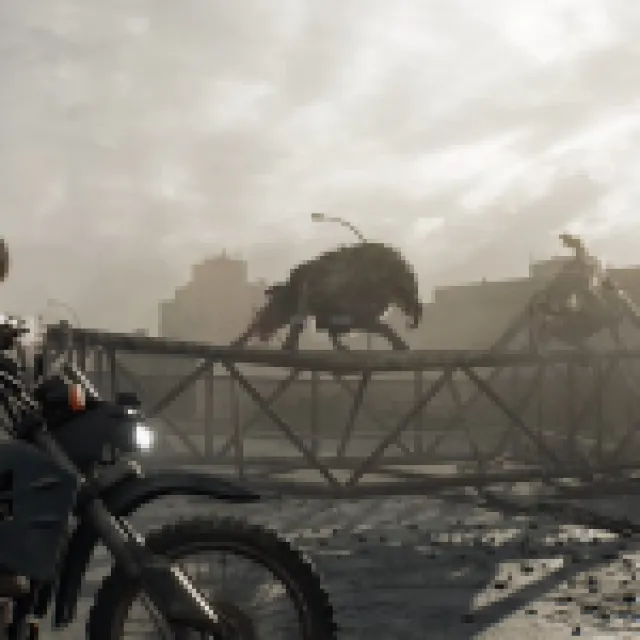
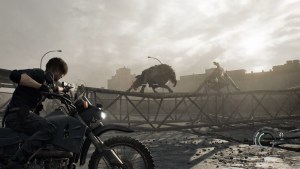
Victor will now be chasing you with a bunch of mutated hounds. You’ll have an unlimited machine pistol that holds 50 rounds in a magazine. You can easily bring down two hounds with one magazine. The motorcycle drives itself, so you just need to aim well.
By the city streets, you’ll start to see some blocked paths, but there are propane tanks around those areas, so pay attention to shooting those as fast as possible. Once Victor joins the party, shoot him as much as possible.
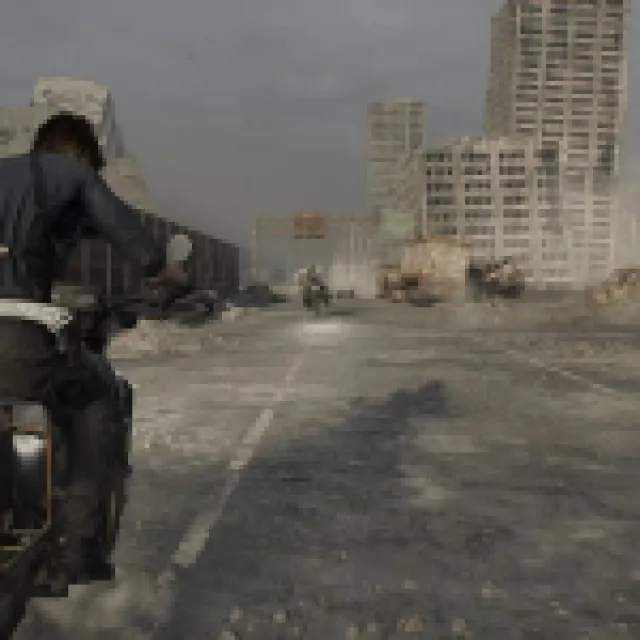
When you reach the end, there’s a cutscene with Victor sort of… asking for a duel. The duel is still automatically driven, so just shoot Victor, and you should win. This ends this East Raccoon City chapter, as you make your way to the RPD (Raccoon City Center).