
Resident Evil Requiem Complete Walkthrough – Grace West Wing and East Wing Rhodes Hill Care Center
Prepare for a wild rollercoaster here.

In Resident Evil Requiem, the Rhodes Hill Care Center section is one of the longest stretches in the game.
There are so many puzzles and potential problems you could run into. For that reason, here’s a complete guide to help you navigate this section, solve puzzles, and address any missed details at the Rhodes Hill Care Center in RE9.
Spoiler Warning
Complete West and East Wings Care Center Walkthrough – Resident Evil Requiem
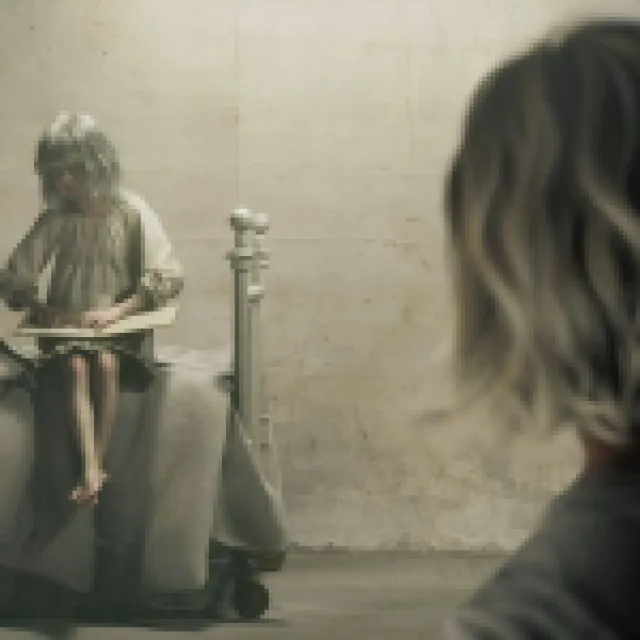

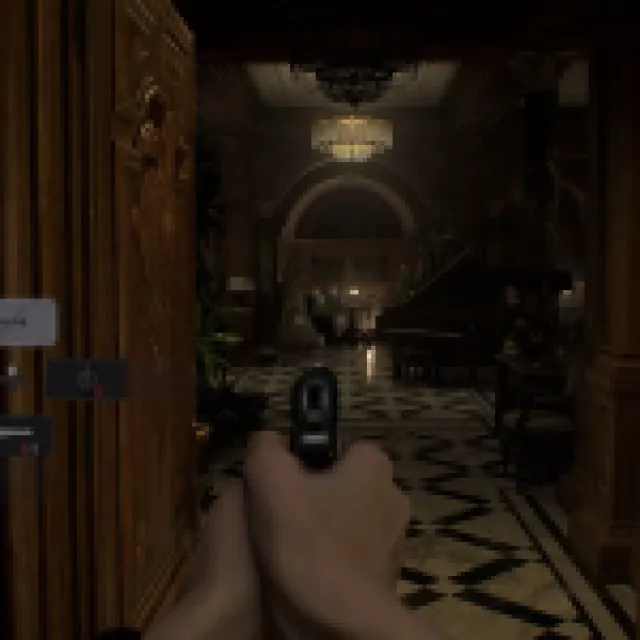
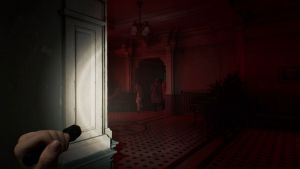
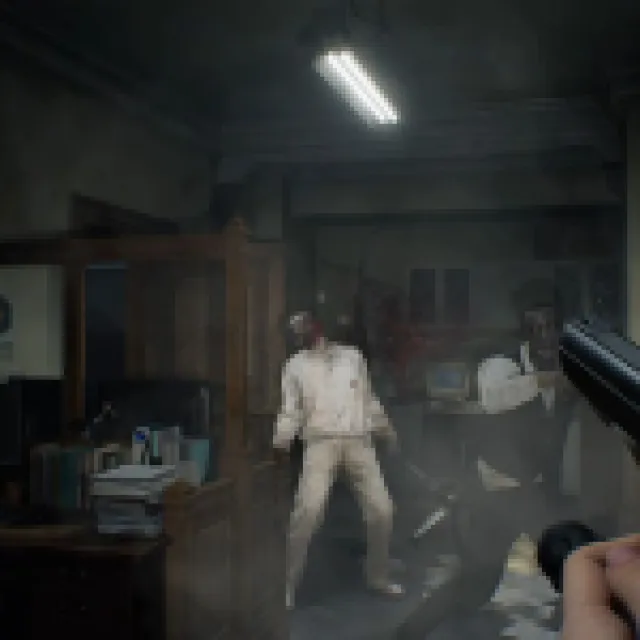
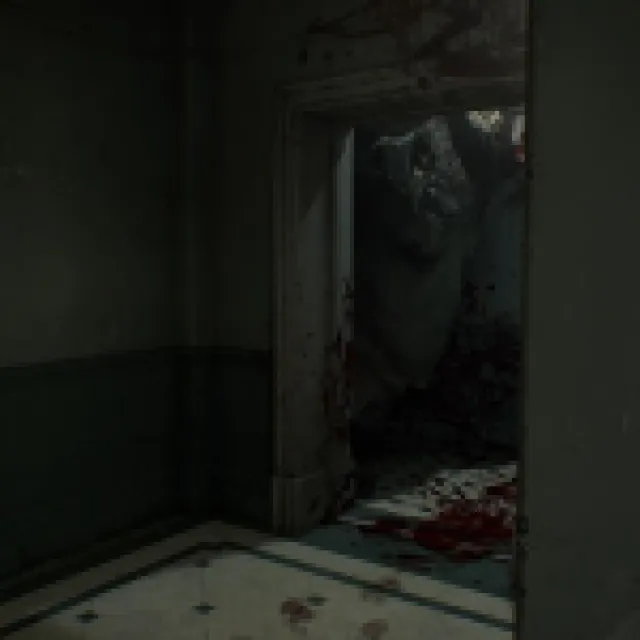
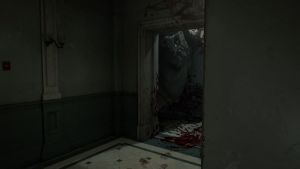
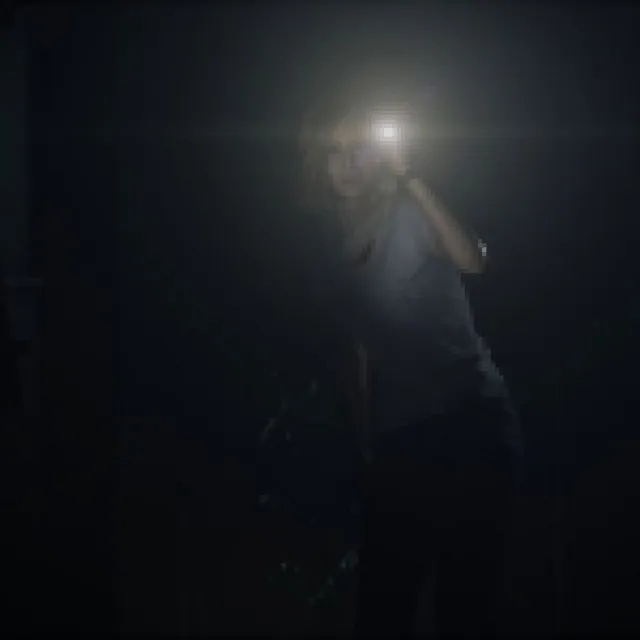
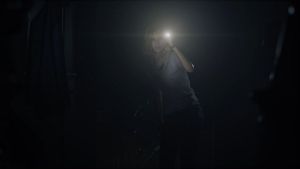
After Leon enters the Care Center and gets attacked, the story eventually leads to Leon catching up on Grace’s last cutscene, saving her from the dreaded Shadow Ghost.
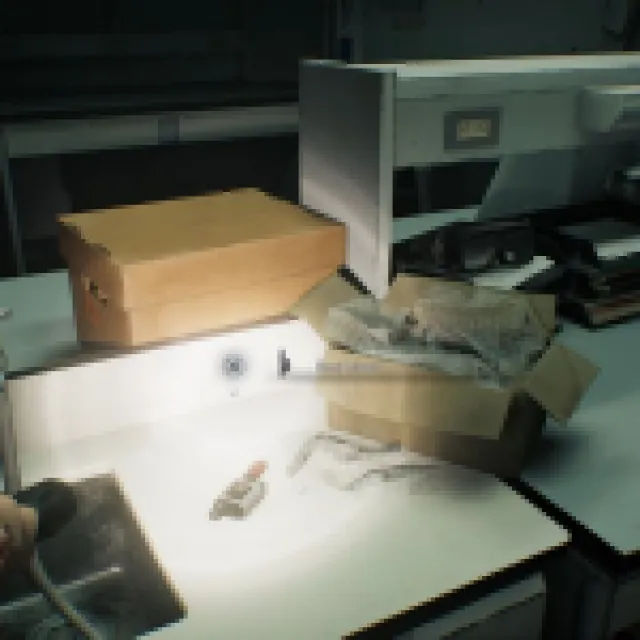
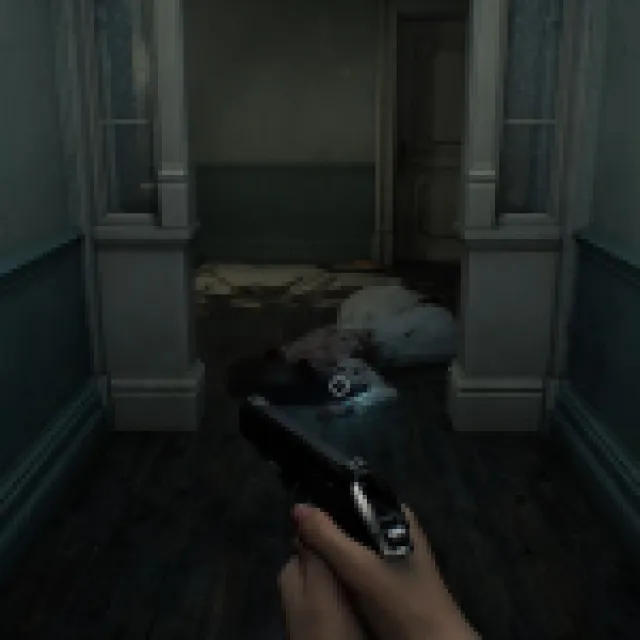
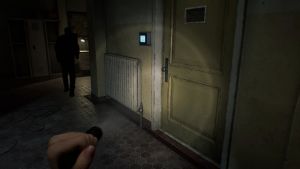
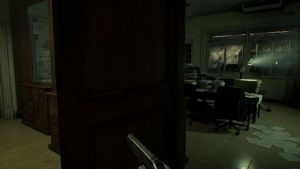
You’ll end up getting the Requiem handgun from Leon, but with only one bullet, and you’ll start at the center of the building. Move your way down to the only open door, which is the Guard Room on the first floor.
This is a safe room with a typewriter and a stash box for you to manage your inventory. There’s an Antique Coin by the desk and a green herb on the floor.
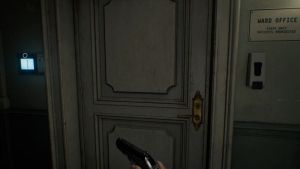
Head to the next room, which should bring you to a cutscene in the Medication Room. You’ll get the West Wing Keycard from the doctor.
West Wing Part 1
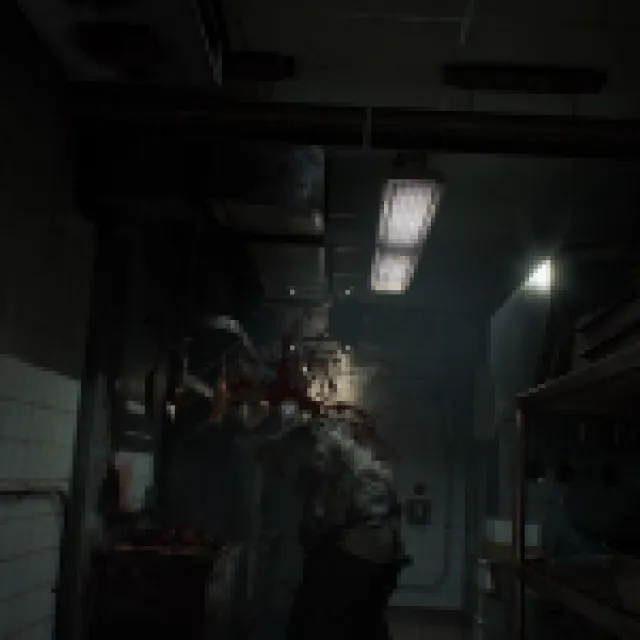
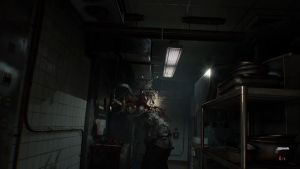
Head back to the lobby and use the keycard to go through the west wing door. Go straight to the hallway and turn left (the door on the right is locked from the other side). You’ll eventually reach the kitchen and a massive zombie with a cleaver. The door leading to the pantry is locked, so your only choice is to go through him.
Use the Requiem bullet to stun the zombie, then push the cart until you have enough space to advance to the next door. Go through the door, the hallway, and a few zombies. At this point, you don’t have a weapon yet, so you really have to avoid them.
Run all the way to the dining hall to find a B934 handgun on the floor. It doesn’t have ammo, so keep working your way through the next hallway. Go to the office on the left and pick up the handgun ammo on the desk. Open the lockers and get the Makeshift Knife. Go to the hallway and move forward. There’s an Antique Coin by the desk, and another zombie near the stairs and the cold storage. This zombie drops a Hunting Knife, too.
When fighting zombies, I suggest getting two headshots, which should usually knock them down, and try to melee them until they are dead/out.
Before heading to the stairs, there’s a breakable box nearby that contains handgun ammo. The door to the cold storage room cannot be accessed yet. From here, you can choose to go back to the dining hall and pick an empty bottle or just keep moving forward up the stairs. There’s a dead end on the third floor, but you can pick up a Green Herb here. The correct way is through the 2nd floor.
Interact with the map on the wall to get the floor plans while on the 2nd floor. Open the map and navigate toward the Bar & Lounge room. There’s a wailing zombie accompanied by two other zombies. With your limited ammo, you’d want to focus on the wailing zombie, but make sure you always shoot the one closest to you. This way, once you stagger an enemy, you can use a melee attack to save as much ammo as possible.
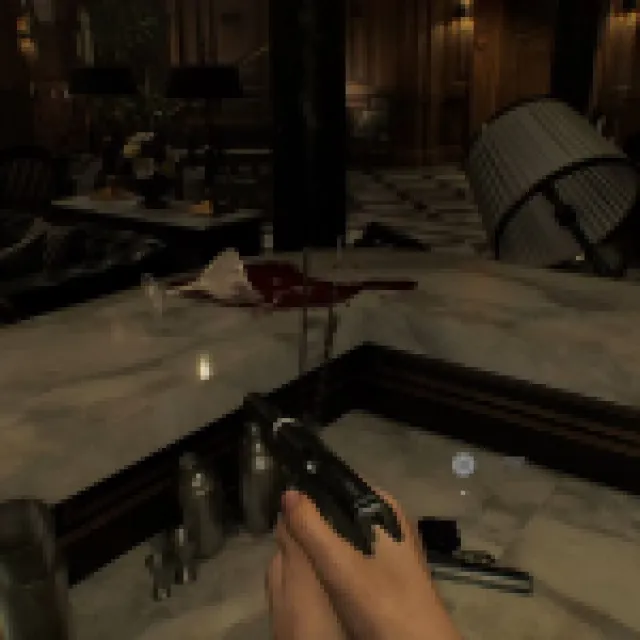
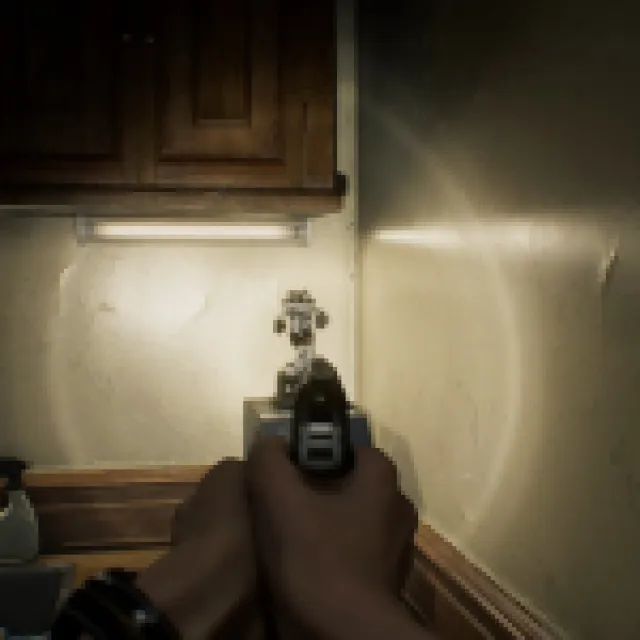
By the bar counter, there’s another handgun, the S&S M232. This one has a 9-round magazine capacity, which is actually full when you pick it up. If you run out of ammo, run to it to deal with the enemies here. You can also run toward the balcony, and there’s some handgun ammo on the floor. If things are clear, you can start looking around. There’s an Antique Coin by the piano keys and a Green Herb by one of the tables. There’s also a safe by the bar counter, but you’ll need the combination first.
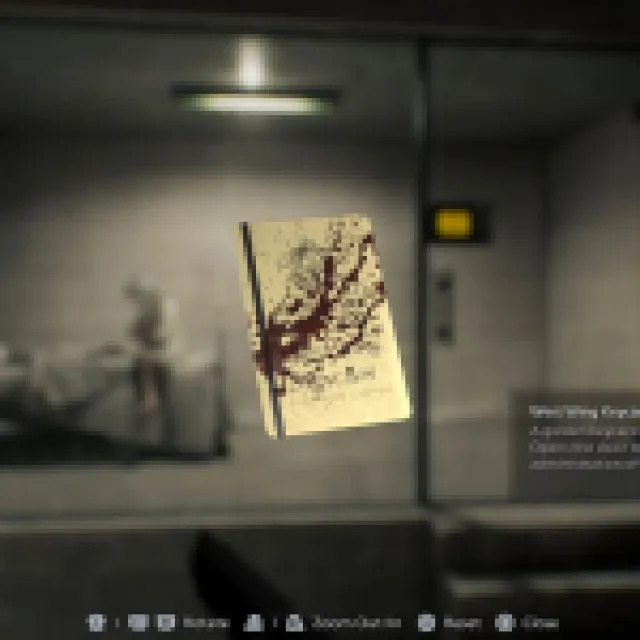
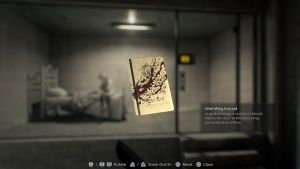
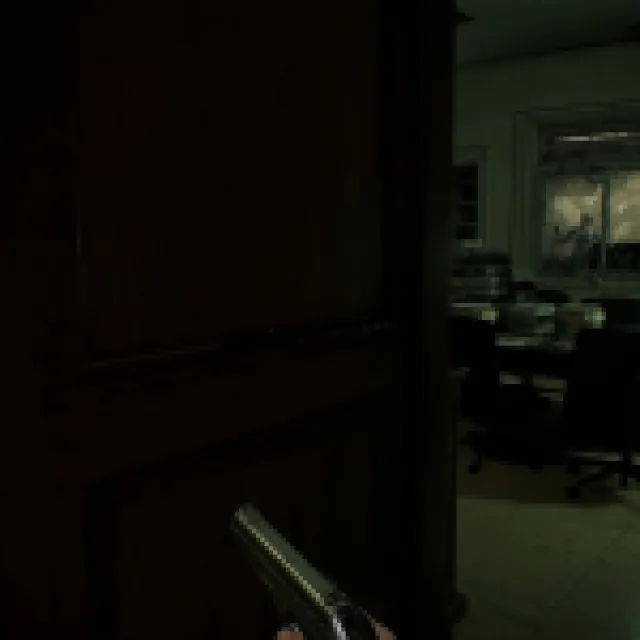
Run to the next hallway, and you’ll see another balcony on the left. There’s a note by the jacket, handgun ammo on the table, and a green herb by the other table. Enter the Chairman’s Office here and ignore the locked drawer since you need a lockpick.
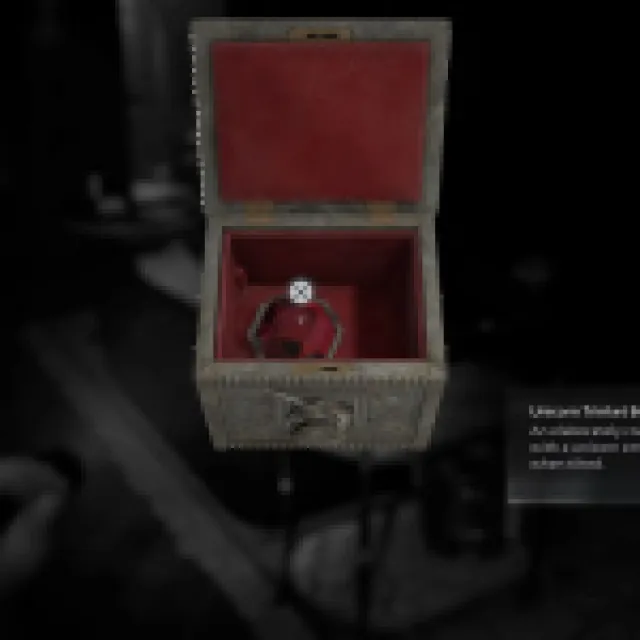

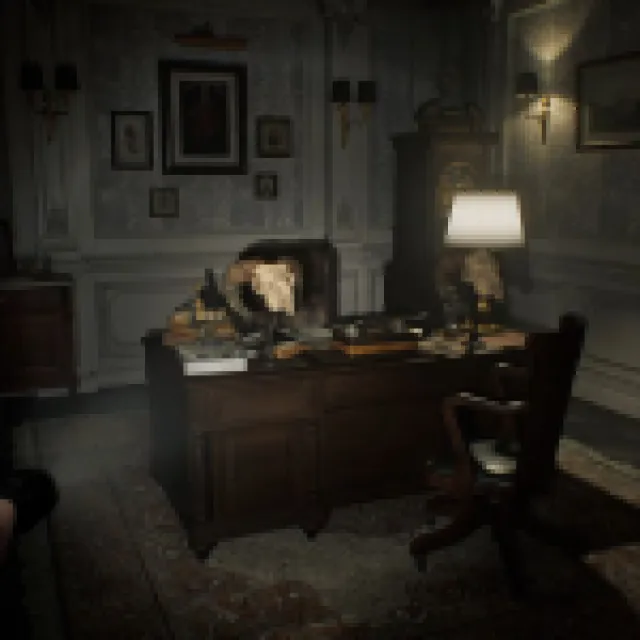
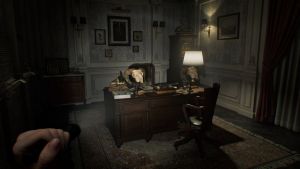
Once inside the Chairman’s Office, get the Unicorn Trinket Box by the desk. Examine it and get the Red Jewel inside. There’s a file here, and two more in the chairman’s room. Eliminate the zombie on the side of the desk. Open the drawer on the chairman’s desk and grab the pencil from it.
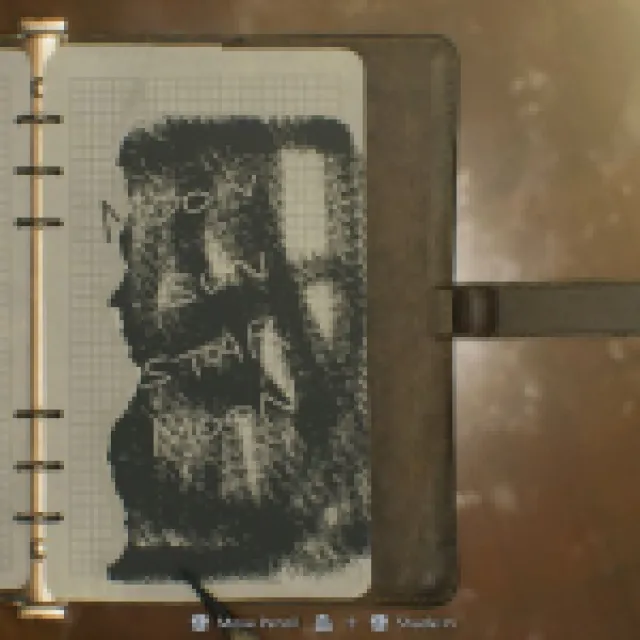
Go back to the other room and grab the torn journal on the coffee table at the center. Use the Pencil and shade the whole page. It should give you the combination to the Moon Puzzle Box in the same room, which reads “Moon, Sun, Star, and Moon.” You’ll get the Moon Quartz, which is needed to open the main door by the lobby of the Care Center.
Continue to the hallway, which should bring you back to the lobby. Place the Moon Quartz and go back to the Guard Room to save. You can deposit some items in the stash and go back to the Medication Room to interact with the child again for a short cutscene.
Go back to the West Wing, by the hallway going to the Kitchen. The massive zombie with the cleaver should patrol this hallway, and you need to use the Red Jewel to enter the locked room going to the Parlor (check the map for reference).
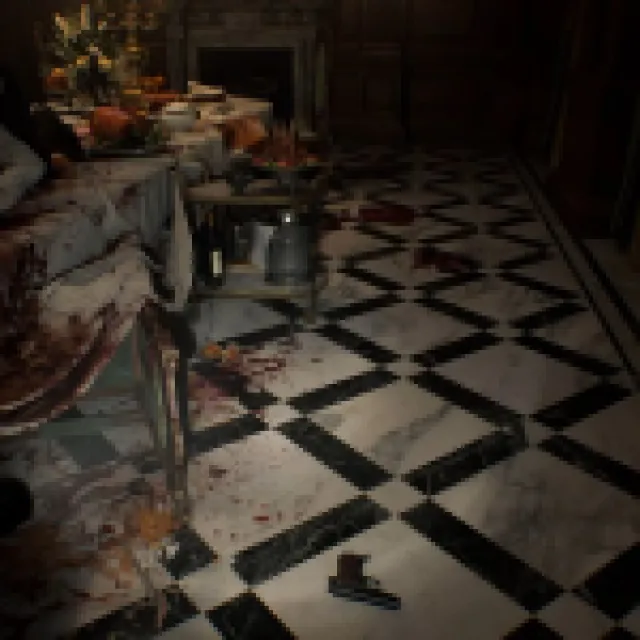
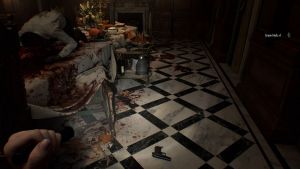
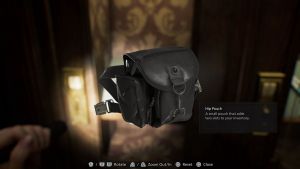
Once inside the Parlor, there’s an Antique Coin by the roulette table. There are two more Antique Coins and a breakable vase that has some handgun ammo on the bar counter at the back. This is also where you can use the Antique Coins to buy some upgrades. I suggest using the three Antique Coins, found in the same room, to buy the Hip Pouch upgrade to increase your inventory space by two.
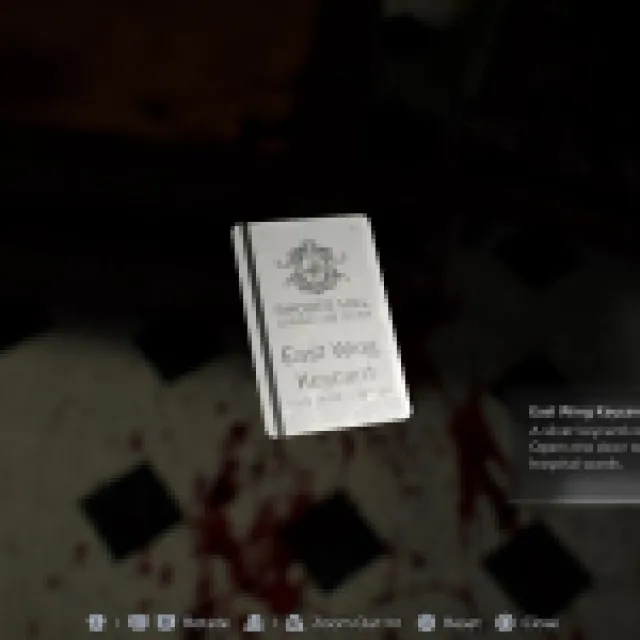
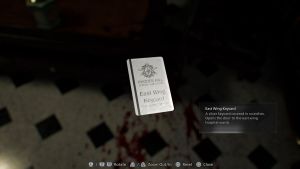
There’s also a Green Herb on the other side of the counter. At the back, there’s a dead body with a detached arm by the chair. Grab the arm and get the East Wing Keycard.
East Wing Part 1

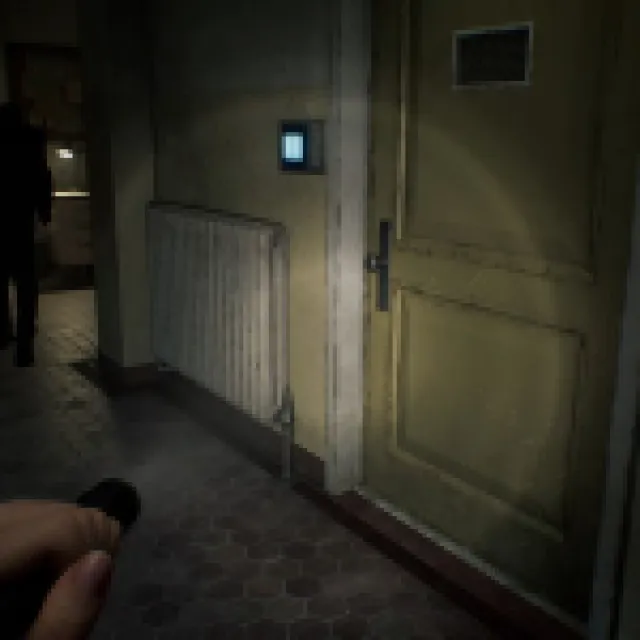
Work your way back to the lobby and move to the East Wing side. The East Wing Lobby has a Mr. Raccoon by the desk; shoot it if you want the collectibles. There’s a locked drawer that needs a lockpick here. Move down the hallway and grab the Green Herb at the end before entering the only available door. This leads to the Treatment Room with two zombies on the other side. Take care of them first.
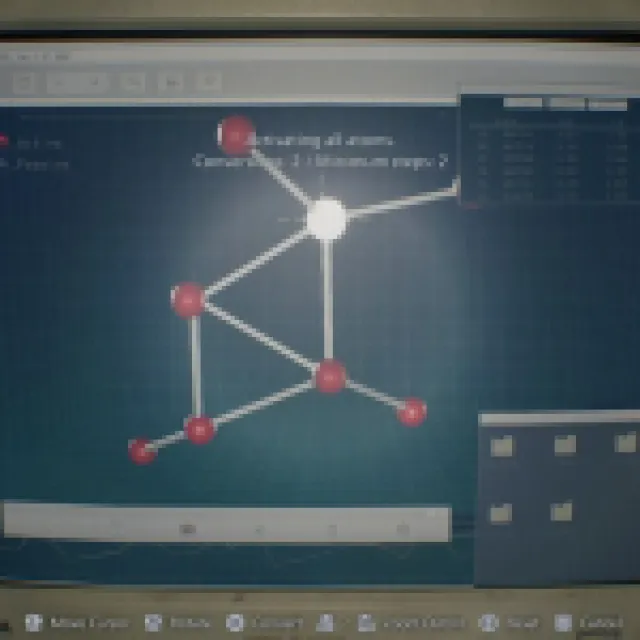
Grab the Hemolytic Injector near the sink. There’s a locked safe here that needs a combination as well. Proceed to the area and go through the hallway. Head straight and enter the Blood Lab. Open the locker and grab the Scrap. Go to the center and grab the Blood Collector by the sink. There’s also a Laser Microscope on the side that analyzes blood specimens, along with a Blood Specimen next to it.
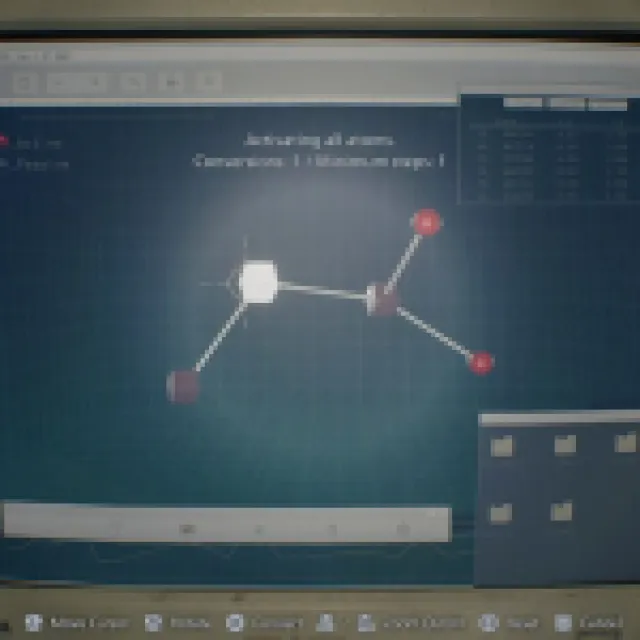

Use the Blood Specimen on the Laser Microscope to analyze it. Select the 2nd cube to turn all five into atoms. This unlocks Handgun Ammo and Hemolytic Injectors for crafting. Use the Blood Collector to collect blood near the bucket, and that should be it for this room.
Head to the other unexplored hallway and eliminate the zombie staring at the wall. Head straight, and you should see three zombies work their way toward you. Run back a little so they scatter. At this point, you’re probably low on handgun ammo (when playing a standard playthrough).
After they disperse, eliminate the remaining zombie in the hallway. Work your way to the Waiting Room and sneak to the right side. Use the Hemolytic Injector to eliminate the zombie at the back, and don’t forget to pick up his Transfusion Bag. The other zombie should be preoccupied with drinking the blood on the floor for now.
Grab the Antique Coin by the first counter near the door. Go to the back of the room and go to the open safe to grab two more Antique Coins. Open the drawer and grab the Scrap. There are two more breakable vases that should give you some handgun ammo. You can choose to deal with the zombie, since if you take too long, it’ll start roaming around. It is also important to open the door from the other side, leading to the East Wing Lobby. This should make your life easier later. If you do this section fast enough, you can completely avoid killing the zombie to save some ammo.

Head to the next area until you reach the staircase. There’s another Mr. Raccoon by the table next to the grandfather clock and an Antique Coin by the couch. Go up the stairs, and there are two zombies here. Eliminate them and interact with the floor plan on the wall.
Enter the room (Lead Researcher’s Office), and there’s a typewriter for saving here. Grab the Lockpick by the desk on the left. Go to the main office and interact with all the photos and notes, which should give you clues about the other puzzles. The Sun Puzzle Box is in this office, but it has a padlock, so you can’t do anything about it yet, even if you know the combination from the clues.
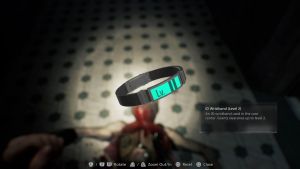
Head out and turn left. Grab the wristband on the dead body straight ahead. This should trigger a cutscene. Run back to the Lead Researcher’s Office to avoid the enemy. Wait for it to go back and run all the way to the main lobby. The wristband gives you Security Level I access, as you might have noticed running through some of them in the West Wing area.
West Wing Part 2
With the Security Level 1 Wristband, run back to the previously locked area next to the kitchen. There should be a zombie walking around here. Work your way through the hallway and enter the first room, which is the Custodian’s Room. It has a typewriter and a storage chest. There’s also a Wrench next to the typewriter and another lockpick in the room.
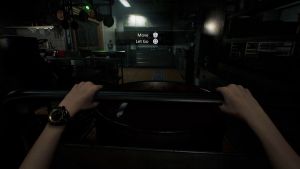
Head to the garage and go to the end. Get the Organ Transport Box inside the van. Go to the end and break the box to get some handgun ammo. Once you start running back, a massive bulldozer starts trying to run you over. Don’t look for a way out and start shooting the driver.
Crawl through the bulldozer and turn to the right. Destroy the two boxes by the garage and pick up some more handgun ammo. Run back to the Custodian’s Office and manage your inventory again, depositing the Organ Transport Box in the meantime.
Exit the Custodian’s Office and take the stairs next to you. There should be a box there for some handgun ammo. Go up to the third floor, which is a dead end, but there are two more boxes of handgun ammo. Go back to the 2nd floor and enter the Office. Grab the empty bottle, break the box for some handgun ammo, a lockpick on one of the desks, and read the Background Check notes on the desk.

Two zombies will enter. Deal with them and grab a Transfusion Bag from one of the zombies. You’ll also notice there’s a laser microscope in this office as well, but nothing really to analyze, depending on your sequencing. Continue to the Records Room. Break the box at the corner for handgun ammo and read the notes by the boxes at the corner of the room.
Run to the other hallway, and you’ll find a Green Herb and a Mr. Raccoon on top of the coffee maker. Keep going forward, and this leads to the locked side near the Bar & Lounge area. Run to the Chairman’s Office just to open the locked drawer here. It gives you Rare Metal, used for crafting ammo for the Requiem later on.
Next, you want to head to the other Security Level 1 locked room (the Filing Room). The zombie with the cleaver should roam the hallways here, and there’s another zombie inside the office. The zombie with the cleaver doesn’t enter the room if you make noise, so you can kill the zombie inside and open the locked room. Grab the Hip Pouch for two more inventory slots and some handgun ammo.
Now, depending on which route you took to get to the Filing Room, there could have been some mutation triggers from previous zombies. I’d suggest running away from them after staggering them with two or three headshots.
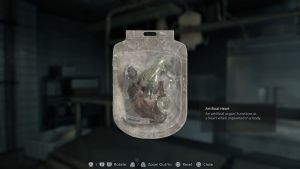
From the Filing Room, move toward the Cold Storage. Use the Wrench you found in the Custodian’s Office to open it. There are two boxes for handgun ammo, Scrap by the counter, and the Artificial Heart at the center. Head back to the main lobby to save and manage your inventory. Just make sure to bring the Artificial Heart with you.
East Wing Part 2
Go to the East Wing and work your way to the Examination Room and place the Artificial Heart. If you move forward, the two zombies here might mutate, so take the other route, which is through the Waiting Room from the East Wing Lobby.
The big blob monster that saw you when you acquired the Wristband should start roaming the hallways here. It patrols the same way as the zombie with the cleaver, and this one can’t enter rooms with small doors like the Waiting Room.

In the Waiting Room, you can also open the locked door with your wristband and grab some handgun ammo, Scrap, Blood Specimen (Converged), and 12.7x55mm ammo for your Requiem. The Blood Specimen unlocks the 12.7x55mm ammo and the Med Injectors to be crafted.
You must push through and go back to the Lead Researcher’s Office on the 2nd floor. Save here and work your way to the destroyed hallway leading up to the Conference Room. Grab the node by the lockers, which tells you the combination to the Examination Room Safe (30R – 10L – 50R). Grab the Scrap inside the lockers and the infected blood on the floor if you need.
Go to the Conference Room and vault over. Deal with the Siren and the three zombies inside. The zombies should give you an Antique Coin, a Med Injector, some blood, and a Hunting Knife. There are broken boxes here from the siren, so take the handgun ammo on the floor. Head to the small room at the end and grab the Corrosive. There’s also a file on the desk, but it just talks about how the sirens mutated.
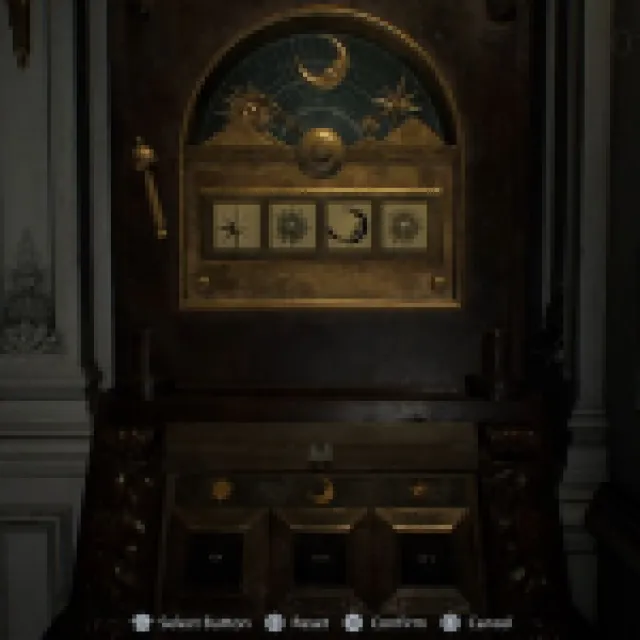
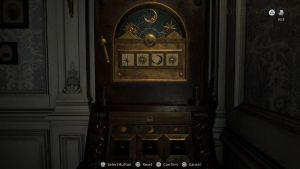
Work your way back to the Lead Researcher’s Office for a cutscene. After the cutscene, go back to the office and use the Corrosive to destroy the padlock. The clue to the Sun Puzzle Box combination should be in the photos, or just use Star, Sun, Moon, and Sun. This gives you the Sun Quartz and a Leatherbound Notebook with a note on how to unlock the Organ Transport Box.
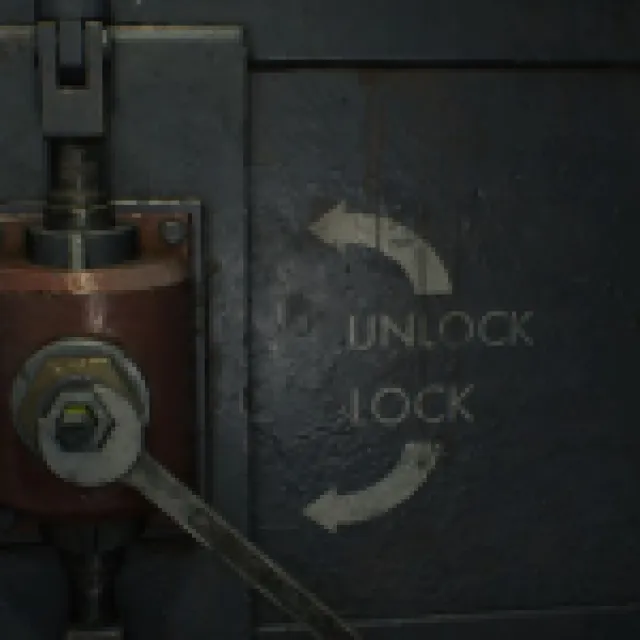
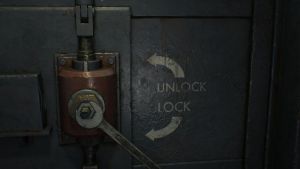
Run back to the Guard Room and open the Organ Transport Box using the notes.
The sequence for unlocking the Organ Transport Box is:
- Turn the knob to Hand
- Bring the lever to the middle
- Press 5 and then 2 (switches).
- Turn the knob back to Auto
Grab the Artificial Lungs and run back to the Examination Room. Place the Artificial Lungs and fight the zombie. You can open the safe for three Antique Coins here if you haven’t already.

Get the ID Wristband Level 2 from the zombie. You can go to the Laser Microscope in the Blood Lab to analyze the Blood Specimen you acquired before.
Work your way to the Isolation Ward and avoid the big ogre-like monster roaming the halls. Go through the Isolation Ward and grab some blood if you need. There’s only a box here with handgun ammo. Go to the office and read the notes. Grab the green herb on the floor and some handgun ammo on the whiteboard.

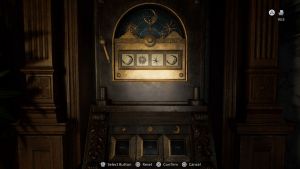
Read the other note on the security manager’s desk. The note shows “Star, Star, Moon, and Sun, which should be the last combination to the Puzzle Boxes. The only Puzzle Box left is the Star Puzzle Box in the same room.
However, the input is in braille, and this triggers a cutscene. You’ll grab the ID Wristband Level 3 from the security manager and start going back to the Guard Room. There should be more zombies roaming around since the locked doors in the Isolation Ward started opening up. I suggest clearing them out for this next part, especially the Waiting Room.


Once you are back in the Guard Room, enter the Medication Room, and this triggers a cutscene with Emily. Now, you’ll have to carry Emily all the way to the Security Manager’s Office in the Isolation Ward. If you cleared the way, it should be a lot easier to get through (just wait for the big ogre monster to run back to the hallway). It can’t chase you through the Isolation Ward once you are through.
Bring Emily to the Puzzle Box, and you’ll also notice that the dead security manager is missing from the desk. A cutscene triggers, and you’ll have to fight the zombies until Emily solves the puzzle.
Deal with the zombies normally, but the Security Manager will double-mutate during the encounter. You can use one shot of the Requiem to deal with it quickly.
Wait for Emily to finish. You can go to the newly-opened rooms in the Isolation Ward to grab some handgun ammo and Scrap. After Emily tells you she finished the puzzle, this should trigger a cutscene when you enter the office again.
If you’re ready for the next chapter, it’s time to guide Leon through the Rhodes Hill Care Center.