Payday 3: Rock the Cradle Stealth Guide
A nightclub's noise can make for the perfect smokescreen.

While you can mostly go through the loud side of heists in Payday 3 without much thinking, the stealth side is a far different story. There’s much more patience and finesse that goes into running a heist in stealth, and you’ll need to think far more about it. One heist that’s proving to be a serious challenge involves our old friend Vlad. Here’s how to complete Payday 3’s Rock the Cradle heist in stealth.
Payday 3 Rock the Cradle Walkthrough
Before we get things started, it’s worth noting that some objectives will be changed based on the difficulty you’re playing at. You’ll especially notice it when switching between the Normal and Overkill difficulties. I’ll do my best to explain where things differ based on that. With that out of the way, let’s get into it.
Entering the Neon Cradle

Right as you begin, there’ll be a massive change between lower and higher difficulties. For those playing on lower difficulties, you can easily waltz into the Neon Cradle without issue. You’ll also have full access to the dance floor and bar, which matters heavily for a choice in a minute.

If you’re playing on a higher difficulty, the front door will be locked and you’ll be forced to get a bit more creative. The easiest way to get inside is to head over to the right side of the building near the box truck. There’s a door you can lockpick from there, provided that the camera isn’t looking at you. Once you’re inside, civilians seeing you in most areas won’t be a problem. However, any guards that see you will be alerted and escort you out.
Getting Down to the VIP Floor (Lower Difficulties)

The easiest way to get down to the VIP Floor is going to depend, again, on the difficulty you’re playing on. For those on lower difficulties, you’ll find it much easier to get a VIP pass. To do so, use the door opposite of the VIP area to reach the second floor. Up there you’ll find Ms. Cassandra Rifkin’s office, the owner of the establishment. You’ll also find a VIP invitation encased in a display case. To get access to it, you’ll need access to Ms. Rifkin’s phone.

At this stage in the heist, Ms. Rifkin should be strolling across the club while highlighted. She’s always dressed the same, so you can use the above image to locate her. Hack her phone without anyone seeing you, then stay near her while the hack completes. Be careful if she goes into a private area since guards and cameras will still be able to spot you.
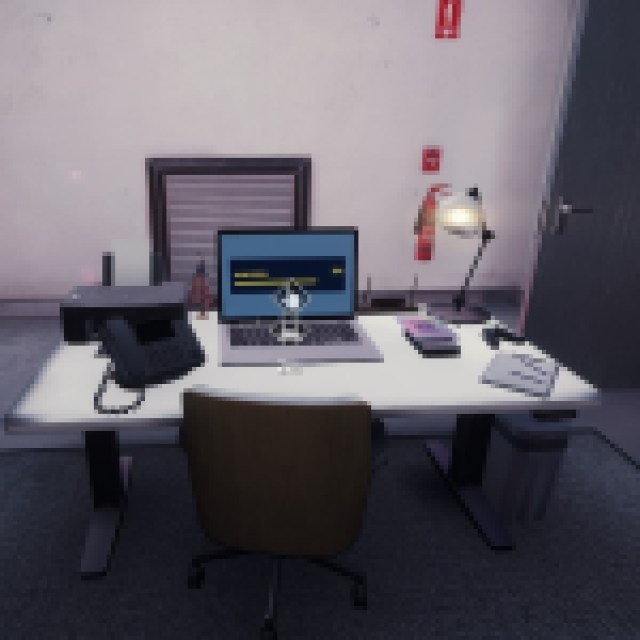
Once you have the code from her, head back to her office on the second floor and put in the QR Code. This will let you open the display case from earlier and get the VIP invitation. It still needs to be authenticated though. This can be done through a machine placed either in the Meet Hall directly across from her office, or in an office located directly adjacent to the VIP room. Once it’s authenticated, walk near the bouncers at the VIP entrance and you’ll be allowed in. Be sure to snag the blue keycard on one of the bouncers before heading down.
Getting Down to the VIP Floor (Higher Difficulties)

If you’re playing on a higher difficulty, your only option will be to mess with the speakers and distract the bouncer. To do this, you’ll need to make your way to the third floor of the building. In my playthrough, I used a vent located in a storage room near where we entered the building, then slowly made my way to the back rooms on the second floor (where Ms. Rifkin’s office is located). From there, I waited for the guard patrolling to move, then made my way up to the third floor using the stairs.

Once you’re up there, you’ll need to carefully interact with four different speakers. Be cautious, since two cameras up there can spot you alongside patrons dancing below. Once you have those done, head back down to the second floor and toward the DJ booth. Again, be careful of the guard alongside the Lead Guard that could be patrolling here. Interact with the console (which can thankfully be done if you position yourself right behind the DJ), and the music will be messed up. This will send the bouncer into the stairwell, where you can safely kill him and take his blue keycard.
While this does use one of the two pagers, getting into the VIP Floor may as well be impossible otherwise.
Now that you have that done, slowly make your way around and find a way to reach the VIP door without being spotted. Use the blue keycard on the door and after a few seconds, it’ll open, allowing you downstairs.
Exploring the VIP Floor

The VIP floor is quite large but has several rooms that you can get access to. The first one you’ll be able to see is the Electrical Facility, found just before the set of stairs leading down to the dance floor. This room isn’t useful now but will be very useful when getting access to the crypto wallet later. If you’re playing on a higher difficulty, the room also houses a vent that lets you get through the VIP room without triggering guards or civilians as easily.
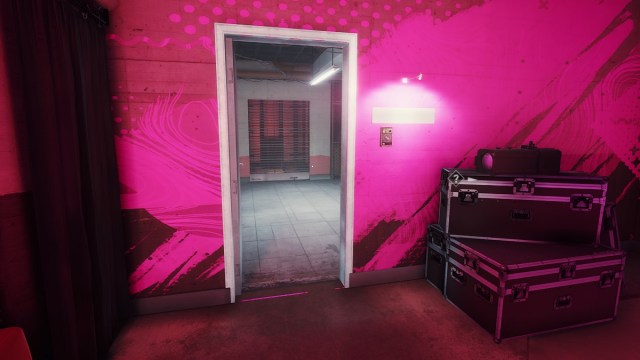
Next up is the Service Elevator and Storage room, located directly across from the Electrical Facility. This houses the escape route, along with another vent for easier access to the VIP area’s upper sections.

After that is the first Maintenance Area. This houses the security camera room, which could be insanely useful for getting rid of cameras in all sections of the Neon Cradle.

Following that is the Black Knight poker table. In this room is the Accountant, who could be useful for getting access to the crypto wallet later. While this is a possible method, I suggest not using him as the dangers of getting him across without being spotted are slim to none.

Following this is the IT room, which houses that crypto wallet that we’ll want to snag later on. If getting through this way or distracting the guard isn’t possible (more on that shortly), then a bathroom nearby houses a vent where you can climb through to reach the IT room.

Second to last is the second Maintenance Area. This is another side path, and houses access to the vault room. More on that lower in this article.

Finally is the Accounting Office stairwell, which leads to the room of the same name. This will prove immensely useful in a moment.
Getting the Crypto Wallet


Before we can get access to the IT Room and the crypto wallet (unless using the vent in the bathroom), you’ll need a red keycard. This can be found in the Accounting Office, which is found through the stairwell mentioned above. Also here is a code on the Accountant’s chair, which will prove useful later.

With the red keycard in hand, make your way back to the IT room with the guard in front of it. Nearby, you’ll find a fireworks machine that you can set off the lure the guard away from the door. Once you’re inside, use the red keycard on the IT room door.
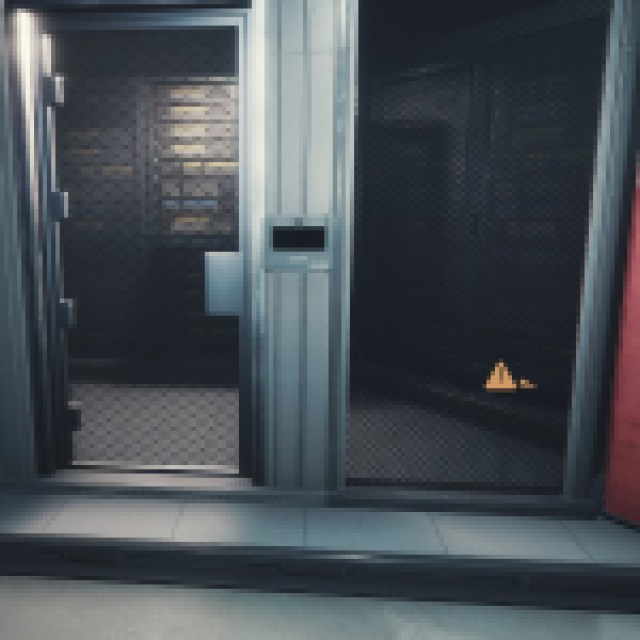

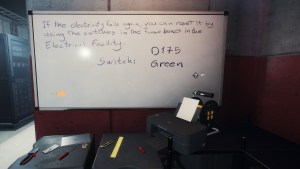
Inside the IT room will be a biometric scanner that only the Accountant can open. However, there’s another way to do this. Within the room will be a whiteboard, showing a four-digit/letter code and a color. For my most recent playthrough, this was D175 and Green. This is the correct power switch to flip in the Electrical Facility. Note this down, then make your way over to the Electrical Facility.

Inside will be 10 different boxes, each with its own set of colored switches. You want to look for the box with the letter/number combination you found earlier and open it. From there, hit the colored switch it mentioned. Once you hit it, make your way back to the Accounting Office and interact with the computer there. This will reset that biometric scanner and open the door in the IT room, letting you snag the crypto wallet. If you need an easy way out, use that vent in the bathroom I mentioned earlier. Throw the crypto wallet into the loot chute, and you’ll be good to go!
Getting Into the Vault

While you could leave with just the crypto wallet, there’s also a vault that holds boatloads of cash for an extra payday. To get access to it, you’ll need that code on the chair in the Accounting Office from earlier. Input the code, then open the vault for access to some sweet riches. There’s also a vent in the vault room, leading over to the Accounting Office stairwell if you need it. After that, extract and enjoy your rewards!
If you’re looking for more help with other heists, check out our Payday 3 Dirty Ice stealth guide.
