
How to Solve the Cave of Wonders Puzzles in Disney Dreamlight Valley
One final set of puzzles separating you from your next goal

During DDLV’s Diamond in the Rough quest on Eternity Isle, you’ll wrap up your journey of finding the Jewel of Time in the Glittering Dunes by venturing into a cave and guiding light into magical gates. Here’s how to solve the Cave of Wonders gate puzzles in Disney Dreamlight Valley.
How to Solve the Diamond in the Rough Quest Puzzles in Disney Dreamlight Valley
When you first enter the Cave of Wonders during the Diamond in the Rough quest, you’ll find a locked gate, light beams, and various other contraptions surrounded by gold coins Jafar has collected over time. You’ll encounter multiple gates in this cave; your main objective is to open them using these light beams.
First Cave of Wonders Gate Puzzle
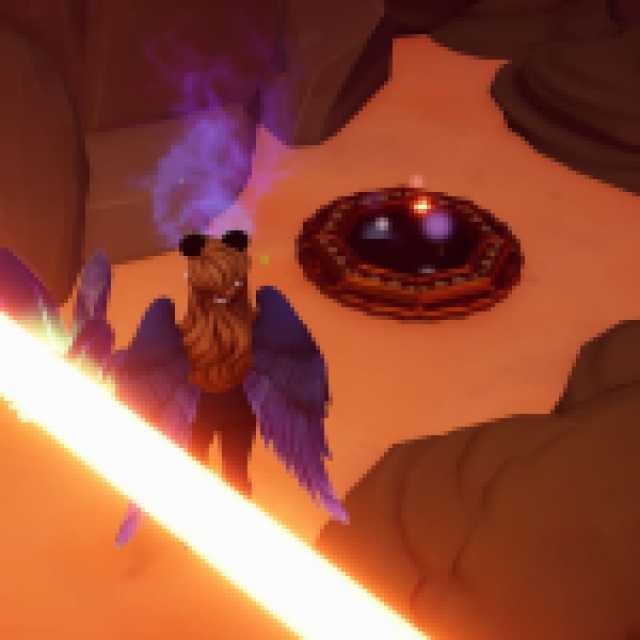
At the first cave, you’ll find a path blocked by purple shards and a lever with a pillar to your right. Head left and clear away the shards to travel along a path to a power coil. Pick this up and place it in the nearby pillar to activate a second light beam connected to the lever.


Once you attach the power coil to the pillar, head back to the lever and pull it to open the gate, allowing you to progress.
Second Cave of Wonders Gate Puzzle
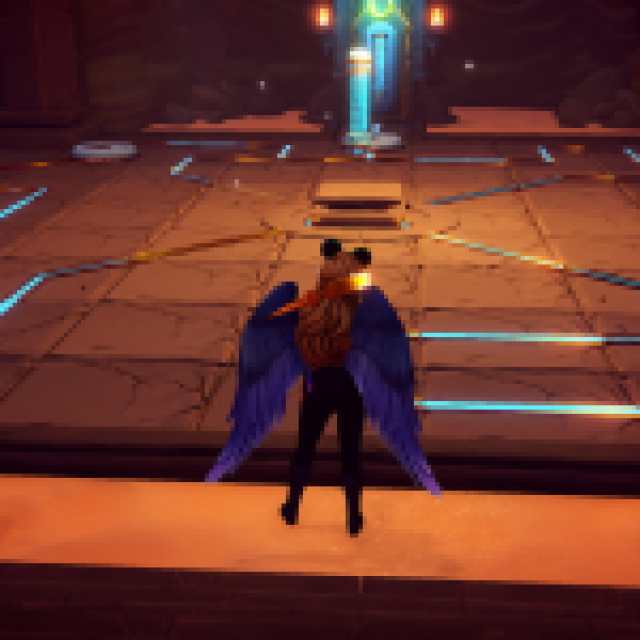
Once you enter the first gate and clear the shards blocking your path, you’ll encounter a second gate with a more complicated puzzle.
Starting on the left side, head up the stairs and down the path before turning left. You’ll find an ancient mirror on the floor, which you can attach to the empty wall circle you passed on your way to this spot.


In this same room, you’ll find two levers: one on the bottom level down a ramp and the other to your right against the back wall. Activate this lever first before going down, clearing the shards, and pulling the second one.
By the end, the light beams should bounce off each mirror out to the main foyer of this puzzle area. Head back to the foyer and pull the lever to shoot a beam of light toward the gate, completing the first half of this puzzle.
Next, you’ll have to head up the stairs to your right. In this room, you’ll find a power coil in the center, with several circles on the floor. Your goal is to turn each circle so the lit power coil’s electricity can flow through the wires on the ground. Below are the steps to finishing this:
- Turn the stone with the two lines vertically to connect the power to the rest of the grid.
- Going counterclockwise, rotate the stone to your left twice to bring power to the bottom corner.
- Turn the bottom corner once to send power to the center.
- Head to the top corner stone and rotate it three times.
- Lastly, head to the final stone and turn it until it lights the last few lines.


Upon rotating the last stone, the power coil in the center will light up, allowing you to pick it up and bring it to the main foyer. With the power coil in hand, return the way you came and insert it inside the empty pillar to turn on one last beam of light, opening the gate and allowing you to progress further and claim your final prize.
Are you interested in doing some cooking after completing this quest? Check out how to make Charlotte cake in Disney Dreamlight Valley, or click the tag below to browse our growing article collection.