
How to Fix Xbox Error Code 0x80244022
"Where's Waldo?" but it's Windows 10 and it's not a game anymore.

Let’s keep it real: nobody likes to encounter errors. Especially if it’s in your free time when you just want to sit back and enjoy some gaming. Xbox Live Error Code 0x80244022 is indeed pesky, but it’s not problematic to solve. Here’s what you should do to fix this error.
How to Solve Xbox Live Error Code 0x80244022
Error Code 0x80244022 commonly appears on Windows 10 PCs during your attempt to install a video game from Xbox Live Game Pass. Usually, you’ll see the following error message paired with the Error Code 0x80244022:
Reconnect the drive you download to. We can’t find it.
Here are some troubleshooting tips to help rid Windows of this nasty Error Code 0x80244022.
- First, you need to open the File Explorer. You can do this by clicking the icon on the taskbar to open File Explorer. If you’ve unpinned it, search for it under the Start menu. (You can tap the Windows key on your keyboard, type in “file explorer,” and then click the icon).
- Within the File Explorer, Select the View tab located just under the top border of the window, and then, from the menu that appears, locate the Hidden Items checkbox and click it.
- After you’ve done this, locate your game files manually, right-click on the folder, and then go to Properties.
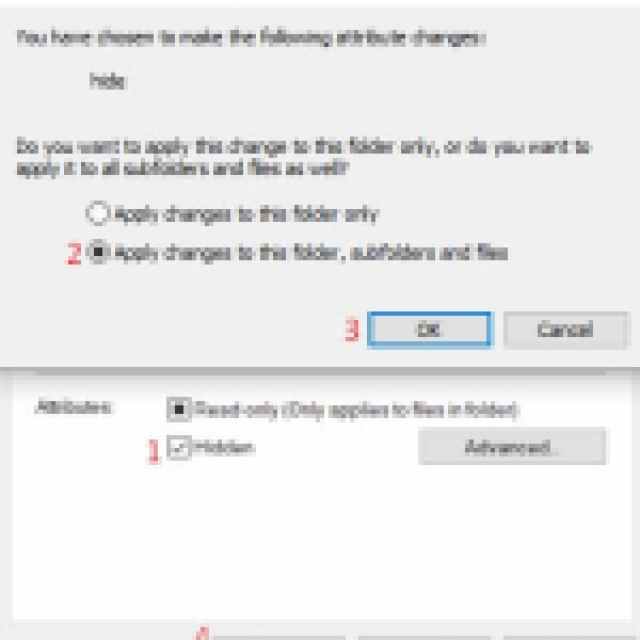
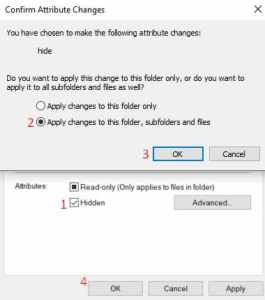
- Under the General tab/card, look near the end, and you will find the Attributes section. There, if you see that the “Hidden” checkbox is active, click to remove the check mark. You will probably get prompted to apply these changes to all subfolders, and by all means, you should do that. If necessary, hide them all voluntarily and then unhide them, just to make sure that it’s done completely for every file and folder inside (so that they’re on the same page; I’ll show you this in screenshots below).
- Make another attempt at a game installation.


If the issue persists, feel free to reach out to Xbox Support. Make sure to tell them about the troubleshooting done by “unhiding” the game files to cut down on their troubleshooting time.
Did you know that Palworld sold 1,000,000 copies in just 8 hours?