Cat Quest III finally takes our feline warrior to the sea, and it’s another charming adventure from The Gentlebros. The PC version isn’t demanding in the least and runs great on practically anything with a GPU from the last 15 years. Despite that, if you can’t get your controller to work properly in Cat Quest III, here is how you can easily fix that.
Fixing the Cat Quest III Controller Issues
To fix the controller issues in Cat Quest III, you need to disable Steam Input and allow the game to use the default native profiles set up by the developers.
Disable Steam Input
- Make sure Cat Quest III isn’t running
- Open Steam, and navigate to your library
- Here, right-click on Cat Quest III and select Properties


- In the Controller tab, select the Disable Steam Input option under Override for Cat Quest III
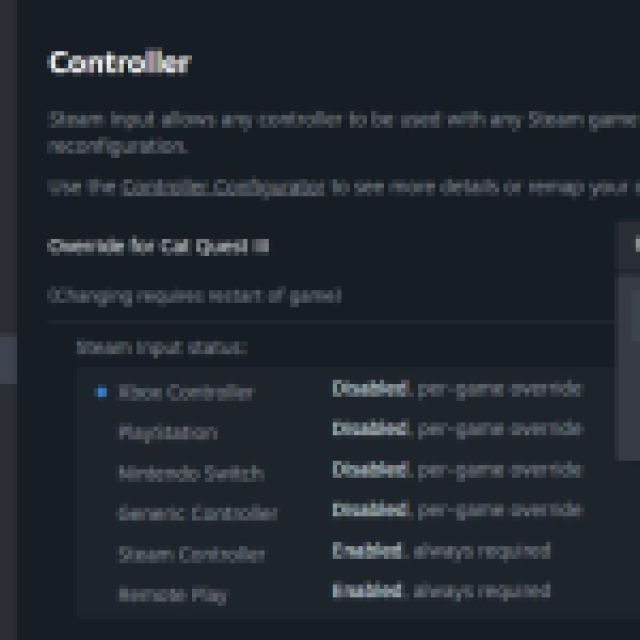
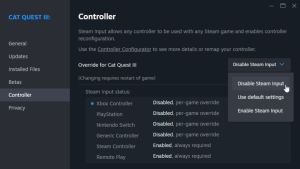
This is all you need to do, and after this, your controller should work normally. Cat Quest III has proper button prompts for PlayStation and Xbox controllers, but you’ll need to disable Steam Input for those to show properly.
Used a Wired Connection for PlayStation Controllers
Since Cat Quest III has native support for PlayStation controllers, you will have to use a wired connection to make sure it works properly. If you don’t want to use a wired connection, you’ll want to use Steam Input, but that will force the default Xbox controller layout.
Check Detected Controllers
If you still can’t get your controllers to work, make sure Steam is detecting the ones you have plugged in. To check detected controllers in the Steam client, simply select Steam > Settings > Controller:
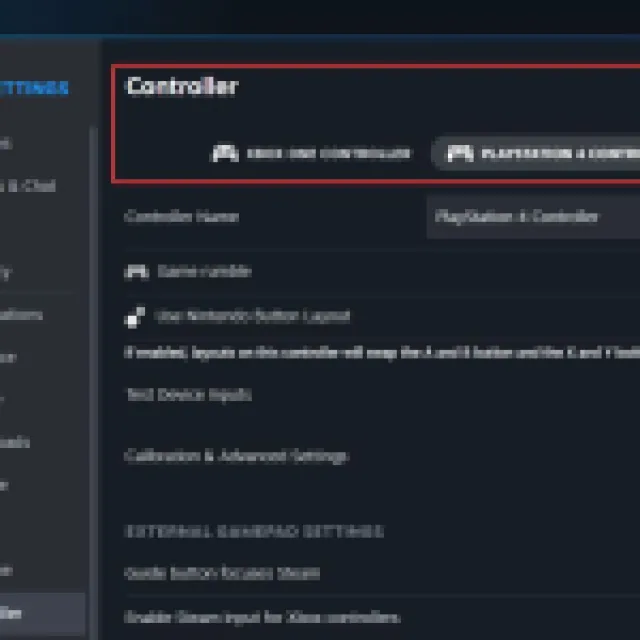
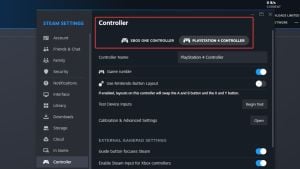
Disabling Steam Input will make sure most controller issues are resolved in Cat Quest III. For more guides and tips, check out How to Fix the Cat Quest III Controller Issues on PC.




Published: Aug 8, 2024 02:57 pm