
How to Find and Defeat Skull Tyrant in Hollow Knight Silksong
A battle of patience and endurance
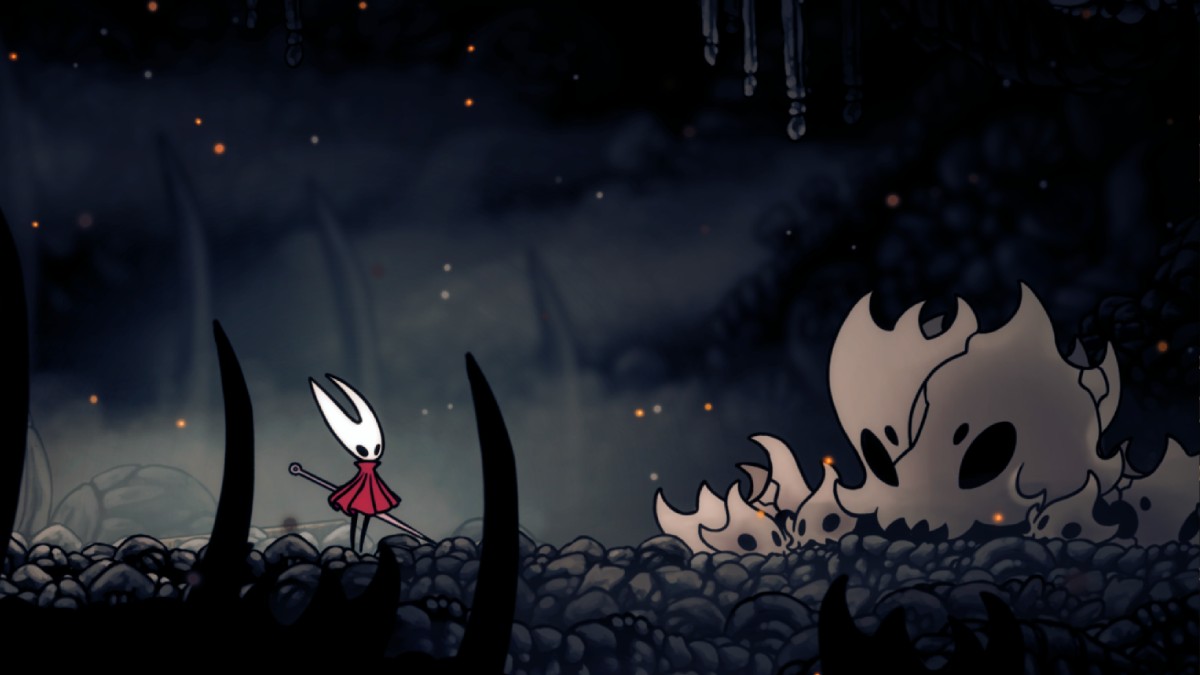
The Terrible Tyrant quest requires you to track down and defeat the fearsome Skull Tyrant, which has been terrorizing the caverns of the Marrow. This apex predator can be a challenge to find and beat, so here’s a quick and easy guide on how to complete the Terrible Tyrant quest in Silksong.
How to Start the Terrible Tyrant Quest
You get the Terrible Tyrant quest on the Wish board once you unlock a certain ability from the Shellwood region. Return to the Wish board and you’ll find a quest to hunt down the Skull Tyrant, who has been terrorizing the caverns of Marrow.
How to Find the Skull Tyrant
If you’ve already explored The Marrow thoroughly, you’ll notice there are only 2 regions left to explore with your new climbing ability. The image below shows the entrance with a blue circle and the Skull Tyrant’s location with a red circle.
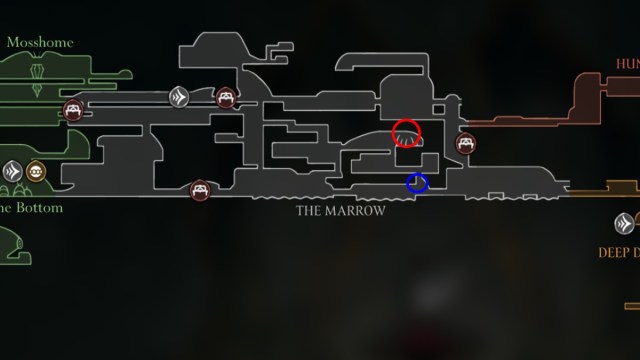
Your goal is to head to the lower one near the Deep Docks and make your way through the caverns to the left. This is a tough crawl as the caves have several tight spaces where you must fight multiple Kiliks and Skull Brutes. Taking damage is inevitable, but try to rush through and minimize your health loss.
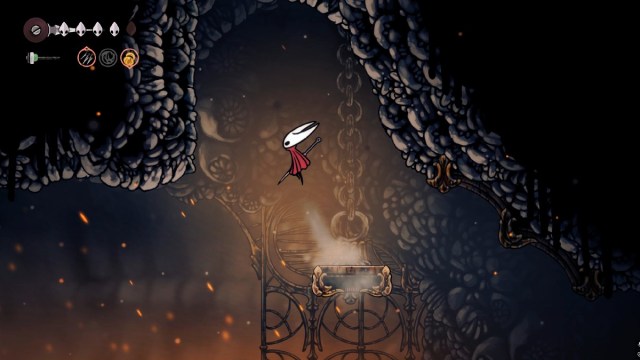
Once you make it through the lower levels, you emerge in an open room above. Instead of heading to the right towards the boss, you should head towards the left and open up a shortcut. Visit the nearby bench so you can make subsequent attempts easier. Now it’s time to go face the Skull Tyrant.
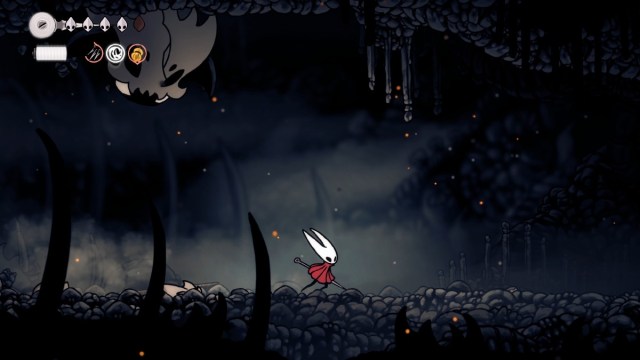
How to Beat the Skull Tyrant
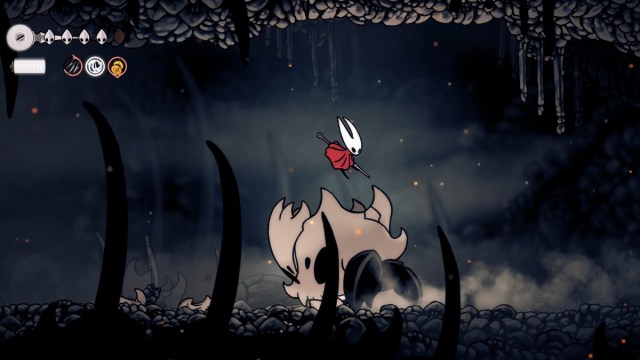
The Skull Tyrant really only has 3 moves that you need to watch out for, and they’re quite easy to dodge. The real issue is the fact that every attack deals 2 Masks worth of damage, and the Skull Tyrant has incredibly high HP.
Charge Attack
The charge attack has the Skull Tyrant run at you after winding up and taking a few steps back. It might look menacing, but you can simply jump over it. I suggest keeping a good distance from the Skull Tyrant so you have ample space to jump up.
Jump Attack
The Jump attack has the Skull Tyrant hold its position and then pounce on your location while also knocking some rocks loose. This attack is easy to read and punish; just make sure you get around 1-3 hits in and then create some distance. The key to this fight is being able to tell whether a jump or charge attack is coming your way.
Rock Fall Attack
Sometimes the Skull Tyrant will stay fixed in place and jump up and down, knocking loose rubble to catch you off guard. Just dodge the falling debris and wait for the easy punishes on charge attacks and jump attacks. This fight is a game of patience.
If you’re low on Silk or feeling overwhelmed, you can retreat to the lower level and even try to cheese the Skull Tyrant here. But this often introduces variables that you’d be better off without, so we suggest taking the slow and steady method instead.
Terrible Tyrant Quest Reward
You get the Heavy Rosary Necklace as a reward for turning in the quest back at Bone Bottom village. The Heavy Rosary necklace is a consumable like the Rosary Necklace, and it gives you 220 Rosaries on consumption. You’re at no risk of losing it upon death, so be sure to keep it until you actually need it.
You should also check out our guides on the Mossberry quest and check the locations of all 5 Lost Fleas.
If you’d like to see more helpful guides, news, or features from Prima Games, please consider adding us to your preferred sources (currently available to users in the US or India).