
How to Escape Maya and the Maze in The Short Message
How many times does Silent Hill have to teach you this lesson, old man?
There’s a beautiful monster haunting the halls of this apartment building. Here’s how to escape Maya in Silent Hill’s The Short Message.
How to Escape Maya / Cherry Blossom Monster in The Silent Hill’s The Short Message
When you first begin exploring Anita’s old apartment buildings, the only real threat is Anita’s crippling insecurity and possibly black mold. But as the reality around Anita begins to crumple, revealing the cracks beneath, you’ll quickly encounter the biggest threat in the game.
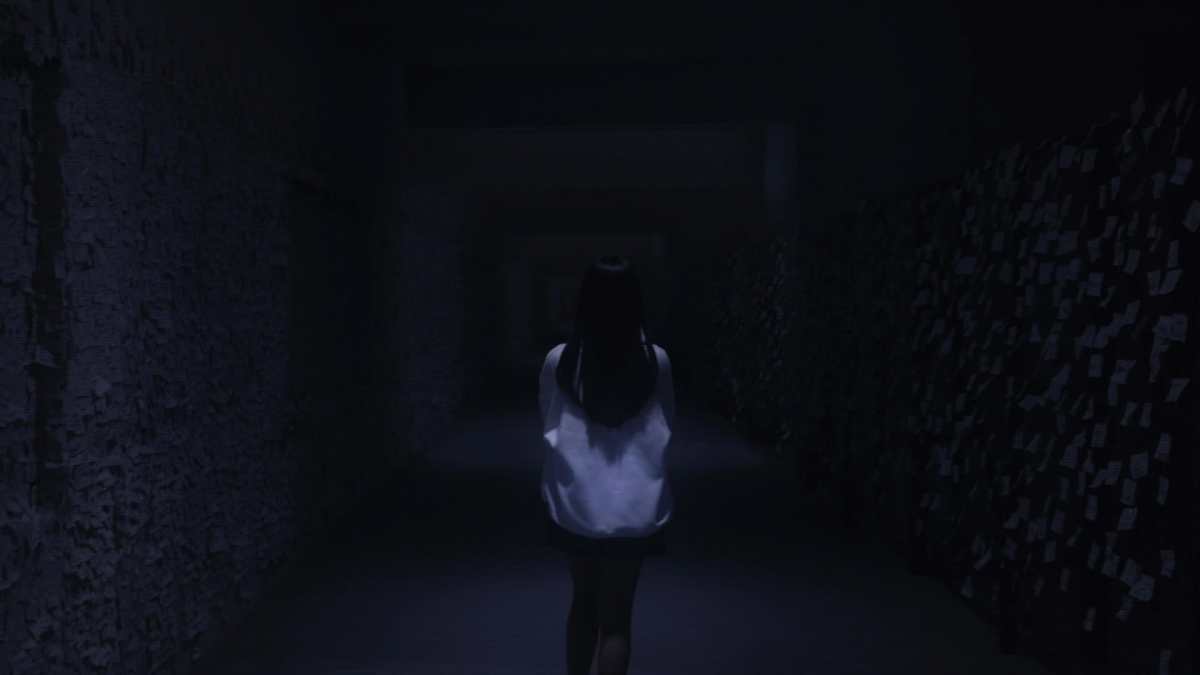
Maya, or the Cherry Blossom Monster, is a towering creature that is distinctly feminine. Clad in white and pink, its face is hidden behind sketch paper that’s been bound around its face by the branches of a cherry blossom tree. And despite those fragile florals, this monster will absolutely punch a hole in your chest if you get caught.
So, here’s how to not get caught.
How to Escape Maya During the First Chase in The Short Message
When you first Encounter Maya after the post-it note room, you only need to do one thing. Turn around. The apartment you were just in will have turned into a maze. Take the first right and navigate it using the lights on the floor. Where the lights point, go.
This chase section is blessedly short, and you’ll soon reach safety.
How to Escape Maya During the Second Chase in The Short Message
The second chase will ramp up its difficulty. You’ll encounter Maya again in the hallway. And while you’ll start in your standard metal and rust Silent Hill corridor, you won’t see Maya until you open door 212. The moment you do, you should immediately turn around and run.

Your goal in this labyrinth is to make your way through the doors, with 213 being the ultimate goal. Many of the doors lead to looping corridors, and you’ll know you’re headed in the right direction when you start to see cardboard guys with sports jerseys and lockers. Keep following the lockers to victory. Or whatever victory looks like in a Silent Hill game.
How to Escape Maya in the Final Chase of The Short Message
So, this is the hardest chase of the game, and it’s the final obstacle you’ll need to overcome. Simply running away from Maya isn’t enough, though it’s essential to staying alive.
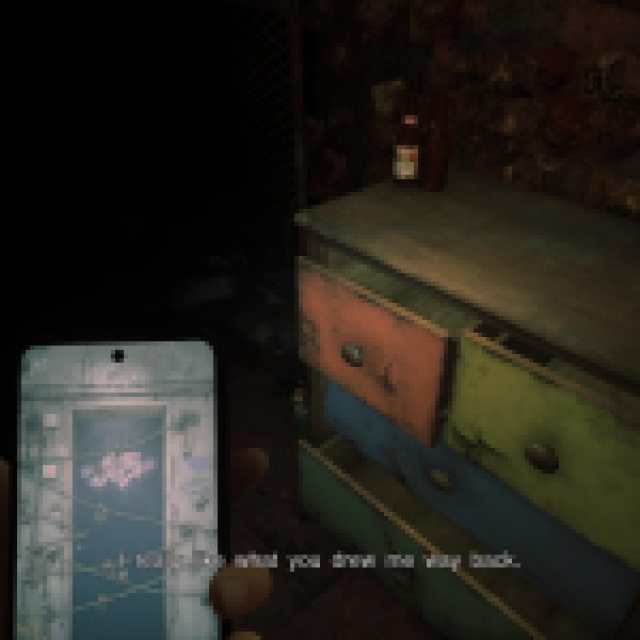
You’ll need to find five photographs in the maze. You’ll need to find all five photographs in one run. But don’t despair. You can use your phone to locate them. As you get close to a photograph, a picture of either Maya or Amelie will appear on your phone. Use this to make your way through the maze and grab the photograph.

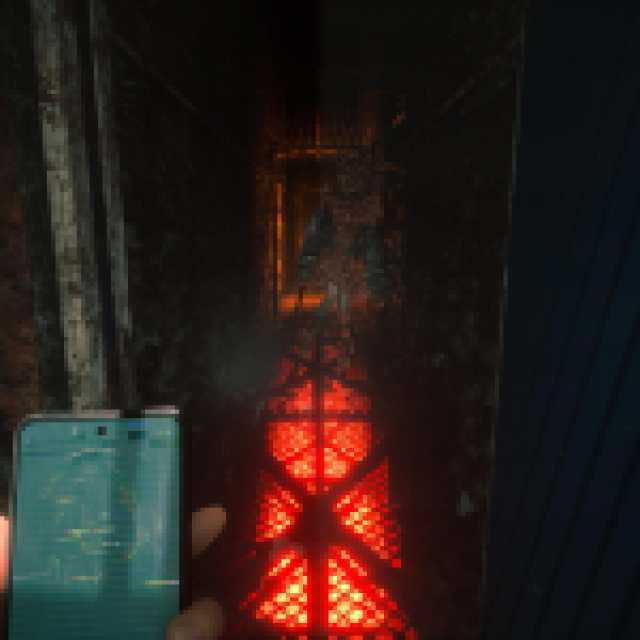
Each photograph you find will remove one chain from the door that will let you escape the labyrinth. You can tell how many chains are left on the door after you pick up a photograph, as the updated door will appear on your phone.
However, Maya can and will teleport around you. If your phone goes on the spritz, Maya is close by. The rooms here loop, just like in the second maze, so you can run around in circles if you need to create distance but don’t want to leave a photograph behind.
Silent Hill: The Short Message Maze Guide
Since you’ll likely be looping around to get away from Maya when running through Silent Hill: The Short Message’s maze, it’s easy to lose track of where you are and where you’re going. Luckily, there are a few distinctive landmarks to help guide you. Here are the locations of all five photographs and the loose pathway you’ll want to follow to get through the maze:
- When you first open the blue door, and Maya starts walking toward you, immediately turn around and head forward through the large arched hole in the wall to the left past the square cage in the middle of the room.
- Photograph 1 is sitting atop a colorful dresser against a wall. Pick it up and keep following the linear path.
- Photograph 2 is on top of a gray suitcase sitting against a tall cage. Grab it and turn right to pass through a blue door.
- Turn left, then right, then open the next blue door on the lefthand wall.
- Take another left, and you’ll find Photograph 3 just ahead on top of a wooden, paint-splattered desk beside an art easel.
- Facing the desk, turn completely around and head back the way you came, past the entrance you took. There should be a large hole that makes up a wall just ahead, and a large iron cage turned diagonally in the middle of the room. Turn just to the right of this diagonal cage to pass through another blue door.
- Run forward through a long corridor and pass through the blue door labeled 209 at the very end of the hall.
- Run completely forward in the next room, past the desk in a cage, to the back. Photograph 4 is sitting in the middle of the open blue lockers.
- Head back the way you came until you see a large arched hole in the wall on the left side of the room. Run through this hole and take the linear pathway forward past all the jock scarecrows with paper bags for heads and through the blue door. Immediately turn left and take the next blue door to the right, labeled 211.
- In the next room, there’s an open door on the wall straight ahead, slightly to the right of the cage-like pillar in front of you. Run through this door and forward until you pass through another open door.
- In this room, you should see a couch in a cage. Turn immediately left toward it, and run forward to find Photograph 5 alongside several pills on top of a wood cabinet.
- The chase will end once you pick up the fifth photograph, and the lights will brighten. The cherry blossom door is now open, and you can take your time to find it. Its loose chains will still be shackled to the wall alongside the door, indicating it’s the right door.
I highly recommend taking this area slowly. Don’t let yourself get cornered for a photograph if it means that Maya kills you, as you’ll have to start all over again. But once you get through this maze, the final stretch is in sight.