
How to Complete Vexcalibur: Authorization Override in Destiny 2
Cut through their firewalls
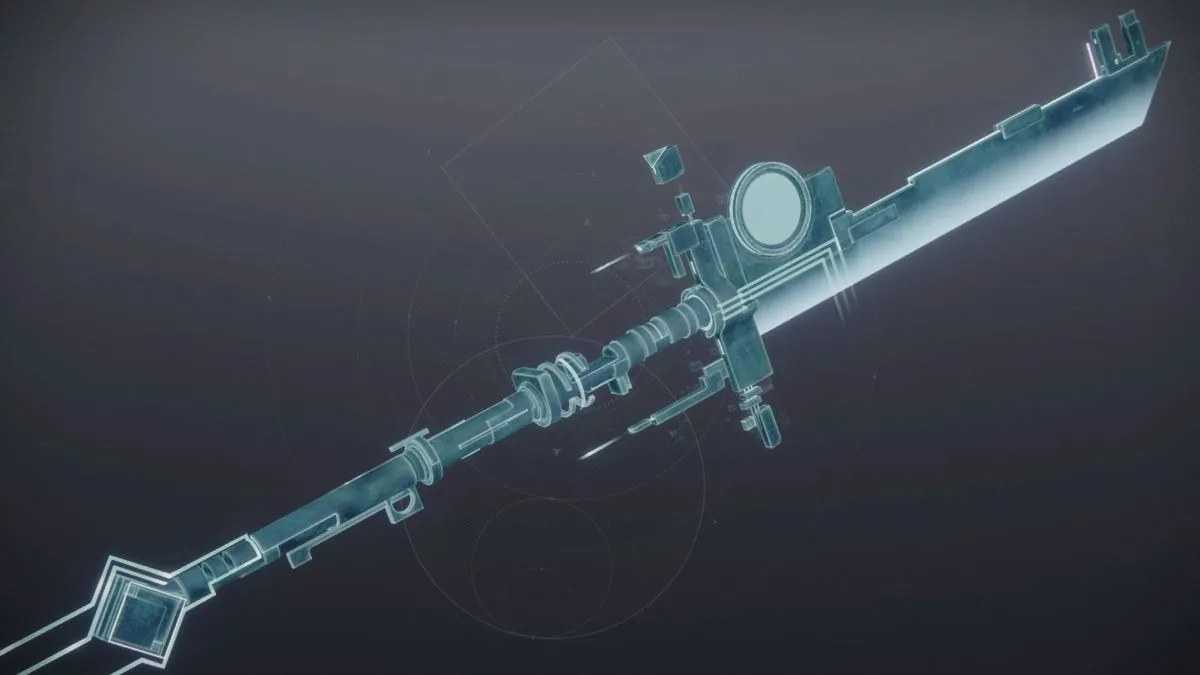
Is it really a Seasonal Exotic if there aren’t half a dozen quests to do with it? The answer, of course, is no. And while we can comfortably expect at least three more Vexcalibur quests to come down the pipeline over the coming weeks, each yielding a new Catalyst, there’s one quest we can do right now. And that’s Vexcalibur: Authorization Override. Here’s how to complete Vexcalibur: Authorization Override in Destiny 2.
How to Complete Vexcalibur: Authorization Override in Destiny 2
Upon bringing the Vexcalibur to the H.E.L.M., you’ll get a new quest. It’s only three steps, so let’s jump right in.
Step 1: Defeat Vex with Vexcalibur
Defeat Vex with Vexcalibur to assimilate their network protocols and acquire the Authorization Override mod.
- Vexcalibur Vex final blows 0%
Each kill with Vexcalibur yields 3%, and there are two great locations to grind this out. The first is to queue up for Terminal Overload in Neomuna. You can do this by heading to the map, then locating the white diamond icon.
There are three major Vex rounds in Overload. The first two occur when you capture the plate and the final round is when you must take down the giant Vex boss. This final round is particularly good for farming Vex.
Related: How to Find the Zephyr Concourse Action Figure in Destiny 2
The other option is the Thrilladome Lost Sector in Liming Harbor. The best way to farm this Lost Sector is to get to the point where you’re about to teleport into the boss room, then reload into Liming Harbor and repeat. The boss room is too long ranged, with too few enemies to be worthwhile. But the other rooms are Vex dense.
Step 2: Equip the Basic Authorization Mod
Equip the Basic Authorization Override mod to Vexcalibur.
- Mod equipped
Once you’ve gotten 100%, you’ll get an item. Head into your profile, then inspect Vexcalibur. In the Weapon Mod section, navigate to the grey square and select Authorization Override. Equip it.
Step 3: Return to the War Table
Return to the War Table to receive an incoming transmission.
- War Table visited
Navigate to the H.E.L.M., then approach the table at the far end. You’ll receive a message. It looks like Vexcalibur will now be able to bypass those security walls we encountered in Avalon. But that’s all for this mission.
You’ll get a series of Triumphs, include Ctrl-Alt-Complete. Congrats, Guardians!