
How to Complete the Temple of The Cunning in Destiny 2
Solving puzzles is easy, just keep shooting.
Tasked with following the lead provided by the ghost, Fynch, on how Savathûn stole the light, the Guardian sets off to the Temple of The Cunning in the Witch Queen’s sixth campaign mission.
Select the mission and you’ll spawn in the Miasma on Savathûn’s Throne World. From right where you’re standing, go straight and start your descent. You’ll eventually get the title introduction for the Temple of The Wrathful. Here’s how to complete the Temple of the Cunning in Destiny 2.
How to Complete the Temple of The Cunning in Destiny 2: Temple of the Wrathful
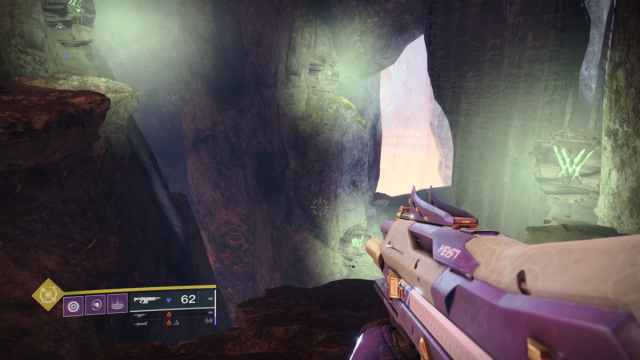
The entrance is dark and filled with fleshy pustules that, once shot, will explode and exude a bit of light. Do this to help you find your way through the narrow caverns, while always following the white diamond.
Related: Destiny 2 Best Weapons For PvE: Weapons Tier List (November 2022)
Once you’ve shot your way through the narrow cavern, you’ll enter a cave full of Scorn. They’re not much of a threat, and at the end of the cavern is a yellow portal. Head through it and you’ll arrive in front of a tower that’s guarded by more Scorn. You’re going to be seeing a lot of Scorn. Defeat them and head left, from where you spawned. Two Scorn will be sitting on top of a perch, which you can take to snipe the other Scorn below.
Once you jump into the arena, dozens more will spawn. Be careful of the roving packs of ravagers, as they come in aggressively.
You’ll get to a bridge and two gold bar abominations will spawn. You’ll have to defeat both to drop the fog gate blocking your way to the Temple of The Cunning. Once you do, pass through and you’ll get a title introduction to the Temple, though we still have a way to go.
How to Complete the Temple of The Cunning in Destiny 2: Puzzle 1
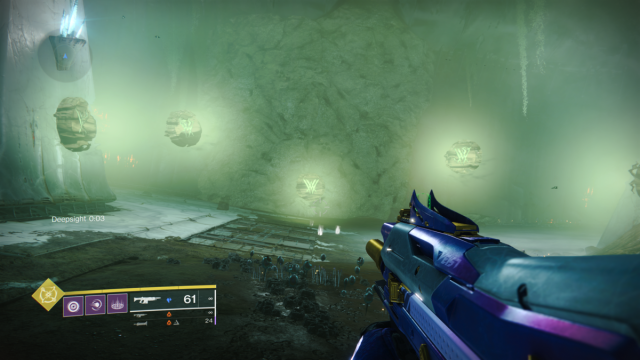
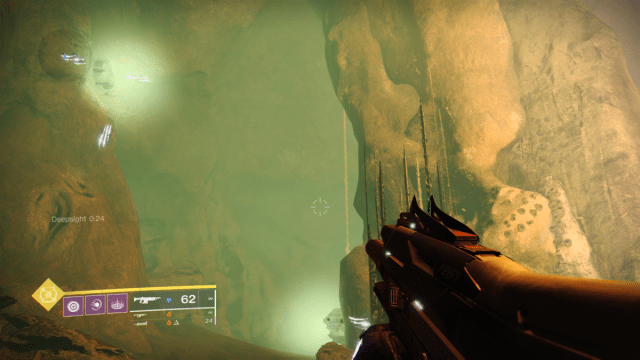
Once through the door, you’ll descend and reach a dead end with a Deepsight Orb. You’ll have 30 seconds to complete the puzzle it will reveal. Five runes bearing Savathûn’s crest will spawn in front of you. All you need to do is shoot all five. This is our introductory puzzle and a sign of things to come.
The door will appear right in front of you once all five runes are shot. Follow the path deeper into the temple and follow the green-lit corridor into another chamber. Another Deepsight Orb awaits us, this time balanced on a stone pillar.
How to Complete the Temple of The Cunning in Destiny 2: Puzzle 2
Similar to the last puzzle, you’ll need to find all five runes and shoot them once the Deepsight Orb is activated. Unlike the last one, these runes are hidden.
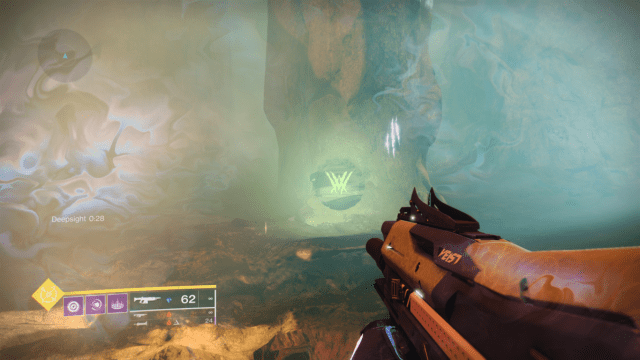
Rune 1 will be immediately visible slightly to the left. It has a white claw mark beside it. These white claw marks will indicate where a rune is.
Turn a little more left while still on the platform, and you’ll see another Rune.

Jump off the platform and retreat back to where you initially entered the room. Turn right, and you should see Rune 3 on the pillar. From this angle, you can see Rune 1 as well.
The fourth Rune will be right below where the Deepsight Orb spawns. Do not jump into the gap! It will kill you.
The final rune is hidden on the pillar a little lower than where the second Rune was. The rune that you could shoot while on the Deepsight Pillar. Just jump back towards the entrance and walk a little left, and you should see its glow.
The best method I’ve found for getting all 5 in the timed window is to familiarize myself with the location of all runes, then activate the Deepsight Orb. While still standing on the Deepsight platform, kill Rune 1 and 2. Then jump forward, circling left, and kill Rune 5, Rune 4, then Rune 3.
Once that’s done, the wall that was in our way will dissipate, revealing a new wall. But this time with holes, so we can crawl through.
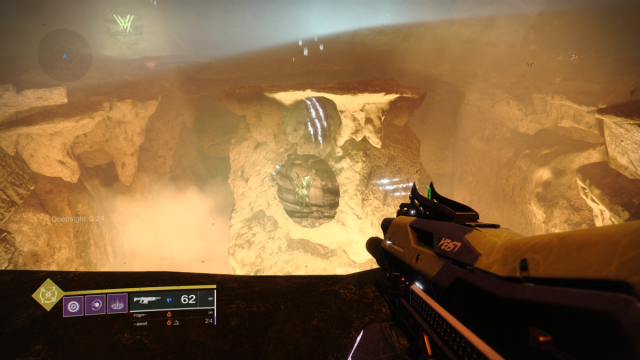
This narrow tunnel is enemy free and fairly quickly opens into a much more ornate chamber with enemy Scorn. Kill them and walk through the chamber to find yourself on a balcony. Now, here’s the real Temple of The Cunning. It’s accessible only by the bridge we see stretched before us.
You can try to work your way carefully down, but you’ll survive if you just jump, as there’s a broken pillar immediately below to break your fall.
How to Complete the Temple of The Cunning in Destiny 2: The Bridge
Halfway across the bridge, we see that it’s raised. On the left-hand side there are broken rocks, and on top of one is a Deepsight Orb. Activate it, and it’s another find the Rune and Shoot puzzle.

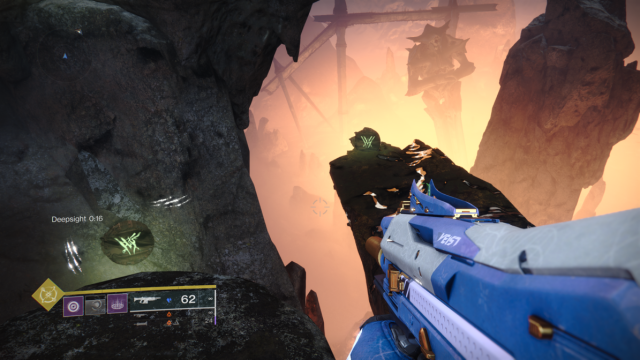
Approach the edge of where the Deepsight Orb spawns, and you’ll be able to see 3 Runes. The first two are immediately visible on permanent rock pillars. But the third (which you can identify by its glow), is only accessible by the platform that spawns when Deepsight is active.
The last two Runes will require you to jump forward and then look down. One again is at the end of a Deepsight platform.
Follow the stone pillars to another Deepsight Orb. There’s no puzzle aspect to this one. Just activate it and turn right, where a few platforms will have spawned. Ascend, and you’ll be back on the bridge, where the Scorn will be waiting for you. Defeat them and cross to the right side of the bridge, where you’ll see another Deepsight Orb near a pillar.
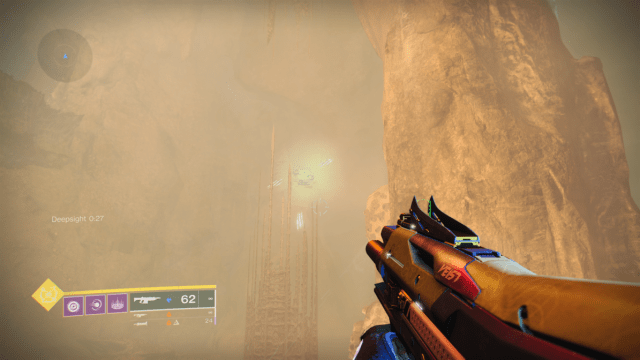
Prepare yourself for some platforming. Activate it, and cross the platforms, but don’t be fooled by the Deepsight Orb in the distance, floating in midair. We’re headed for the next closest pillar, which opens up into a chamber with another hidden Deepsight Orb.
This will activate 5 hidden runes, but they’re not really that hidden. One is immediately beside you to your right, and you’ll be able to see the other 4 if you step forward, towards the Savathûn statute. Shoot all 5, then follow the direction Savathûn is pointing.
New stone pillars allow you to access the Deepsight Orb that had been previously floating in the air. Activate it and new Deepsight Platforms will reveal themselves, which will allow you to access the last part of the bridge. Here, we’ll need to stand on the circle until the drawbridge can be… charged up? I guess?
You’ll be buffeted by waves of Scorn, the most deadly of which are the Screebs. You can leave the circle and snipe them from a distance before they overwhelm your position.
How to Complete the Temple of The Cunning in Destiny 2: The Inner Sanctum
Once the drawbridge drops, cross the bridge to The Temple of The Cunning, which is guarded by even more Scorn. Be very wary as you cross the threshold, as two Abominations are hiding in wait on either side of the door.
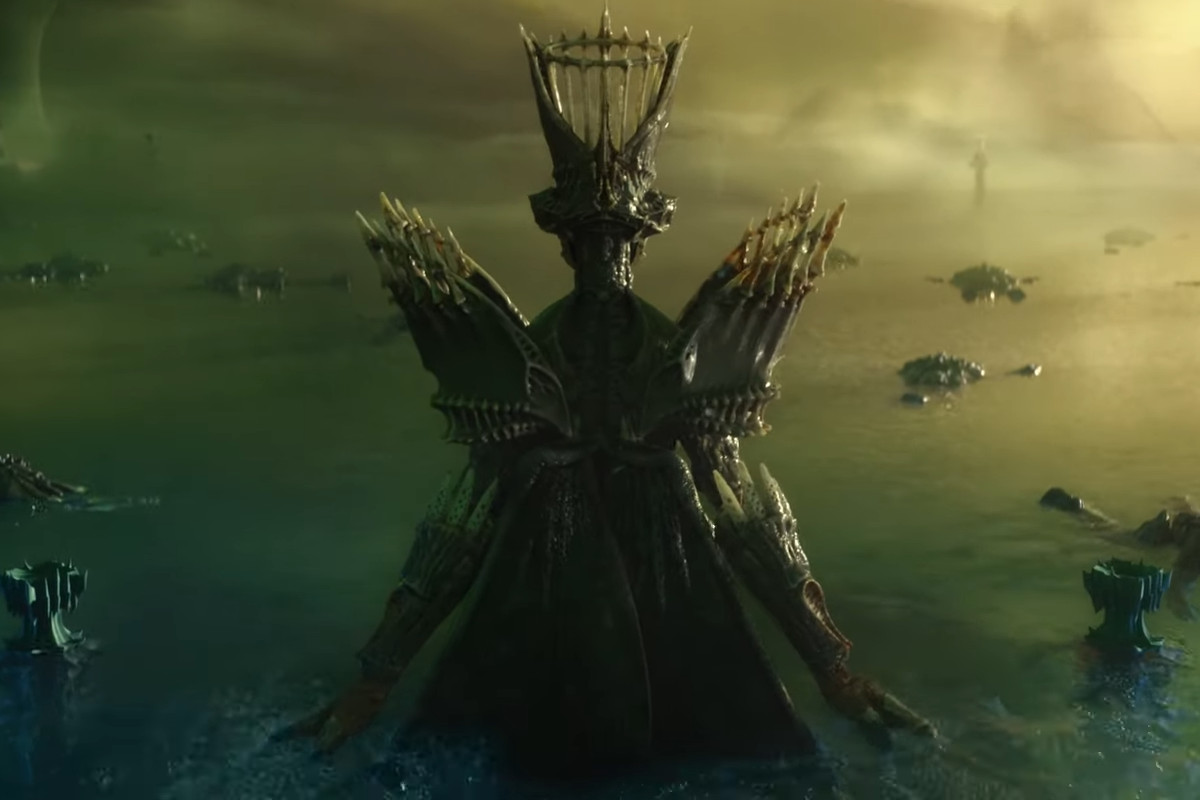
Past them is the relic room. You can see Sathona, before she was Savathûn, cradling her Worm familiar.
Stepping deeper into the room will trigger a hoard of Scorn to spawn. Among them is the Warden, Termiiks, Invasive Warrant. He’s agile, and if you’re playing on Legendary, there’s a decent chance he can one-shot you.
Clear the room, and a Deepsight Orb will spawn where you could place the Raid Banner. Activate it, and you’ll see 5 runes to the left. Shooting all 5 will create permanent platforms which you can ascend.
Reach the highest platform and you’ll find another Deepsight Orb. Activate it, and 5 more runes will be conjured beside Sathona. Shoot them to reveal the final platform and drop the shield surrounding the Sathona statue. Now, you can finally grab that worm familiar.
Defeating the Ahamkara Illusion
Once you have your hands on the lead you’ve been searching for, a new boss fight will start. This time against the Ahamkara Illusion.
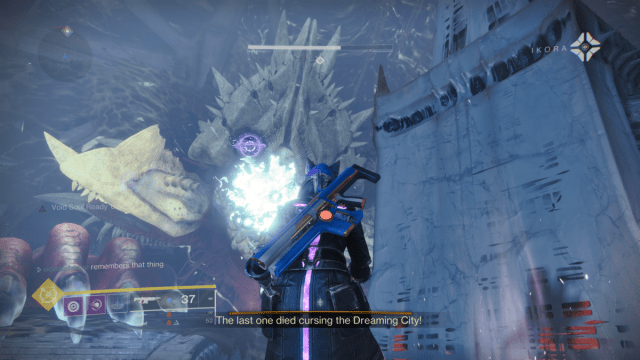
The mechanic for this fight is simple. Shoot inside the Ahamkara’s mouth when it’s lit and avoid its attacks by hiding behind a pillar. It’s a slow process, but you should be able to whittle him down. It’s also a fight where rocket launchers are a great choice. It’s when you lower his health low enough that things can heat up, especially on Legendary.
Once the first segment of his bar is deleted, he’ll briefly retreat to summon Screebs. Defeat them, and he’ll return. Once you’ve almost depleted the second segment of his health, a new set of Scorn will spawn. Defeat them before you lower the Ahamkara’s health bar to its last segment. If you don’t, the Ahamkara will summon more Screebs, which can be pretty annoying to deal with while fighting a full room.
How to Complete the Temple of The Cunning in Destiny 2: Getting to the Surface
Once the Ahamkara Illusion is defeated, he’ll teleport you back to the relic room. But now there’s a Suffocating Haze, which will kill you if you can’t escape it in time. You’ll have 2:30 minutes to run from the relic room, over the bridge, and back to the elevator that leads to the surface.
Immediately, activate the Deepsight Orb in front of you to conjure a bridge that will allow you to escape the relic room. There are enemies, but most of these can be ignored. Past this short bridge, there are pikes waiting, if you’d like to drive. But with the moving lanterns which can knock you off the narrow bridge, these can be more danger than they’re worth. Out of curiosity, I did the run without pikes and minimal killing and had about a minute left by the time I reached the elevator. Your milage may vary.
Either way, just follow the path straight, reach the elevator, and ascend. Once you do, you’ll be out of the suffocating haze and the mission will be complete. Congratulations!